American Sewing Guild (ASG)

Visit our blog Visit the ASG Facebook page Visit ASG on Pinterest Visit ASG's YouTube channel Visit ASG on Instagram
  • Home
  • Join ASG
    • Join Online
    • Chapter Locations
    • Member Benefits
    • Member Brochure
    • Join by Mail
  • Conference & Education
    • ASG Conference
  • Resources
    • Contests & Awards
    • Giving Back
    • Hall of Fame
    • Links
    • Travel and Tours
    • Measurement Chart
  • Shop
    • ASG Store
    • Chapter Products
    • Video Resources
  • Blog
  • About
    • About Us
    • ASG Sensitivity Statement
    • FAQ’s
    • Start a Chapter
  • Contact
  • Member Login
    • Login First!
    • Members Only
    • Leadership Only
    • Website FAQ’s
    • Logout
  •  

January 7, 2019

An Easy and Precise Technique for Hand Quilting

This easy technique for hand quilting requires limited skills and mimics the precision of machine quilting.

YLI Wash-A-Way Thread
YLI Wash-A-Way Water Soluble Basting Thread

1.  Load the machine, both top and in the bobbin, with water soluble thread.

2.  Set the machine stitch length for the desired hand-stitch length. For the stitches to show up in this demonstration, the stitch length will be set at 4 mm. If hand-stitching for a quilt were to be done, perhaps a stitch length of 10-12 stitches per inch would be used.

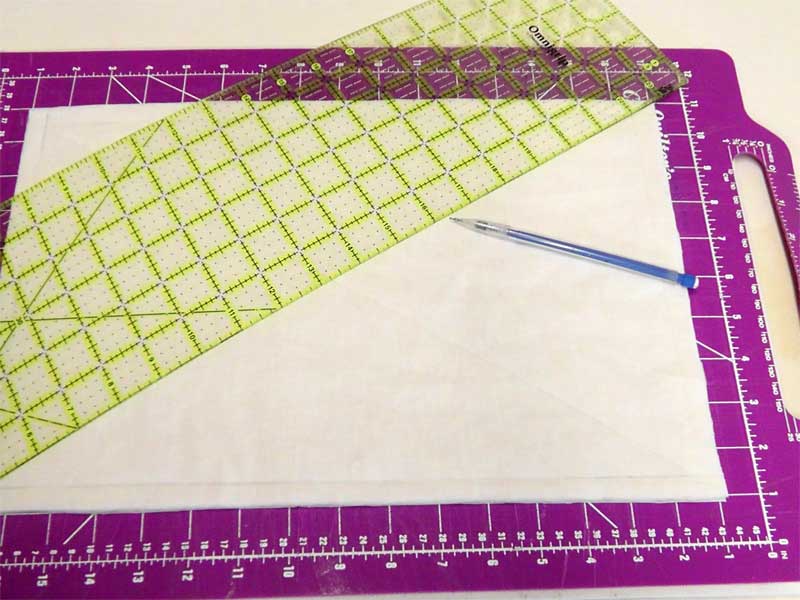
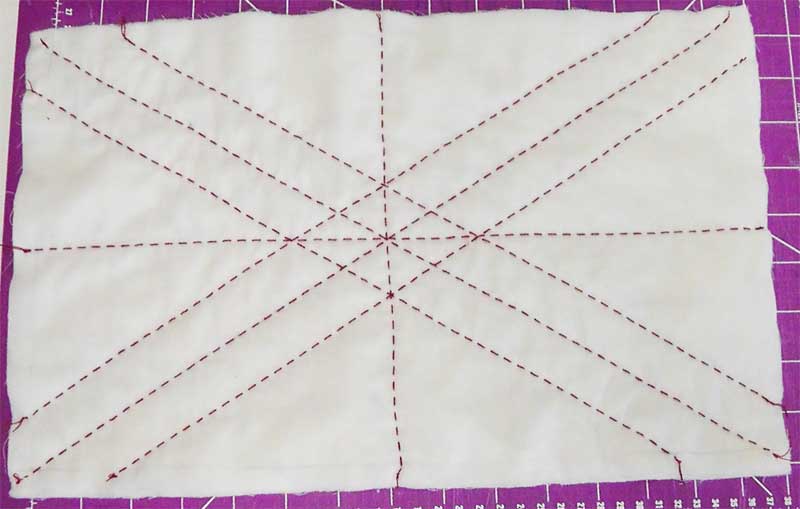
3.  Cut the quilt sandwich (back, batting, top) and mark the design on the top fabric. For this demonstration, simple straight lines were used, but you can use any design of your choosing.

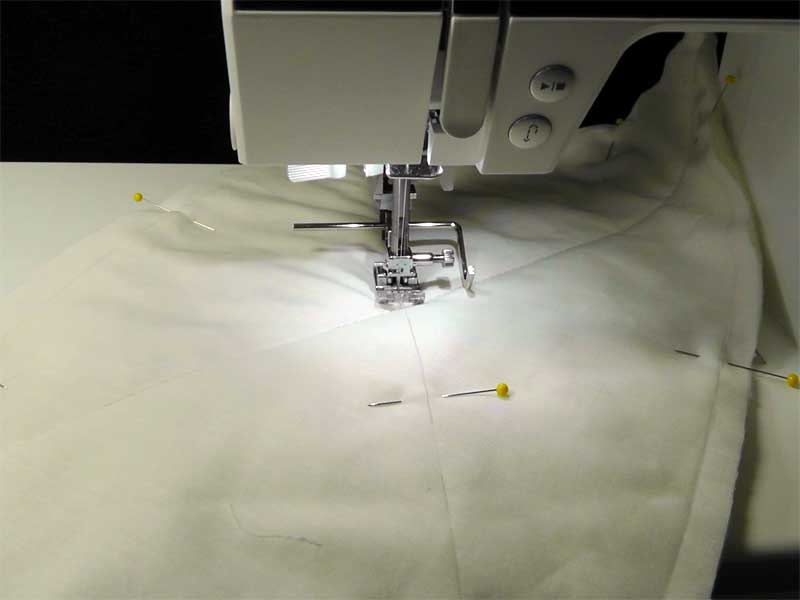
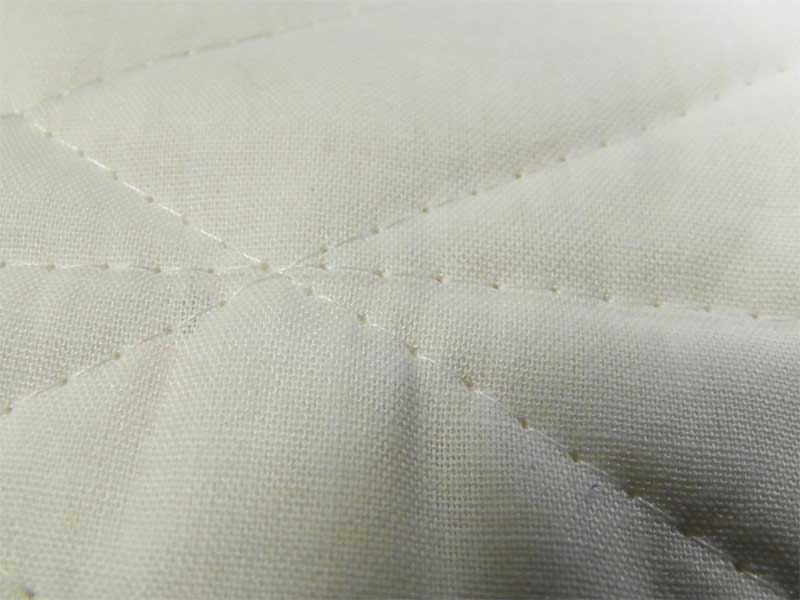
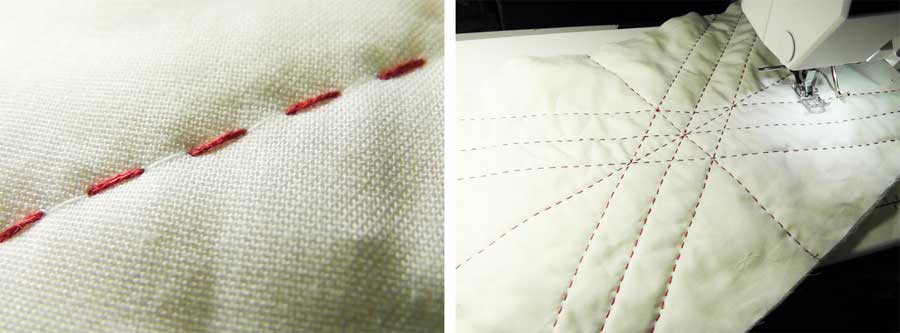
4. Stitch along the marked design lines with the water soluble thread. Optionally,  you can mark and stitch the design on the top only, then layer the quilt and stitch through all layers during the hand-stitching process.


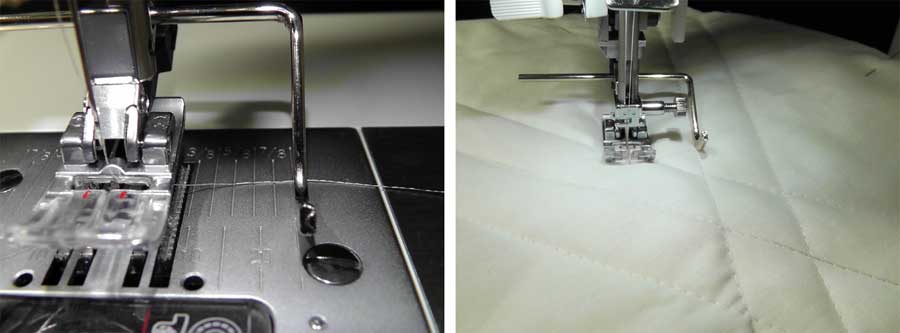
5.  For straight stitching, use the quilting guide that comes with your machine. Set it for the distance from the center needle position and allow the guide to follow along the previous line of stitching.

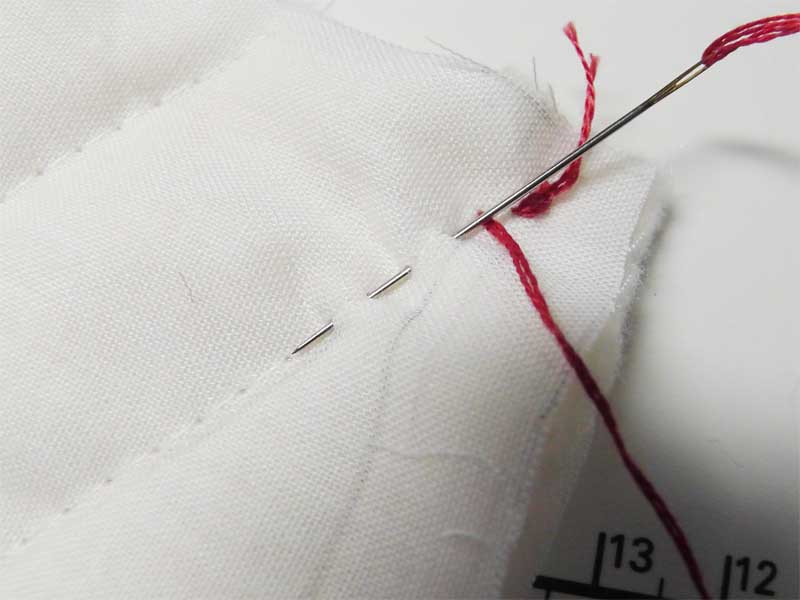
6. The stitching lines provide a guide for the hand stitching. Thread your needle using either hand quilting thread or a colorful embroidery floss (using as many strands as you’d like).

7. Following the stitching line, insert the needle in and out the holes created by the machine stitching. Mak sure the stitching goes through the back side, catching all layers.


8. Complete all the rows of hand-stitching, following along the machine-stitched line.

9.  Spritz the water soluble thread with water and the thread will dissolve away leaving only the hand stitching.

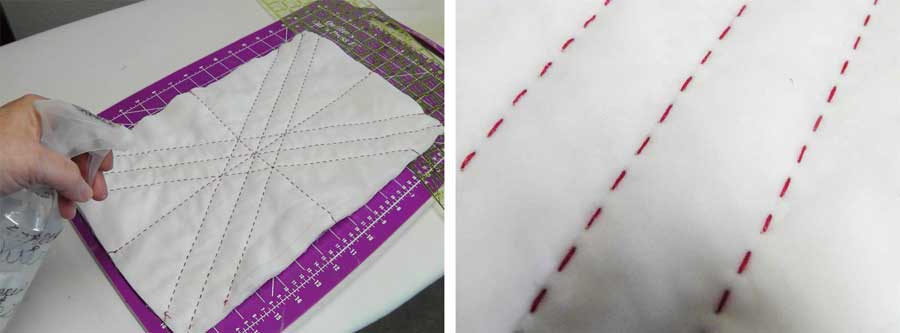
The end result is beautiful, straight and consistent hand stitching.

Adapted from an original post by Ramona Baird


Tagged With: hand quilting, water soluble thread

We participate in affiliate advertising programs with retailers. Some (not all) links may earn us a small commission if you click the link or make a purchase. There is no additional cost to you.

Become a Member

Join the only national organization dedicated to Advancing Sewing as an Art and Life Skill.
Join ASG now

Recent Posts

  • Magnetic Appeal: Purse Magnets March 24, 2023
  • Boning and Waist Stays (preview) March 17, 2023
  • Sewing Q&A: Eyesight, Visibility, and Scissor Care March 10, 2023
  • Special Help for Hems (preview) March 3, 2023
  • Canine Capers: Sewing for Your Furry Friend February 24, 2023
  • Are You Odd and Compulsive? February 17, 2023

Archives

Affiliate Disclosure

ASG.org is a participant in several affiliate advertising programs that are designed to provide a means to earn advertising fees for certain sponsored products and services.

  • Disclaimer
  • Privacy Policy

American Sewing Guild
National Headquarters
9660 Hillcroft, Suite 510
Houston TX 77096
713-729-3000 | 713-721-9230 Fax
www.ASG.org

ASG wordcloud - education, conference, discounts, videos, special offers, tours and more

Copyright © 1998–2023 · American Sewing Guild · All Rights Reserved