


If you love the look of appliqué, but you’ve noticed that sometimes the designs look a little stiff, especially on lightweight backgrounds, there is a solution.
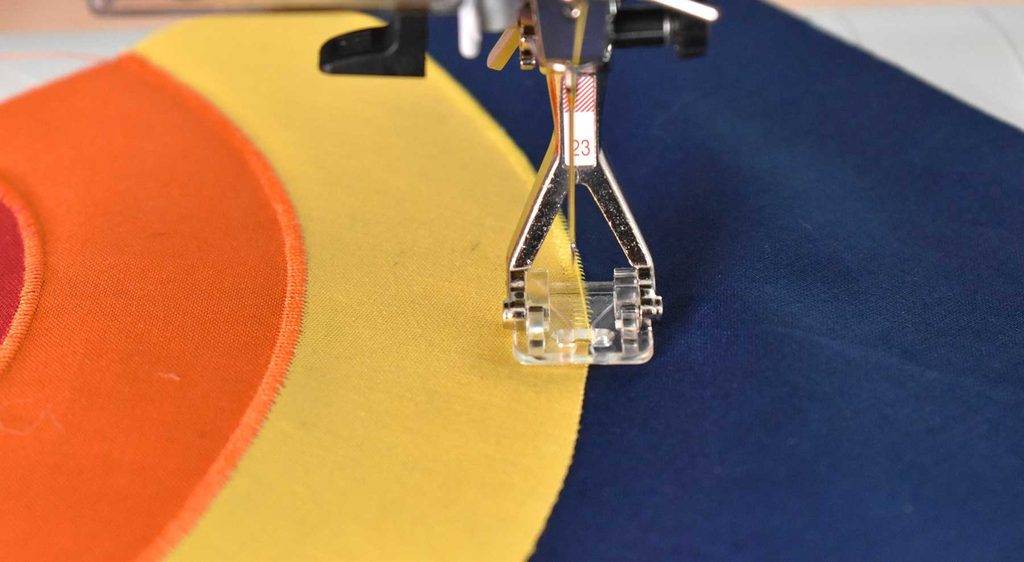
Traditionally, fusible appliqué methods involve cutting the fusible web the exact same size and shape as the fabric portion of the appliqué so that it’s adhered solidly to the background fabric. But this innovative framing method uses the fusible web only on the outer edges, not under the entire piece. It leaves the center portion free of adhesive and floating over the fabric background.
Be sure to choose a lightweight, sew-able fusible product. Note that some fusibles are designed for more crafty uses and can be used on bases other than fabric (like wood, paper, etc.)—avoid those as they’re generally heavier than needed for this method. Look for webs with a lighter hand.
To use the framing method:
Trace the appliqué shape onto the fusible web’s paper backing, leaving about 1” between pieces if your design is composed of multiple pieces (1). It’s important to note that what you’re tracing will be the reverse of the finished design, so if the direction matters, you’ll need to reverse the tracing direction. Examples of where this might be important is if your appliqué is lettering, or if it’s a dog and the direction it faces is important to the finished design.
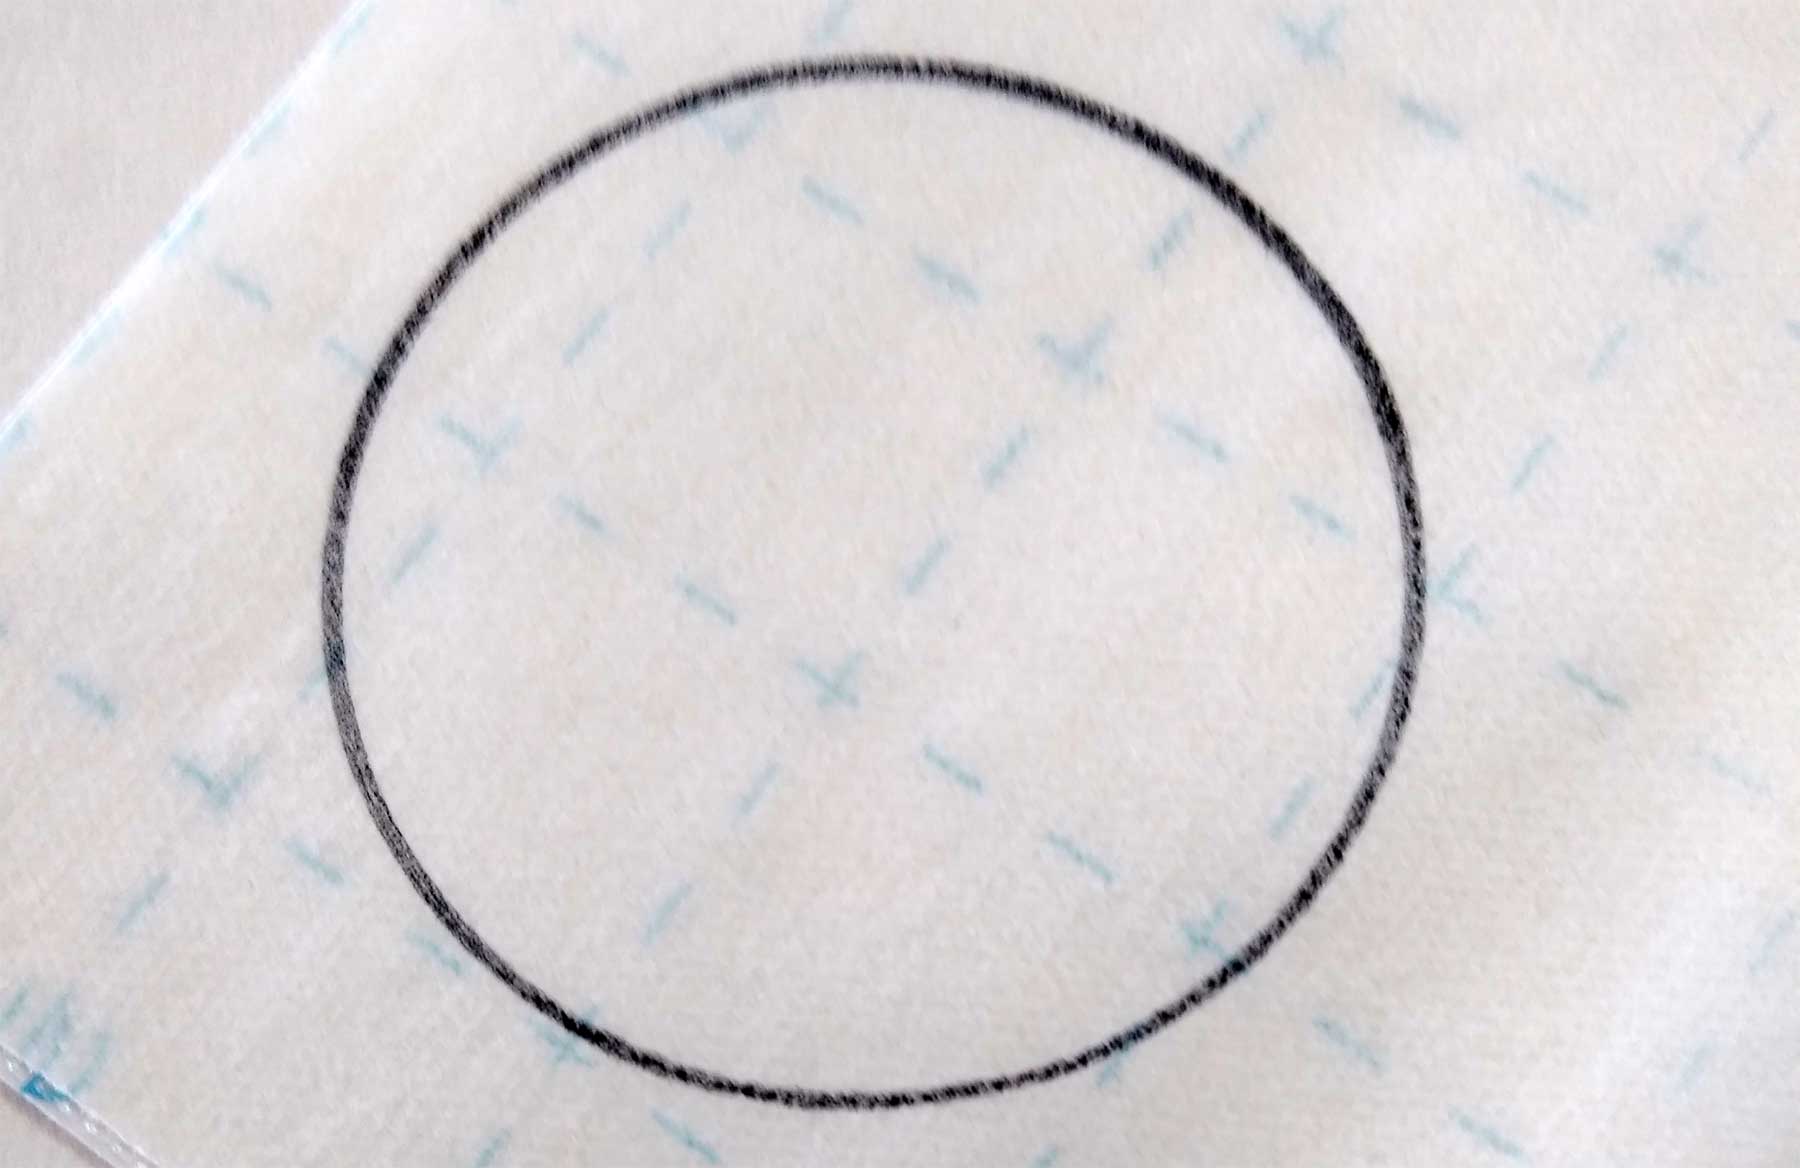
Rough-cut the traced shapes about ¼” outside the drawn lines (2).
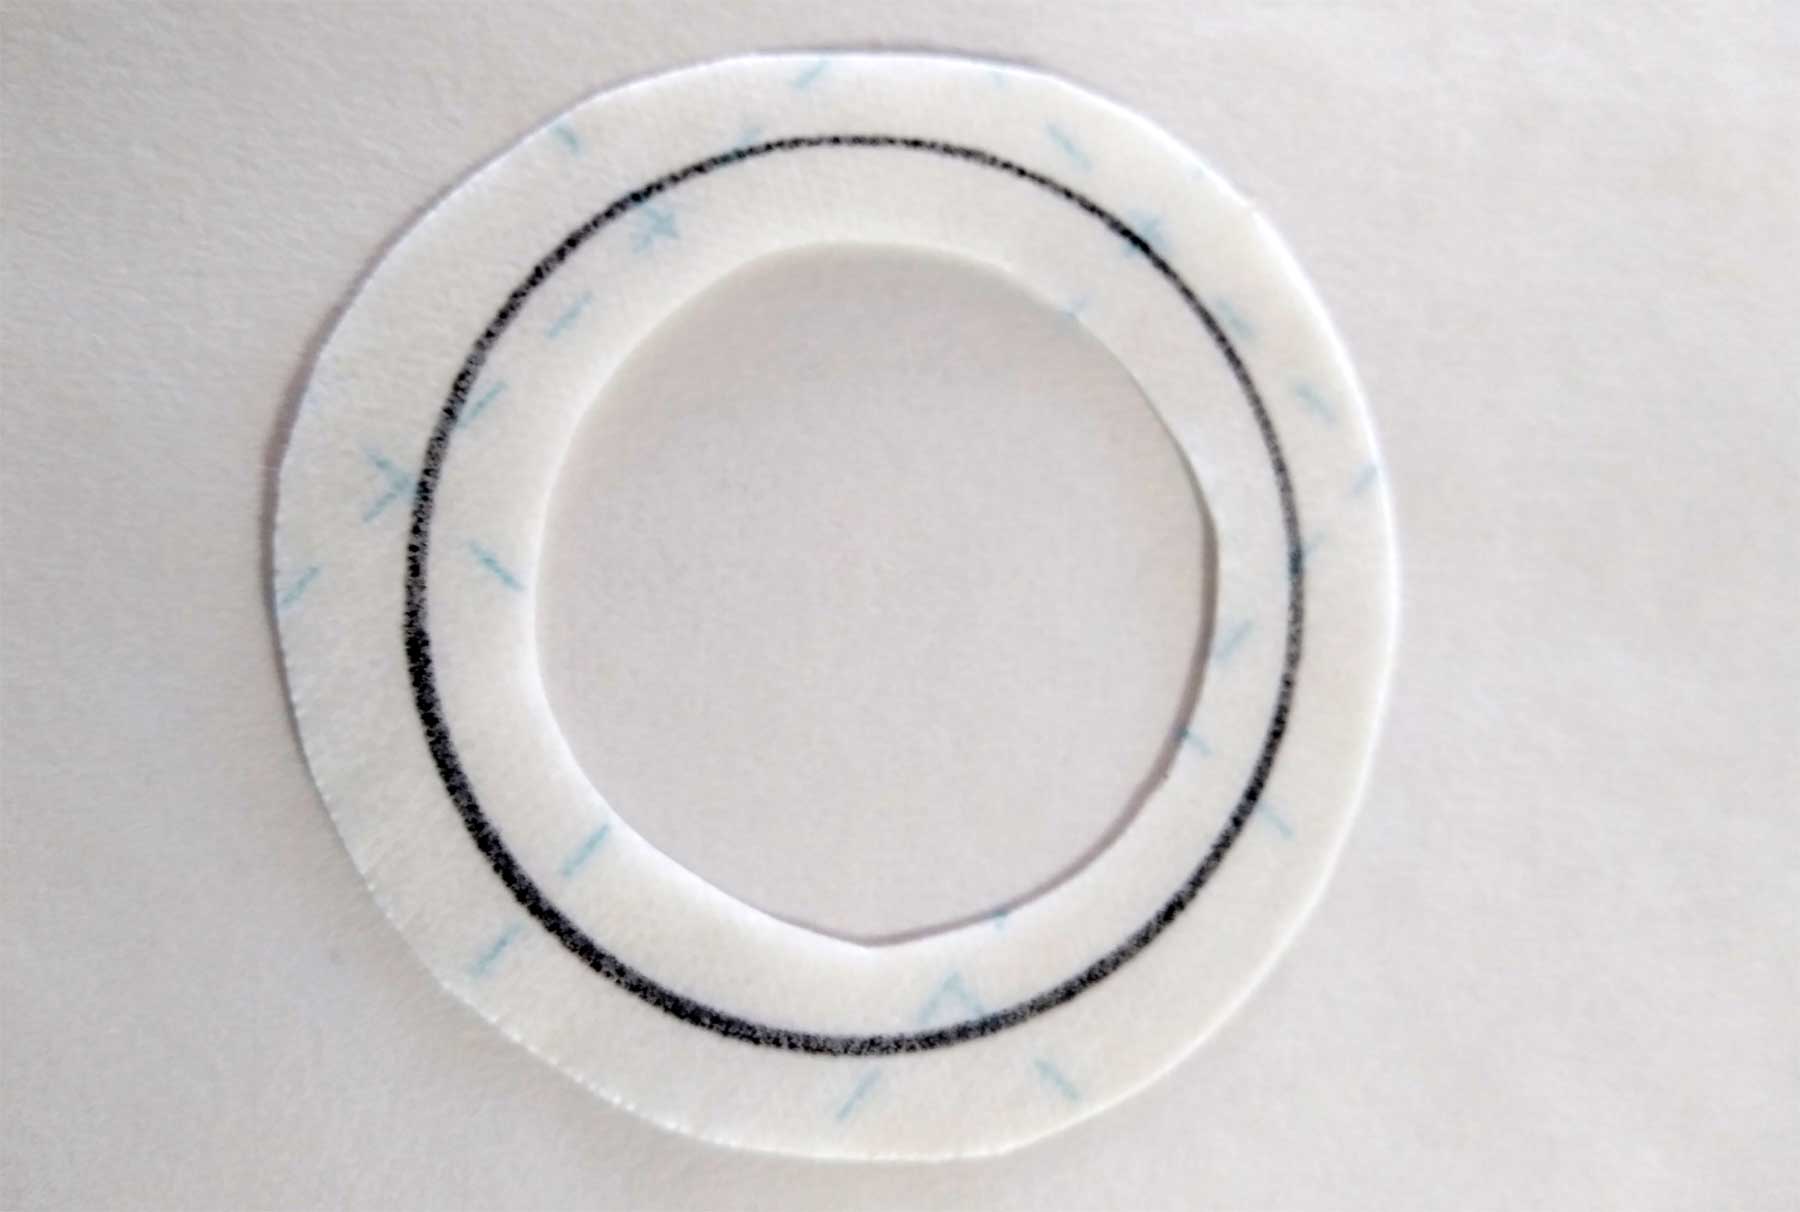
Carefully trim out the center of the shapes, leaving only ¼” inside the lines (3). Keep the fusible scraps for another project.
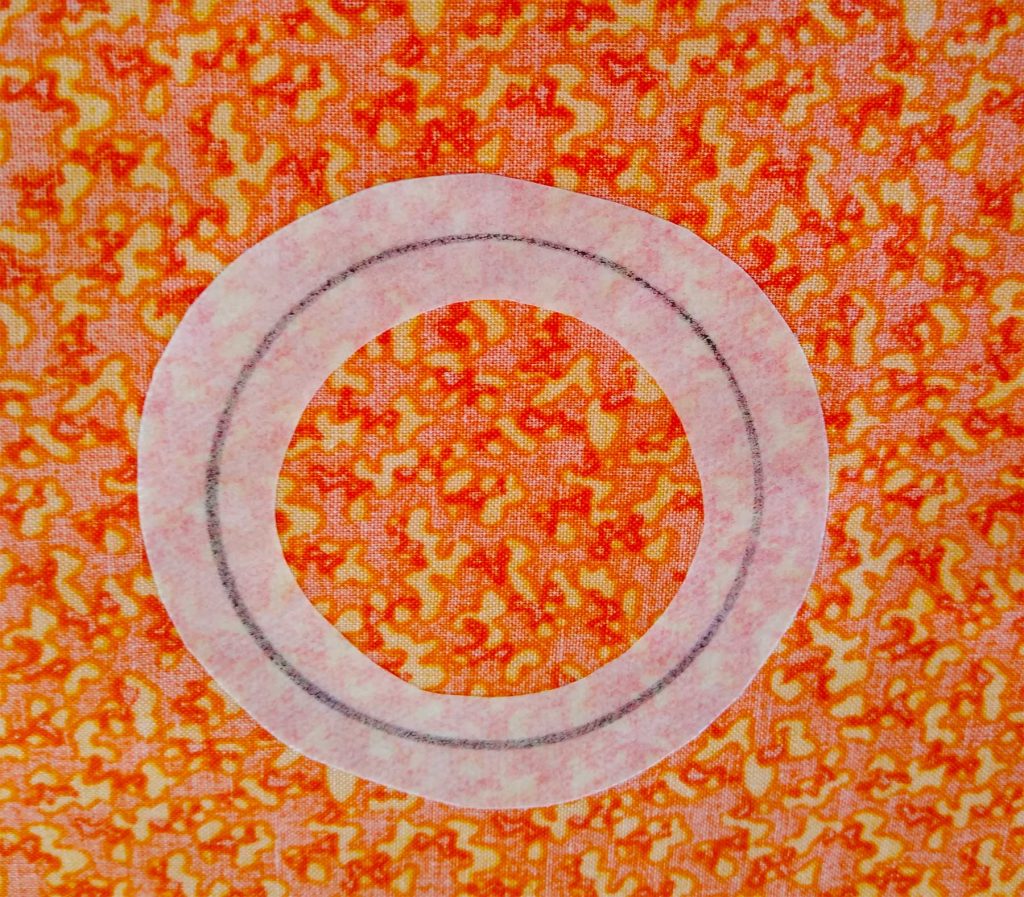
Follow the manufacturer’s instructions to fuse the web side of each shape to the back of the appliqué fabric (4). On some fusible brands, you will need to remove the unmarked side of the protective paper before fusing.
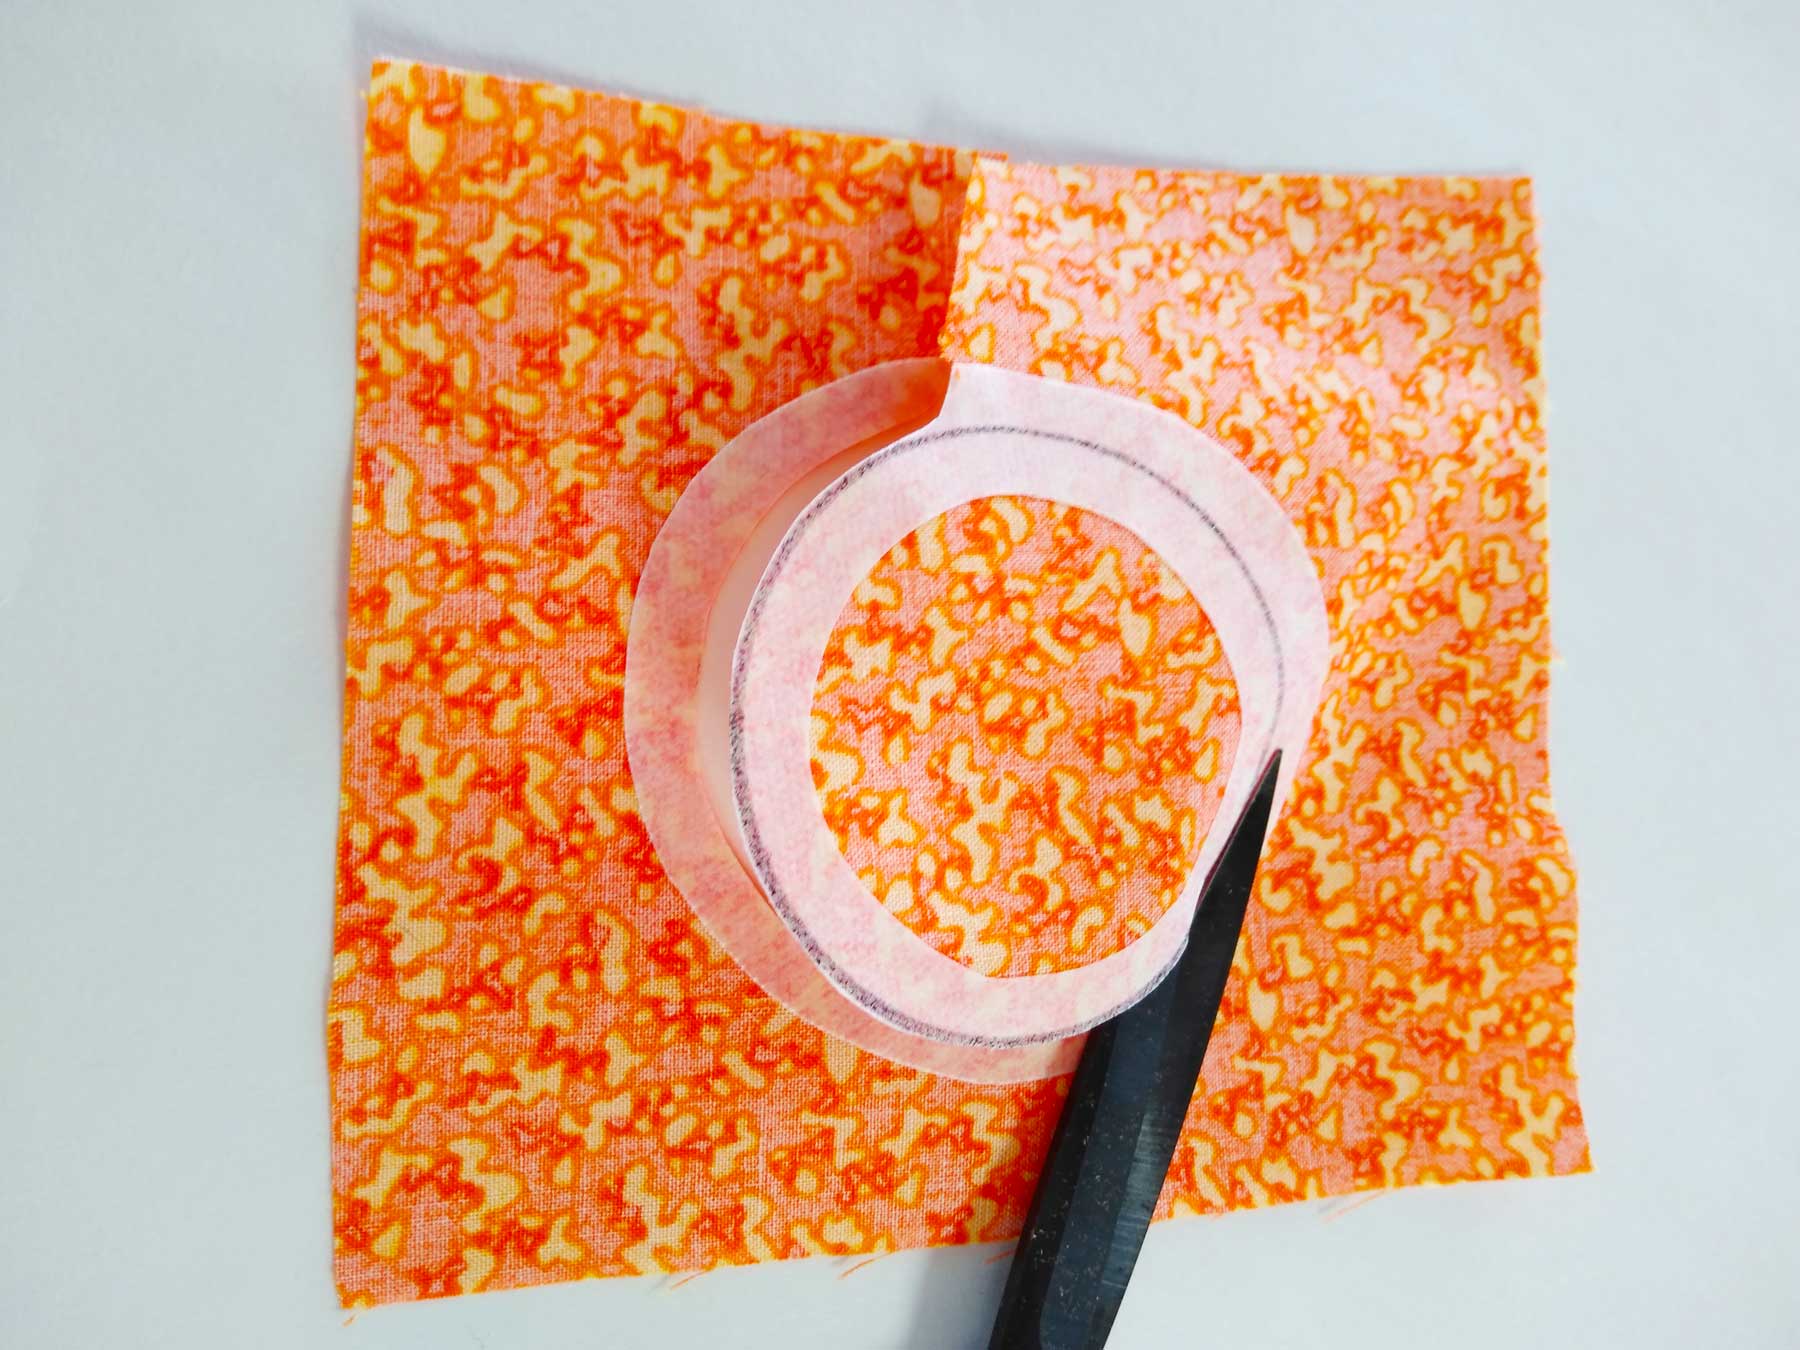
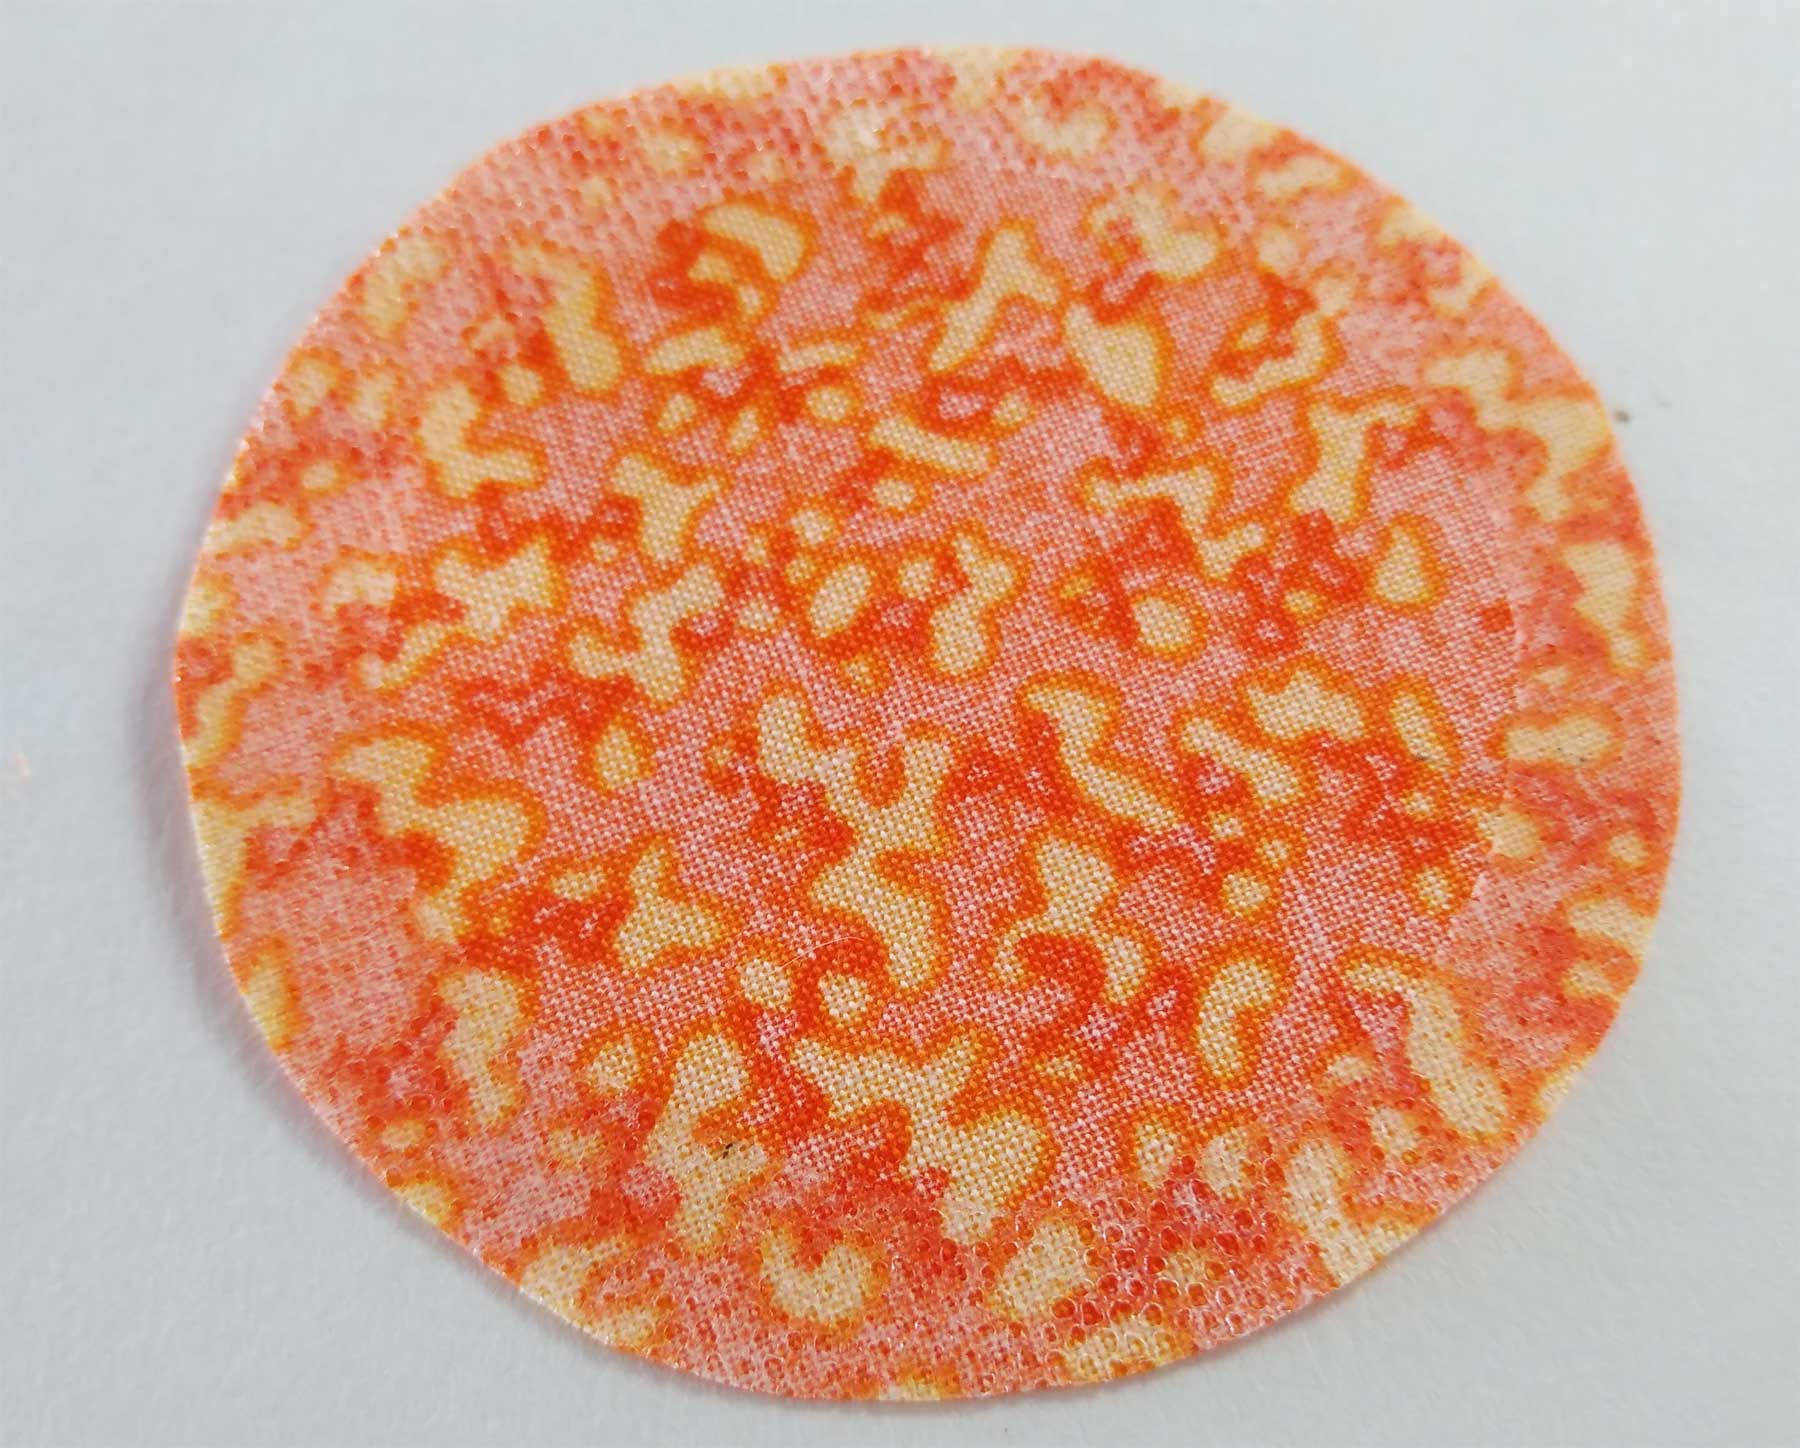
Let the appliqué fabric sit until it is cool. Then, cut out the shape along the outer drawn line (5).
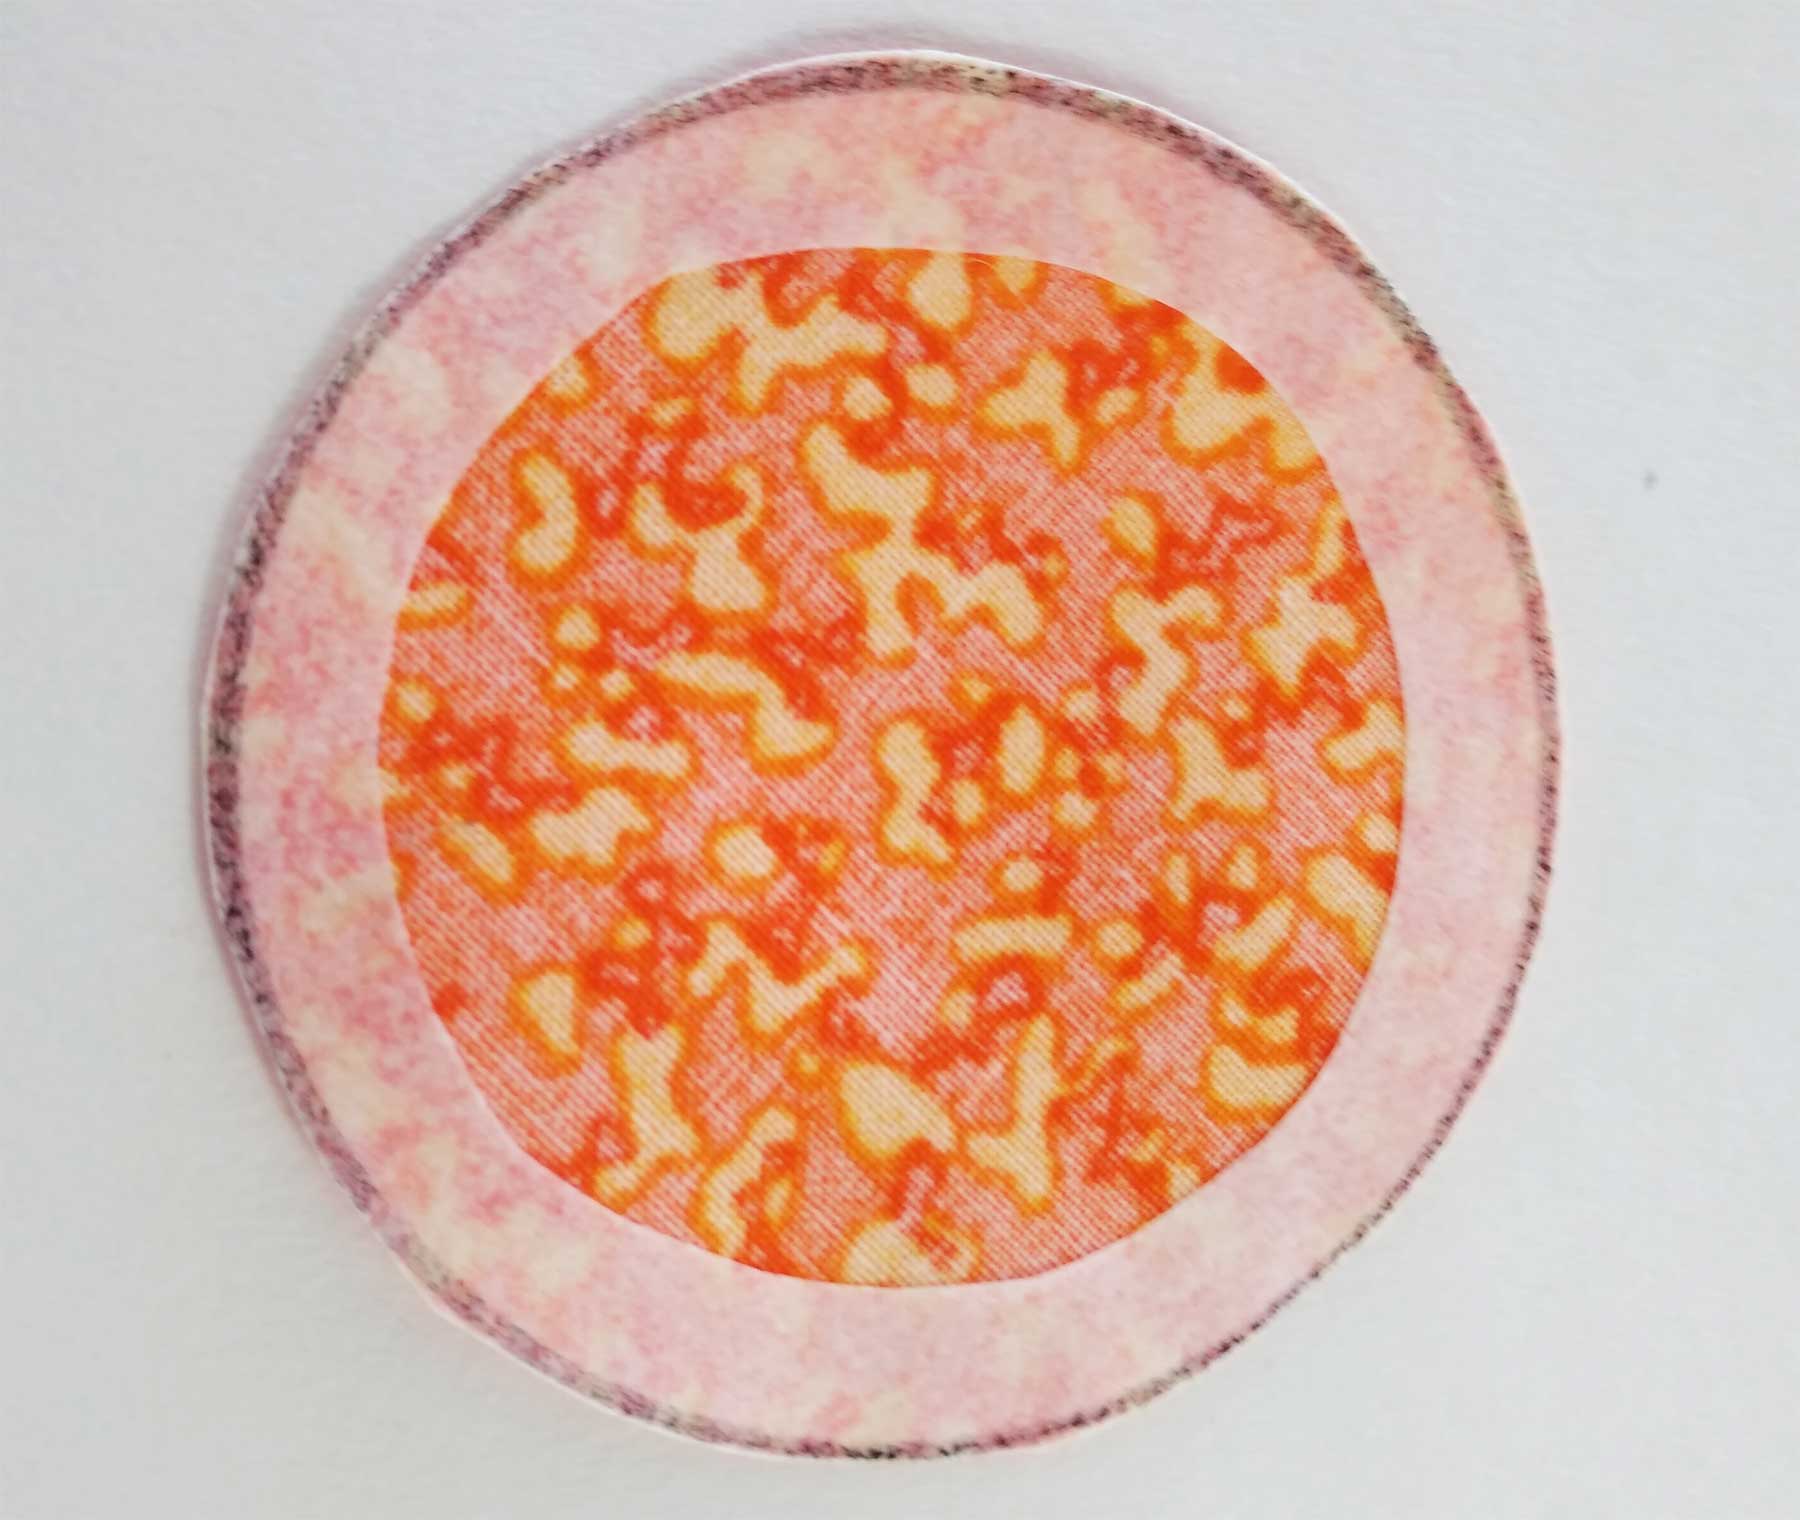
Peel off the marked paper (6) and place the web-backed appliqué on the base fabric right side in the desired position. If your design has multiple layers, always begin with the base (lowest) layer. Follow the manufacturer’s instructions to fuse the appliqué shape in place. A non-stick pressing sheet or press cloth is helpful to protect your iron during the fusing process.
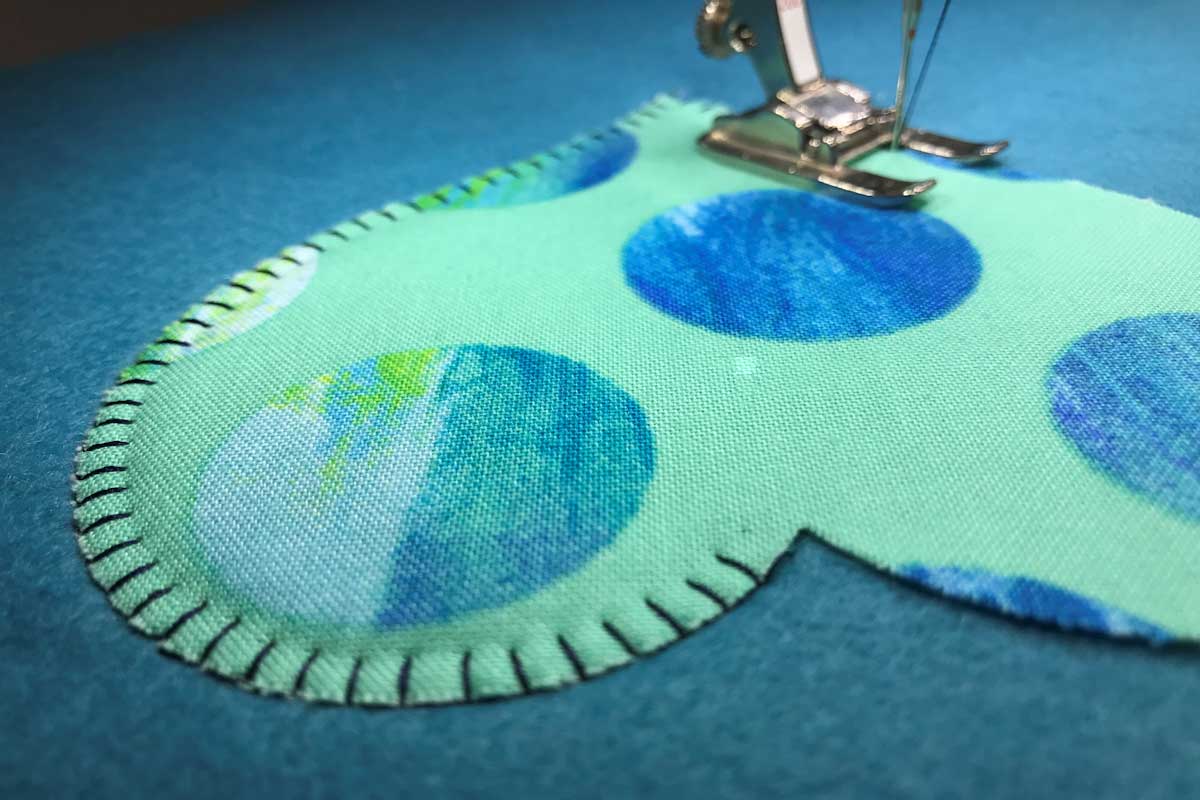
Some designs will require edge stitching to be completed before fusing any subsequent layers; on other designs, all layers can be fused before edge stitching. Use a zigzag, satin stitch, blanket stitch (Bernina photo) or decorative stitch to finish the appliqué edges.
Note: Before stitching on the actual project, make a test appliqué using the same fabrics/web to determine the best stitch settings (length, width and tension).
Which foot?
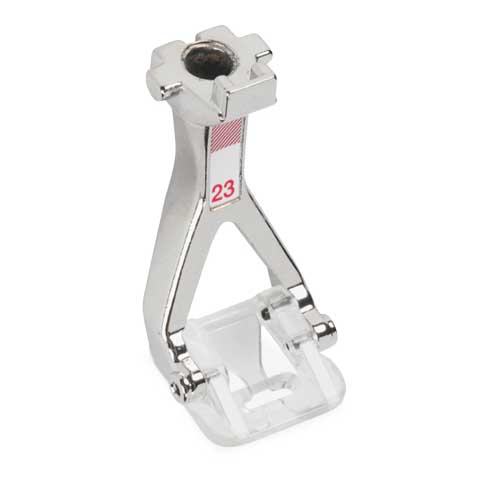
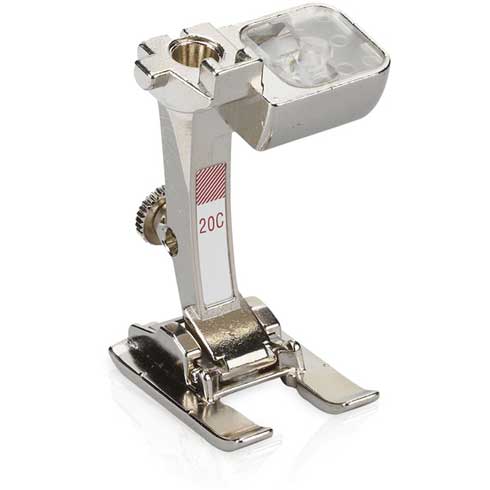
Check your machine owner’s manual for recommendations of which foot to use for appliqué. It’s easier to place stitches precisely using an open-toe foot, but other feet can work as well. Just be sure that if you’re using a satin stitched edge on the appliqué, the foot has a recessed space on the underside to allow the stitch build-up to pass through smoothly.
~Linda Griepentrog is the owner of G Wiz Creative Services and she does writing, editing and designing for companies in the sewing, crafting and quilting industries. In addition, she escorts fabric shopping tours to Hong Kong. She lives at the Oregon Coast with her husband Keith, and three dogs, Yohnuh, Abby, and Lizzie. Contact her at gwizdesigns@aol.com.
