Creating unique collars for garments is a fun and creative way to transform an outfit into something truly special. Lace collars have always carried an air of elegance and delicate craftsmanship. First appearing in the 16th and 17th centuries, they quickly became a favorite among European aristocracy, worn by both men and women as a sign of wealth and refinement. Over time, their designs shifted with fashion trends, becoming especially popular in the Victorian era, when they added charm to high-neck blouses and dresses. Today, lace collars still enchant designers and fashion lovers alike—whether on vintage pieces, bridal looks, or modern styles—proving that this timeless accessory continues to inspire and elevate fashion through the ages.
Types of Lace Collars
- Detachable Lace Collar – A versatile accessory that instantly elevates any garment with a touch of lace.
- Ruffled Lace Collar – A voluminous, Victorian-inspired detail that adds drama and timeless elegance.
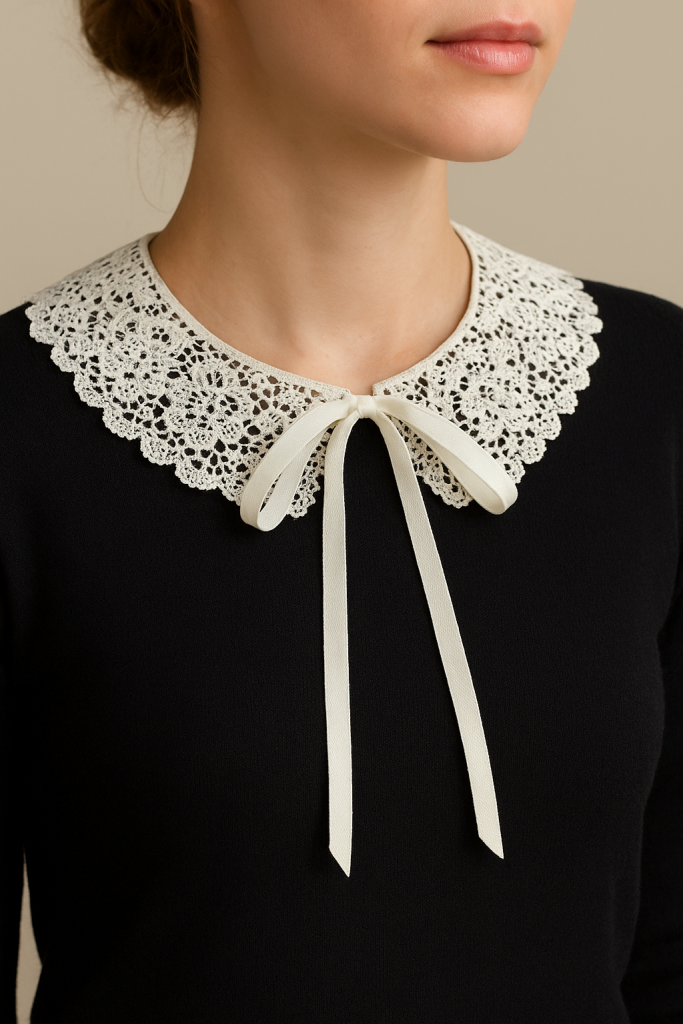
- Peter Pan Collar – A soft, rounded style that brings a feminine, vintage charm to blouses and dresses.
- Scalloped Lace Collar – Designed with a graceful, wavy edge, often seen in romantic or bridal fashions.
- Venetian Lace Collar – Distinguished by intricate patterns and fine needlework, perfect for elegant or antique-inspired attire.
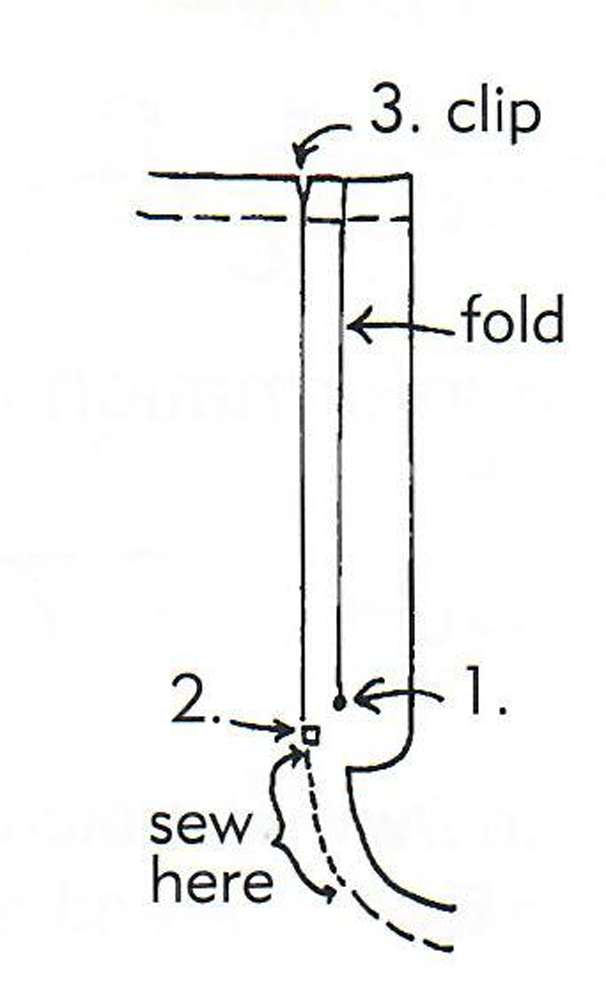
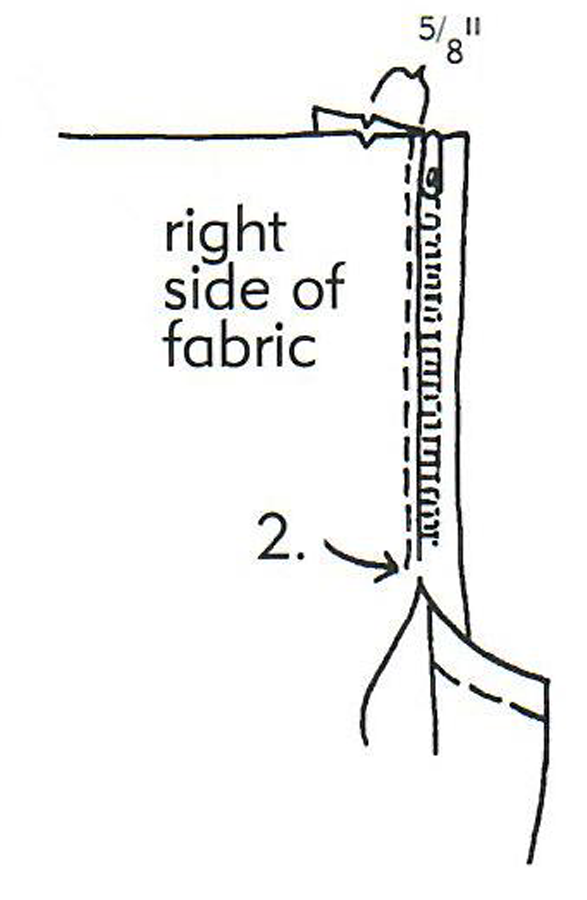
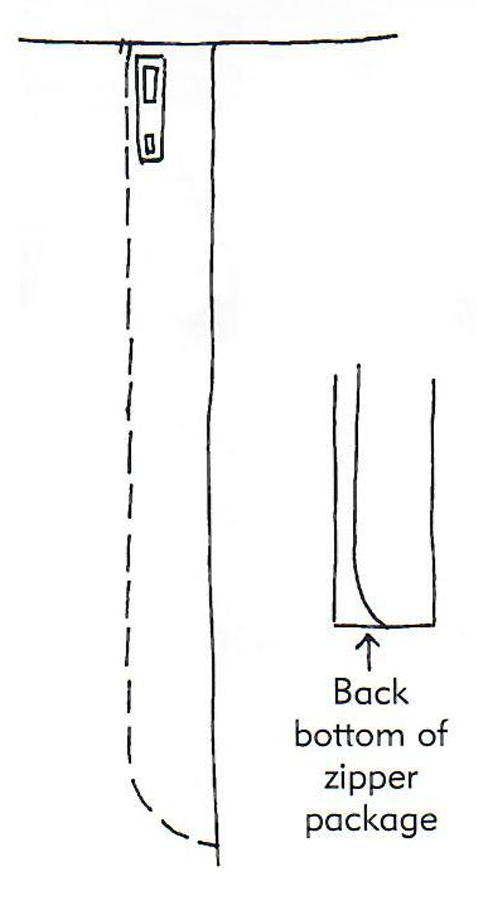
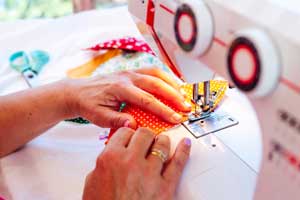
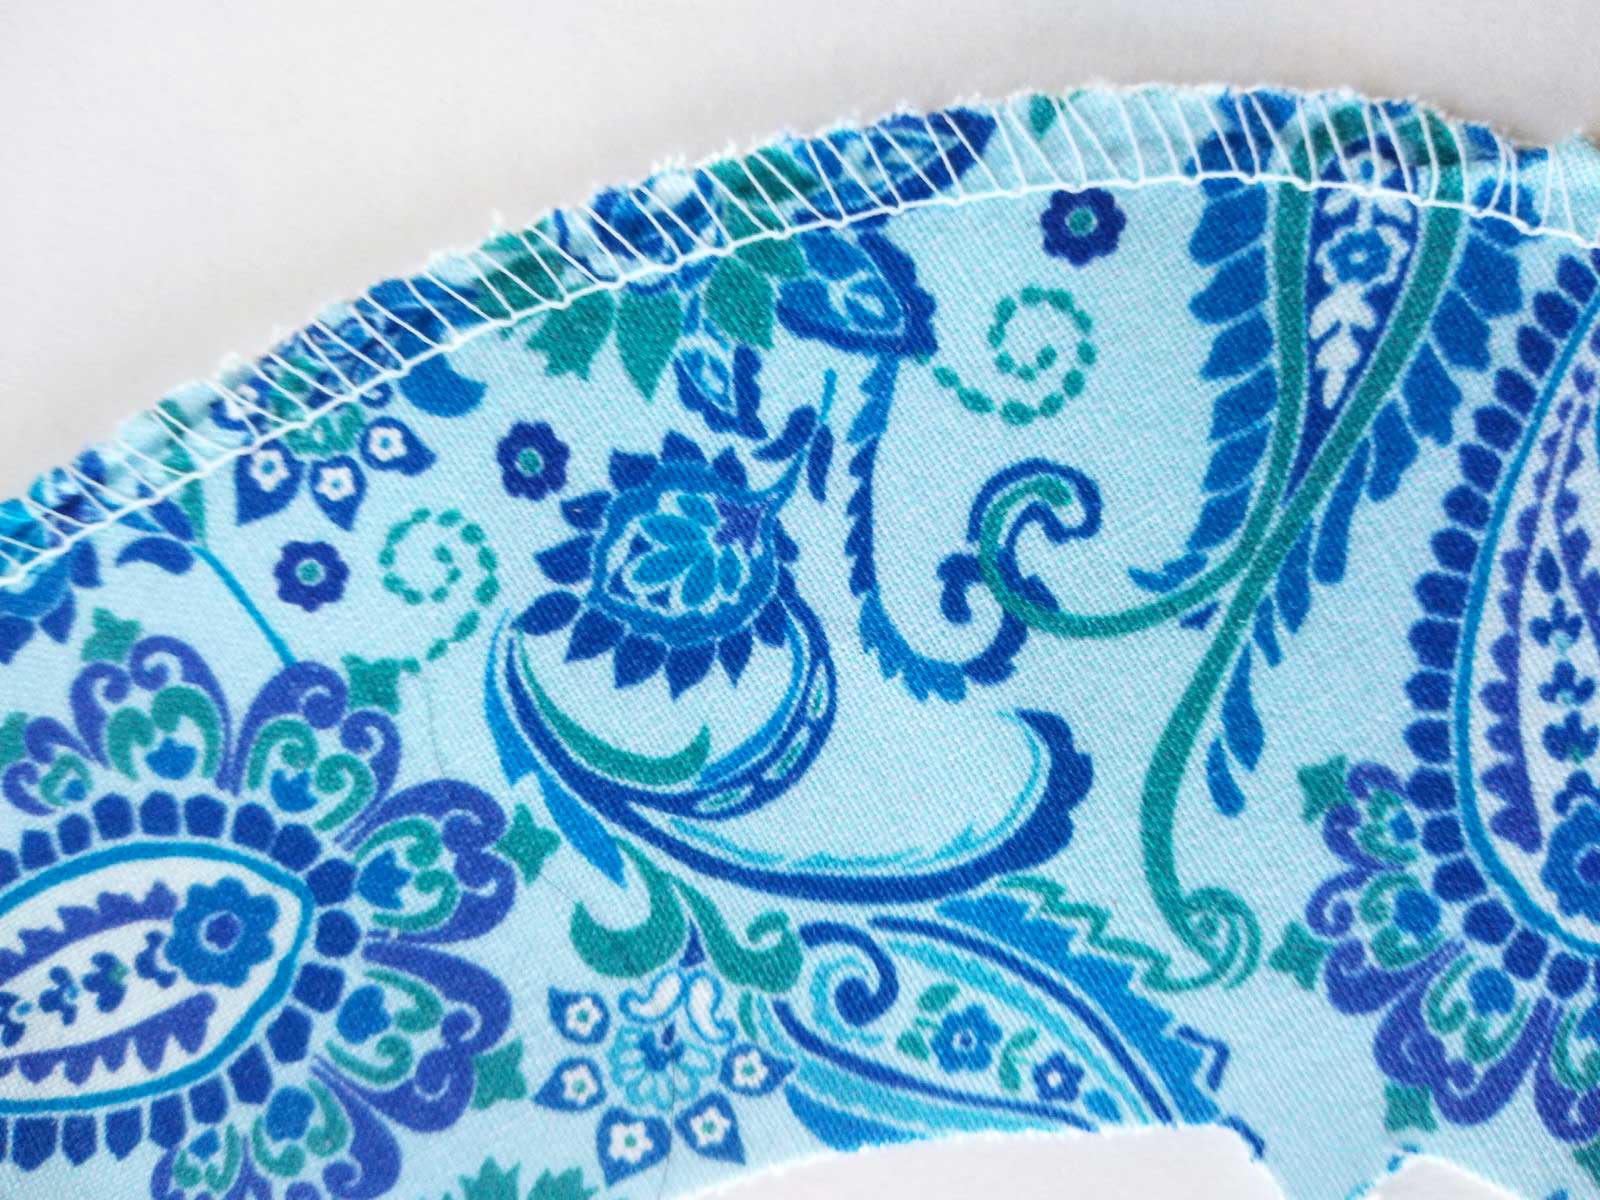
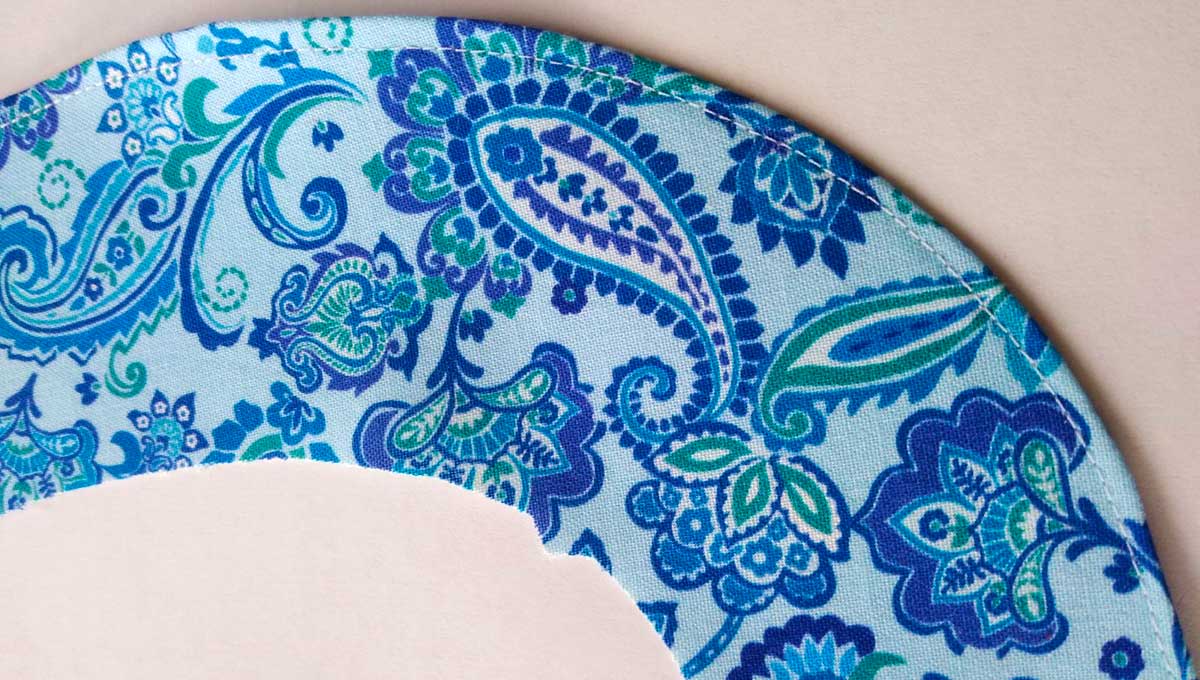
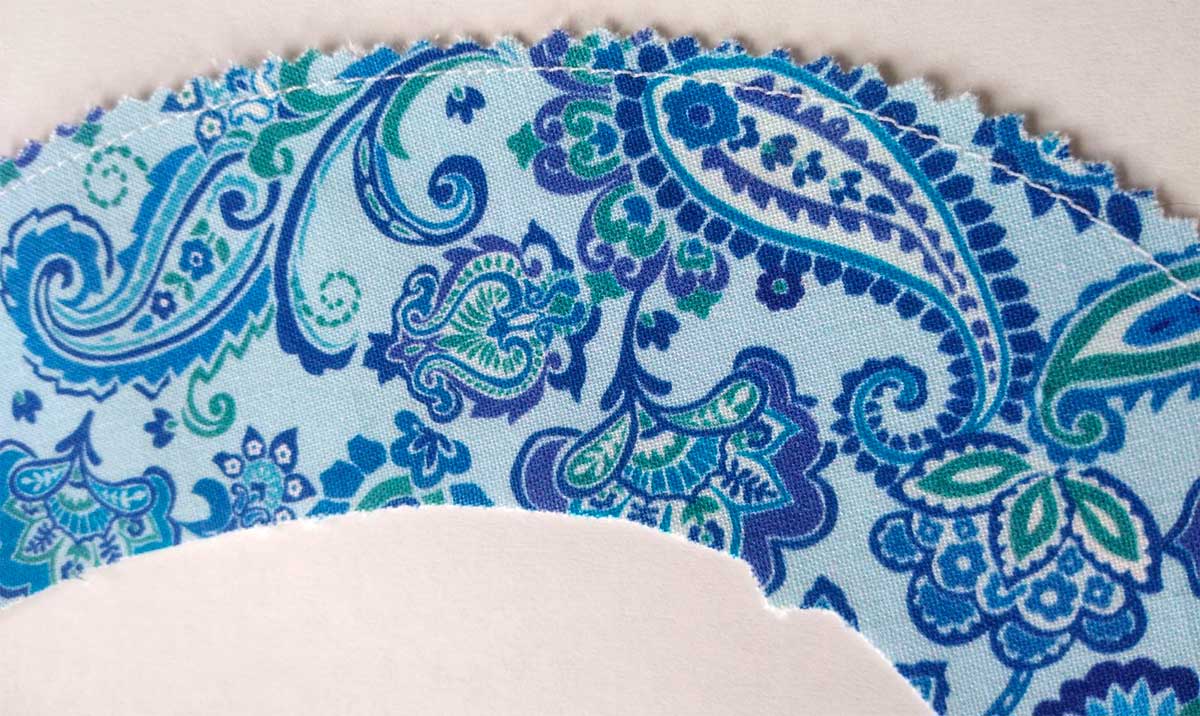
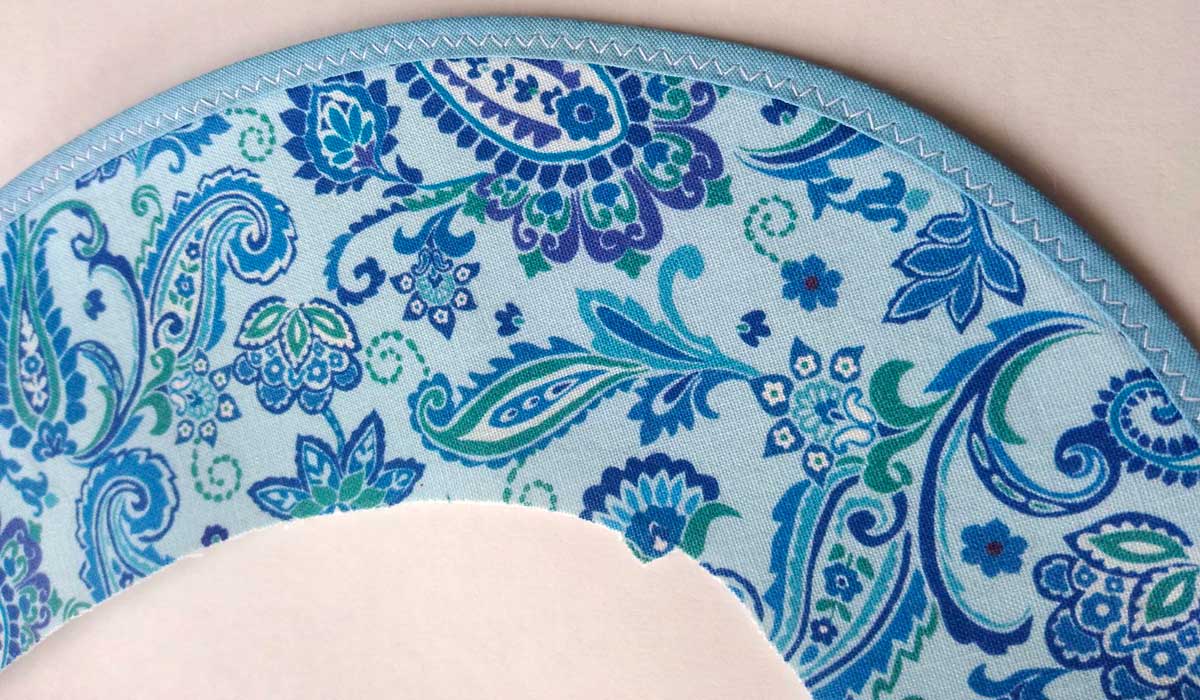
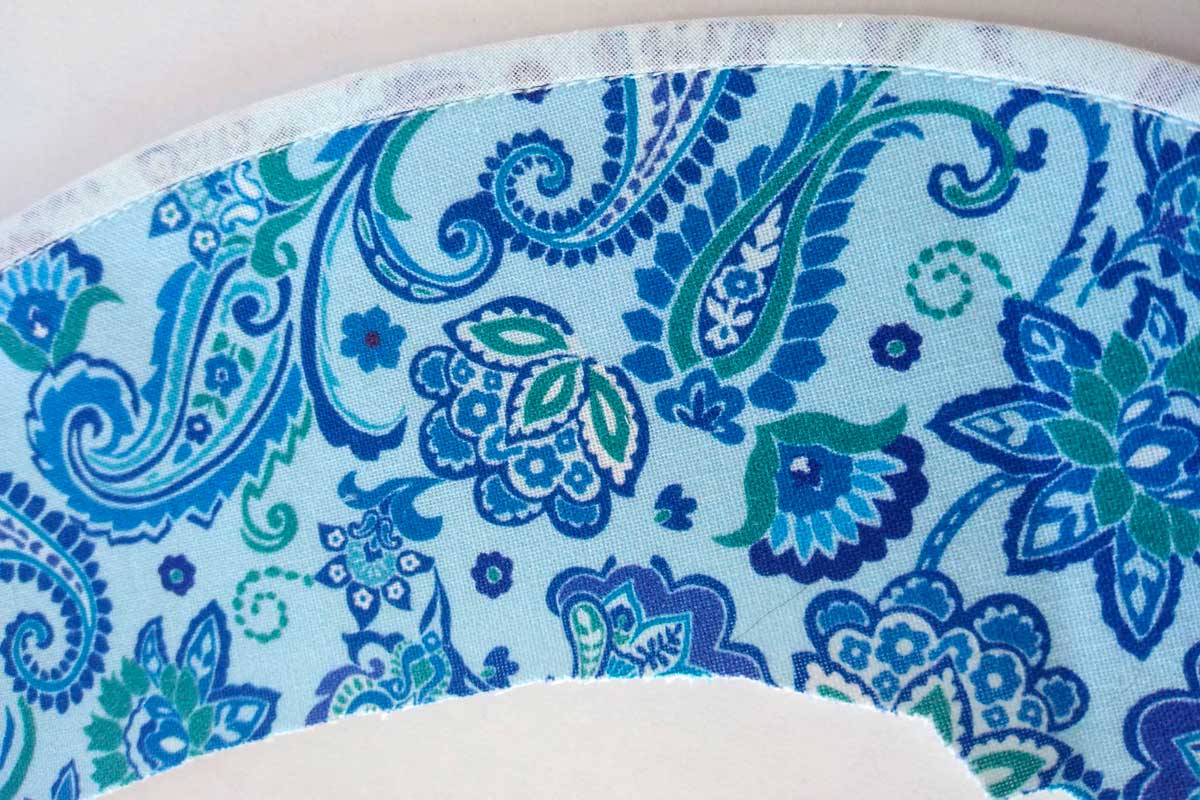
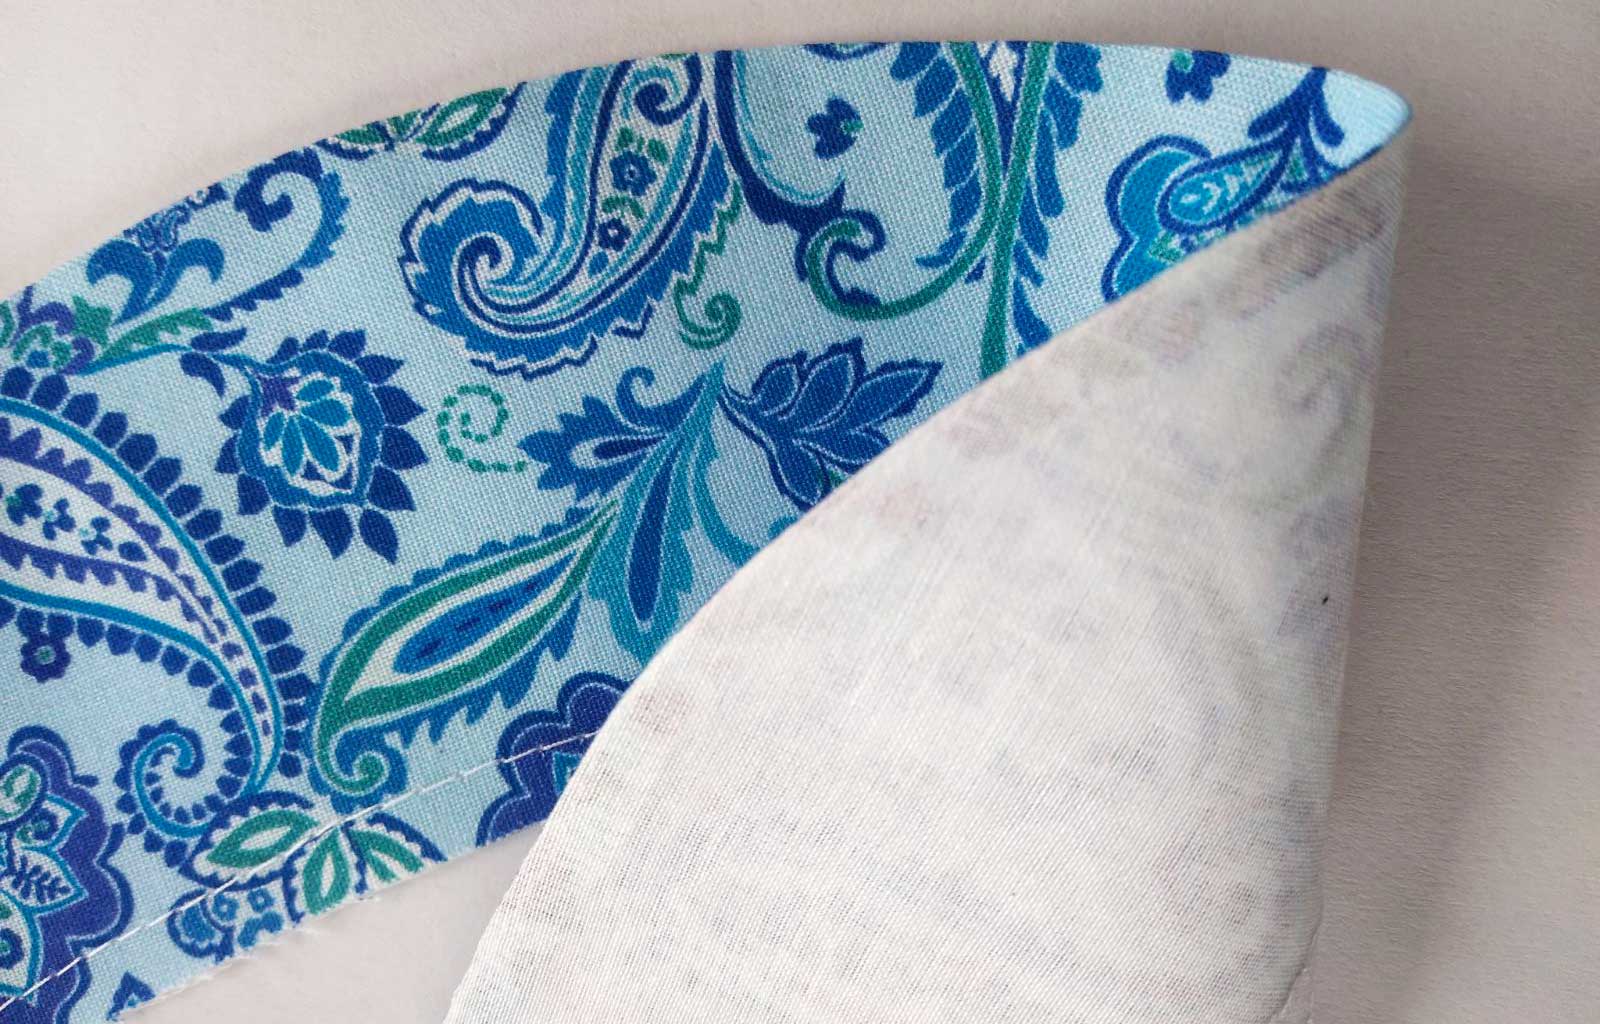
Making a Detachable Lace Collar
The Last Stitch website offers a great tutorial on making a detachable lace collar:
Styling Tips for Lace Collars

- Go for Glam: For a timeless look, style a lace collar with a crisp, solid-colored blouse or dress. White or cream collars over dark fabrics create a striking vintage-inspired contrast reminiscent of the Edwardian era.
- Give it a Modern Twist: Detachable lace collars are trending in today’s fashion world. Layer one over a casual sweater, T-shirt, or shift dress to instantly elevate your outfit with a touch of playful sophistication. Many modern designers now offer detachable collars as statement accessories, making them easy to swap out and restyle.
- Feeling Goth: Black lace collars pair beautifully with darker palettes, leather, and velvet. They’re a staple in gothic and Victorian-inspired wardrobes, often worn with chokers or layered necklaces for dramatic effect.
- Here Comes the Bride: Lace collars bring an air of romance and refinement to wedding gowns and formal attire. They can be delicately sewn onto necklines or designed as detachable accessories, giving brides the flexibility to change their look from ceremony to reception.
- Accessorizing Tip: Lace collars pair well with brooches, cameos, or delicate chains. Adding jewelry can help balance the softness of lace with a bolder statement piece.
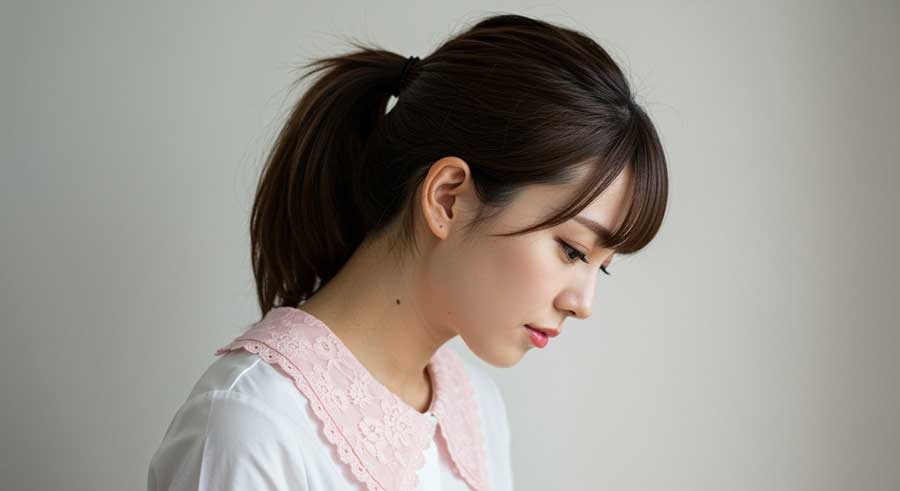
- Seasonal Styling: Light lace collars in white or pastel shades are perfect for spring and summer outfits, while darker tones and heavier lace textures complement autumn and winter wardrobes.