


Ah, hem
Whether you prefer to hem your garments by hand or machine is a matter of preference but sewing machine manufacturers have risen to the latter cause by including a blind hem stitch on most models. It may be one of those quirky-looking stitches you don’t often use, but creating an invisible hem on many fabrics is possible.
The Stitches
You may, in fact, have two blind hem stitches—one for knits and one for wovens. The knit stitch has multiple zigzags between larger “bite” stitches, while the stitch for wovens has straight stitches between the wide zigzag bites.
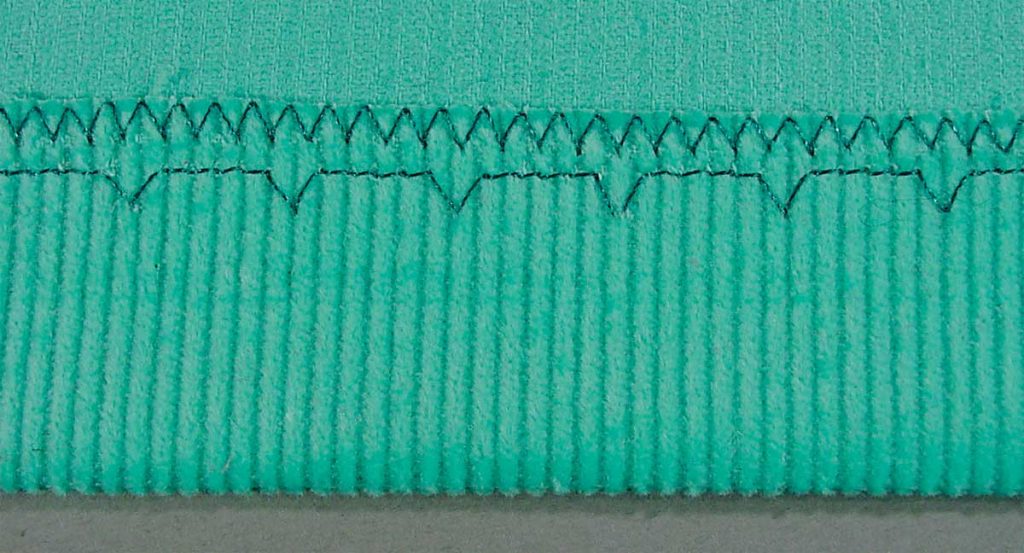
The knit zigzags allow the hemline to still have some flexibility and stretch, while the straight stitch version creates a stable hem.
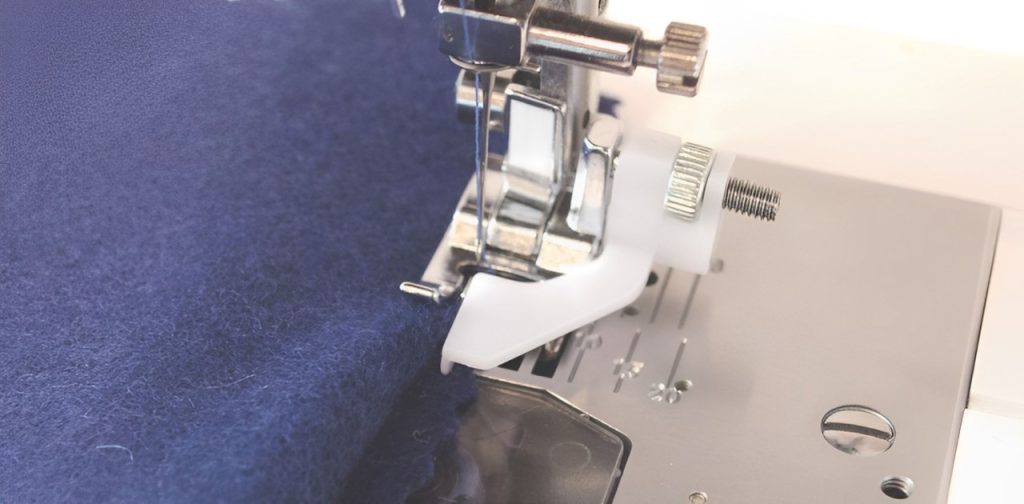
Blind hem Foot
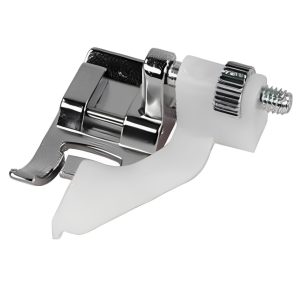
Your machine brand may also offer a specialty presser foot specifically for blind hemming. The guide bar is movable on some brands of feet, so that the wide zigzag catches only a small amount of the garment fabric and hem area.
Before you dive in to the real deal, it’s imperative to practice this process on some scraps of your project fabric before sewing the actual garment. Fine tune the stitch and placement for minimal show-through on the right side.
Choose a thread color that closely matches your fabric. If you’re working with a print fabric, choose a thread color to blend with the most dominant color. Use the same color bobbin and top thread. Tempting as it may be, it’s best not to use invisible thread for blind hemming.
On the edge
If the garment fabric ravels, finish the hem edge using a zigzag, serging or hem tape to neaten it. If it isn’t too heavy, simply press under the raw hem edge ¼” and stitch it in place.
On knit fabrics, no hem edge finish is needed, as knits don’t ravel. However, you can finish the edge if you prefer.
It’s all about folding
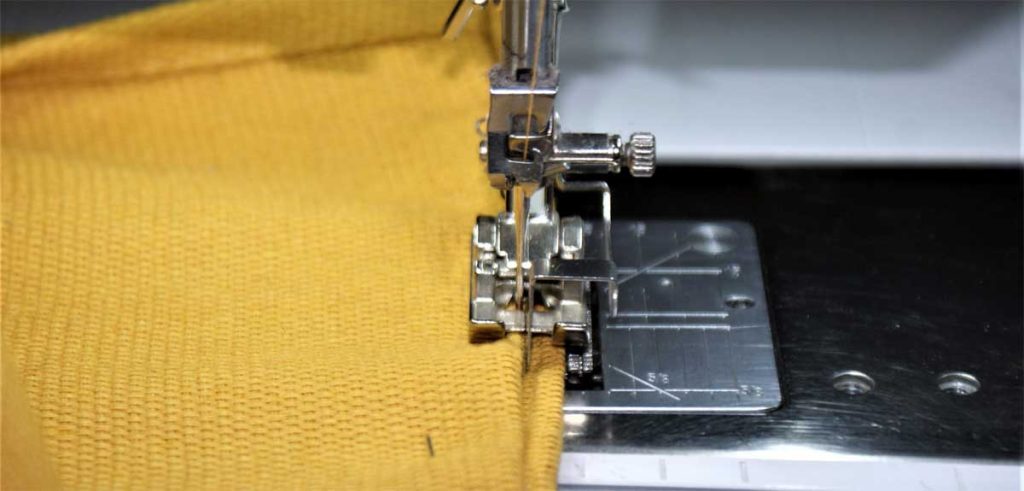
The key to an invisible blind hem is in the folding. First, fold and press the finished hem allowance to the wrong side. Fold the garment back upon itself leaving ¼” of the hem extending beyond the fold. Pin the folded hem in place. The ¼” extension is where the stitching will be placed.
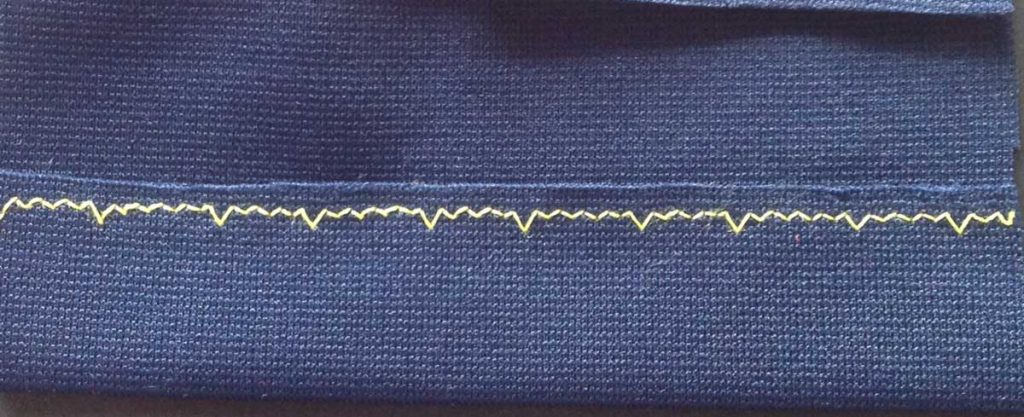
Adjust the stitch width so that the stitching along the finished hem edge will allow the wide zigzag “bite” to catch a tiny portion of the garment wrong side. If that stitch catches too much fabric, the stitch will show prominently on the garment right side. If it doesn’t catch enough fabric, your hem will not stay in place. The key is to catch just the right amount to hold and not show. Working with a practice piece of the same fabric as your garment is key to proper positioning.
If you have an adjustable foot, you can move the stitch right or left by moving the guide that runs along the folded hem edge. Or you can adjust the stitch width, or a combination of the two for optimum catch and hold and minimal show on the right side.
In addition to adjusting the stitch width, you can also adjust the stitch length to spread out the bite stitches, depending on the fabric. But don’t lengthen the stitch too much as the hem could gape or be caught during wearing.
If your machine has an adjustable needle position, you can also use that to fine-tune the stitch placement. So, it’s a balance of the stitch width and stitch length, and the positioning of the stitch using an adjustable foot and needle positioning.
Once you’ve practiced and gotten the hang of it, then sew around the hem on your garment. When stitching is complete, open out the hem and press to set the stitching.
Fabric options
Machine blind hemming works best on textured medium- to heavy-weight fabrics. It’s ideal for wool, fleece, suitings, etc. The texture helps to hide the bite stitch thread, as does any fabric print. For lightweight fabrics and solid colors, the stitch will show more and if you’re not happy with the look, opt for another hemming method.
~Linda Griepentrog is the owner of G Wiz Creative Services and she does writing, editing and designing for companies in the sewing, crafting and quilting industries. In addition, she escorts fabric shopping tours to Hong Kong. She lives at the Oregon Coast with her husband Keith, and three dogs, Yohnuh, Abby, and Lizzie. Contact her at gwizdesigns@aol.com.
