Smocking is one of those enduring needle arts that quietly transcends trends. While it’s often associated with heirloom baby dresses and delicate children’s clothing, smocking is far more versatile than its sweet, vintage reputation suggests. At its heart, smocking is a form of embroidery that adds stretch, texture, and beauty to pleated fabric. Whether used for function or flair—or both—this technique has stood the test of time for good reason. Smocking is also often called “shirring;” however, there are differences. Shirring is a sewing machine gathering technique, while smocking is an embroidery technique on pre-pleated fabric.

The technique originated centuries ago as a practical solution for shaping garments. It allows an item of clothing to fit close to the body for a flattering look but also be super comfortable because there’s plenty of give. Before elastic, smocking allowed clothing to stretch and move with the body. Farm workers in England wore “smocks” with stitched panels that gathered fullness across the chest, back, or sleeves. Over time, what began as a functional feature evolved into a decorative art. Smocking, aka shirring,
English smocking is worked over a panel of evenly spaced pleats. Each stitch catches the top third of adjacent pleats, forming a flexible chain across the fabric. The stitches can be simple or elaborate, depending on the design. Pleats are usually created using a hand-crank pleater, which feeds the fabric through a set of rollers and onto threaded needles. These gathering threads form a grid that serves as the guide for embroidery.
A popular method of smocking in the 40’s, 50’s, and 60’s was the “pick up the dots” method. This technique involved transferring dotted patterns onto flat fabric, usually by ironing a transfer on the fabric, then stitching and pulling the threads to form pleats as you worked—a process that felt like cutting-edge technology at the time.
Then, in the early 1980’s a true game-changer arrived in the form of the hand-crank pleater. Smockers would feed a flat piece of on-grain fabric (usually batiste) through the geared rollers, and would carefully turn the handle. Like magic, the gears would fold fabric into crisp, even pleats. The pleats were then pushed onto threaded needles, which held them in place. When the fabric was pulled off the needles, it remained gathered on the threads that were buried partway into the pleats and created something ready for smocking. The thread grid served as a handy guide for stitching charted designs. Today, smocking (or shirring) can be done using your sewing machine.
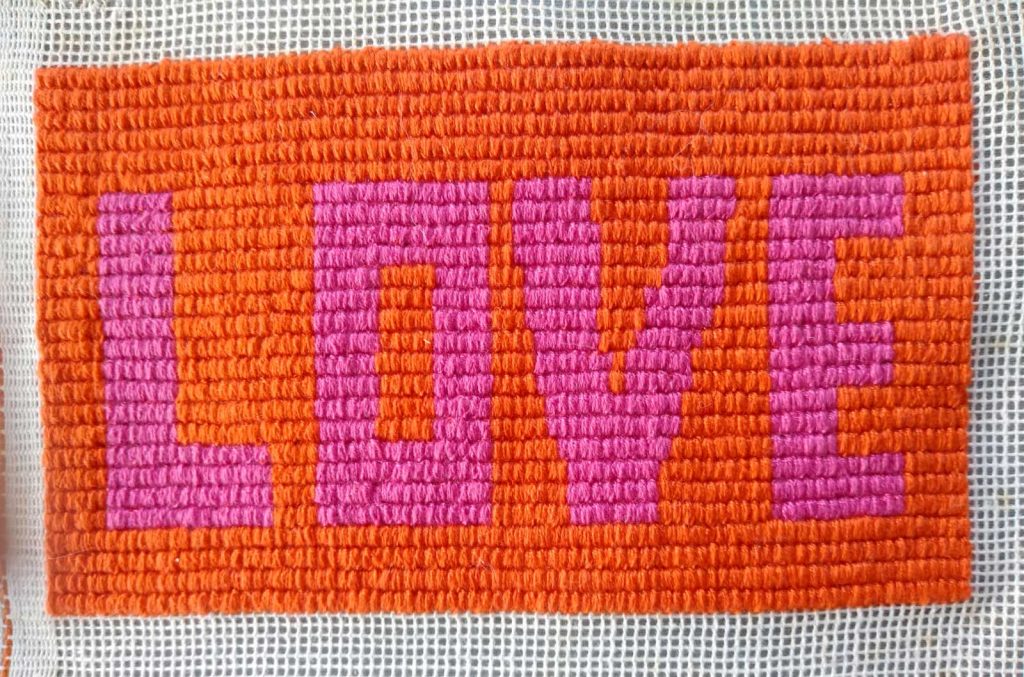
In the mid-1990s, a new style emerged called “stacking” or “picture smocking.” This technique stacks stitches to form recognizable images—teddy bears, toy trucks, Christmas trees. However, these motifs become distorted when stretched so an additional layer of stabilizing stitches is worked on the back to hold the panel in place. Picture smocking is most often used as a decorative insert, rather than a stretchable garment section.
Classic smocking is rooted in geometric patterns—zigzags, diamonds, hearts—repeated across “the pleated fabric. Traditionally, geometric smocking serves a structural role in clothing—shaping yokes, blouse fronts, sleeve caps, or ruffled dress shoulders. The smocked sections are anchored by flat fabric, which controls the stretch and gives garments a graceful silhouette without losing structure.
Shirrring with your Sewing Machine
Work with lightweight woven fabrics like cotton voile, chambray, or rayon challis. The lighter the fabric, the more it will gather during the shirring process. As a general rule, a lightweight fabric will shrink to about half its original width after smocking—sometimes slightly more depending on the fabric and stitch spacing.
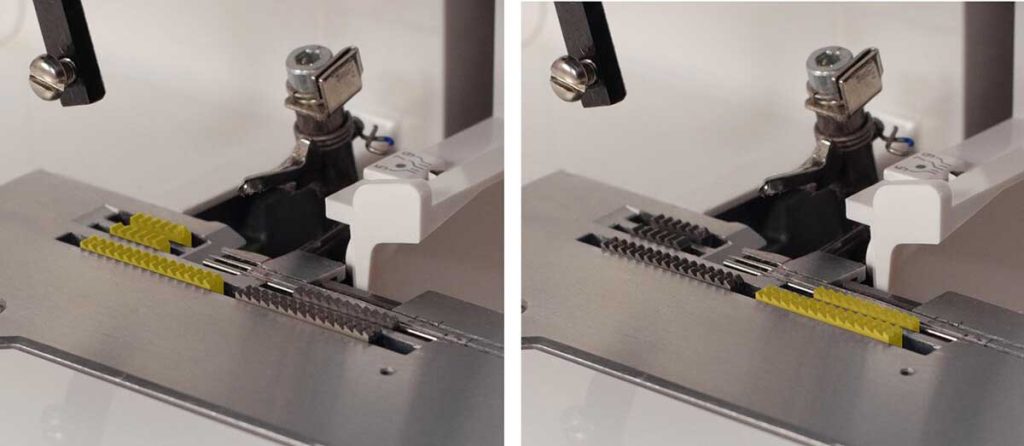
- Wind the Bobbin by Hand
- Use elastic thread to wind your bobbin by hand, not with the machine.
- Wind it evenly and with just very slight tension—don’t over-stretch the elastic as you wind.
- Place the bobbin in your machine as usual.
- Thread the Top as Usual
- Use regular thread in the needle and thread your machine like normal.
- Mark Your Stitching Lines
- On the right side of the fabric, use a washable fabric marker or chalk to draw evenly spaced horizontal lines. Common spacing is ½” to ¾” apart.
- Mark as many rows as you want shirring. Start with 4–6 lines for a small area like a cuff or waistband.
- Adjust Stitch Settings
- Set your machine to a longer straight stitch (3.0–4.0 mm).
- Do not backstitch at the beginning or end—just leave long thread tails to tie off.
- Start Sewing
- Begin sewing on the first marked line. Sew slowly and evenly.
- As you stitch, the fabric will begin to gather. That’s the elastic doing its job!
- Repeat with each marked line, sewing rows parallel to each other.
- Secure the Threads
- At the beginning and end of each row, tie the thread tails together to keep the elastic from pulling out.
- You can also backstitch, but tying is usually more secure with elastic thread.
- Steam or Press
- After sewing all rows, use a steam iron to press the smocking.
- Hold the iron above the fabric and blast it with steam—don’t press hard.
- The heat will tighten the gathers and give a polished look.
Smocking or shirring adapts to suit nearly any vision. It can be bold or delicate, sweet or sophisticated. From vintage to contemporary, from baby clothes to bold fashion statements, smocking stretches far beyond its origins and remains a timeless technique that allows fabric—and imagination—to gather, flex, and flourish. And while it requires patience, the end result is a textured work of art that adds charm and craftsmanship to any project.