There’s something magical about the first real chill of fall. The trees are showing off, pumpkin spice has returned, and sewists everywhere are pulling out soft wools, plush knits, and cozy flannels. If you’re craving a quick, satisfying project that adds warmth and style to your wardrobe, a fall wrap, cover-up, or shawl might be just what you need. These pieces are endlessly versatile — part accessory, part statement, and all comfort.
Let’s explore some favorite styles and how you can make your own.
The Classic Rectangle Wrap

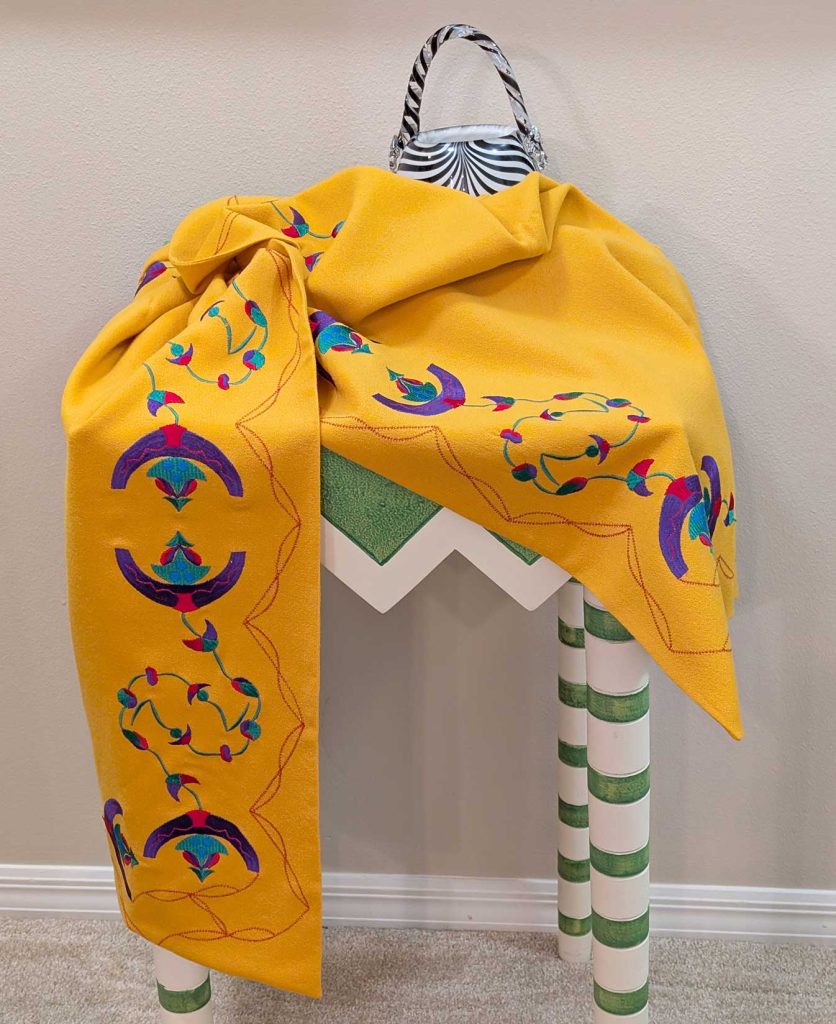
Think of the rectangle wrap as the “little black dress” of outerwear sewing — simple, timeless, and always right. It’s essentially a large piece of fabric that drapes elegantly around your shoulders, and yet it can look completely different depending on fabric choice and finishing. A simple rectangular wrap can be folded in half and belted for a cape-like look or draped over one shoulder with a brooch for instant sophistication. This shawl is the perfect excuse to add a new wearable art technique to your repertoire.
Best fabrics: Wool blends, cashmere, flannel, or heavier knits for warmth; lightweight challis or double gauze for transitional weather.
How to make it:
- Cut a rectangle anywhere from 28″ to 42″ wide and 60″ to 84″ long. Shorter lengths make for a skimpier wrap that tends not to stay put.
- When determining length, consider personal preferences (longer lengths tend to be more dramatic) as well as the proportions of the wearer (80″ of fabric can overwhelm a petite person).
- Finish the edges with a narrow hem, fringe, or a decorative blanket stitch.
- For added polish, consider adding a contrast binding or leather toggle closure.
The Ruana: The Best of Both Worlds
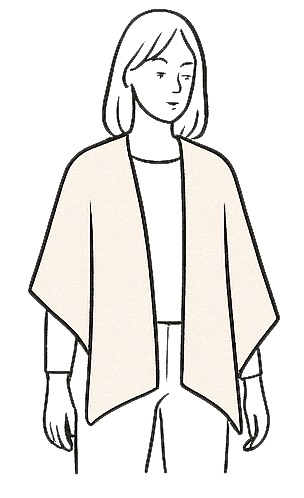
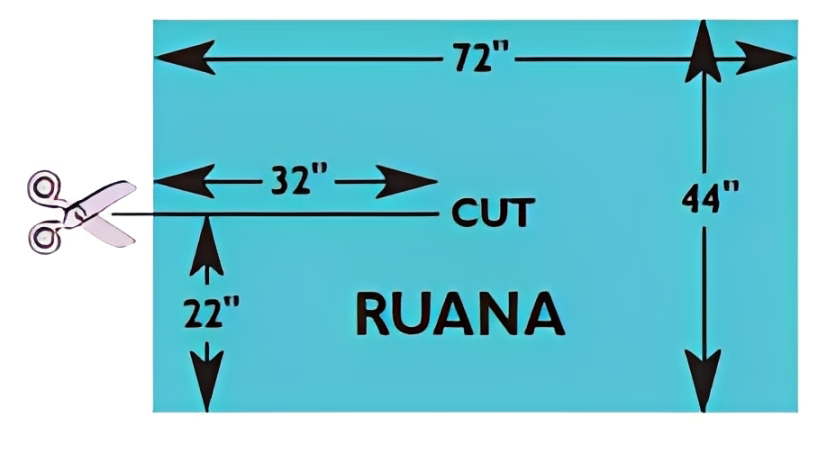
If a poncho and a shawl had a stylish child, it would be the ruana. Traditionally South American in origin, the ruana drapes beautifully while offering easy arm movement thanks to its open front. A ruana starts with about two yards of 45″-wide fabric.
For the simplest ruana, follow the diagram shown below. Try it on to check the proportions. If it’s too long, cut an equal amount off the lower edges on both front and back. Depending on your fabric, you may also want to cut away 2 1/2″ to 3″ on each side of the front opening so it falls smoothly around your neck. Finish all the raw edges. If it suits the fabric, consider self-fringe for the lower edges. The ruana looks equally great tossed over jeans and boots or layered over a dress. You can add a belt for shaping or even line it with a contrasting fabric for a fully reversible version.
Cocoon Wrap
The cocoon wrap also begins life as a flat rectangle. It is constructed with a front opening that goes approximately one-third up the length of the fabric and has side seams with deep armhole openings. When it is on the body, the short neck opening causes the garment to shift so that it is longer in the back. The front opening will cascade into a lapel-like effect. It’s beautiful in a variety of fabrics, including wool, lightweight wovens, and sheers. If you’re a frequent airline traveler, consider making one in fleece so it can serve as a combination traveling cloak and blanket.
The Poncho-Style Cover-Up

A poncho is like a wearable hug — roomy, stylish, and surprisingly easy to sew. You can make one with minimal shaping, no pattern required.
How to make it:
- Start with a square or rectangle of fabric about 45″–50″ wide and long.
- Fold it in half and cut a small neckline (try a shallow oval about 6″ wide).
- Finish the neckline with bias binding, a facing, or even a cozy turtleneck collar cut from a rib knit.
- For extra flair, add side seams with button or snap closures, leaving 8–10 inches open at the bottom for movement. Try sewing it from plaid flannel for a casual vibe or boiled wool for something more refined.
Pro tip: Fringe or decorative topstitching around the edges adds a custom touch without much effort.

Triangles make great wraps, too.
The easiest shape is a square, folded diagonally. Let the width of the fabric (48″, 54″, or 60″) dictate the size of the square. If you are embellishing your shawl and want to conceal its wrong side, cut two triangles, embellish one, and then sew the two together. Using the cutting diagram below, 3 1/2 yards of 45″-wide fabric will give you two ample triangles. If you want the shawl to have a larger presence, add fringe to the outer edges.

The Capelet: Small but Mighty
When you want just a touch of warmth without overwhelming your outfit, a capelet hits the sweet spot. It’s shorter than a cape and perfect for highlighting collars, buttons, or jewelry.
Sewing inspiration: Use a pattern designed for wovens or repurpose a vintage coat pattern by cropping it to shoulder length. Lightweight wool, boucle, or quilted fabrics are excellent choices. Add details like a Peter Pan collar, large buttons, or a satin lining for a polished finish.
The Shoulder Wrap
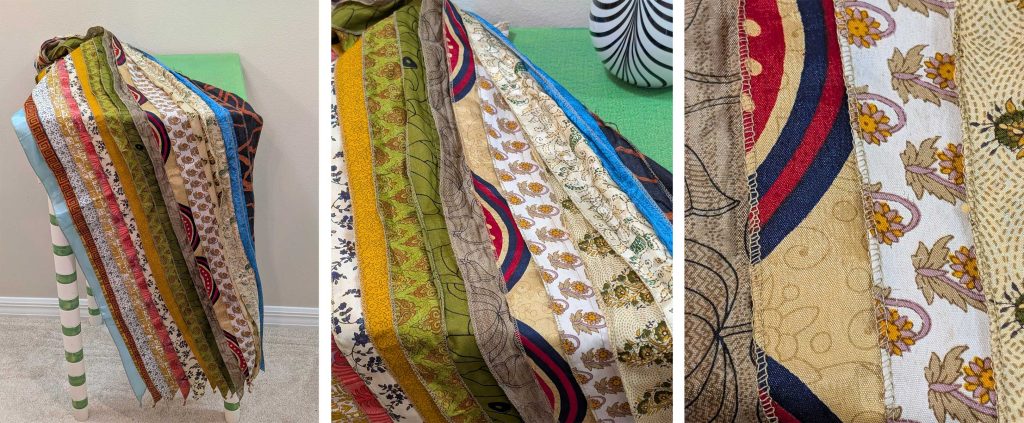
Larger than a scarf, but not a full shawl, this is great to wear as an accessory or to ward off a bit of chill in the air. The one pictures is approximately 7′ long and 20″ wide and is made from folded strips of fabric that are serged together.
The Blanket Scarf Shawl
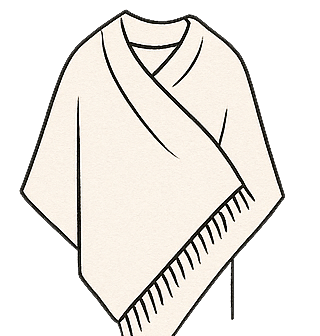
If “cozy chic” is your fall aesthetic, the blanket scarf shawl delivers in spades. Oversized and effortlessly fashionable, it’s perfect for layering and snuggling.
How to make it:
- Cut a large square, about 50″ x 50″.
- Fringe the edges or hem them narrowly.
- For a reversible twist, sew two coordinating flannels or lightweight wools wrong sides together, turning and topstitching around the edge.
- Wear it diagonally across the body, belted at the waist, or simply draped around the neck. It’s one of those accessories that looks like you “just threw it on” but makes any outfit instantly more stylish.
Fabric and Finish Ideas
- Plaid flannel: Classic and cozy — just be sure to match those checks!
- Sweater knits: Drape beautifully and require minimal sewing.
- Boiled wool: Doesn’t fray, so you can leave raw edges for a modern, minimalist finish.
- Tweed or boucle: Add instant texture and luxury.
- Try embellishing your wrap with appliqué, embroidery, or even a few hand-sewn beads for a personal touch. A coordinating pin or handmade belt can also transform the look.
Embellishments
When it comes to embellishments, it’s a big wide world. Here are just a few ideas:
- Fabric dyeing. If you can’t find the colorway you desire, you can tie-dye, vat dye, sponge print, or even spray die to get the print and colors that suit your fancy.
- Machine embroidery. With limitless possibilities, the only caveat is to pay attention to scale and/or repetition so the motif doesn’t disappear into the folds of your wrap. And think about how your finished wrap will look on both sides. If this is a problem, consider these two solutions: create free-standing machine embroidery motifs that can be appliquéd in place or line/self-line the wrap.
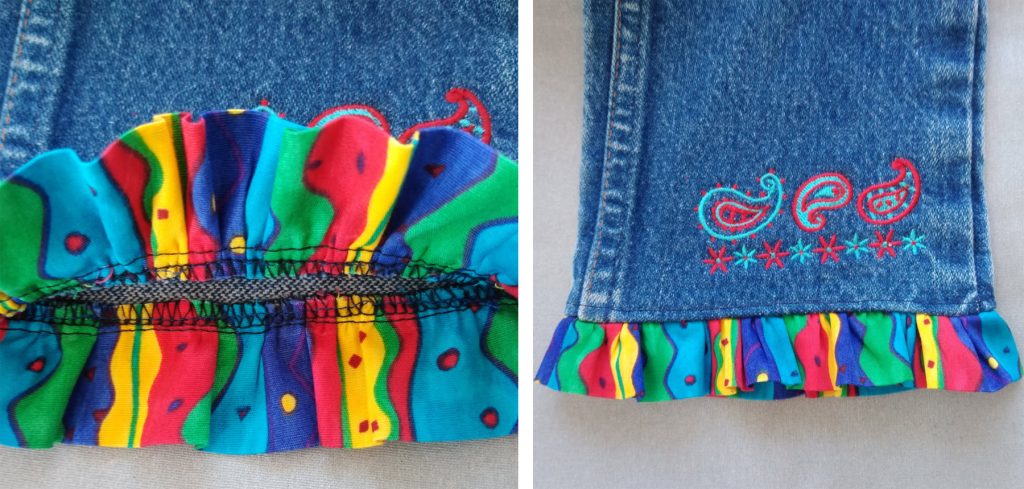
- Edgings. Ruffles, feathers, fringe, pleating, beading, even embroidered appliques are all fabulous ways to define the edges of your wrap.
Wrapping It Up (Pun Intended)
Fall sewing is all about comfort meeting creativity. Wraps, cover-ups, and shawls are ideal projects whether you’re a beginner looking for a no-pattern project or an experienced sewist seeking to play with texture and design. They’re quick, functional, and satisfyingly stylish — the sewing equivalent of a warm cup of cider. So go ahead: pull out that fabric you’ve been saving, grab your rotary cutter, and make yourself something fabulous to bundle up in. When the leaves fall and the air turns crisp, you’ll be wrapped in your own handmade warmth — and style.


