There’s a moment in nearly every sewing project that reveals more about us than we might expect. It doesn’t happen when we choose a pattern or admire a finished garment—it happens in the quiet, repetitive act of trimming seams and clipping threads. And in that moment, a simple question emerges: do you aim neatly for the wastebasket, or do those tiny snips fall freely to the floor, to be dealt with later?
At first glance, it seems trivial. After all, what difference could a few stray threads make? But talk to any group of sewists, and you’ll quickly discover this small habit divides people into two very distinct camps—those who clean as they go, and those who embrace a little (or a lot of) creative chaos.
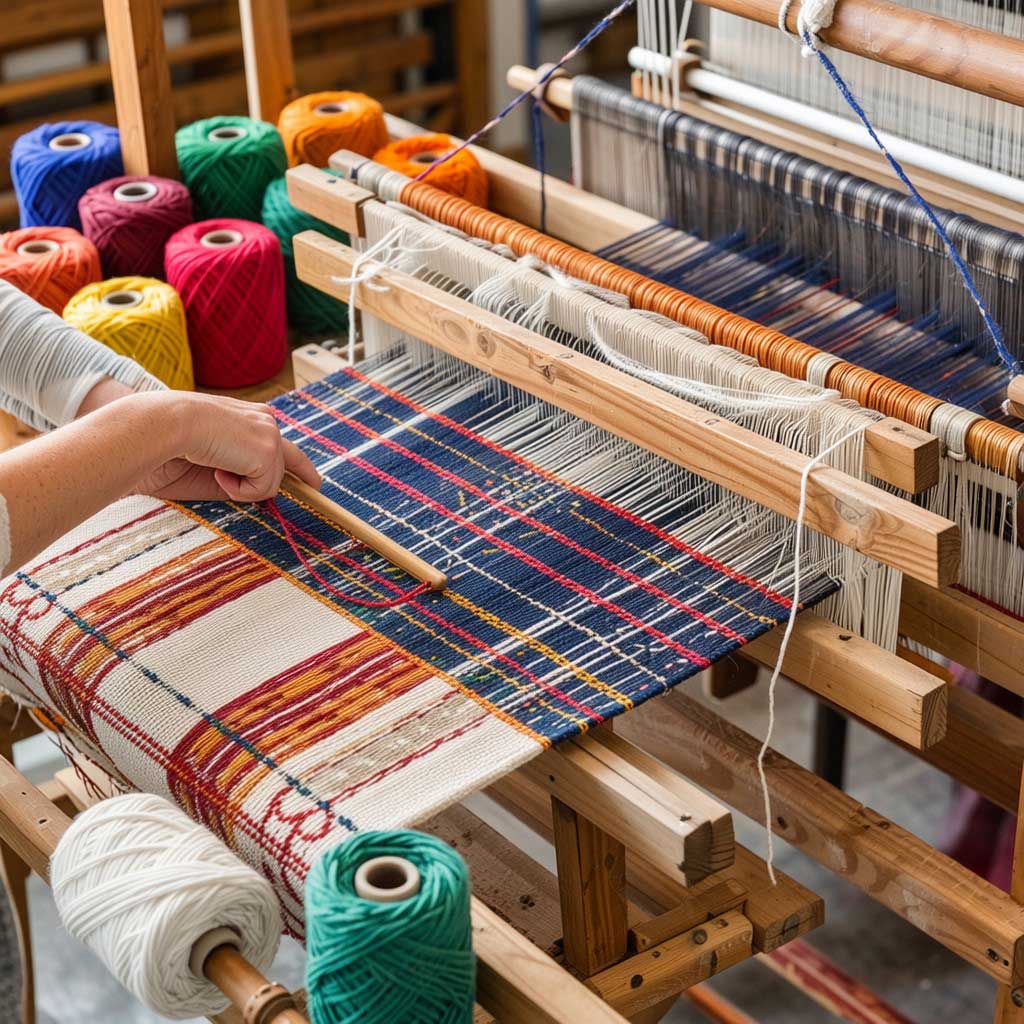
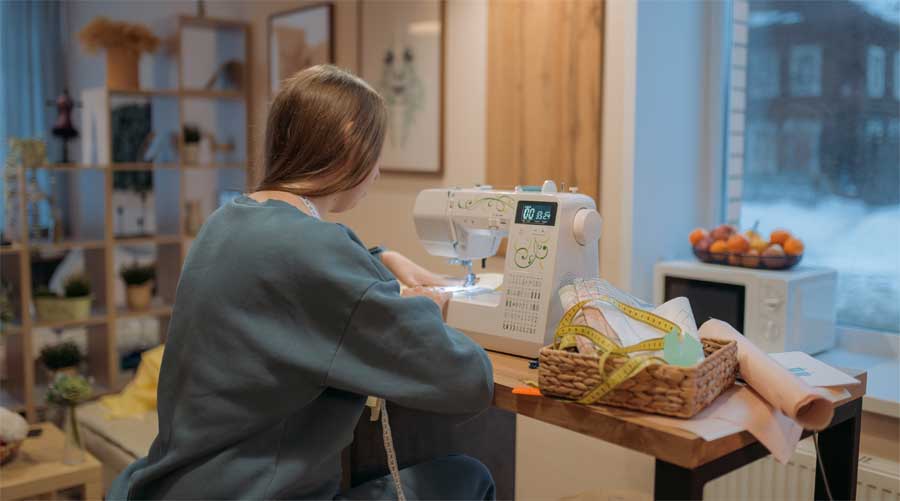
For the tidy sewist, the process is part of the discipline. Tools are returned to their proper place, scraps are managed, and thread clippings are carefully directed into a nearby bin. There’s a rhythm to it—sew, trim, toss—that keeps the workspace clear and the mind focused. A clean sewing area can feel calming, even meditative. It reduces distractions, prevents lost tools, and makes it easier to move from one step to the next without interruption.
There’s also a practical side. Loose threads can tangle with tools, get caught in machine mechanisms, or transfer onto garments in ways that are less than ideal—especially when working with contrasting colors. For those who sew frequently or in shared spaces, staying tidy can mean less cleanup at the end of a project and a more efficient workflow overall.
And honestly? There’s something freeing about that!
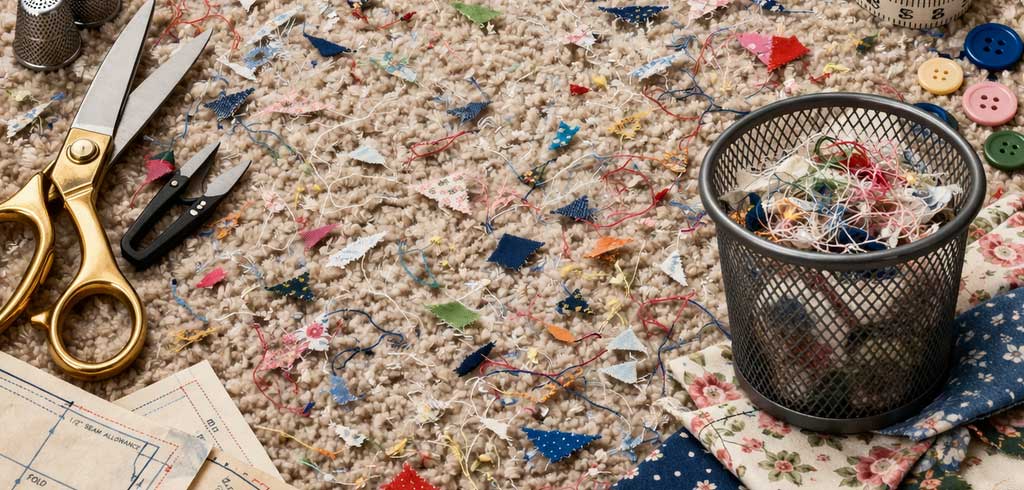
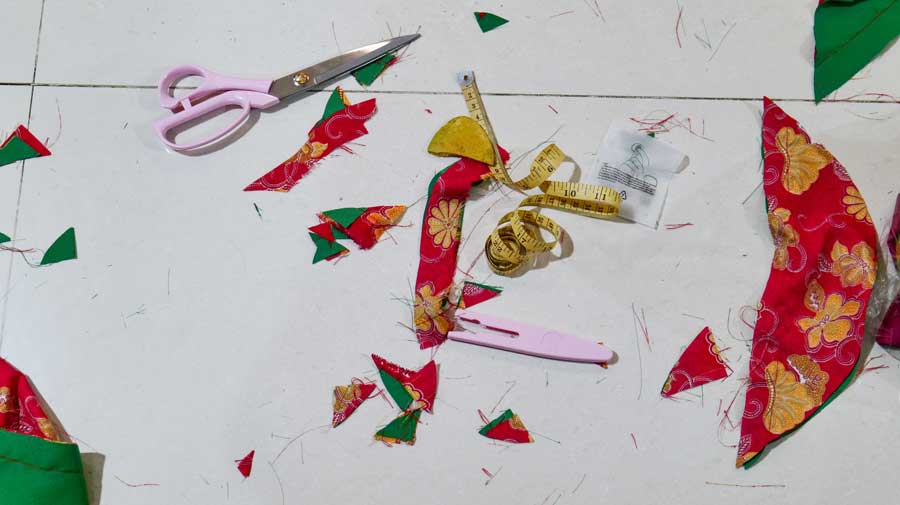
Creative work isn’t always neat. In fact, some would argue that a bit of mess is a sign that something exciting is happening. Those scattered threads become a visual record of effort and movement—a kind of “thread confetti” marking each completed seam. For many sewists, stopping to clean constantly can break concentration and slow down the rhythm of making. Letting go of that pressure, even temporarily, can make the experience more enjoyable.
So which approach is better?
Of course, this approach comes with its own trade-offs. What starts as a few stray threads can quickly become a full-blown cleanup session. At the end of a long sewing day, facing a floor covered in clippings and fabric bits can feel a little overwhelming. And if you’ve ever tracked threads through the house on your socks, you know the aftermath isn’t always contained to the sewing space.
The truth is, neither is inherently right or wrong. Like many aspects of sewing, it comes down to personal preference, workflow, and even the type of project you’re working on. Some sewists find that a tidy space helps them think clearly and work efficiently. Others thrive in a more relaxed, less structured environment where creativity takes the lead.
Many people even find themselves somewhere in between. You might be meticulous when working with delicate fabrics or detailed garments, but far more relaxed during casual or experimental projects. Or perhaps you let things slide during an intense sewing session, then reset your space at the end of the day. These hybrid approaches often strike a balance between maintaining focus and keeping the workspace manageable.
If you’re looking to shift your habits one way or the other, small adjustments can make a big difference. Keeping a wastebasket within easy reach—or even attaching a small thread catcher to your sewing table—can make tidying up feel effortless. On the other hand, if you tend to interrupt your flow too often to clean, giving yourself permission to “make a mess now, clean later” can help you stay in the creative zone longer.
But then there’s the other camp—the “I’ll clean it up later” sewists. These are the makers who get deeply immersed in the creative process, where momentum matters more than maintenance. When inspiration strikes, the last thing they want to do is pause mid-flow to aim thread clippings into a bin. Instead, they snip and keep going, letting the floor (or table, or lap) collect the evidence of their progress.
It’s also worth remembering that sewing is, at its core, a personal and creative practice. The way you manage your space is just one part of that. Whether your sewing area is spotless or sprinkled with thread clippings, what matters most is that it supports your process and makes you want to keep creating.
So the next time you reach for your scissors and snip a thread, take a moment to notice what you do next. Do you aim for the wastebasket with practiced precision, or let it fall without a second thought?
Whichever camp you fall into, you’re in good company. And chances are, every sewist has been on both sides at one time or another—because sometimes, the floor really does become part of the workflow.
~American Sewing Guild