Whether you’re new to sewing or a seasoned veteran with myriad skills, chances are good that you like to continue learning about your favorite hobby and knowing the vocab is essential.
While there are glossaries of common sewing terms, we wondered about the not-so-common words that might be good to know. Take a look at some sewing/fashion related terminology you might find interesting (and also helpful for a sewing “Jeopardy” category).
Armscye
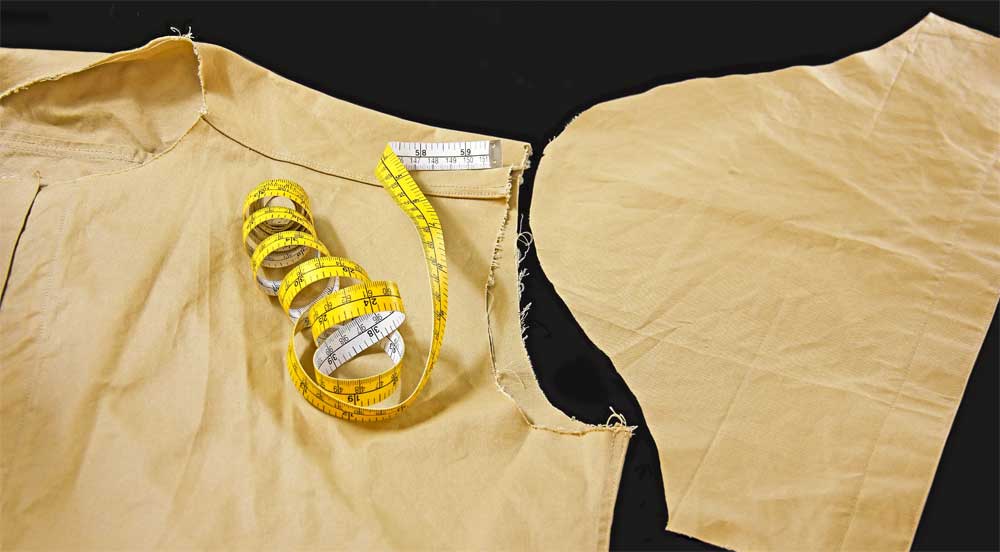
An obscure word for the armhole of a garment where the sleeve is attached. Historically, the Scottish word scye referred to a sleeve hole. The length of the armscye is the circumference at the cut edge and the armscye width is the space between the front and back at the mid-point after the side seam is sewn.
Banger
An alternative name for a clapper (see below).
Bight
This term refers to the width of a zigzag stitch.
Bumble Bunching
A mess of threads on the bobbin side of a stitched seam when the thread has come out of the upper tension, or the upper tension is too loose to produce a balanced stitch. Sometimes called “bird’s nest”.
Clapper
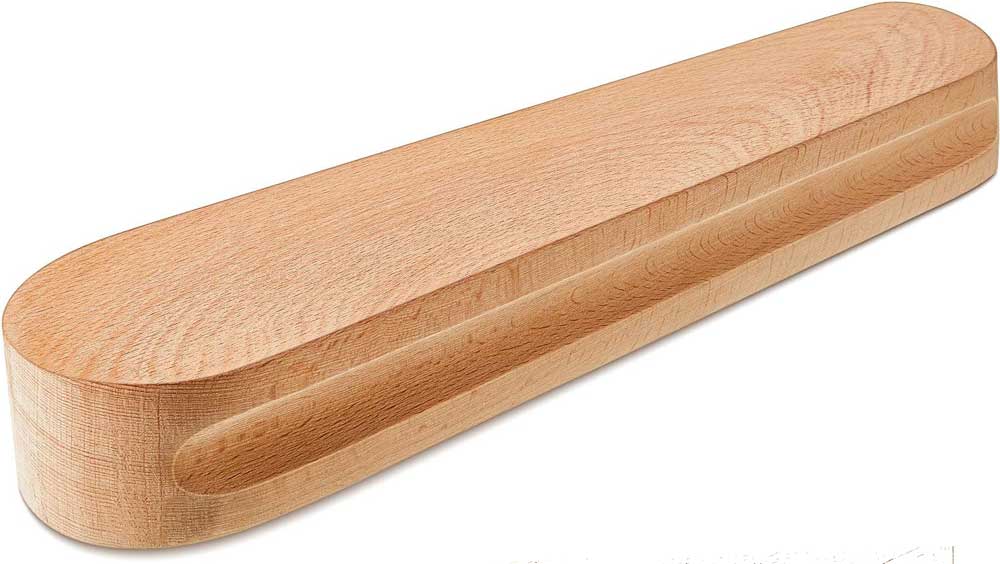

A heavy wooden block used for flattening seams. Some come with a handle on top, others have an indentation along the sides for holding. The wood is porous and absorbs steam when held in place immediately after pressing a seam. This tool is used both in tailoring and quilting to reduce bulk.
Feed Dogs
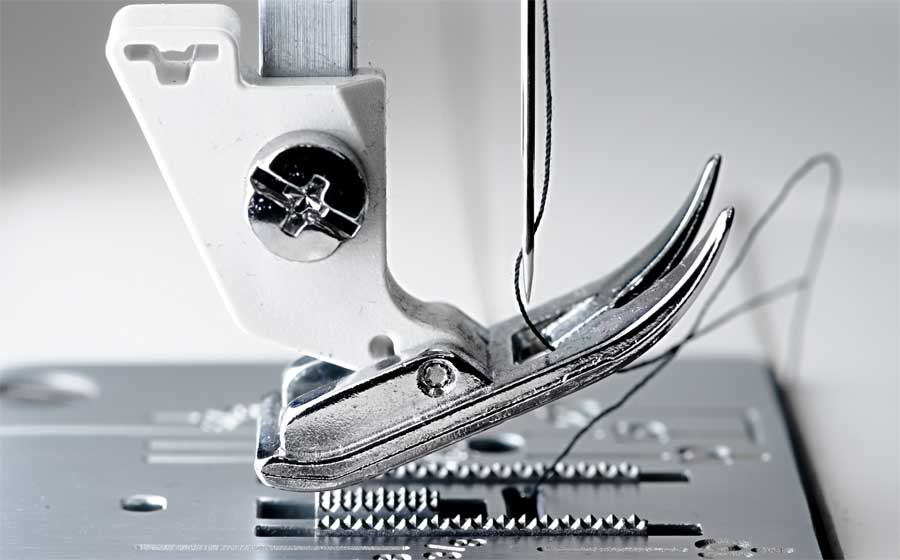
The tiny teeth below the sewing machine presser foot that move the fabric evenly while sewing. The movement of the feed dogs is controlled by the stitch length indicator. Feed dogs can move both forward and backward.
Frogging
Ripping out a seam. This funny term could be derived from the action call “rip-it” which sounds like a frog when repeated.
Godet
A triangular piece of fabric inserted into a garment to add fullness, like in a skirt. The godet can be rounded or pointed at the top.
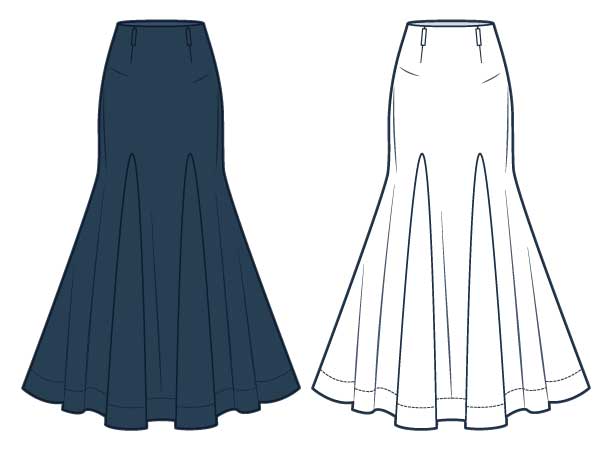
Gore
A section of a skirt that’s wider at the hem than at the waist. A skirt can have multiple gores depending on the desired fullness in relation to the waist size.
Gusset
A square, triangular or rectangular piece of fabric inserted into a garment area where there might be stress, such as under a cut-on sleeve.
Header
A cardboard placed at the top of a fabric sample to showcase it for display. Furniture stores place their upholstery fabrics on hanging headers for easy selection.
The term also refers to the top portion of draperies that is reinforced for hanging hooks or grommets.
Richelieu
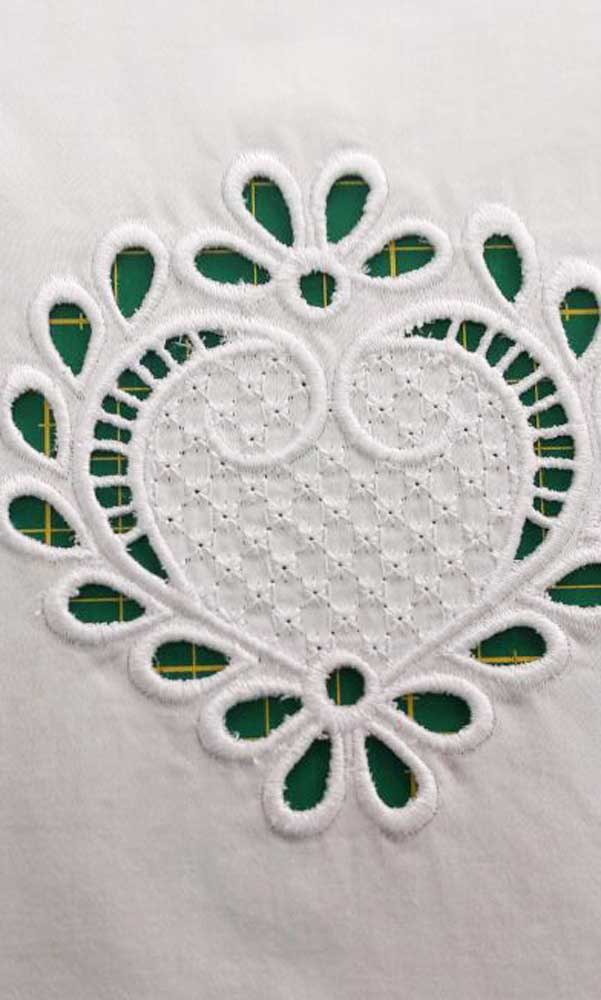
A type of cutwork forming free-floating bars with no fabric behind them. The bars are heavily stitched with a zigzag to add stability despite the openwork nature of the design.
Ruching
A trim made by pleating or gathering both sides of a lightweight or sheer fabric. The ruffled strip is then inserted into or overlayed onto a portion of the garment, like the center of a sleeve, or covering a bodice.
Sloper
A basic garment pattern, without seam allowances, that is used to draft other types of garments. The sloper is derived from body measurements; ease and design details need to be added in the drafting process.
Stay Button
A small button sewn behind another button for added stability in an area of stress. Often used behind large decorative buttons (like on a coat) to help keep the garment closure from distorting.
Surplice
An overlapping bodice neckline that forms a V when the right is lapped over the left.

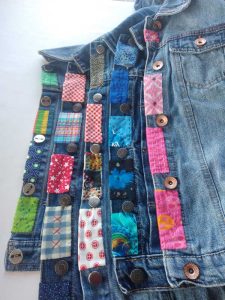
Tabard
An open-sided overgarment where the sides may have buttons or ties to hold them in place. It’s a common design for an apron or other protective garment, as well as it is often used as a canvas for wearable art embellishment.
Trapunto
A type of quilting where the design outline is sewn and then the section is stuffed from the back for added depth.
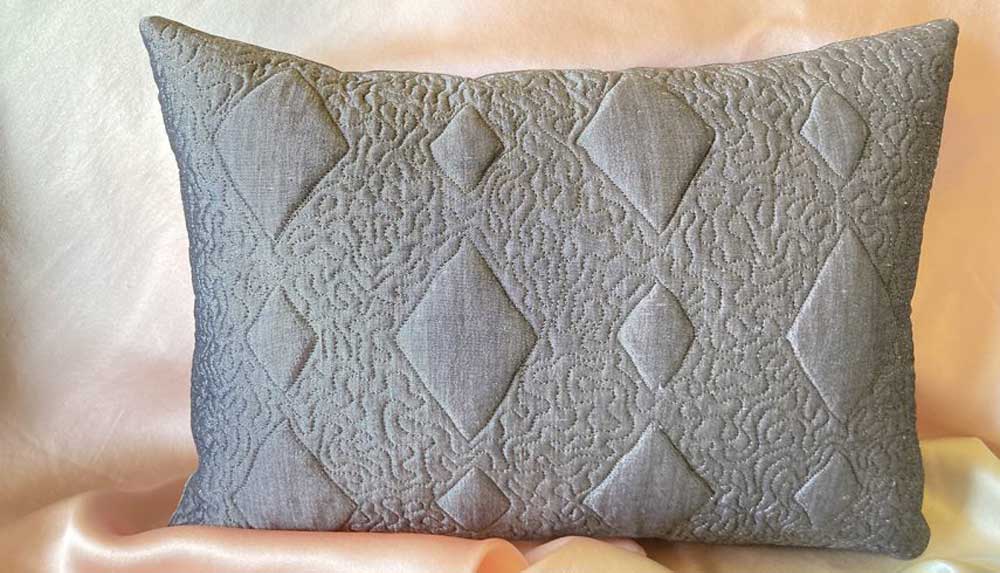
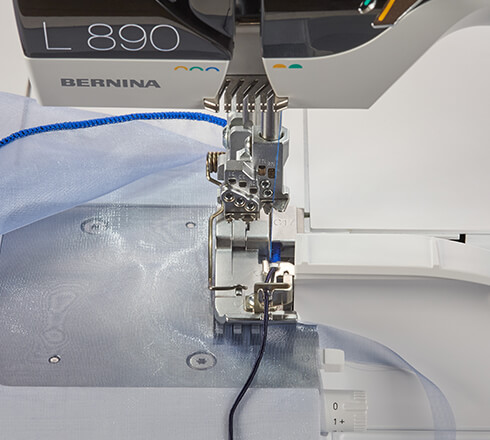
Image courtesy of Bernina
~Linda Griepentrog is the owner of G Wiz Creative Services and she does writing, editing and designing for companies in the sewing, crafting and quilting industries. In addition, she escorts fabric shopping tours to Hong Kong. She lives at the Oregon Coast with her husband Keith, and three dogs, Yohnuh, Abby, and Lizzie. Contact her at gwizdesigns@aol.com.