Who doesn’t love denim—whether it’s well-worn and oh-so-comfy jeans, or a great blue jean jacket? Denim ebbs and flows in the fashion world but continues to be a classic wardrobe staple for year-round wear. There’s something wonderful about denim jackets specifically that make it easy to just throw it on and know it’s good to go almost anywhere.
Sustainability
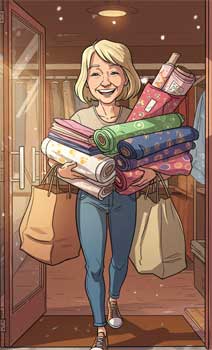
Denim is a sturdy fabric and can often outlast the wearer. Originally worn by wranglers and cowboys in the wild West, today’s denim jackets are mainstream for everyone from kids to seniors. You can craft your own jacket or head to a local thrift store to find one that’s already gently broken in already, pre-shrunk, and ready for you to add your creative touches.
Enhancement Ideas
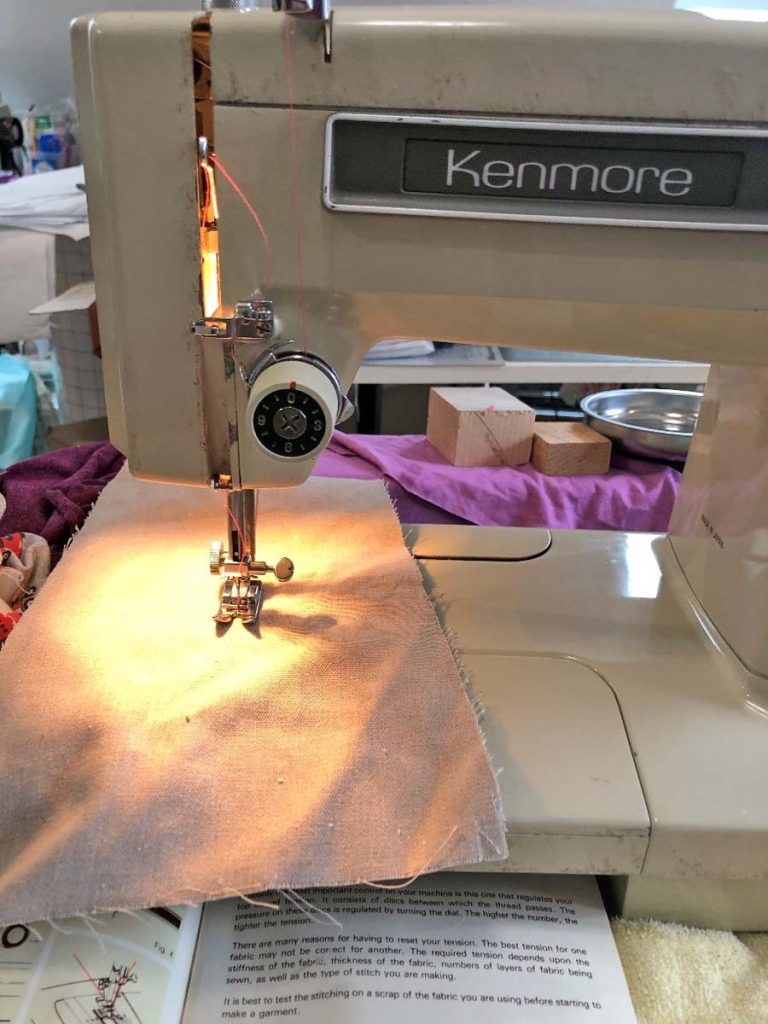
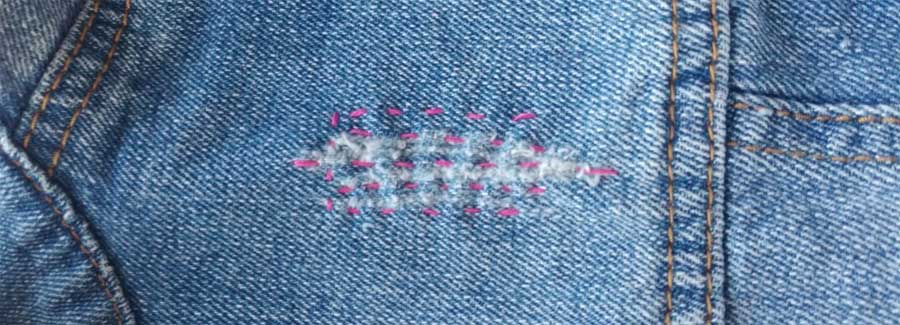
Some jackets are well worn and may show it, so creativity is limitless in either showcasing or camouflaging any flaws. If a little mending is needed to stabilize a worn spot, add a piece of fusible interfacing to the underside to hold loose threads in place, then use a contrasting 12-weight thread to sew some big stitches across the area. This is not only decorative but also holds the worn area in place and keeps it from getting any larger.
Holes and tears in denim jackets are all the rage, but if that look isn’t to your liking, add a bold fabric under the opening, use a contrasting 12-weight thread to outline the hole with big stitches. Frayed edges are up to you—like them or trim them—depending on your taste.

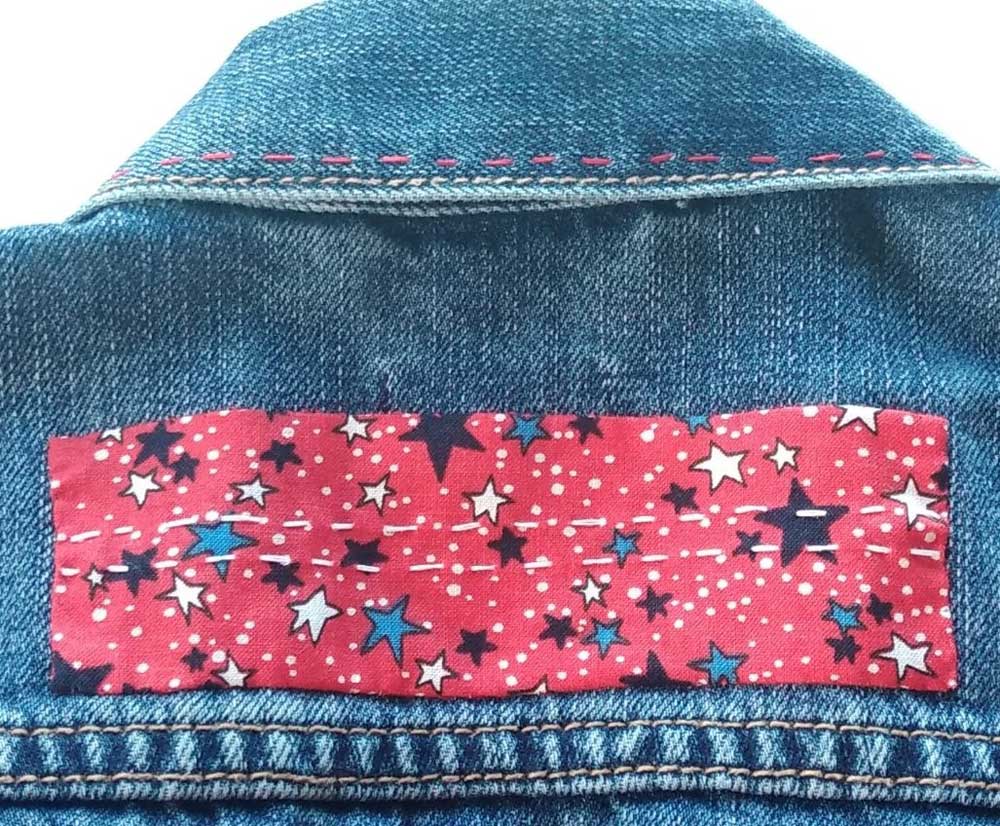
Purposeful fabric patches can add a hint of color to the bluest of blues. One option is a simple calico rectangle on the back yoke:
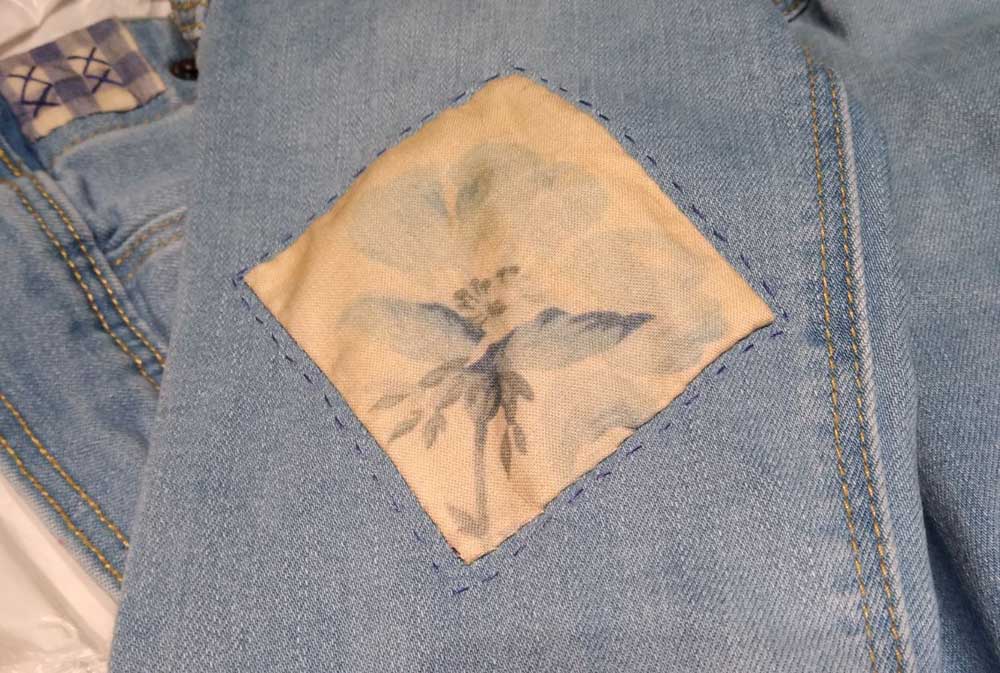
Or you may fancy a vintage fabric square on a sleeve:
Or an orphaned quilt block on the jacket back:
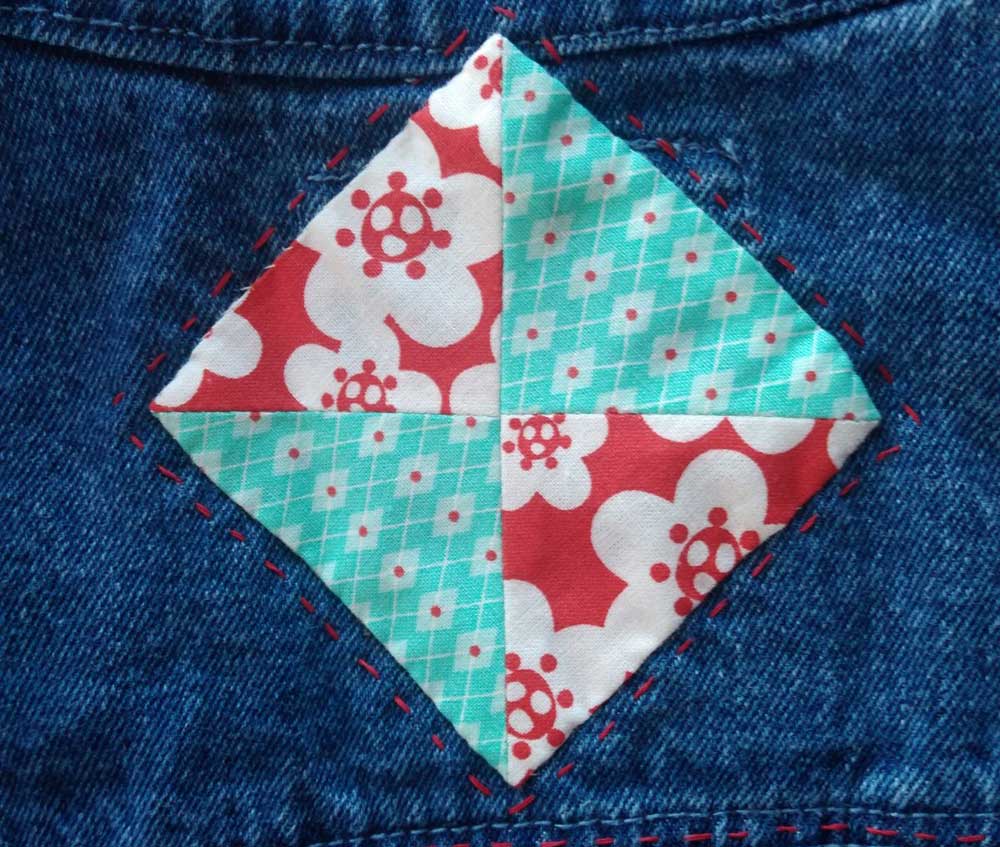
Patches can be put on invisibly with tiny hand stitches, machine sewn, or accented with hand stitching in matching or contrasting thread colors.
Adorning Your Jacket
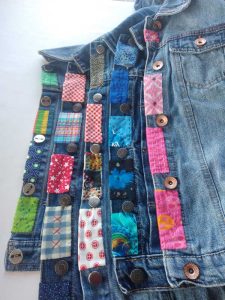
Beautify the front of any denim jacket by adding color to the button/rivet or buttonhole area. Small bits of a variety of colored fabrics make a perfect accent. Even more so, if you add some bold hand stitching. Running stitches, cross stitches or random stitch rows are perfect embellishments to hold the little patches in place, though you also probably want to needle-turn the edges to finish.
These front patches can wrap around the band edge as well or simply end at the fold.
Step-by-Step
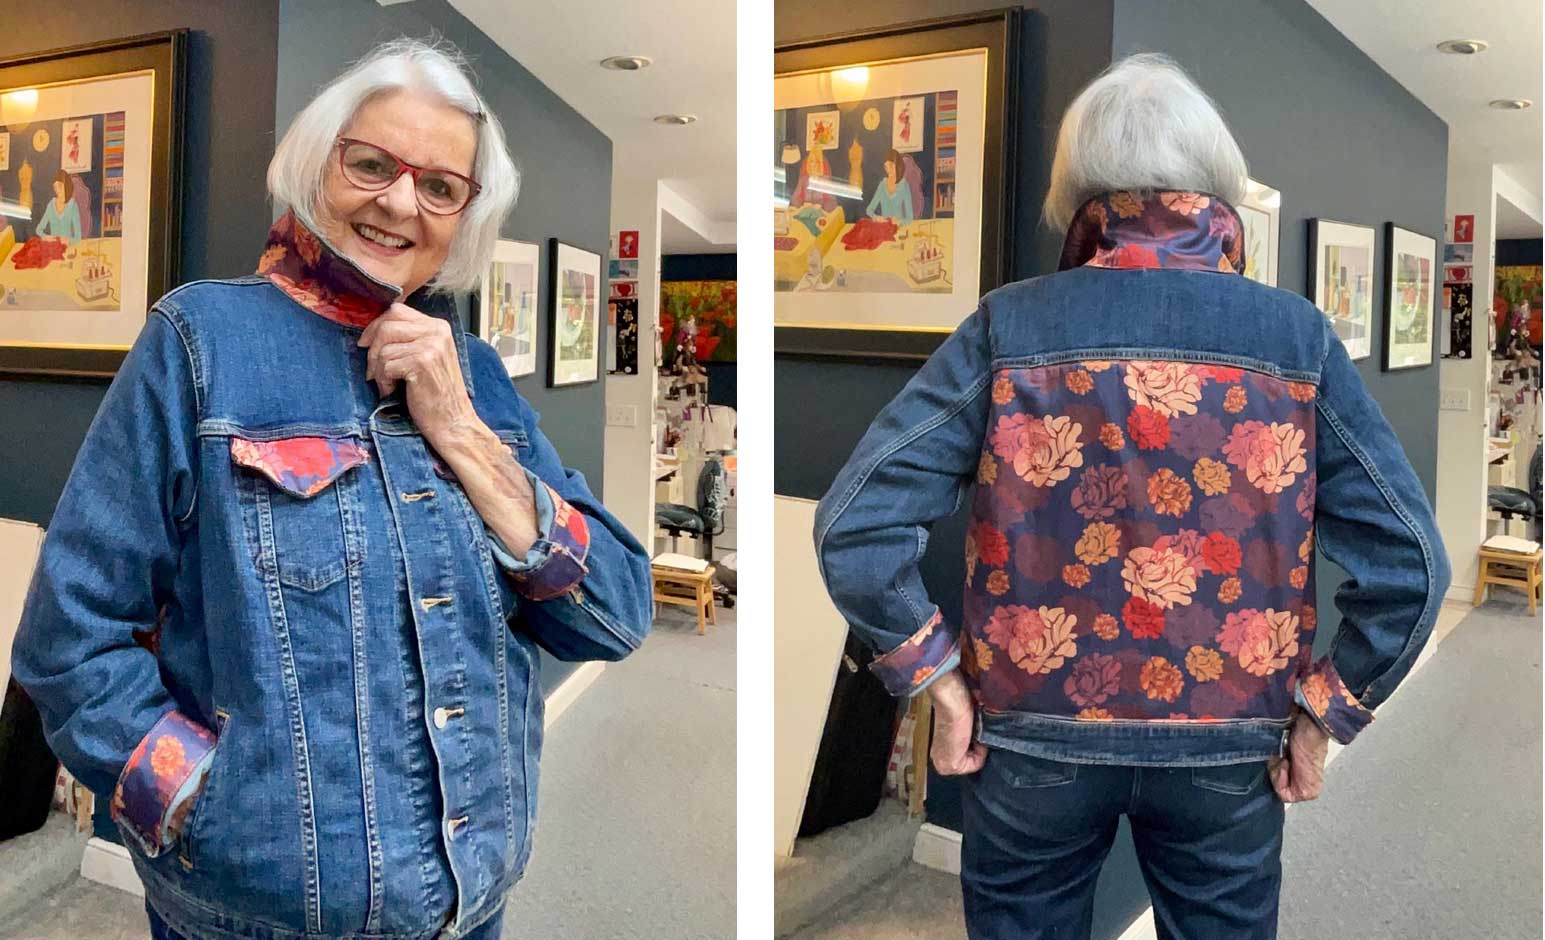
If you need to dress up a denim jacket, consider adding a bold fashion print to some areas. The existing seaming in a denim jacket defines individual sections, perfect for fabric additions.
Sewing teacher Jane Foster from Walnut Creek not only embellished her jacket with fabric she designed herself, but she actually cut the fabric to fit the garment back, undercollar, flaps and cuffs.
- To do this, lay the jacket flat on a piece of paper large enough to fit the area you want to cover, then poke pins straight through along the edges of the designated area. The pins will leave holes in the paper once you remove the garment. Roughly connect the pin holes, add a ½” seam allowance all around, then cut out the paper pattern. Use the pattern to cut the fashion fabric.
- If you want to center a motif on a section, fussy-cut the piece with the proper design placement.
- Pin the fabric in place on the garment right side so that it lies perfectly flat, then needle-turn the edges under and stitch in place.
- Another option is to add fusible web behind the fabric accent section and fuse it to the jacket. You can leave the edges raw (and fused) or leave a ¼” turn-under along the edges, then hand-stitch in place.
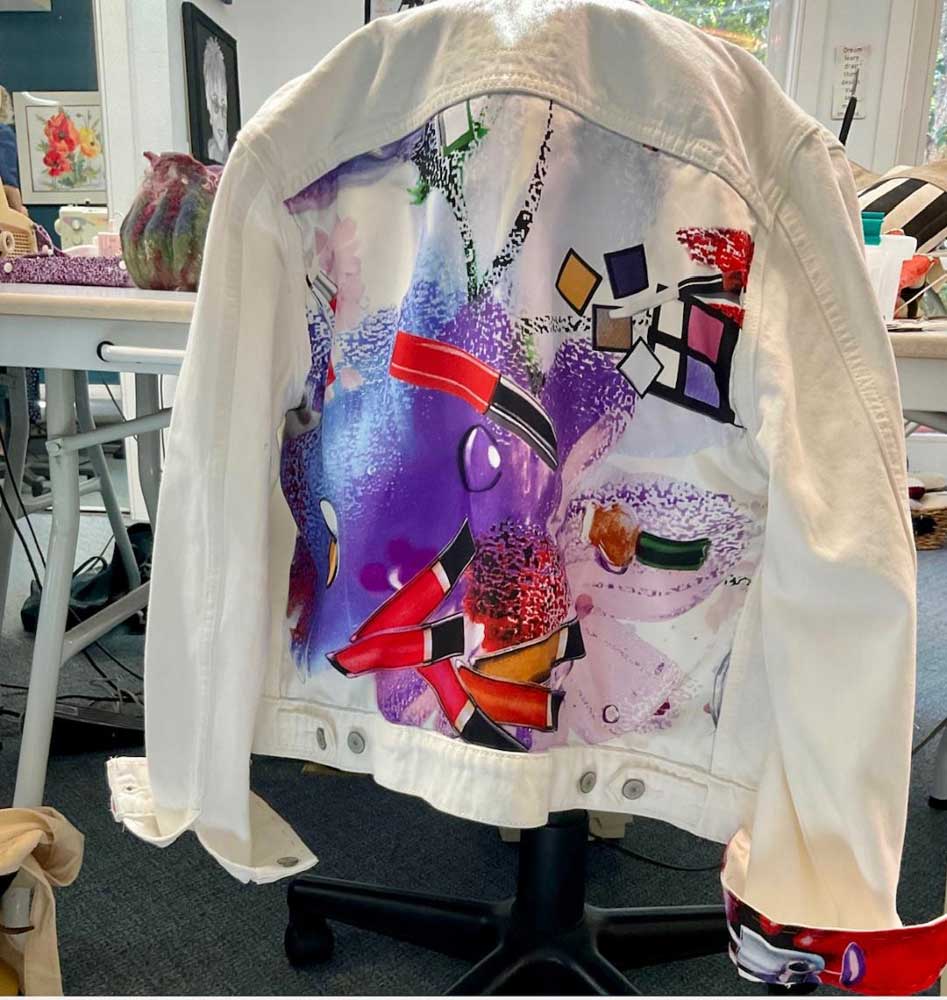
For another dressy idea, follow Jane’s student Nanette Saabcrowell’s idea and use a beautiful scarf on the back of a white jacket denim.
So, whether you choose blue, black, white or a colored denim jacket, the sky’s the limit for embellishing potential. Just put your creative mojo in gear and make a plan.
~Linda Griepentrog is the owner of G Wiz Creative Services and she does writing, editing and designing for companies in the sewing, crafting and quilting industries. In addition, she escorts fabric shopping tours to Hong Kong. She lives at the Oregon Coast with her husband Keith, and three dogs, Yohnuh, Abby, and Lizzie. Contact her at gwizdesigns@aol.com.