There’s something magical about bringing a vintage sewing machine back to life—the hum of the motor, the smooth glide of the handwheel, and the precision of well-oiled gears. Whether you’ve inherited a family heirloom or scored a dusty gem at a thrift shop, this article discusses the steps to reviving its beauty and functionality. There’s nothing quite like the satisfaction of sewing on a machine that’s been lovingly restored to its former glory!
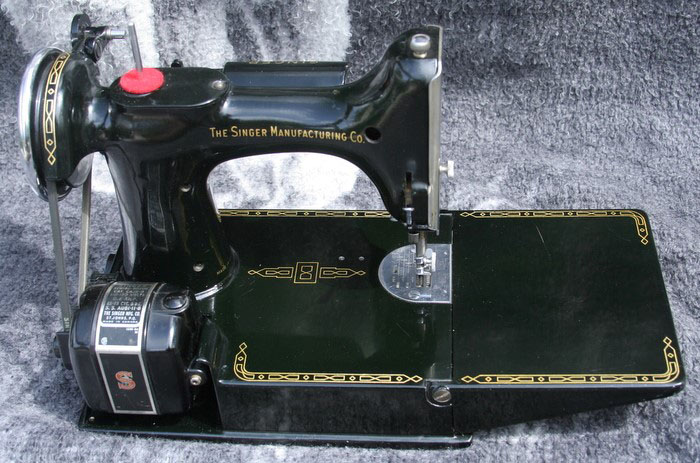
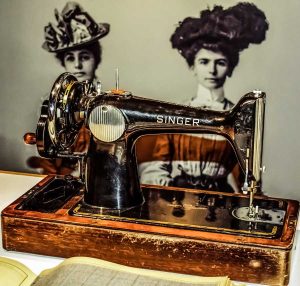
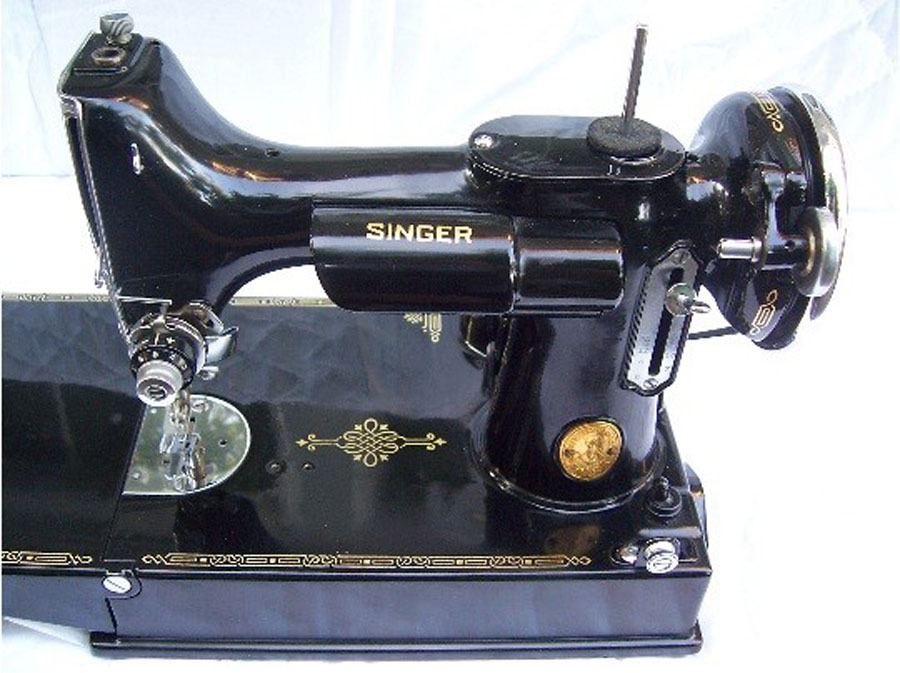
I began my research on vintage sewing machines with a focus on the Singer Featherweight and after years of study, I finally acquired a beautiful black Singer Featherweight 221. These little wonders, along with other Singer models and select brands, are now referred to as “generational machines” due to their longevity, allowing them to be passed down from generation to generation.
Made with exceptional mechanical engineering and high-quality materials, these machines are built to last a lifetime or more with proper care. Even those stored in less-than-optimal conditions can often be restored to their original beauty. Restoration has gained popularity over the years, with both professional technicians and hobbyists devoting time to bringing these machines back to life. Numerous sewing machine technicians across the country specialize in servicing and restoring these machines, with dedicated websites showcasing their expertise.
The Singer Featherweight was manufactured between 1933 and 1964, with various improvements over time. Enhancements included a flip-top extension table, bobbin improvements, and a numbered tension adjustment dial for precision. During World War II, chrome shortages led to the production of blackened metal parts and the rare crinkle-finish machines, which are highly sought after by collectors. The country of manufacture—whether the United States, the United Kingdom, Scotland, or Canada—can be found by checking the serial number on the bottom of the machine against reputable online databases. (see notes below)
Over the different time periods, Featherweight 221’s featured either a scroll faceplate with scroll decals or Egyptian-style gold decals, both in gold. The paint colors on them ranged from black to beige and even green, depending on the time and place of manufacture. Some machines were made with the crinkle finish, a non-reflective charcoal-colored texture that is particularly desirable among collectors.
Accessories include various foot attachments such as the foot hemmer, the adjustable hemmer, the multi-slotted binder, the edgestitcher, the gatherer and the ruffler, many of which are still available today. These machines also come with a foot pedal and either a V-belt or an older molded belt. Additional attachments can be purchased, such as a foot pedal and either a V-belt or the older version molded belt. Numerous websites also sell parts, attachments, and other sewing-related items such as buttons, pins, and such.
Buying a Vintage Machine
These machines can be found on eBay, in antique shops, and through specialized websites offering restoration services. When purchasing from an auction, it is crucial to know what to look for but before diving into the buying process, it is important to understand the history and value of these marvels of the sewing world.
If purchasing a machine from eBay or an antique shop, look for the serial number on the bottom and check the one of the many websites available to see where and when your machine was manufactured. Ask the seller about the machine’s history—some acquire them from estate sales, and others by family members. In my opinion, you will have better luck with a machine from original owner or a family member as they are often in better condition. Assess how the machine was stored, as improper storage can lead to mechanical issues.
Inspect or inquire about how the machine was stored. Usually, a reputable seller will have many pictures. You should inquire about the machine’s mechanics. However, not all antique sellers are knowledgeable about sewing machines, so do not assume that a machine is in working order just because it powers on.
Request original sales receipts if available, as they serve as valuable vintage memorabilia. Additionally, inquire about packaging—experienced sellers will know just how to properly package the machine to handle the bumps of normal shipping. Materials as bubble wrap of the interior, machine parts, inside dead space in the machine case and completely covering the exterior of the case like a second skin should be included in the packaging and then pieces of foam to line the box so there is absolutely no movement of any of the machine during shipping. It should be packaged so you can shake the box with no movement. Make sure your seller does this for you or arrange to pick it up yourself.
Dealers evaluate these machines based on several factor. The intrinsic value of the machine with criteria of when the machine was manufactured in relation to WWII, the physical features that it has like decals, faceplate, finish type, emblem type by singer and materials it was produced with. Then the condition of the machine is valued based upon the condition of the finish, paint, and finish, paint it needs minor restoration or major restoration and what kind of accessories are included. And finally, the case condition, including the interior of the case, the handles and key accessories and the foot pedal. Many rate each of three categories on a scale of 1-20 or some on a scale of 1-10. Some sellers will include this information on a sale page.
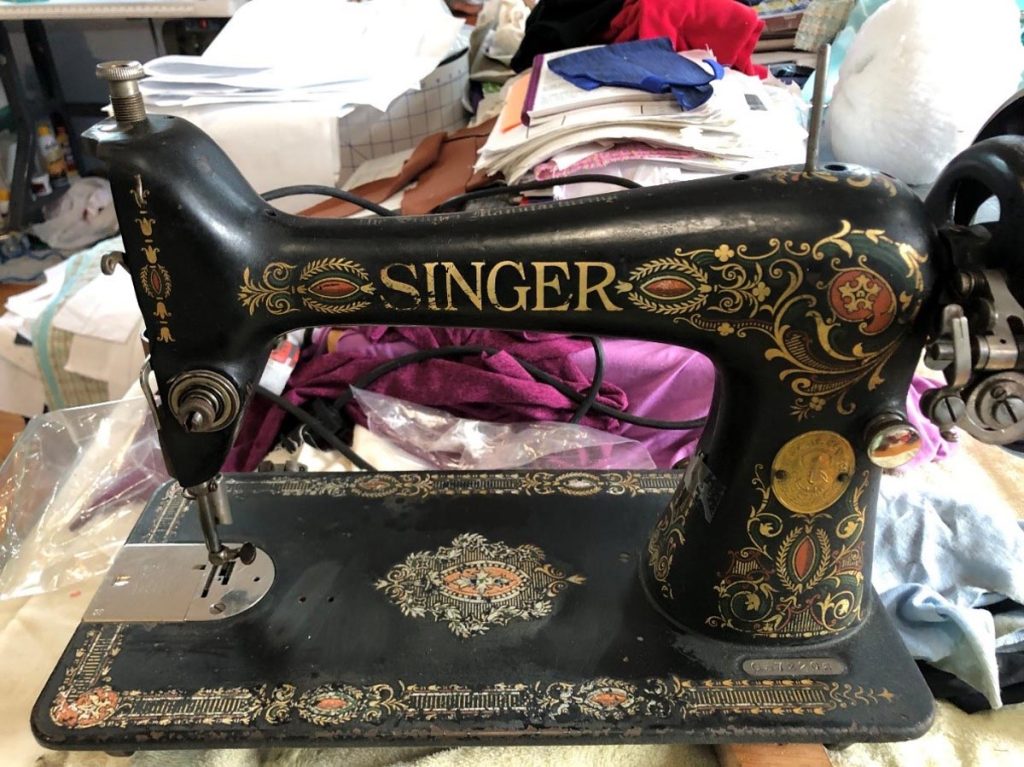
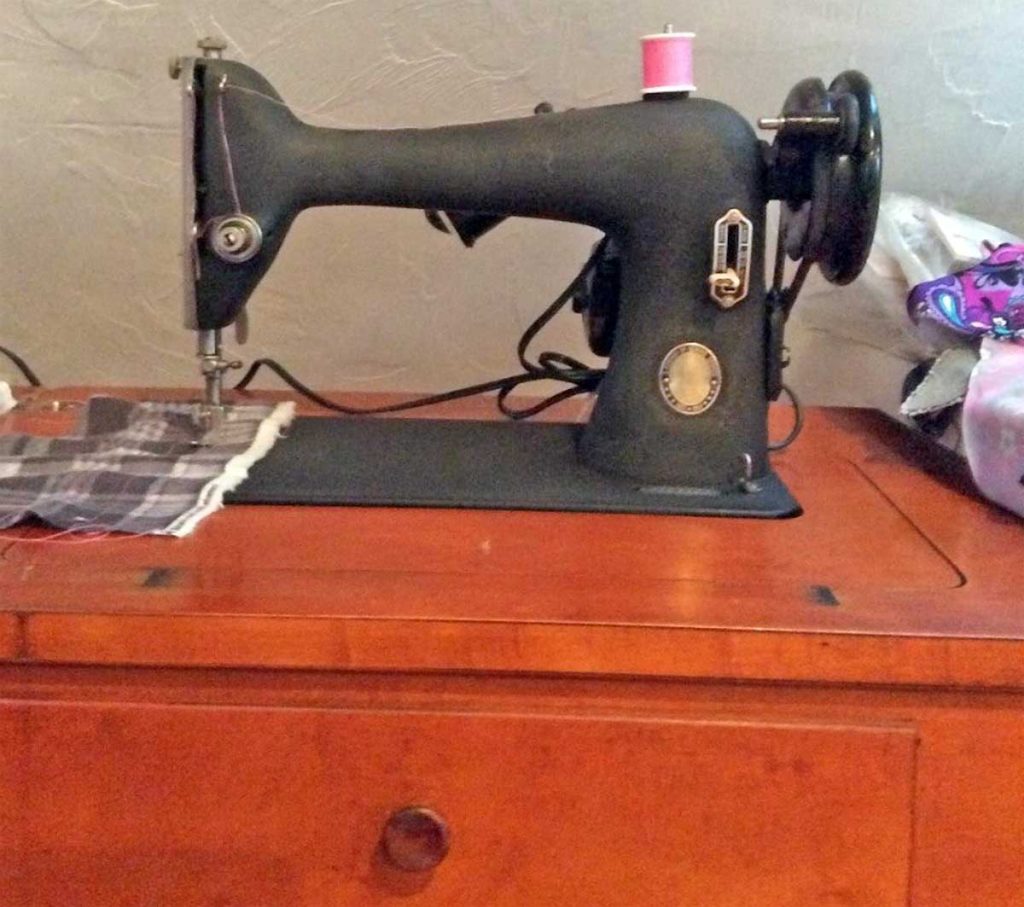
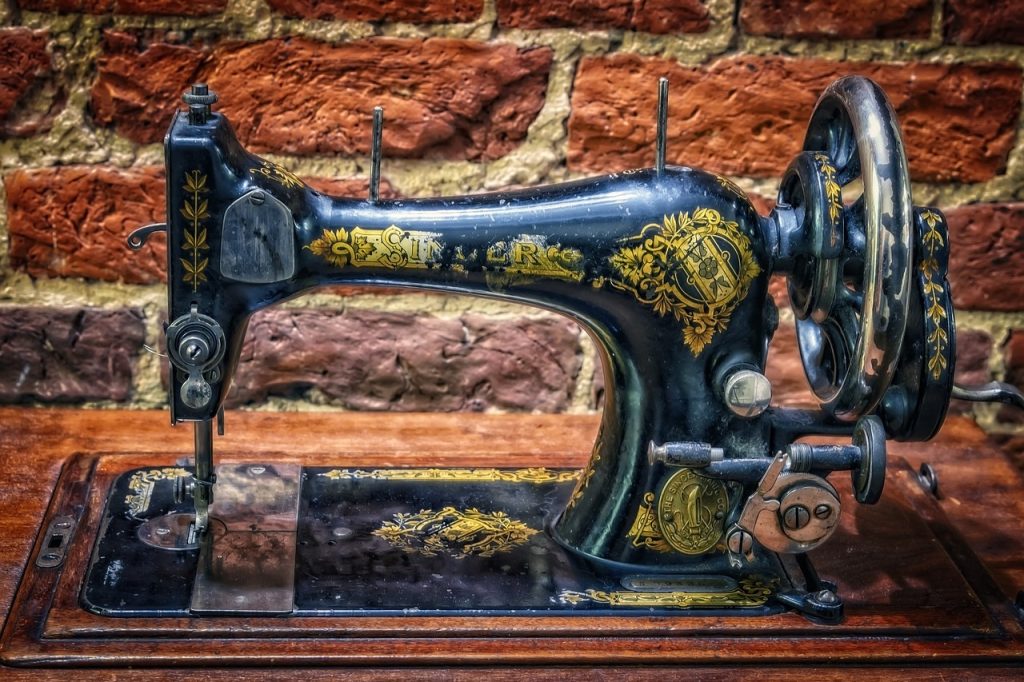
I have also acquired a Singer Red Eye 66 treadle machine, which I am currently restoring on my own, including stripping, sanding, refinishing, repainting, and reapplying decals. This 1913 machine operates without electricity, relying solely on treadle power. The incredible Singer 66 Red Eye machine is a thing of beauty, 100 years young, manufactured in 1913 and completely free of depending on an energy source but the power of my legs to turn the treadle wheel.
Additionally, I have a Singer 66 Crinkle in its own table, which I use for sewing jeans, and a Singer 15-91, which I restored for my sister. This machine required a thorough cleaning, oiling, and a new bobbin case positioning bracket oil wick.
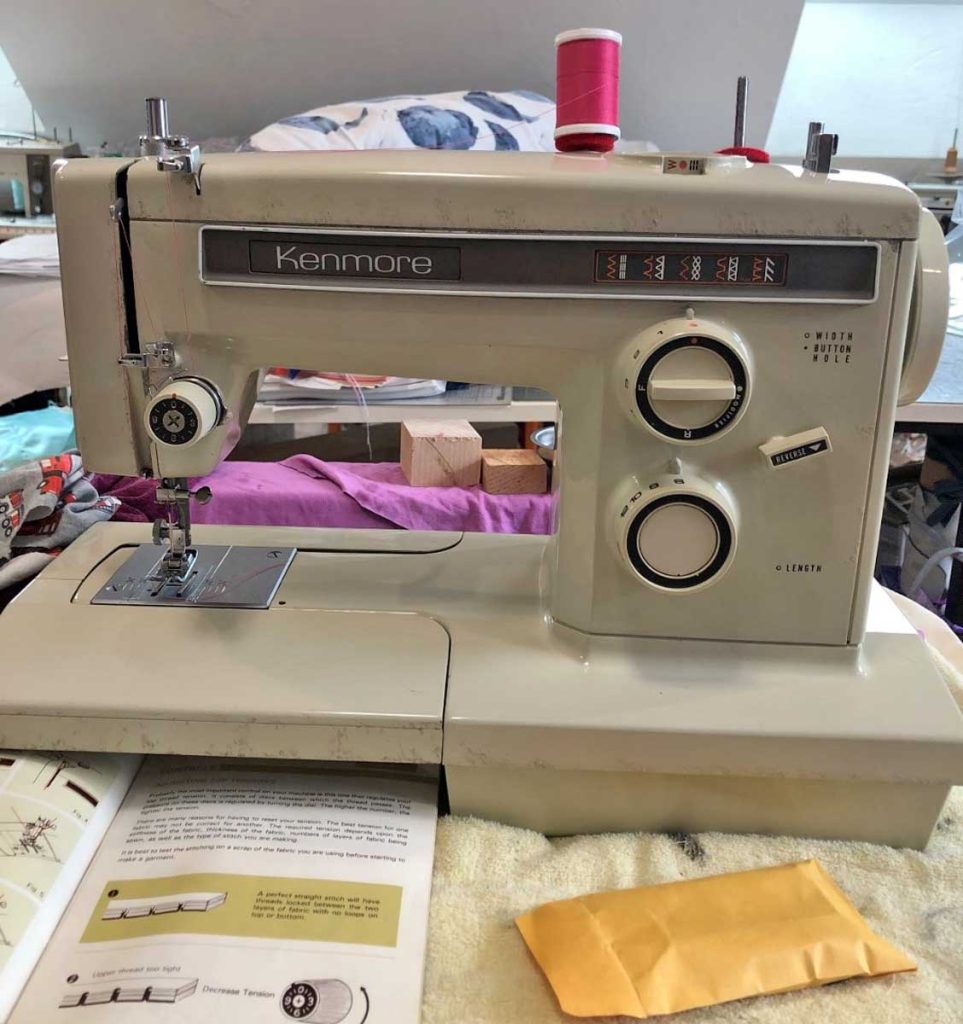
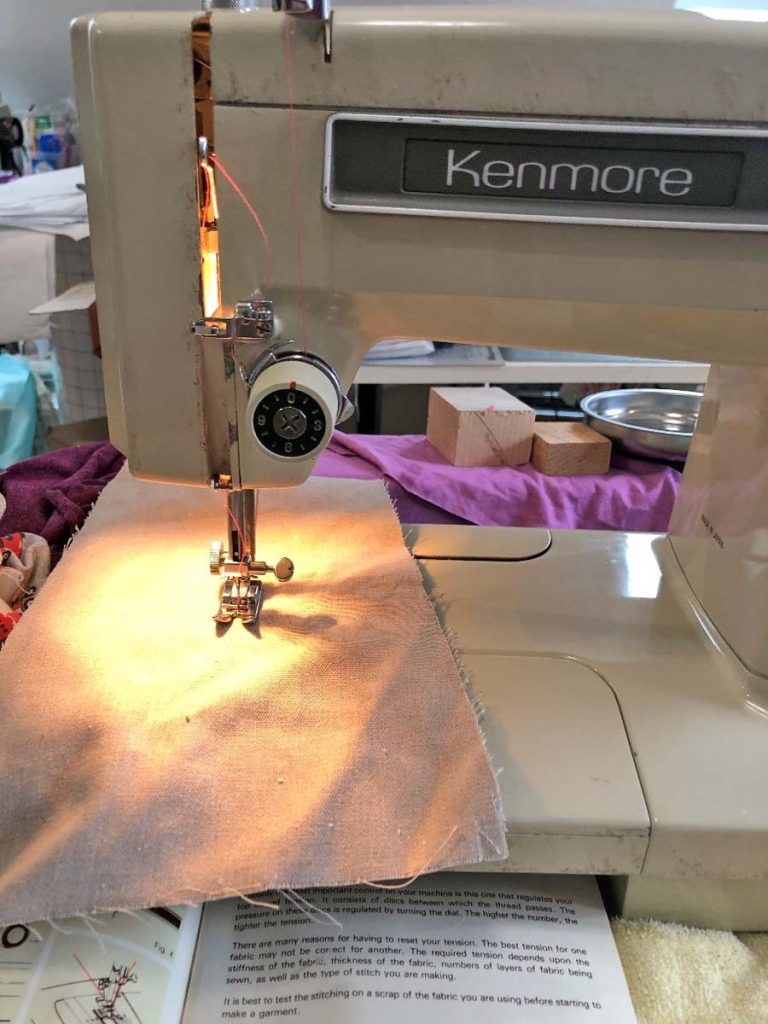
Then, along came two Kenmore models 158 and 385 that I fully disassembled, cleaned, polished, and reassembled. Fortunately, both machines have metal bodies and required only exterior polishing. These versatile machines perform multiple stitches and remain in excellent working condition.
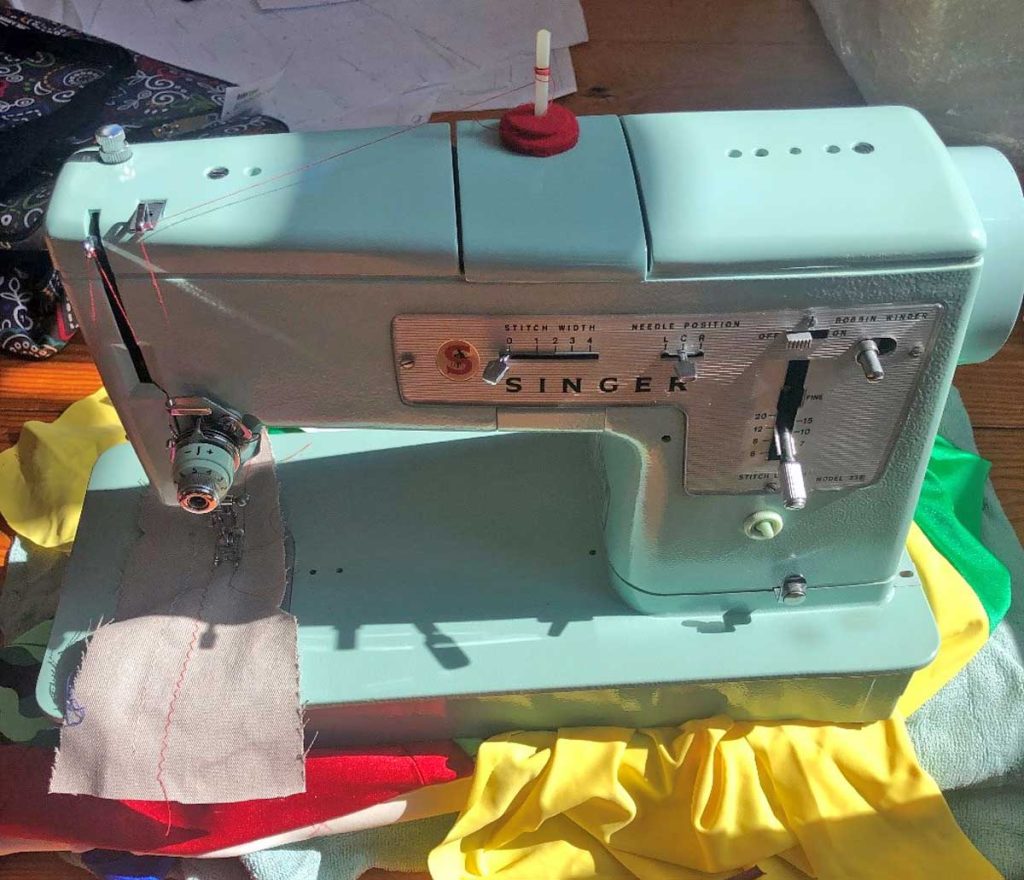
Finally, I purchased a Singer 338 in robin egg blue, a beautiful color. This machine does many different stitches including straight and zigzag, making it ideal for beginners and experienced sewists alike.
The Restoration Process
Restoring a machine requires extensive research on its mechanics, materials, and parts. The process includes understanding the machinery, cleaning, polishing, painting, and mechanical adjustments. This endeavor fosters a diverse skill set, including organization, spatial awareness, mechanical understanding, artistic precision, and a meticulous attention to detail. While I have learned a lot along the way, I still do not consider myself an expert and continue to seek guidance from more experienced restoration specialists, many of whom are referenced at the end of this article. In the end, the reward is a machine that will last generations, so plan in advance for who will inherit your machine.
I began to research these machines in 2011 and what I found were machines that had rock solid mechanics with many of their original parts still intact. They were built to last. The hard metals used in the body of the machines usually lasts forever, but even if neglected, with the right attention can be fully restored.
When embarking on a restoration project, start by researching your machine’s model and serial number. Websites such as ISMACS.net provide information on manufacturing dates, locations, and how many of them were made at the time. There are also schematics of the machine so you can begin take apart and clean or completely dismantle for a full refurbishing.
A Picture is Worth A Thousand Words
I always recommend taking detailed photos of the machine from all angles—top, from the front, sides, and back of the machine, especially if you plan to repaint and replace decals on the machine—to serve as a reference during reassembly, especially if repainting and replacing decals. The pictures will also be a helpful reference if you choose to purchase decals that resemble the original designs. There are also plenty of methods by which you can print your own decals. Take off the faceplate and take pictures.
Continue by taking off other plates and get pictures of the inside perhaps using a flashlight to get better light. Do not forget to take pictures of the bottom of the machine as well so that you have a reference for the mechanics of the machine.
Stay Organized
I also recommend moving around the handwheel and watching (many times) how the parts move when the handwheel is moving so you can begin to understand how these parts work when the machine is being put back together. Take your time to do the proper preliminary steps so you can refer to them when putting them back together. I like to organize the parts when removing them by area. I also tape screws to the pieces they came out of so I can remember where they go when going back to replace them. You may find your own way to organize better or perhaps your mechanical skills are sharp so you will have a better understanding than mine so you can find you own way to organize in the deconstruction phase.
The Cleaning Process
Once you have removed pieces they need to be cleaned. Cleaning involves rust removal using sprays, sanding, and polishing with tools such as a Dremel and fine sandpaper. Stubborn parts may require penetrating oil and patience to loosen. If there is rust, you will use rust buster sprays, and sanding methods to remove the rust. I have a trusty Dremel tool and use a wire brush to clean. I also use a fine sandpaper to sand even the screws which will return very shiny almost like new.
Any area in which you have trouble removing a screw or a part, use a penetrating oil. Some have used kerosene, but I have avoided it. A good penetrating oil should get the job done even if you must spray, wait, spray again, and then continue trying to loosen parts. Be patient, as this can take some time if there are years of buildup, dust, decayed thread, and such. Persistence and a good set of tools will be your friend for this process. I also utilized a polishing compound bar to polish and buff pieces once they are cleaned. I use my Dremel tool with felt heads to buff and polish. It is so rewarding to see how the pieces look when sparkling clean.
Stripping
When it comes to stripping a machine of an old paint job, my experience is limited. I am embarking on this task on my treadle Red Eye Singer 66 as I write this article. I have already purchased new decals and will be taking my machine down to the metal the old-fashioned way by using strippers, scraping, and light sanding until I reach the metal and provide a finish for the paint to etch. Many restorers will use a bonding material to smooth out the natural unevenness in the metal, but I am not skilled in this technique yet. However, the option is on the table.
Painting
Painting should begin after a thorough cleaning with alcohol to remove any oils from the machine head so the paint will adhere. You will also want to tape off any areas with painters’ tape to prevent paint buildup that could interfere with mechanical operation. You can also make use of silicone plugs that comes in a multitude of shapes and sizes. Some restorers use Q-tips, crumbled paper, and tape over that. Just remember that the holes have limited clearance for pieces so any buildup of paint will require you to file/sand off the excess so the mechanics will fit back in and work properly.
Use a primer paint first—you can even use more than one coat of primer if you feel it’s needed. Position the machine so you can get at all the sides and under the harp. You might even want to think about hanging up the machine with a strong wire so you can get in and around the areas to be painted. Use smooth even strokes in a back-and-forth fashion. Try to avoid overspray so there are no drip marks, although that’s frequently easier said than done. Practice makes perfect with this one. You can also buy a paint sprayers such as the ones used in automotive applications but remember to not only wear protective gear (including a mask) but also protect the area you are spraying.
It’s best to spray 3-4 light coats of the color paint you will be using, allowing sufficient drying time in between coats and including a light sanding and cleaning between coats. Once the machine is dry and the finish durable, add the decals. I use waterslide decals for this (see the list below for the source).
Once the decals are on, add 1-3 coats of clear coat to solidify the machine. Always give it 24 or more hours to cure between coats. Note that the colder the temperature is in your workspace, the longer drying time you may experience; however, I would not advise painting in a room that is below 50-degrees.
For further guidance, I highly recommend the tutorials of experienced refurbishers such as Bob Fowler and Marie Hill, whose expertise has greatly informed my own restoration journey. Their instructional videos offer invaluable insights for both beginners and seasoned restorers. (see links below)
Making a Base
Many restorers make a new wooden bottom case for the machine to sit in. If you choose to go this route, you will need to get a good woodworker to measure and make the cuts necessary for the machine to sit flush with the table. I have viewed some beautiful ones made by woodworkers and am sure there are YouTube tutorials showing how they are made. One example is included here, but there are plenty of other woodworking techniques one could use to do this.
Reassembling the Machine
Once you are ready for reassembly, refer to the schematics, your pictures and Bob and Marie’s videos on reassembly (and perhaps other vintage refurbisher’s videos). Armed with the info I have learned, I have successfully taken apart two Kenmore sewing machines, cleaned and polished them, reassembled, and adjusted timing. I have replaced bobbin case apparatus and replaced the oiling wick in several vintage Singer sewing machines, and adjusted needle bar heights and hook timing in both Kenmore’s and Singer’s. The reward comes when you thread these beauties and put them back into commission. I have worked on Singer 15- 91 for my sister, the 66 Crinkle I inherited, a 338 for my daughter, and I continue to work on my treadle 66 Red Eye. I have also worked on Kenmore 385, and 158 which are both great machines that will last a lifetime with small maintenance.
While I continue to learn, I am proud to have revived several vintage machines.
- Some machines may only need to be cleaned and polished. I have done this to several, without a complete repainting. The polish adds a protective layer which only needs a repolishing every once in a white, depending on how much use they get.
- I always cover my machines with covers made from fabric and foam, or I will store them in their original case if it came with the machine.
- Do not store the machine in moisture prone areas like basements or attics as this will add to degradation of the machine. Heat, sunlight and large temperature fluctuations are not friends to any sewing machine.
Restoring and maintaining vintage sewing machines is a labor of love. By preserving these remarkable tools, we keep them out of landfills and ensure they continue to serve generations to come. These machines were built to last, and with proper care, they will far outlive us. If you own one, consider designating an heir for its continued use and appreciation.
Resources
- https://www.vintagesingerparts.com/
- http://www.singer-featherweight.com/
- http://www.treadleon.net/
- http://www.cathylynnforcino.com/
- https://deskdave.com/
- https://singer-featherweight.com/
- https://dragonpoodle.blogspot.com/2014/06/painting-naked-singer-27.html?m=1
- https://prometheansewingmachines.com/
- https://www.youtube.com/@prometheansewingmachinesMarie Hill
- https://sewingmachinerehab.com/
- https://www.youtube.com/@SewingMachineRehabBob Fowler
- https://bobsvsmservice.com/
- https://www.youtube.com/c/BobFowlerWorkshop
- https://ismacs.net/
- https://www.singerdecals.com/
Books:
- Singer Featherweight 221, the perfect portable, 3rd ed. By Nancy Johnson-Srebo
- The Sewing Machine Attachment Handbook, by Charlene Philips
~Kim Larcom, ASG Member (Boston Chapter), Entrepreneur for Astrosportswear Activewear, and The Bridgewater Seamstress. Kim graduated from the Master Seamstress certificate program at the University of Rhode Island and owns her own custom activewear business.