Is there ever a day that goes by that you aren’t thankful for your sewing skills? Not here.
 When I first moved to my small coastal town, I discovered that the post office does not deliver mail to the town’s residents. “What?” But the more I thought about it, there was an opportunity for exercise and walking the mile-and-a-half circuit to the post office with at least one of our dogs, to retrieve the mail. Along the way early on in the adventure, I passed an adult care home and a lady was sitting on the covered porch in her wheelchair calling out “doggie, doggie!” So, I went up to the porch with the dog and we started to chat. I asked her how many people stopped to talk to her, and she replied “no one, but you.”
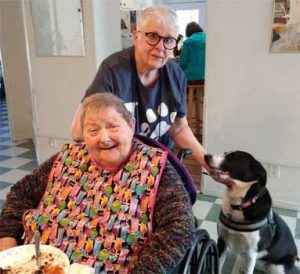
Over the four years I’ve lived here, on the morning walk to get the mail, I always wonder if Doris will be out on the porch…some days she’s there, other days not, mostly dependent on the weather. One day we were talking and I asked her when her birthday was—turns out it’s 10 days after mine! Hmmm…what can one do in celebration for someone who is not mobile and living in an adult care facility?
I had an “aha” moment and decided to sew up 10 fleece hats, telling her to keep her favorites and share the others with the staff and other residents (who occasionally sit on the porch as well). Those were a big hit and she’s been sporting several throughout the months when there’s a chill in the air. But I decided my next project for her would be an adult bib—winner, winner, chicken dinner as they say! I’m currently making her third bib, this year to celebrate her 81st birthday.
It takes less than an hour to make and choosing fun prints is easy as pie. You probably have everything you need in your stash. So, today I’m sharing with you how to make Doris’s bib! Think about reaching out to someone in your own community who may need a bit of cheer—the project is super easy, takes only a yard of fabric, and you can make it up in less than an hour.
Doris’s Bib
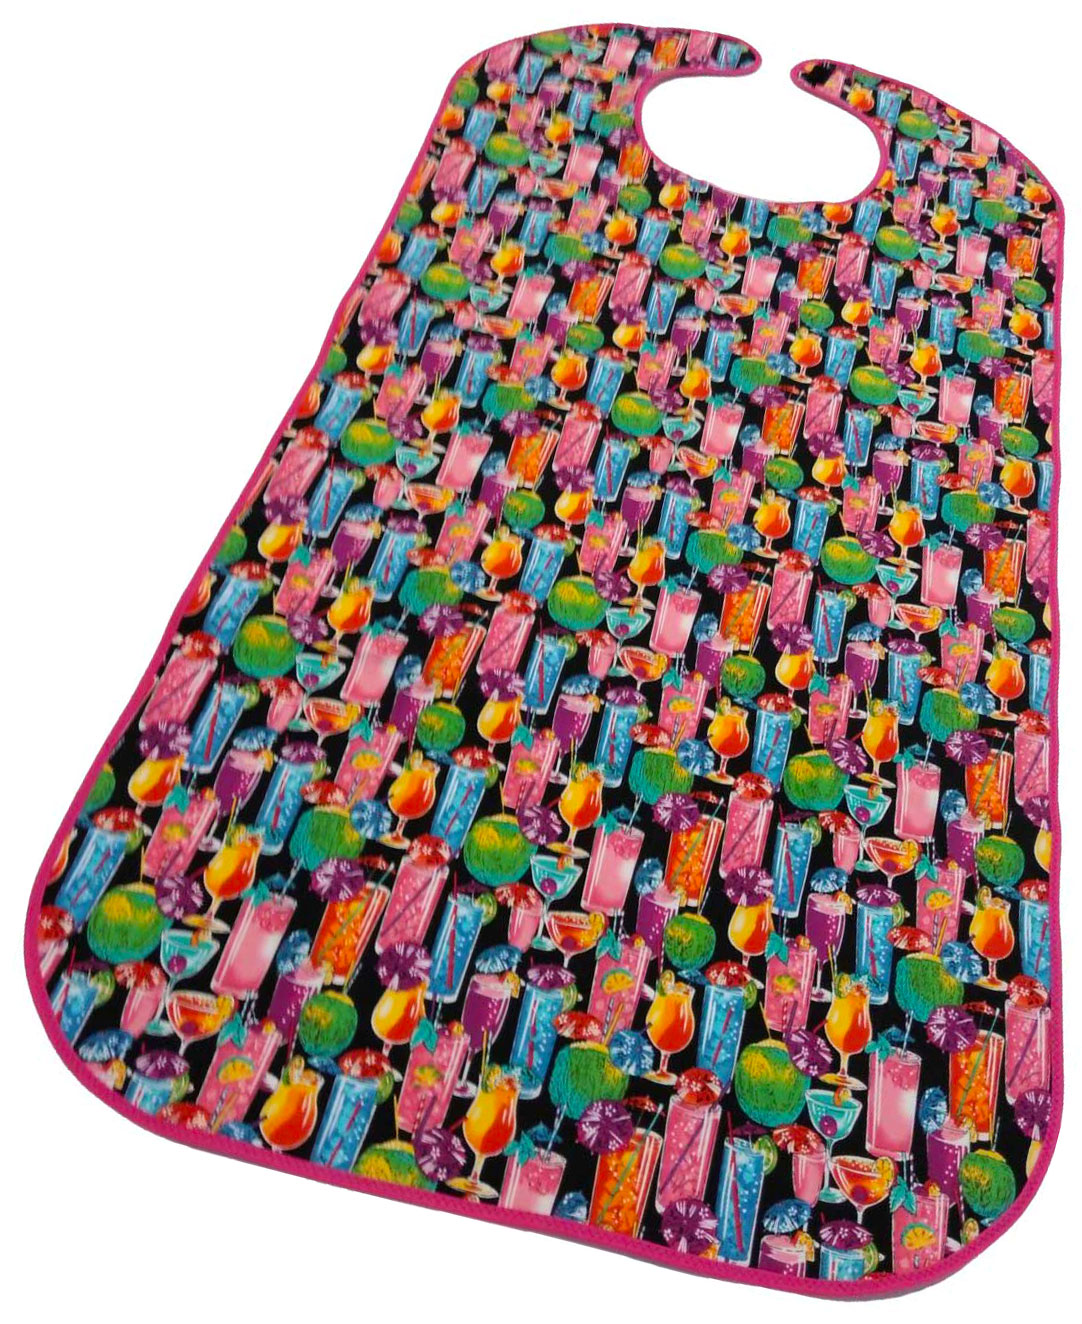 Choose a washable and colorful busy print in a darker color to hide food spills, etc. There can be a theme to the fabric, like food motifs, or a sports print, or simply a favorite color that you’ve learned of through chatting. Doris’s favorite colors are pink and purple, and she has Crocs in both hues.
What you’ll need for each bib:
- 1 yard print fabric
- 1 package of double-fold bias tape (at least 3 ½ yards)
- 1” hook-and-loop tape
- Matching thread
- Pattern tracing paper
- Bib pattern (PDF format)
Making the bib
- Trace the upper bib shape from the bib pattern (link above). Continue the center front line so it’s 27” long, then draw a line perpendicular to the center front line at the bottom. Extend the side edge straight down to match the bottom line. Using a saucer, round the lower outer corner for easier binding. Label the center front.
- Refold the fabric to the width of the bib and pin the pattern center front to the fold. Pin the remaining pattern edges in place and cut out.
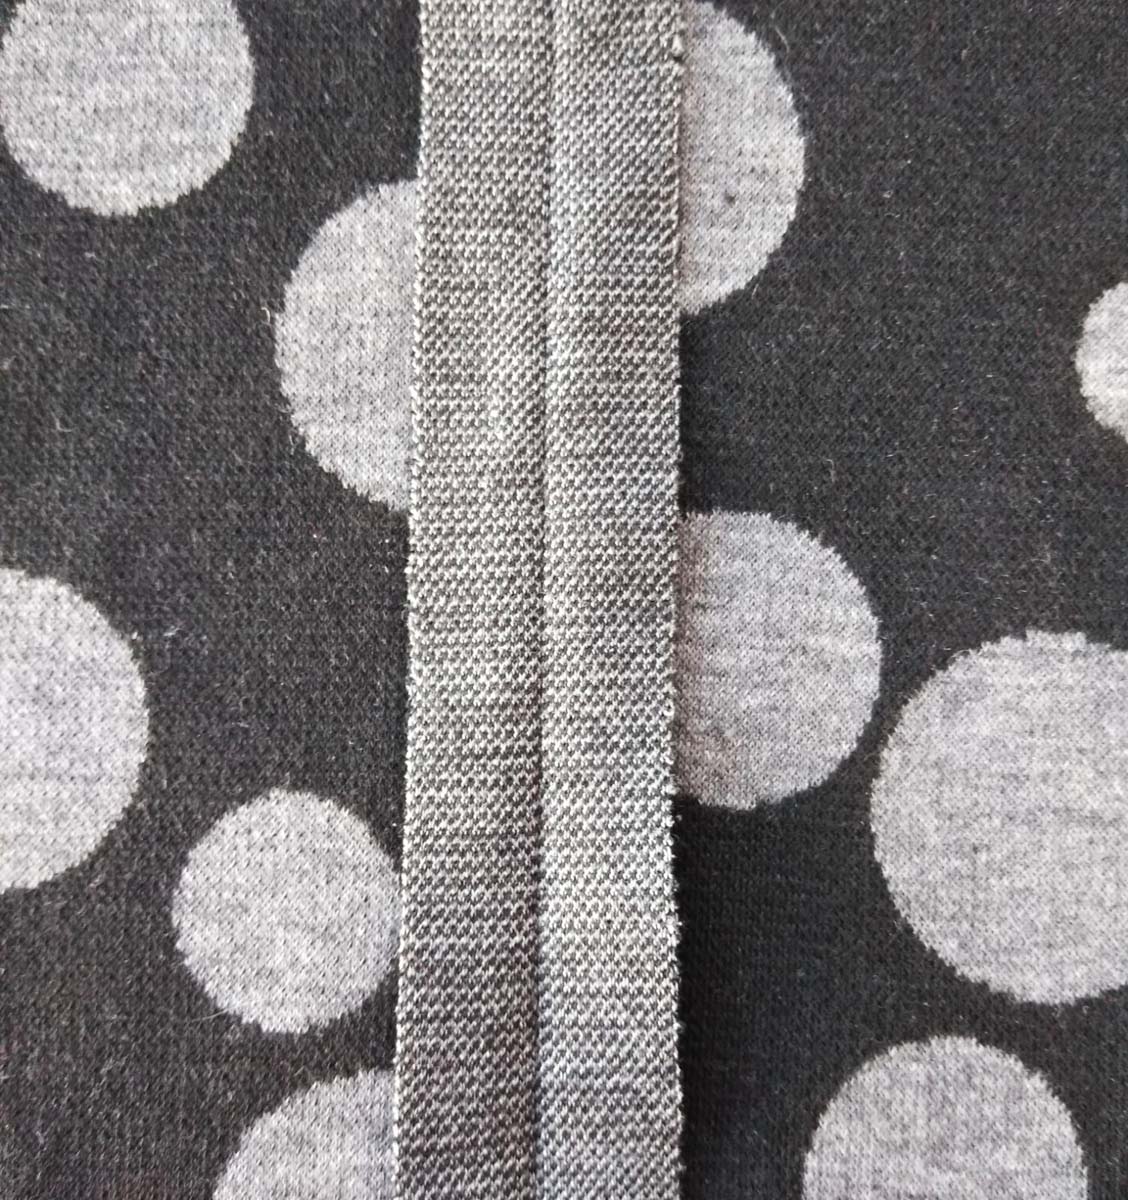
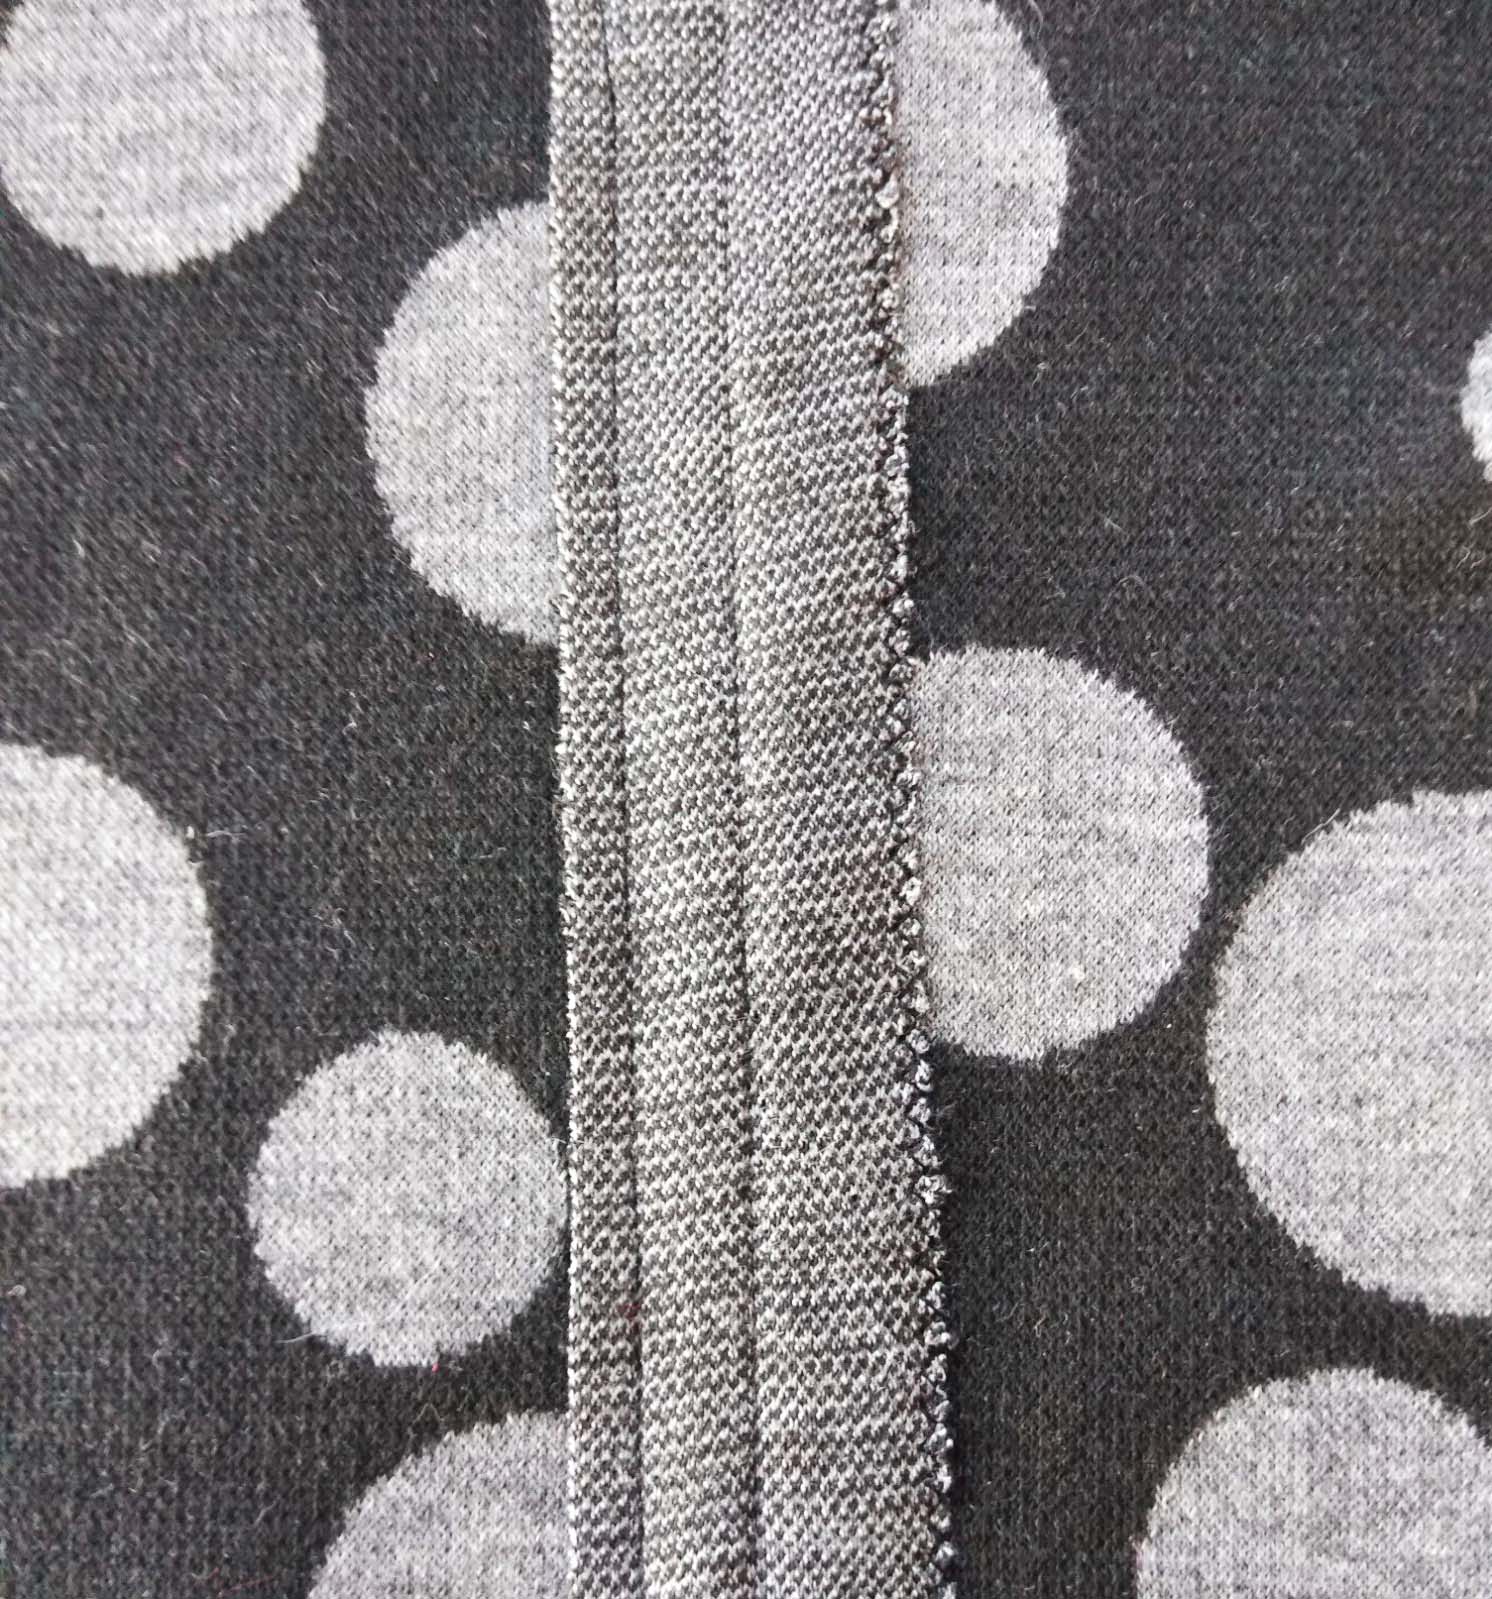
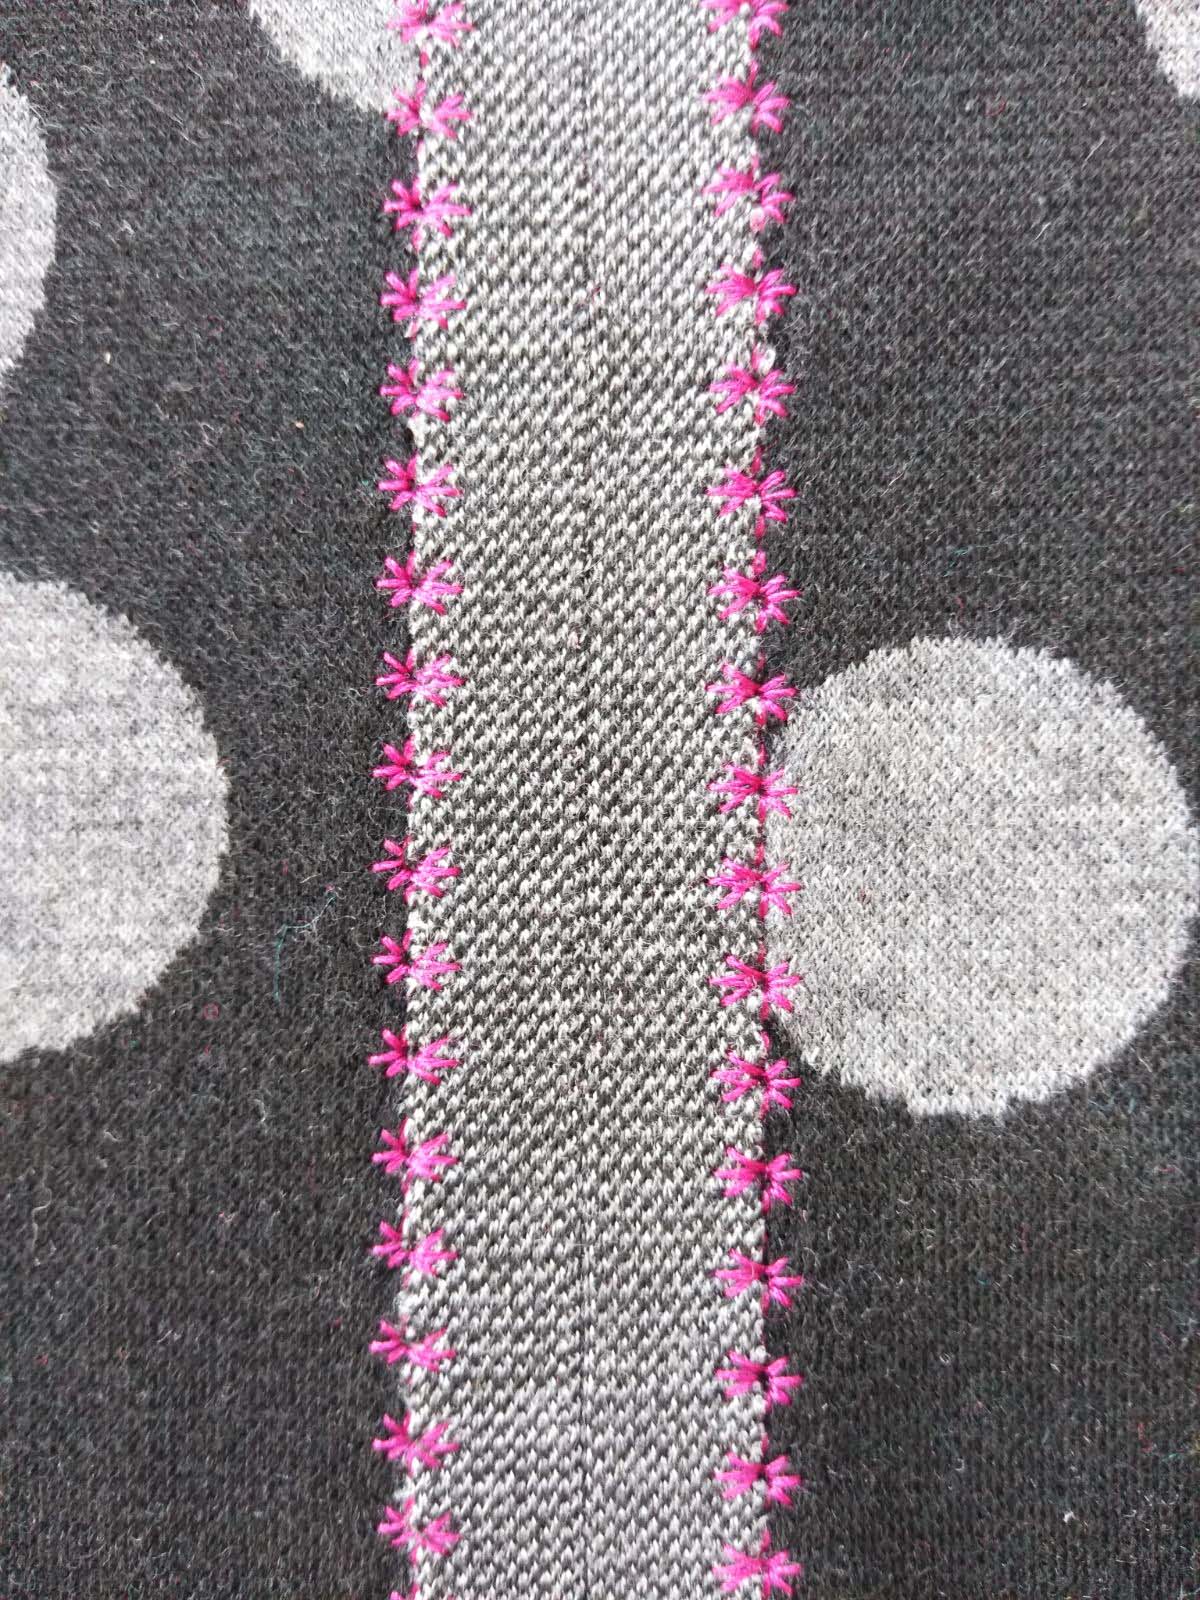
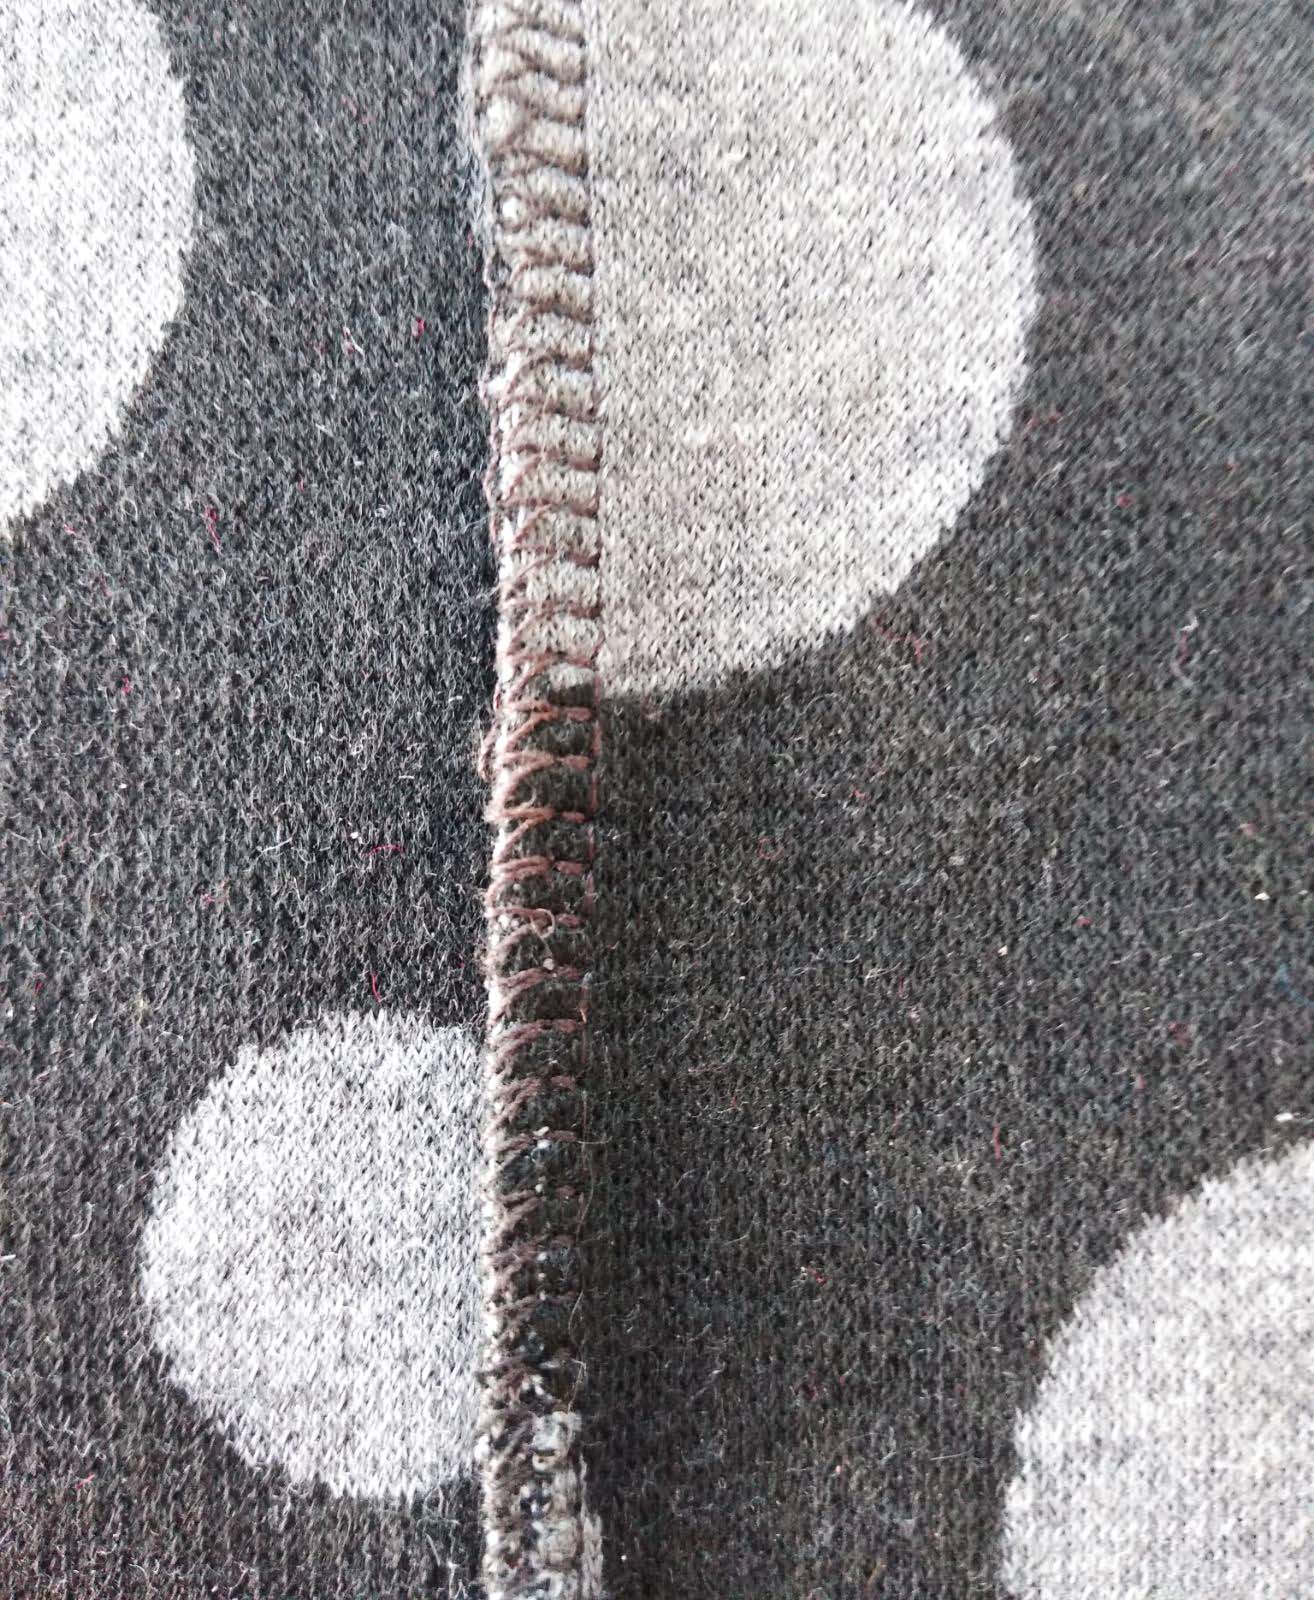
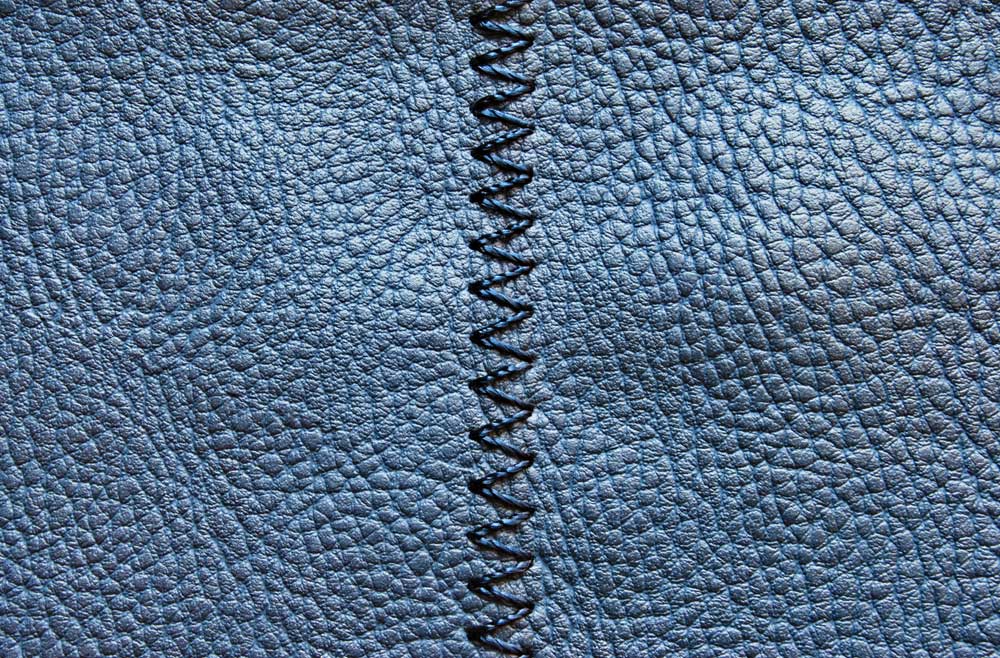
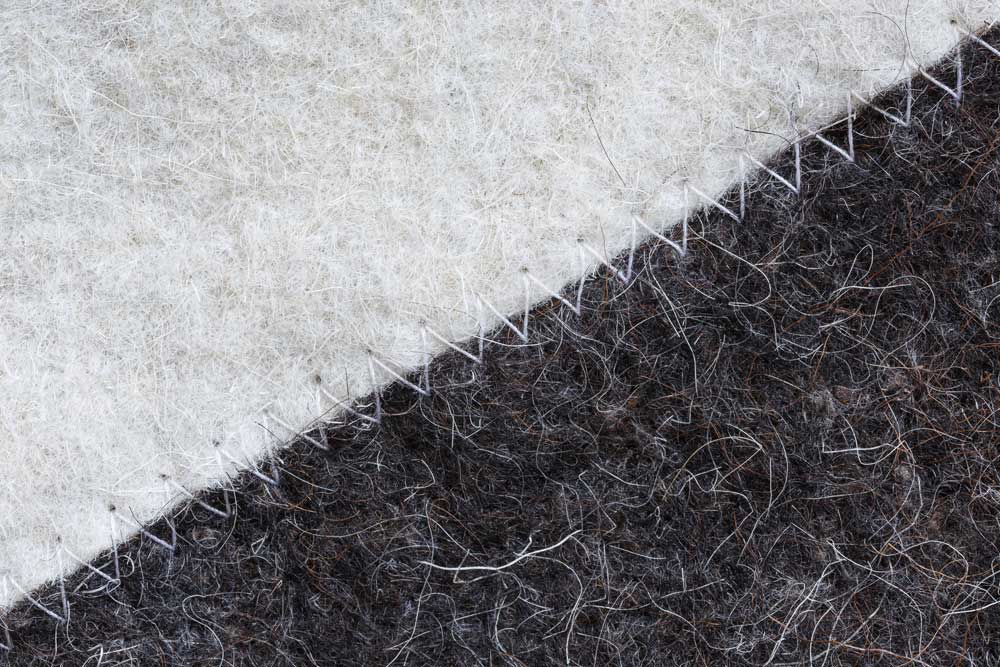
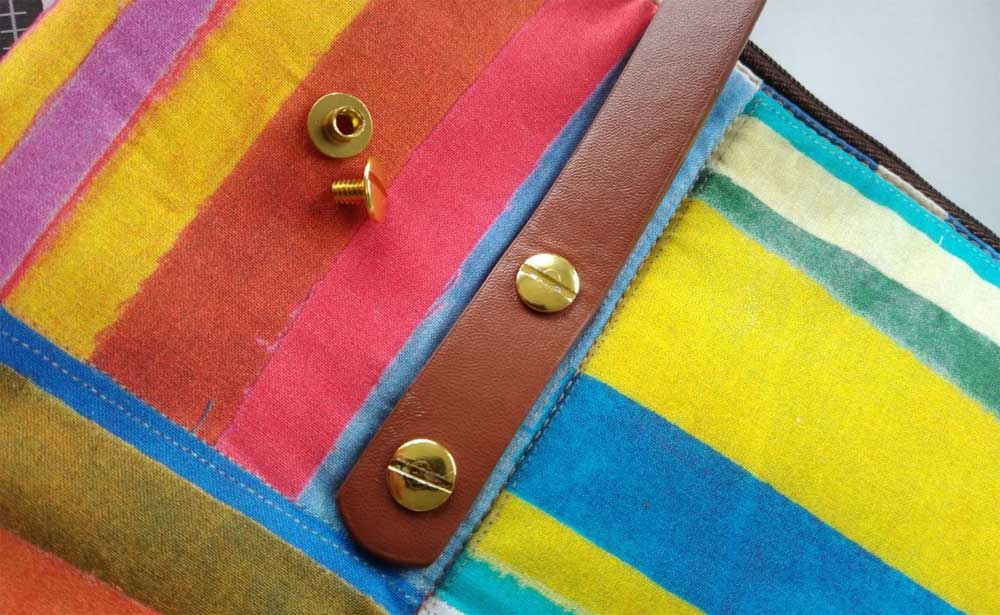
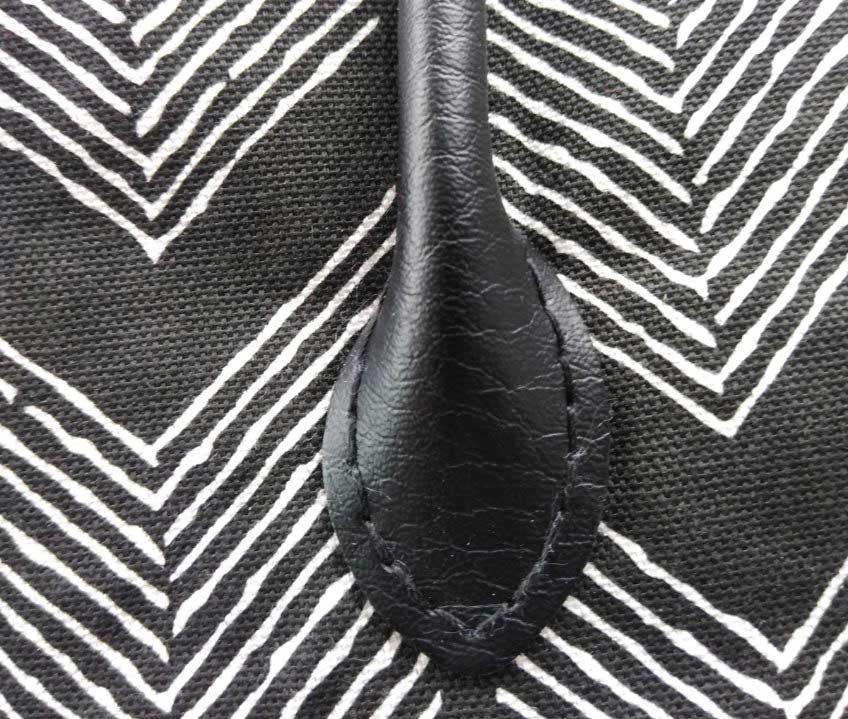
- Starting at the back tab, bind the bib edges. Use a narrow zigzag to ensure catching both the upper and lower bias tape edges. Place the needle in the down position to make it easier to adjust the bias tape around the narrow tab curves. Be sure the bib edge is inserted all the way into the bias tape.
- Press the bib edges to shape.
- Sew the hook portion of the fastener to the wrong side of the overlapping neck tab, and the loop section to the right side of the underlapping tab.
Some options:
- Add a pocket from the extra fabric.
- Choose a second print and make the bib reversible.
- Make the bib from terry cloth fabric, but be sure to pre-shrink it. Choose an extra-wide bias tape due to the fabric thickness.
- For a waterproof version, use vinyl fabric. It’s easy to clean with just a wipe.
This bib is also suited for groups needing a community service project—even beginner sewers can make it up easily. Set up an assembly line of cutters, binders and fastener attachers for mass production.
~Linda Griepentrog is the owner of G Wiz Creative Services and she does writing, editing and designing for companies in the sewing, crafting and quilting industries. In addition, she escorts fabric shopping tours to Hong Kong. She lives at the Oregon Coast with her husband Keith, and three dogs, Yohnuh, Abby, and Lizzie. Contact her at .