As some fabric stores close their doors, you might find yourself wondering, “Where can I find fabric and notions now?” The good news is, even if you live in an area without a local fabric store, there are still plenty of creative and convenient options to explore.
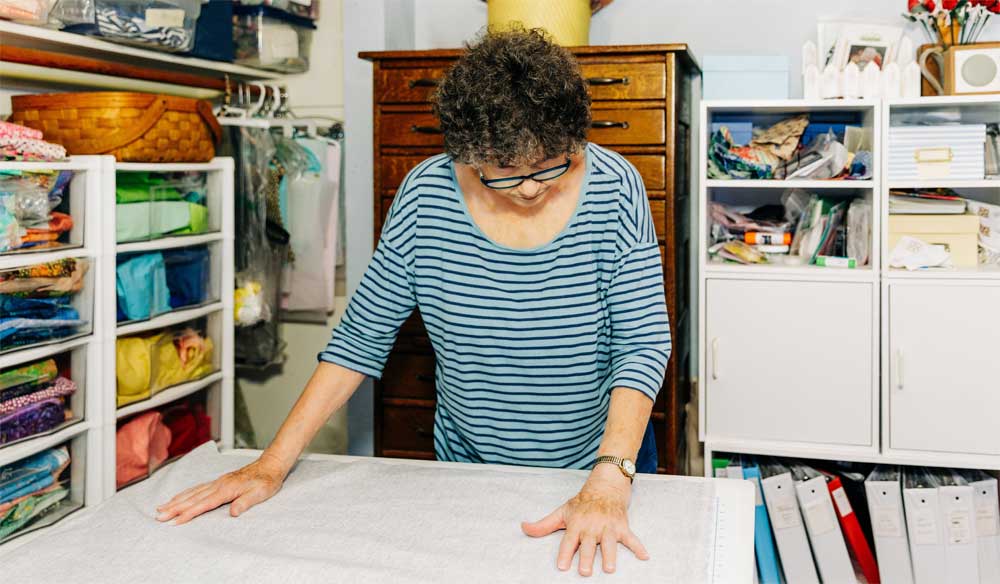
First, may we humbly suggest that you start with your stash? Most of us have enough “stock on hand” to last a while. In addition, many ASG groups have fabric exchanges or frequent free-cycle events where you can score fabulous finds. If you’re an ASG member, you’ll know the inside scoop. Non-members can
Independent Stores
The obvious answer is to search for other independent stores. There are many that still exist (and will welcome you with open arms) and you’ll be doing yourself — and them — a wonderful service to start shopping there. You may find though that at least some of those focus on quilting only. If you’re a garment sewer, but have a great quilting store or local sewing machine dealer in your area, ask if they might be willing to carry some other items, like notions, interfacing, etc.
Online
Online shopping is a great alternative, and there are myriad options available. For those who like to “touch and feel” before buying, search for companies that offer a swatching service. And check the company’s return policy before purchasing.
Some online fabric resources curate collections of go-together coordinates and notions, others offer personalized shopping for a small fee. Some also offer a swatched fabric club subscription.
However…
If you’re an adventurous sewer, there are a few other options to consider:
Re-use Centers
Specializing in the reuse of art materials of all sorts, there are several shops around the country that offer large selections of donated fabrics and notions. Check this site to see if there’s a re-use center near you. Not one near you? Consider starting one with sewing friends!
Thrift Stores
Thrift stores often have fabric, patterns and notions, as well as yarns and needlework supplies. In addition, check the linens section for tablecloths, runners, bedspreads and placemats that can be creatively fashioned into sewn projects.
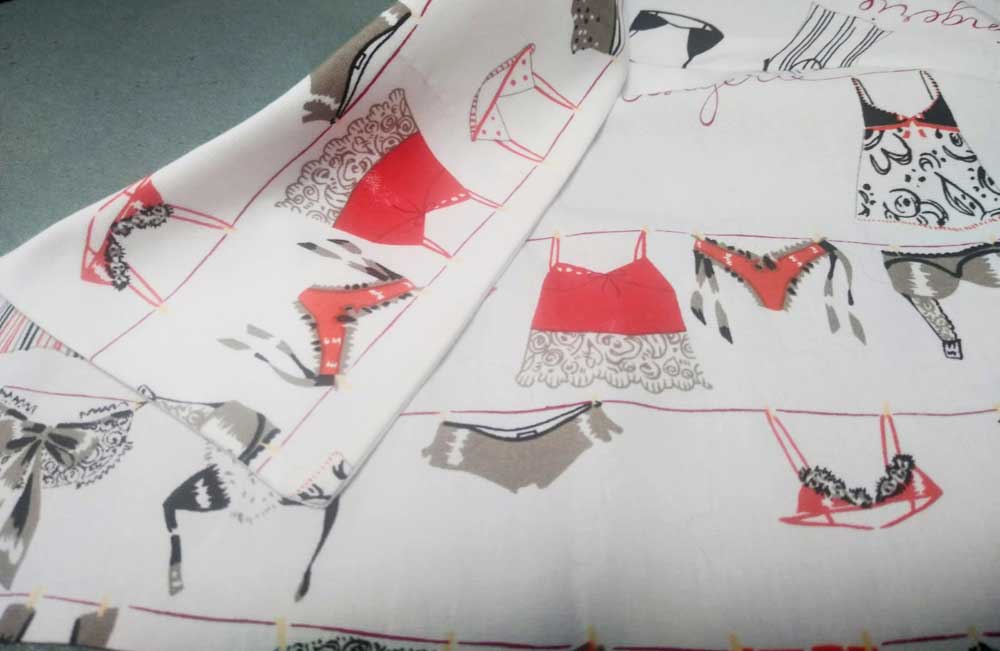
But look beyond the conventional and peruse the clothing racks for fun garments to “harvest” their fabrics. Need some inspiration? Many of our recent Sew Sustainable webinars (open to ASG members) offer ideas for reusing various fabrics. Look for large and extra-large sizes and full skirts to maximize fabric. Be sure to inspect the garment to ensure that all the fabric is usable and there are no stains, snags, odd seams, etc. Save any fun buttons on garments for reuse as well, and zippers too if you’re willing to pick out the stitching.
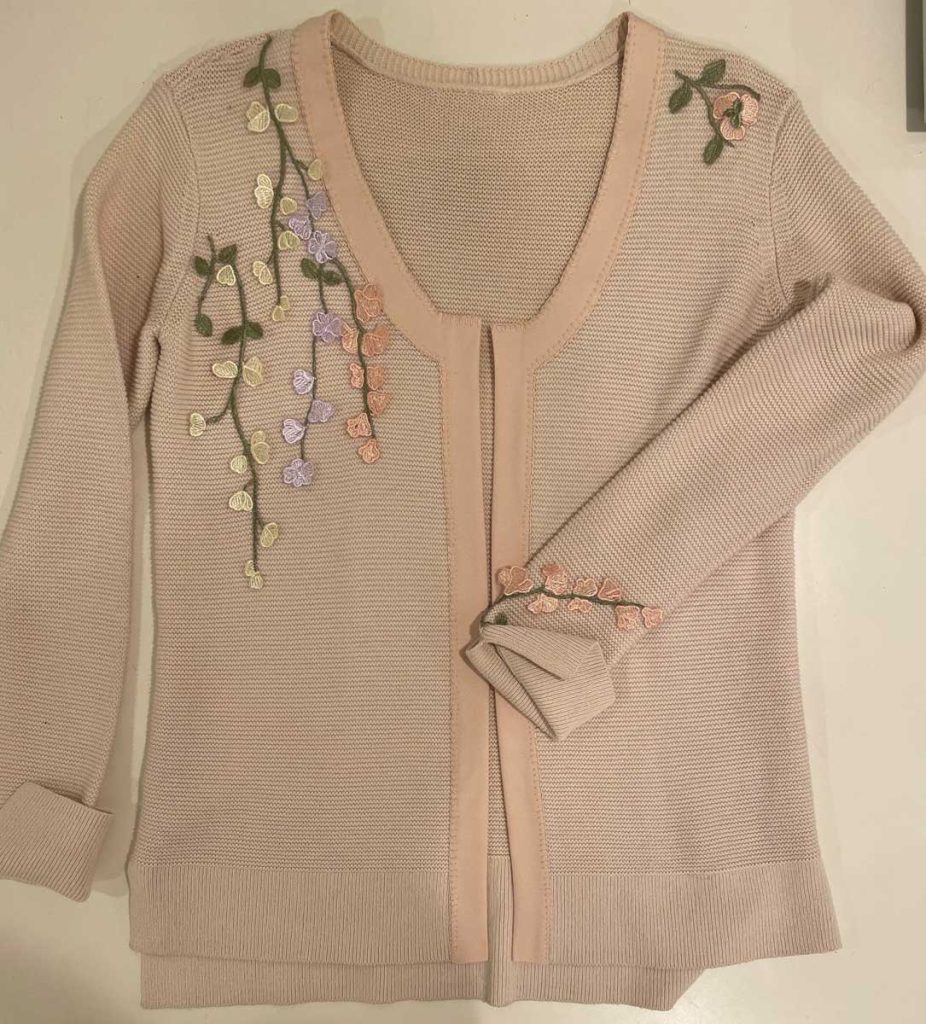
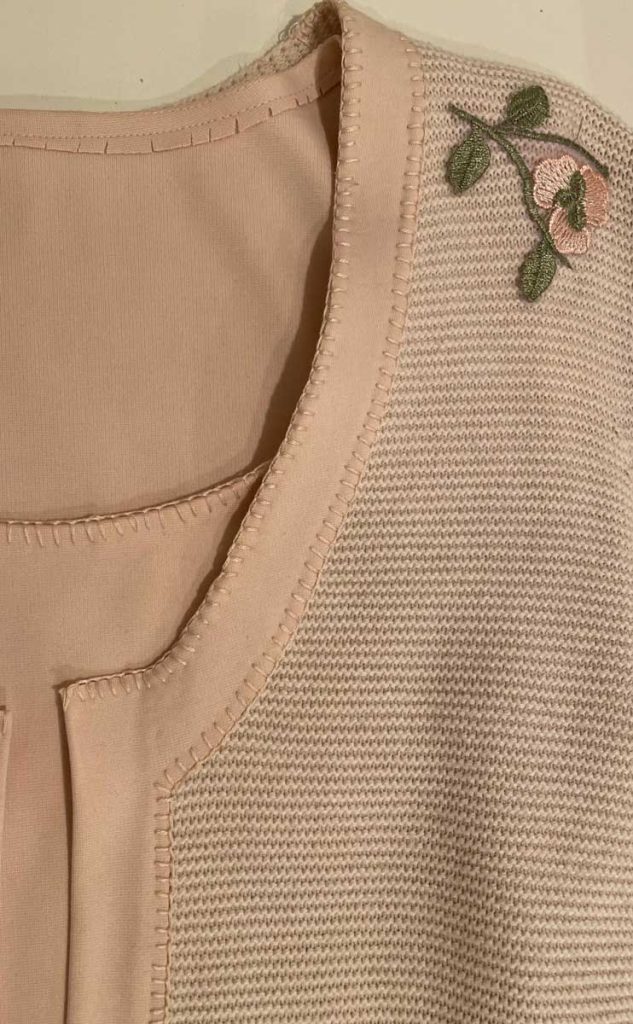
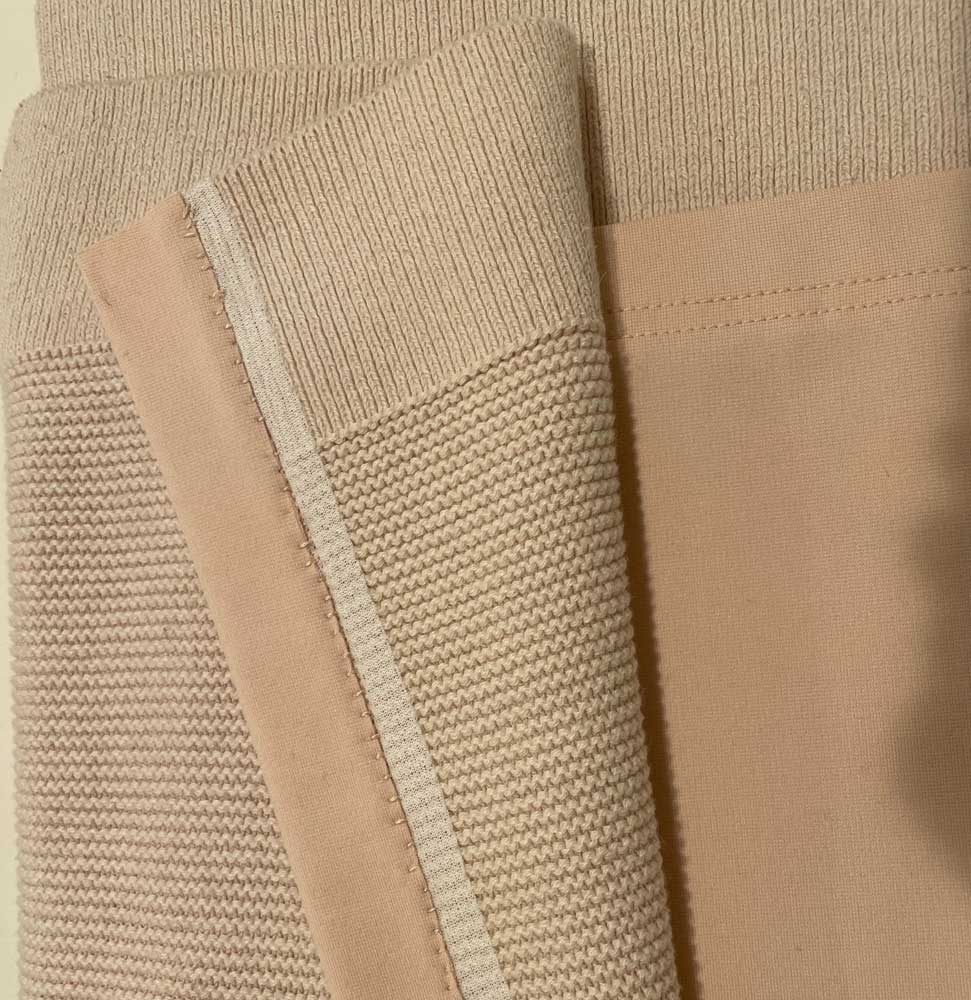
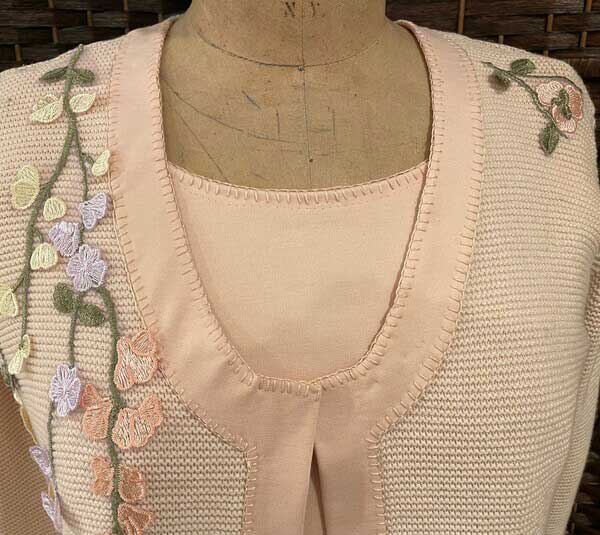
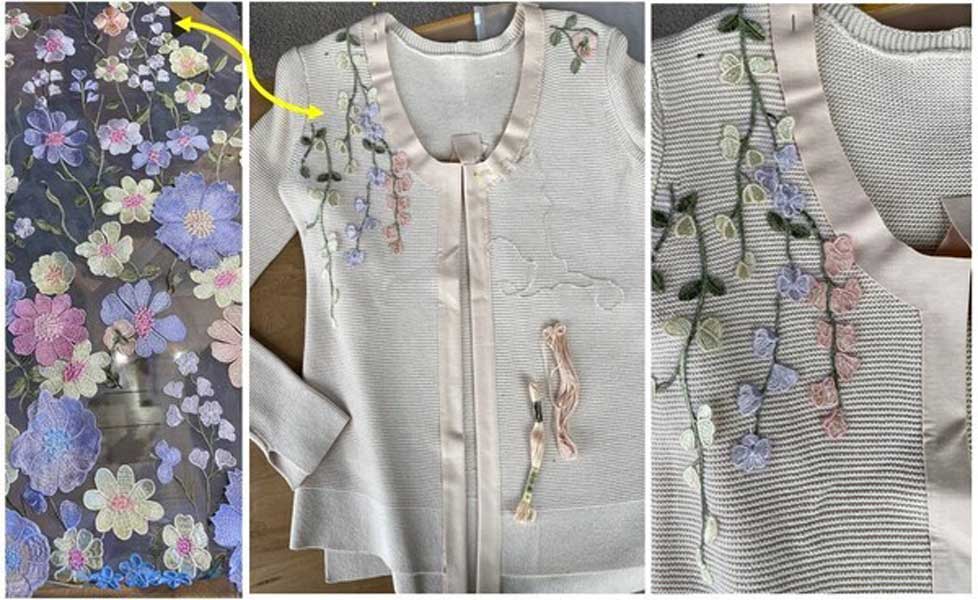
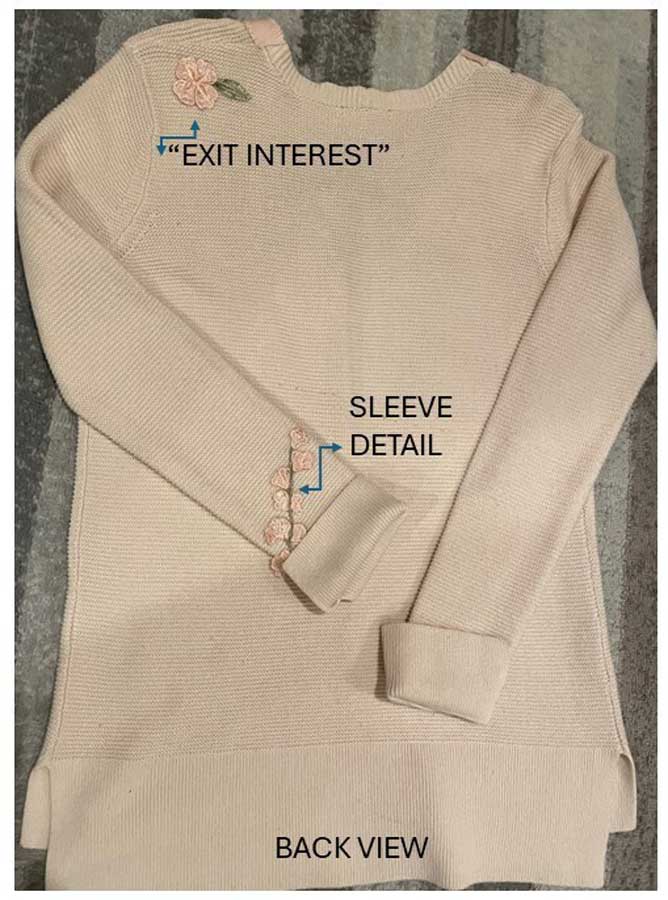
Sweaters are an ideal source of knit fabric, though admittedly limited in quantity. But, you can keep the knit cuffs, collars and neckbands, in addition to utilizing the knit itself. If there’s wool in the sweatering, consider felting it to change the look and make a denser fabric. Again, check over the item before purchasing and look for stains, moth holes, etc.
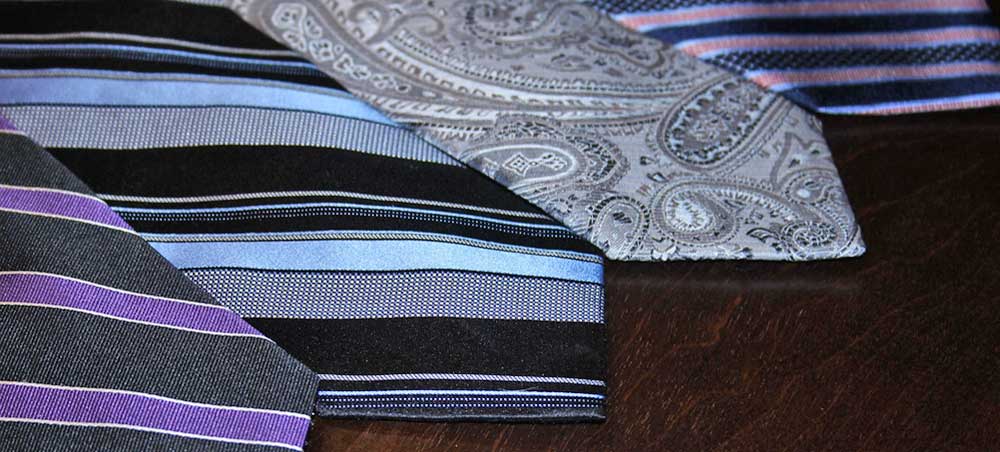
Don’t bypass the tie racks if you’re looking for some fun silk piecing fabrics. Disassemble the ties, double check for any stains, and press. Adding a fusible interfacing to the wrong side will help to stabilize the bias-cut strips and make them easier to use in a new project.
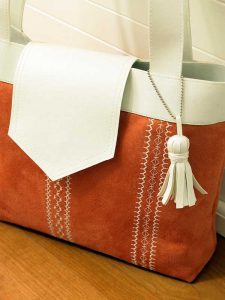
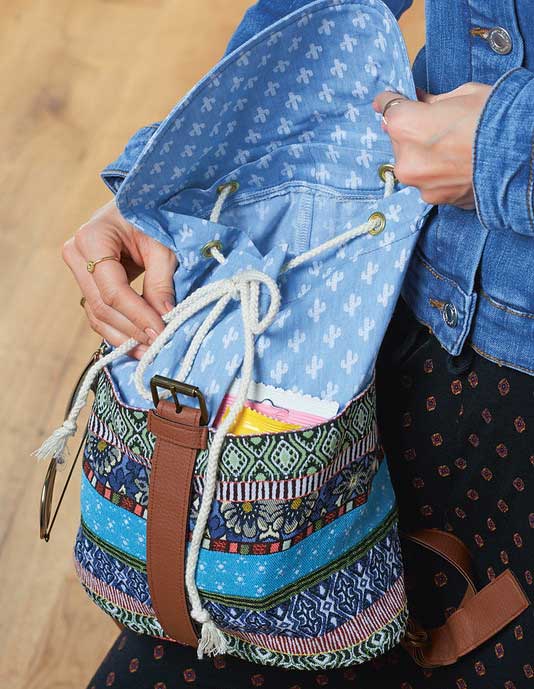
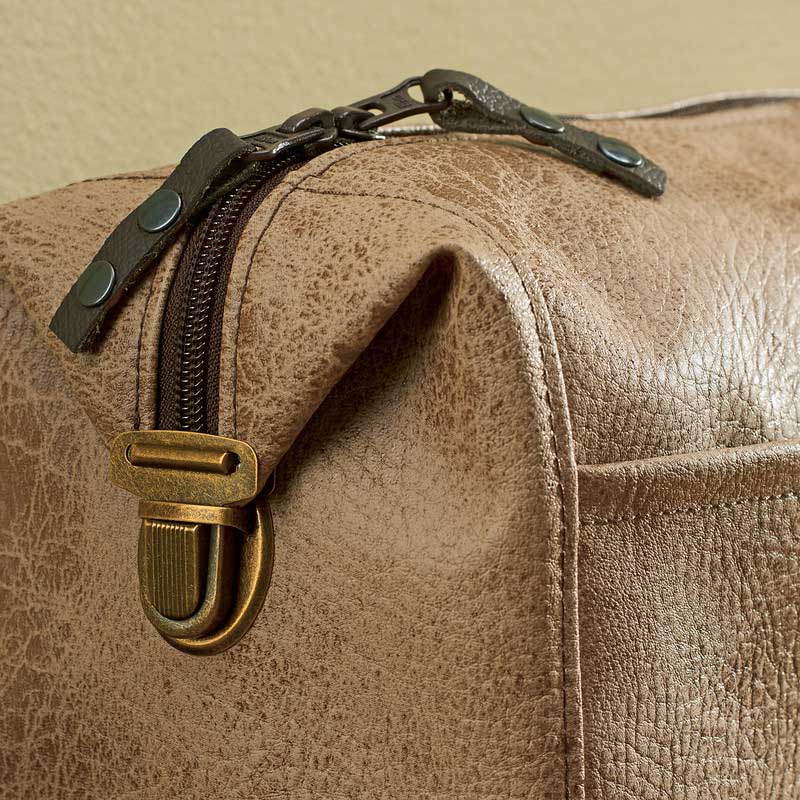
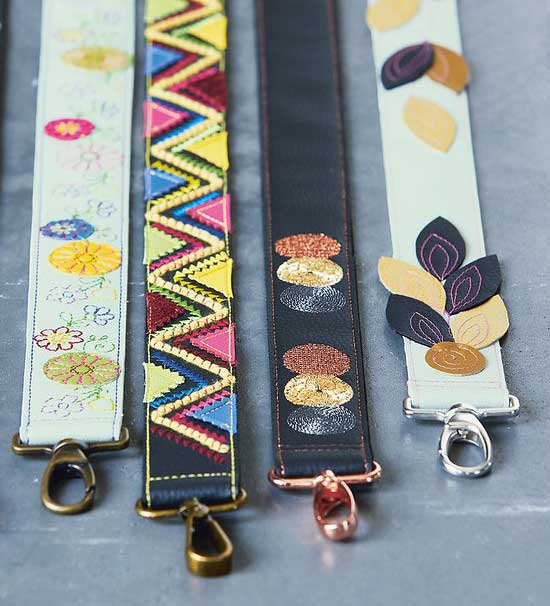
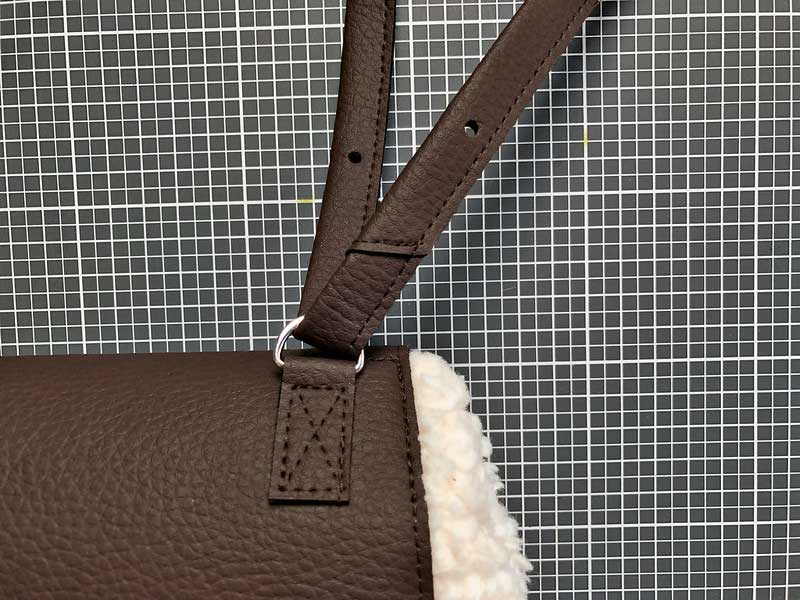
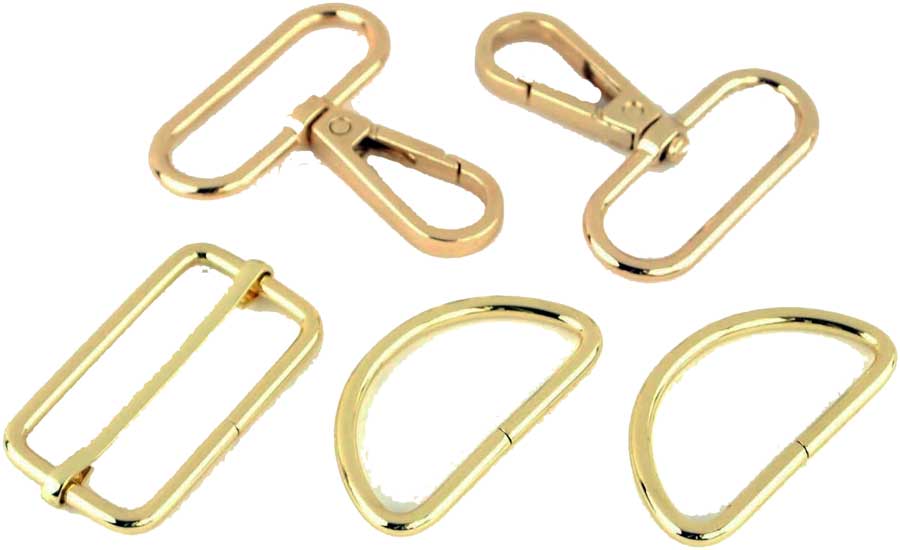
Swing by the accessory department to peruse the handbags. Think about harvesting and reusing handles, closures, zippers and flaps in new ways.
Head over to the jeans department. In addition to reusing the denim fabric, there are also seams, pockets, closures and waistbands waiting for creative detailing.
Home Décor Stores
Check out the bath department of your favorite home décor store for fun beach towels, especially in the off season. If you need terrycloth for a project, this can be an economical way to get it.

Look in the drapery and curtain department—an excellent source of fabric in large expanses and few or no seams.
Blankets provide large expanses of seamless fabric—perfect for winter coats or jackets
Home Improvement Stores
“Say what now?”
Home improvement stores sell large canvas tarps ideal for dyeing, painting and otherwise embellishing, and they are way cheaper than purchasing canvas by the yard. They’re heavyweight and perfect for totes and some home décor projects like floorcloths, bins, etc. Some come with grommets already installed along finished edges, so the hem can be repurposed into your project.
Colored plastic tarps come in huge sizes and they’re ideal for tote bags and outdoor carry-alls where water resistance is needed.
Many home improvement stores also sell draperies and curtains providing large expanses of seamless fabric for sewing.
Check out the rope section for lots of cording size and color options sold by the yard or by the foot. They’re located near the clips, buckles, slides, grommets and latches that can also be incorporated into sewn projects.
So, as sad as many of us may be about store closures, we can just be more creative in the search for sewing necessities. Will we stop sewing because of it? Heavens no! As creative types, we know all about the “thrill of the hunt!”
Share Your Sources!
Tell us what sources you use for fabric and we will compile the information and present it in an upcoming artlce.
~Linda Griepentrog is the owner of G Wiz Creative Services and she does writing, editing and designing for companies in the sewing, crafting and quilting industries. In addition, she escorts fabric shopping tours to Hong Kong. She lives at the Oregon Coast with her husband Keith, and three dogs, Yohnuh, Abby, and Lizzie. Contact her at .