ASG member, and former Board member, Joi Bostic, recently had an opportunity to visit to the Textile Center in Minneapolis. The following is a recap of Joi’s visit, in her own words:
I was incredibly excited to learn that my brother-in-law who lives in the Minneapolis/St Paul area and knows about my love of sewing, had planned a trip to the Textile Center in Minneapolis during my visit. Due to road construction, we had to enter through the rear of the building, so I covered my eyes and carefully navigated the hallways until we reached the front. He really wanted me to experience the space from the front entrance, and he was absolutely correct.
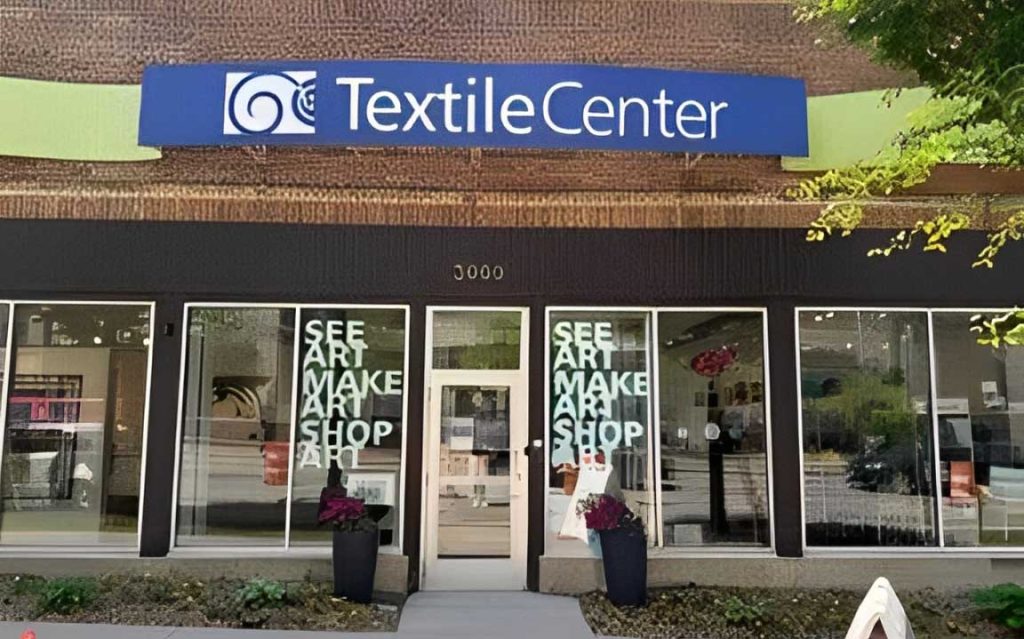
Upon my second time “entering” the building, I was greeted by a beautiful quilt exhibit to my left and a store to my right that was filled with treasures just waiting to go home with me.
But let’s start with the exhibit…
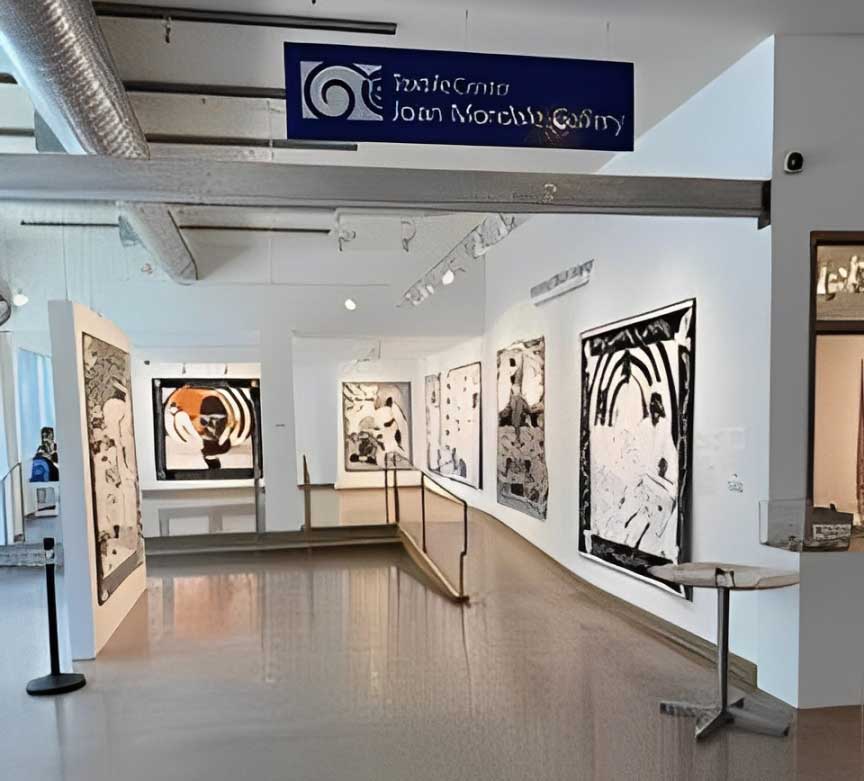
We were able to move through “Stitching Black Legacy: The Quilts of Carolyn Mazloomi.” Ms. Mazloomi’s attention to detail is amazing—the quilts were done in black and white with some having a splash of color to better tell the story. The most impressive part of the 19 quilts is that they were all created between 2024 and 2025 and the story that each one told was breathtaking. The “Stitching Black Legacy” exhibit will be there through July 12 in case you find yourself in Minneapolis.
Then, the Shop
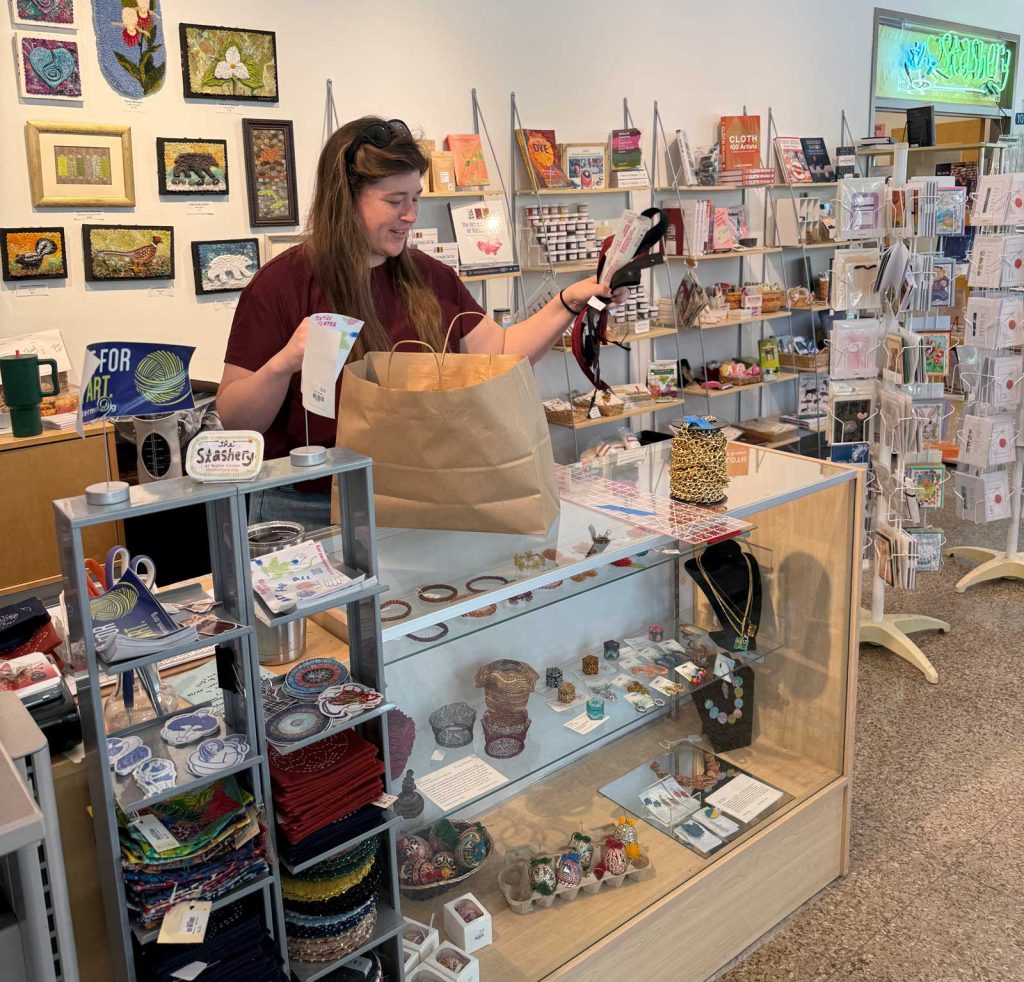
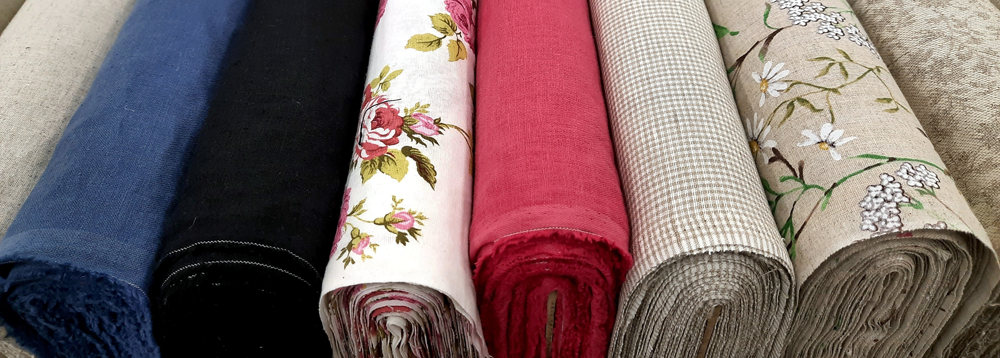
To the right was the Textile Center Shop which was filled with handmade fiber art and gifts featuring over 100 artists, as well as supplies to purchase for use in creating your own masterpiece.

Towards the rear of the shop was the entrance to a lounge area where a young lady was making yarn cakes for knitters or crocheters. The lounge area then ushered me into The Stashery. This area is where you can find a variety of previously loved materials at great prices. I had to exercise great restraint as I walked through and repeatedly reminded myself that I flew to the area and would not be able to fit the fabric, rulers, or big bundles of thread in my suitcase, not to mention not being able to transport rotary cutters or shears in my carry-on bag. Note that due to its nature, their selection changes constantly, but I was impressed that there were items for every type of fiber artist.
Into the Library
Across the hall from The Stashery is the phenomenal library. In this space, you can find the largest collection of fiber arts books, magazines, and media materials in the country with over 35,000 holdings. The stacks are arranged by topic, so all quilting materials are together, then sewing, then surface design which is subdivided by type of design. Finally, there is a a catch-all section. The end of each aisle features what can be found on that stack.

The librarian is a wonderful 81-year-old woman named Nancy. Nancy took the time to walk us through the entire library and explain how to find things. At one point she mentioned that members of various guilds can check out materials so, of course, I asked whether American Sewing Guild members could take advantage of checking out materials and the response was “YES!”
Ms. Nancy has an interesting story—she was a schoolteacher for many years then, after she retired, she started volunteering at the Textile Center. The librarian at the time became pregnant and needed to leave the Center and Ms. Nancy was asked if she could step into the role temporarily. Twenty years later, she is still their librarian and continues doing a fabulous job.
On to the Classroom
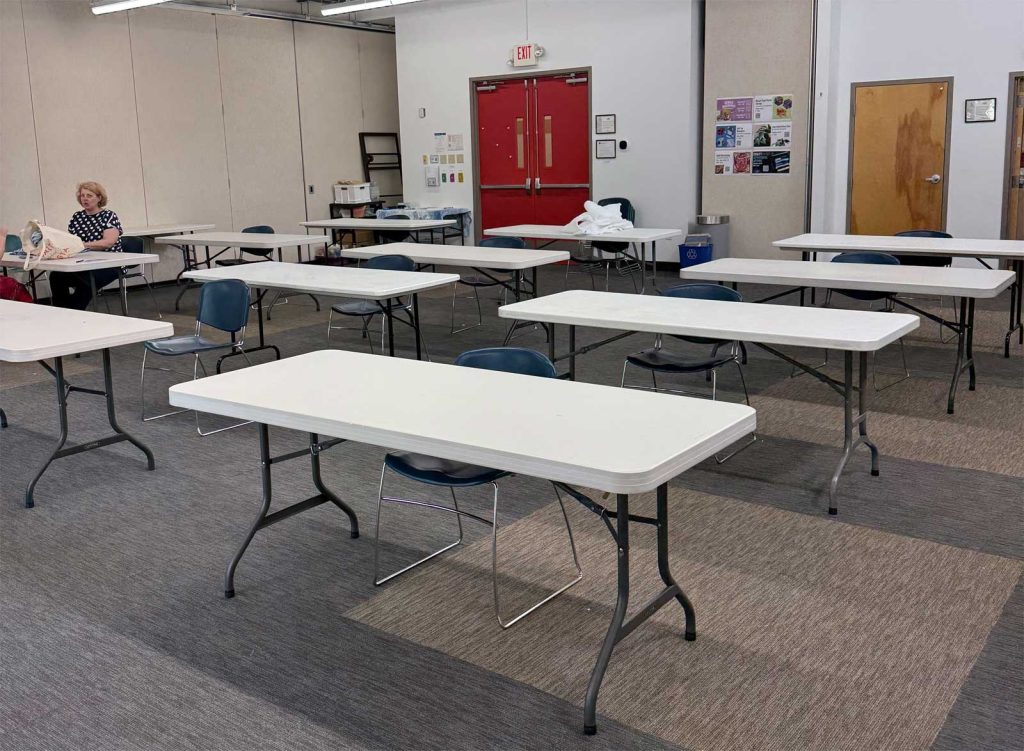
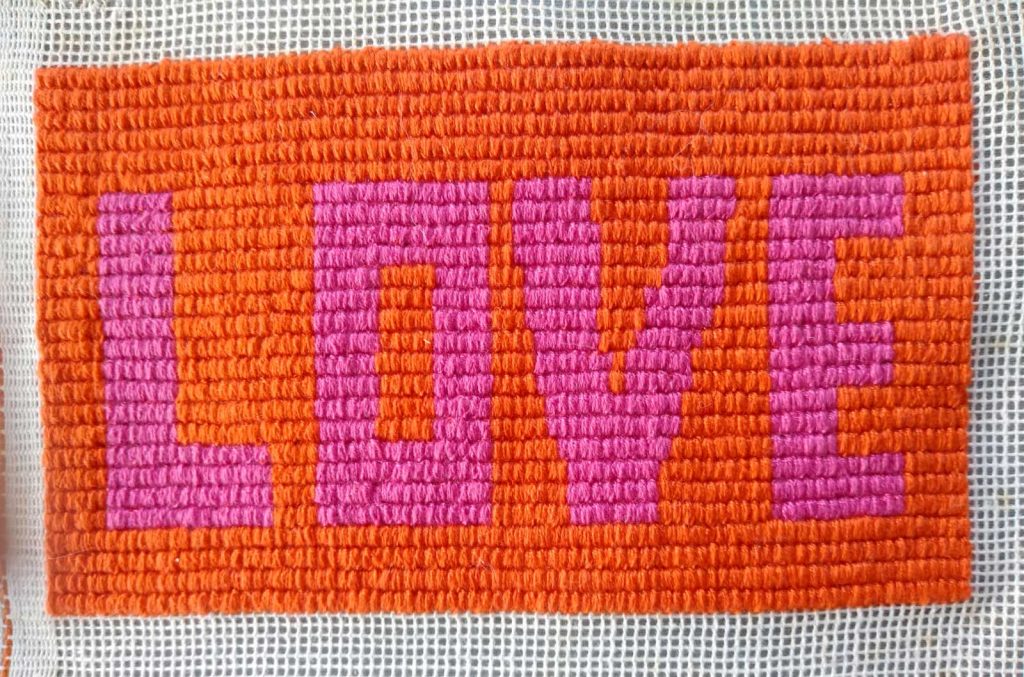
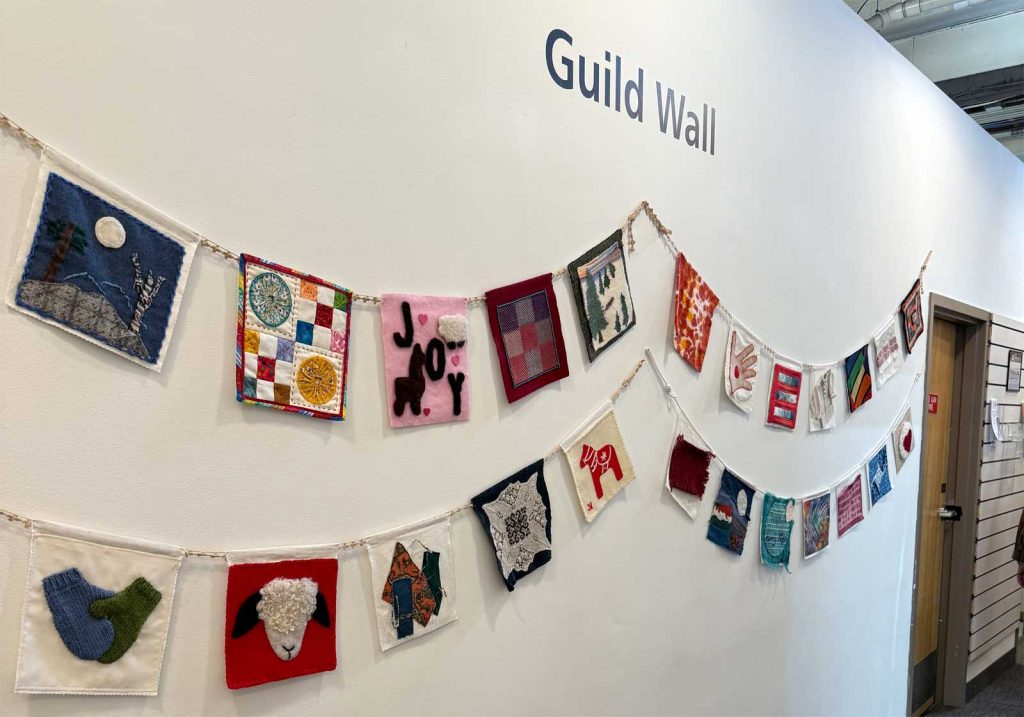
Down the hall from the library is a large classroom. This is a versatile space which can used for a number of purposes. When we arrived, a class was being held, but I didn’t see what it was as I was shielding my eyes to make my way to the front. Across from the classroom is a Dye Lab. Ooh, how I wished I had the time to play is that space! Along one of the hallways is a Guild Wall where fiber creations are featured.

Needless to say, I am grateful to know about the Textile Center. Its mission is to honor textile traditions, promote excellence and innovation, and inspire widespread participation in fiber art. It does my heart good to know that fiber arts continues to be appreciated and is here to stay for a long, long time.
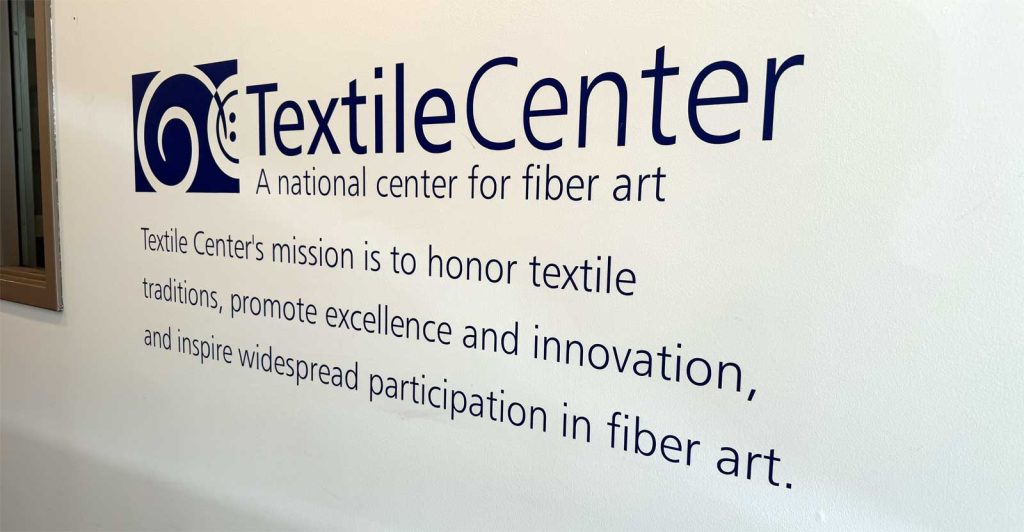
Learn more about the Textile Center at https://textilecentermn.org/.
~Joi Bostic, ASG Member