Whether you’re new to sewing or a seasoned veteran with myriad skills, chances are good that you like to continue learning about your favorite hobby and knowing the vocab is essential.
While there are glossaries of common sewing terms, we wondered about the not-so-common words that might be good to know. If you missed Part 1, click here to learn those words, then learn these as well for your next game of Trivial Pursuit!
Besom Pocket
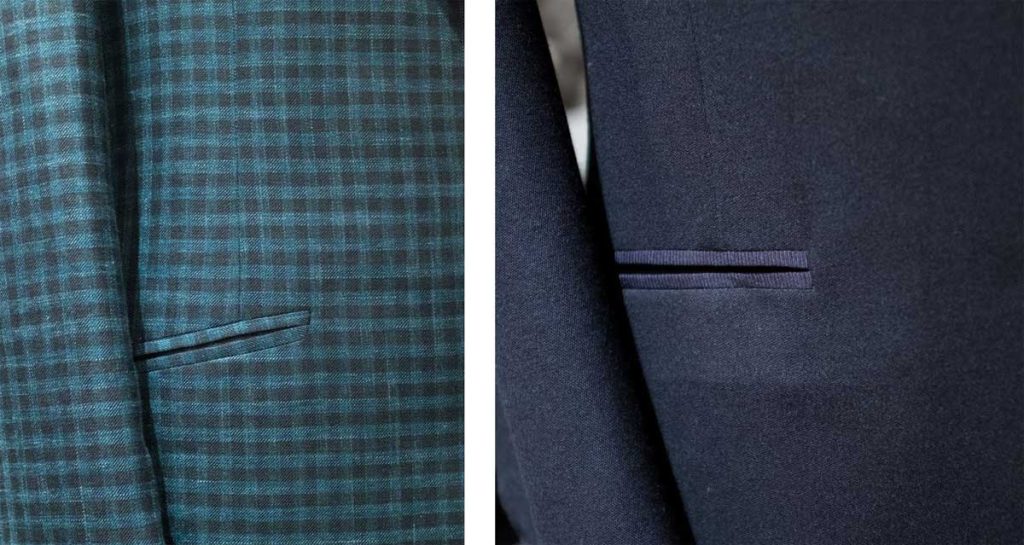
A besom pocket is inset into a garment (as opposed to being applied to the outside like a patch pocket). It is characterized by narrow piped edges along the pocket opening. Constructed similarly to a welt pocket, the narrow trim bands set it apart. The piped edges can be made from the same fabric as the garment, or from a contrast fabric or ribbon.
French Tack
A French tack is a grouping of threads used to hold two layers of fabric loosely together. Typically used to hold a lining in place at the hemline inside a garment, a French tack is about an inch long and the multiple thread strands are “overcast” together to hold them in place. French tacks are made by hand using a single thread to blanket stitch the initial strands together.
Hair Canvas
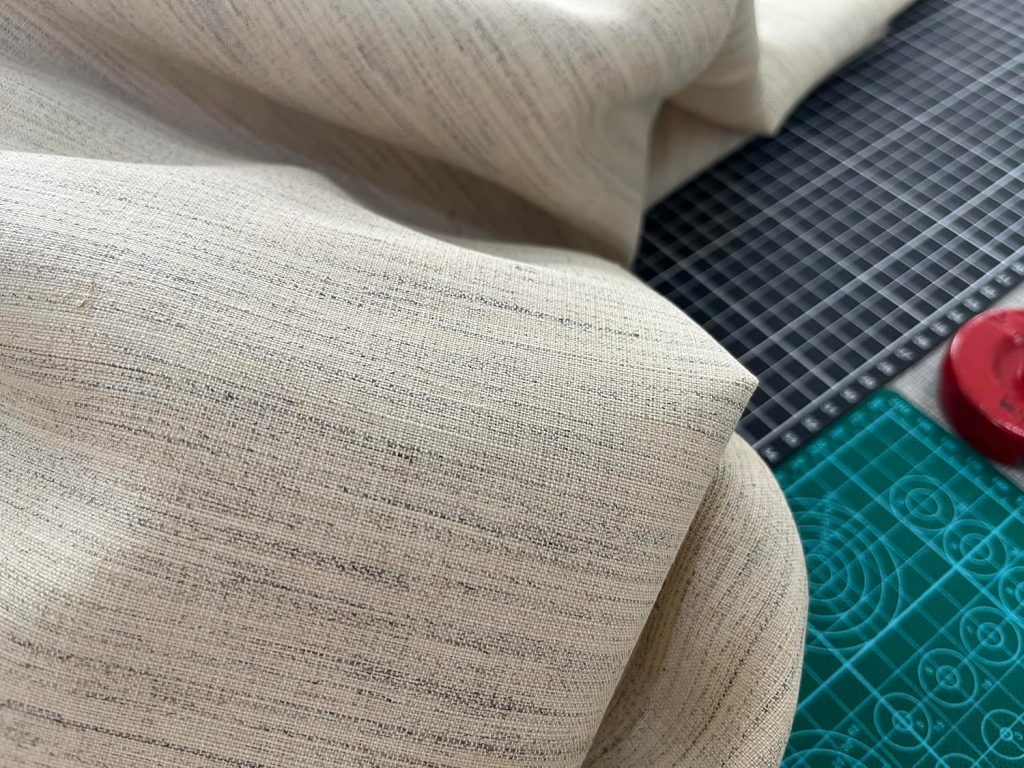
Traditional hair canvas is an interfacing fabric made from goat hair and/or wool, and it’s used in tailoring to give a crisp finish to lapels and collars. The real deal is quite costly, so manufacturers have come up with a substitute made from acrylic or polyester, cotton, rayon, wool and a small amount of hair. Hair canvas was originally only a sew-in product, but today there are now fusible versions as well. Because of its weight and character, hair canvas is best used on tailored wool garments.
Interlining
A layer of fabric behind the lining of a coat or jacket to add extra warmth. Often, it’s a lightweight wool, fleece or flannel depending on the amount of warmth needed.
Lambswool
A fluffy white woven fabric used in tailoring for sleeve heads, chest pieces and shoulder pads to add shaping and support.
Padstitching
Stitches used to hold one or more layers of interfacing to a tailored garment. Padstitching can also be used for garment shaping. The technique can be done by hand when it doesn’t show on the finished garment, or it can be done by machine where it’s visible upon completion.
Rouleau
Very thin fabric tubes used as button loops or for garment trim.
Sleeve Head

An added piece of woven fabric or interfacing placed at the cap of a sleeve to support the sleeve and maintain shaping. Sleeve heads are usually loosely hand stitched to the cap seam allowance. There’s no need to finish the edges of the sleeve head as it will be covered by the garment lining.
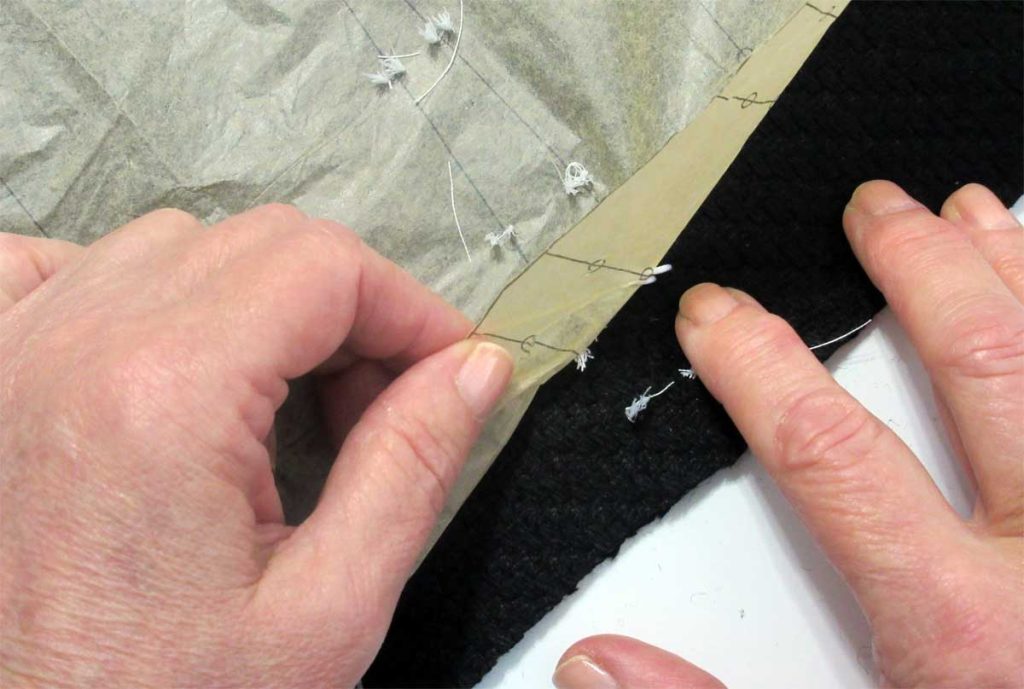
Tailor Tack
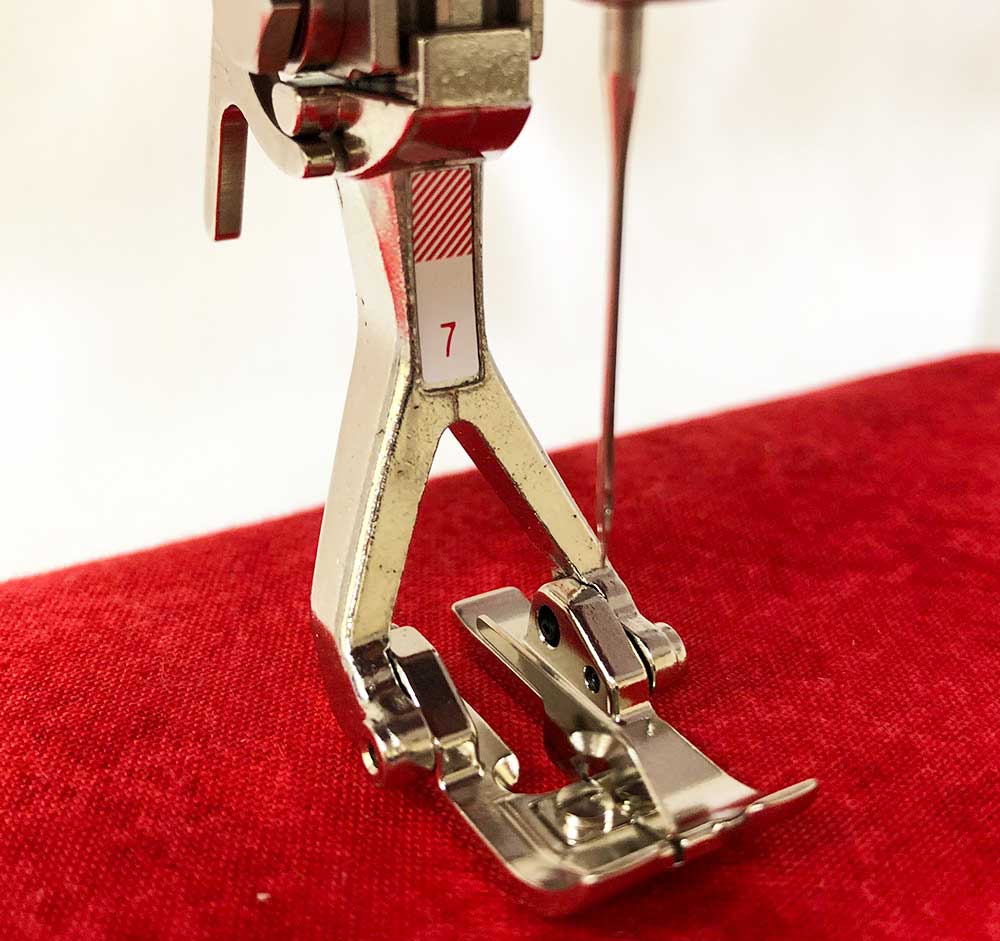
A tailor tack is a thread marking used to indicate a seam line or construction details, such as darts, match points, etc. Threads remain in the fabric until after stitching the marked item, then are removed. Tailor tacks can be made by machine, using a tailor tacking foot with a raised bar, or they can be made by hand using multiple thread strands.
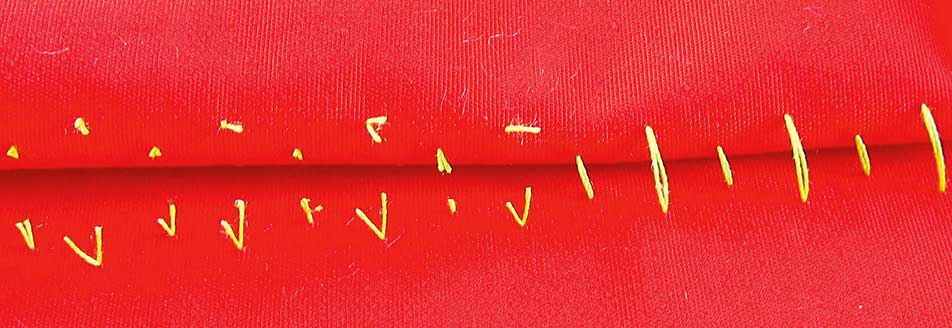
When making tailor tacks by machine, use the special foot and sew a wide zigzag stitch along the designated design detail (dot, seamline, etc.) through the pattern and fabric layers. Clip the threads between the layers and leave the thread tufts in place until after final stitching is complete.
Underlining
Underlining is an extra layer of very lightweight fabric cut like the outer garment’s fashion fabric. The two layers are joined along the edges and treated as one during construction. Underlining is helpful for adding body to lightweight fabrics, and it helps retain shape on loosely woven fabrics. Often confused with interlining (see above).
~Linda Griepentrog is the owner of G Wiz Creative Services and she does writing, editing and designing for companies in the sewing, crafting and quilting industries. In addition, she escorts fabric shopping tours to Hong Kong. She lives at the Oregon Coast with her husband Keith, and three dogs, Yohnuh, Abby, and Lizzie. Contact her at gwizdesigns@aol.com.