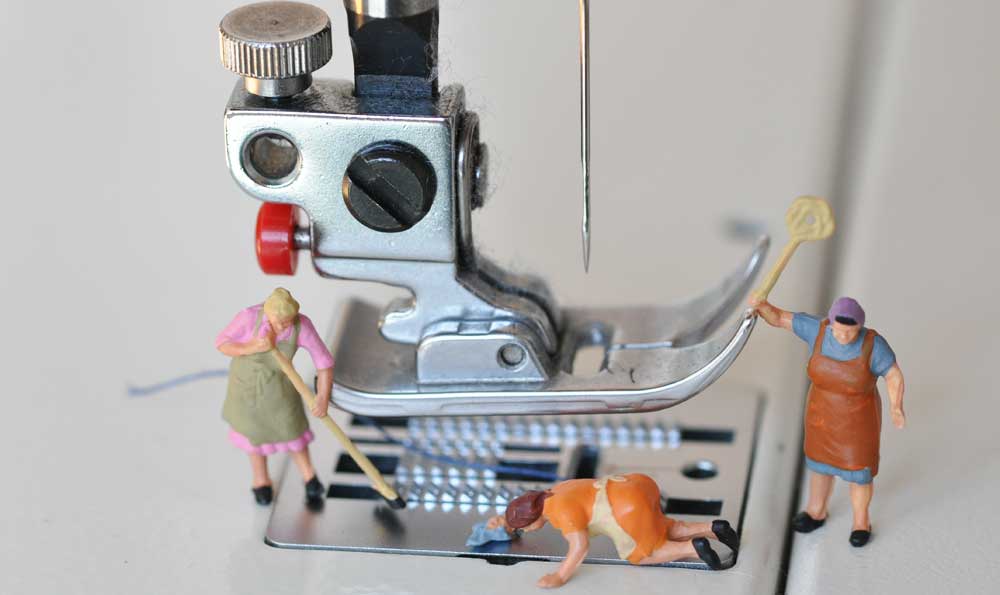
As much as we love sewing, some tasks aren’t quite as much fun as others, but they’re no less important. One of those tasks is cleaning your sewing machine. If you allow dust, lint and thread to build up in the machine, you’re asking for trouble, so make a point to clean it on a regular basis.

How often do I need to clean my machine?
Experts advise cleaning every 10-12 hours of use, or more often if you’re using fuzzy fabrics like fleece, wool, quilt batting, etc.
What You’ll Need
In addition to the machine manual, you’ll need a few helpful tools. Look for the machine’s lint brush (or a small paintbrush), a soft cloth, pipe cleaners, Q-Tip, tweezers, a screwdriver (if needed) and perhaps treat yourself to a mini vacuum attachment. Or, if you prefer, look for disposable sewing machine cleaning brushes.
First and foremost, consult your instruction book for the care specifics of your model. Then, unplug the machine before you begin. Remove the needle and presser foot to allow easy access to the innards of the machine where the accumulations can easily go unnoticed.
Up Top
Once you’ve removed the needle and presser foot, take off the machine’s throat or needle plate. This can be done by pushing a button, lifting a lever or unscrewing it, depending on the machine brand. Doing this exposes the machine feed dogs (those little teeth that move the fabric), thread cutter (if you have one) and other movable parts. And, very likely, some packed-in lint as well.
Lint comes from the fabric we sew, the thread we use and from the dust in the environment, including those loyal pets who watch us create at the machine.
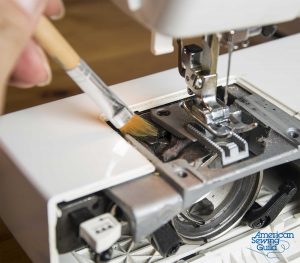
Use the brush, tweezers and/or a pipe cleaner to pull out the gobs of lint throughout the entire area. Lift the feed dogs to remove lint packed underneath them. Avoid the temptation to simply blow lint out with your breath or with canned air, as both not only introduce unwanted moisture into the machine, but they can imbed the dust bunnies further into the machine’s mechanism. The use of canned air can also void some machine warranties. Gently lift it out one whisp at a time.
Don’t forget to clean the area above the presser foot, as lint often accumulates there as well and sometimes up into the light area if it’s accessible.
Fold the soft cloth and clean between the tension disks to dislodge any bits that might be hidden as a result of thread breakage while sewing.
Down Below
Remove the bobbin case (if you have one) and open the bobbin area per your instruction manual. Pay close attention to the process, as you’ll be putting it back together in reverse order. Remove lint or any errant thread bits in that entire area, including inside and outside the bobbin case.
If your machine requires oil, now is the time to do it, once lint is removed and the moving parts are visible. Carefully follow the instruction manual for where and how to lubricate and use ONLY sewing machine oil for the task.
Finishing up
When you’re done with the cleaning tasks, reassemble the parts and plug the machine back into the power source. If you oiled it, run it for a while without thread or bobbin to work the oil into the parts. This is a great time to put in a new needle as well.
Use a barely damp cloth to wipe down the outside of the machine to remove any visible stains. You probably didn’t mean to touch the machine after eating chocolate.
Call in the Pro
Regular machine cleaning is essential to successful sewing, but so is a yearly or bi-yearly check-up from your dealer. They can get to the internal workings that you can’t reach, and their work goes beyond cleaning. So, don’t skip it…it’s like your personal health check-up.
~Linda Griepentrog is the owner of G Wiz Creative Services and she does writing, editing and designing for companies in the sewing, crafting and quilting industries. In addition, she escorts fabric shopping tours to Hong Kong. She lives at the Oregon Coast with her husband Keith, and three dogs, Yohnuh, Abby, and Lizzie. Contact her at gwizdesigns@aol.com.


