Every card is a smile waiting to happen—but when you sew your own, you’re not just sending a message, you’re sending a handcrafted masterpiece.
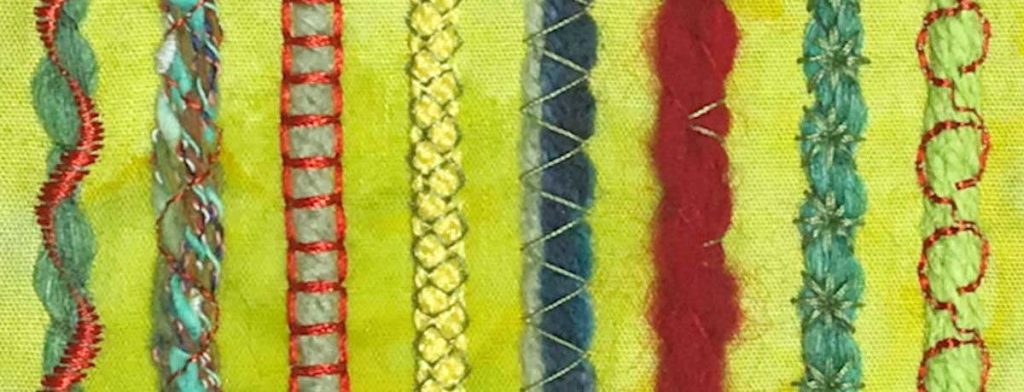
Remember all those decorative stitches you just had to have when you purchased your machine? Maybe you have some fabric scraps that are too beautiful to toss, or leftover quilt squares. Cardmaking is a great place to use all of it with aplomb, so fire up your sewing machine and let the fun begin.
Getting started
Visit a craft store or shop online for card blanks. These are die-cut card stock available in various shapes—with frames in square, rectangular, circle or other cut-out shapes. These frames are also often available in the photo department of a store as the same item can be used to showcase photos, but we’re going to use fabric pieces instead.
Double check that your frames are tri-fold, meaning that there’s a section of the card stock that goes behind whatever is showcased in the frame opening. That extra fold hides any stitching on the underside and makes it unseen by the card’s recipient. If the card frame isn’t a tri-fold, then you’ll need to plan something like a decorative paper panel to go behind your addition.
You can carefully cut your own card blanks with an X-Acto knife, or if you have a die-cutting machine, it’s easy to make your own card stock frames.
Many card blanks come with matching envelopes, but if not, check the craft store for coordinating envelopes in the proper size.
You’ll also need a glue stick or tape to anchor the stitched piece to your card frame.
Once you have the paper portion of your project selected, let it speak to you about what kind of stitched piece should go with it.
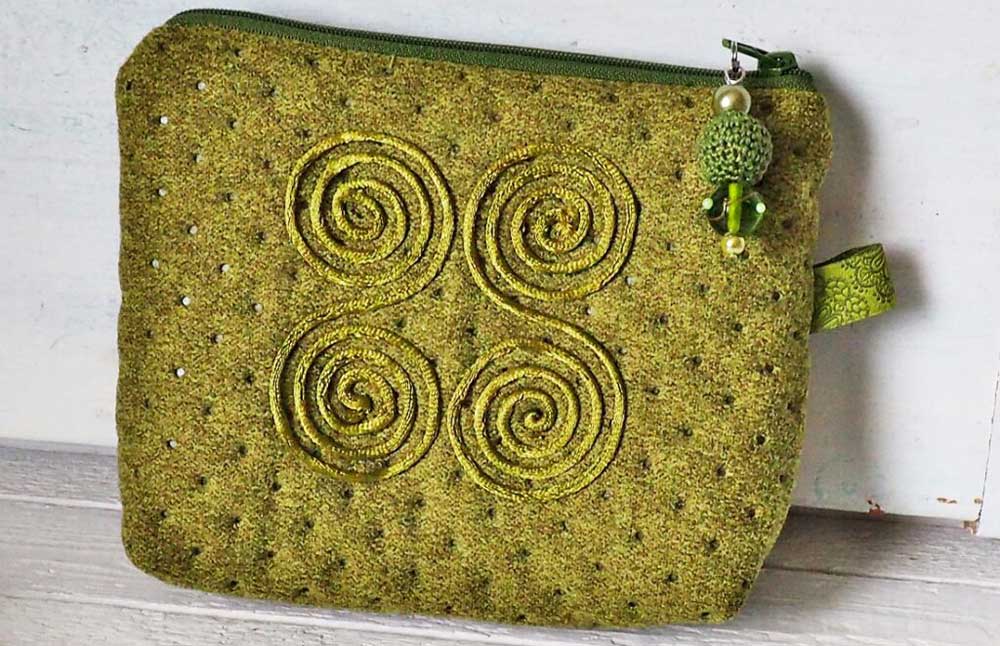
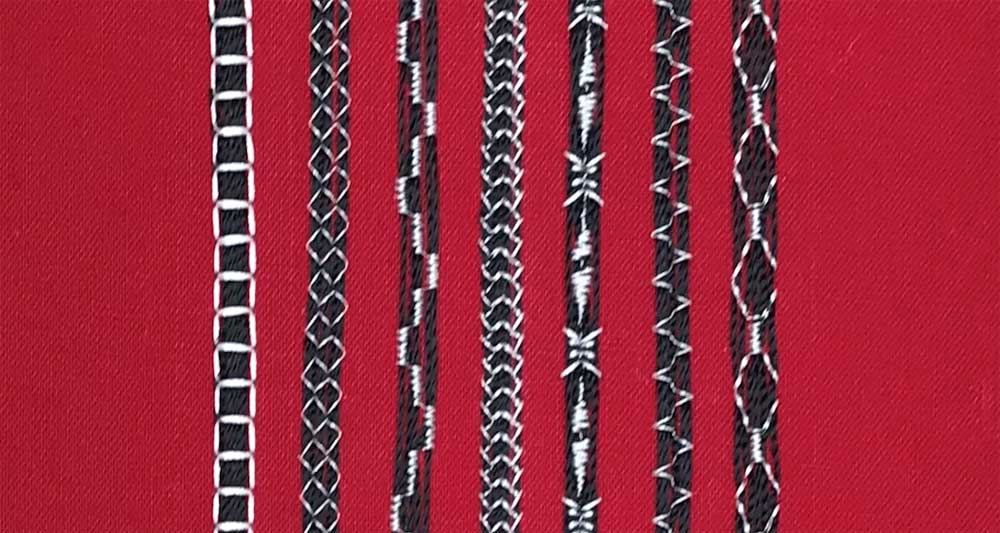
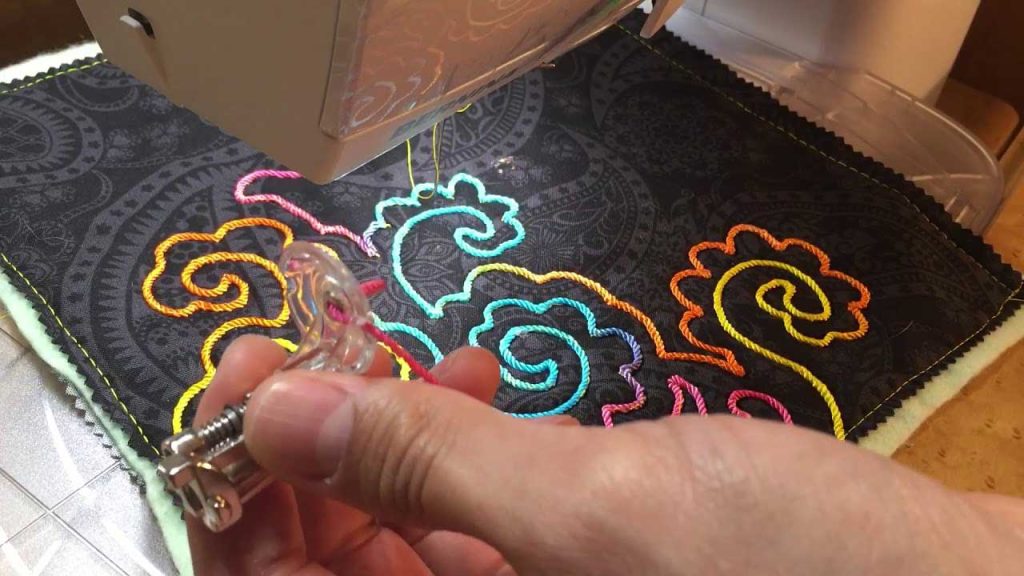
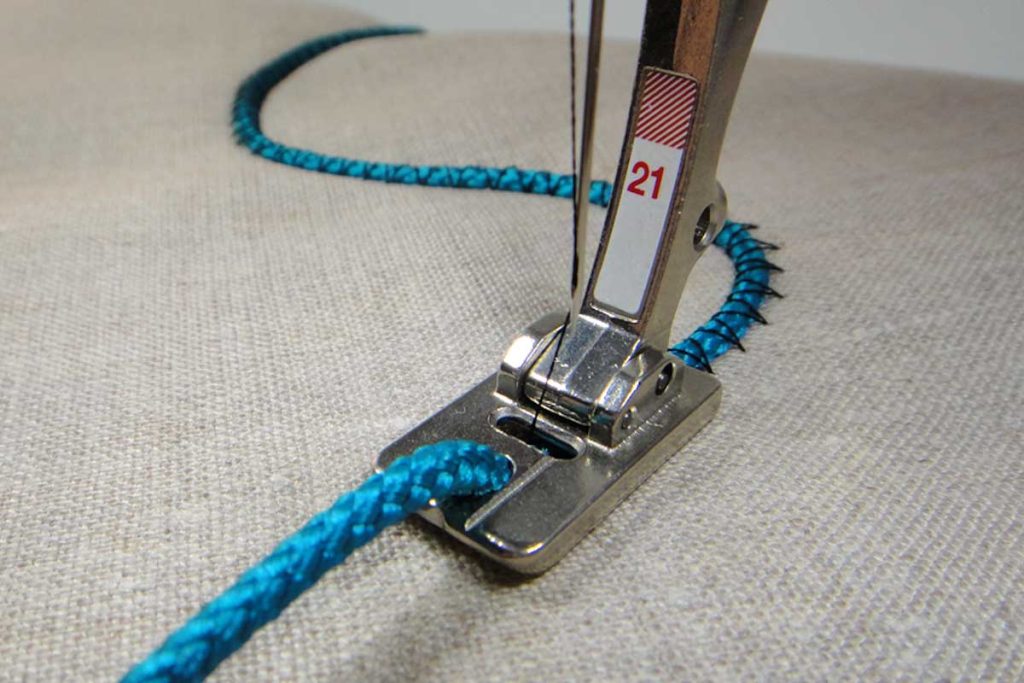
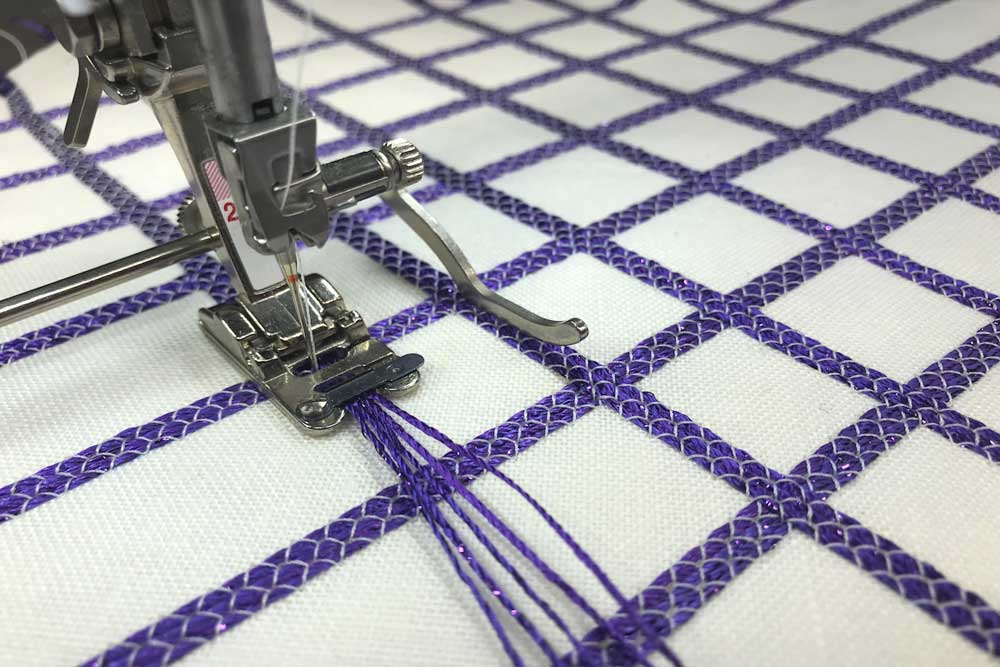
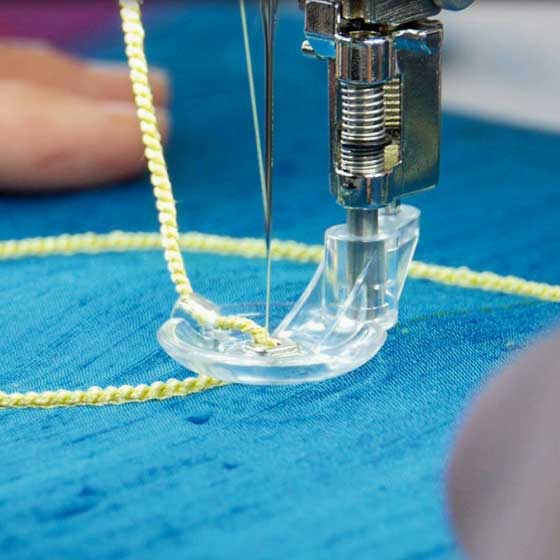
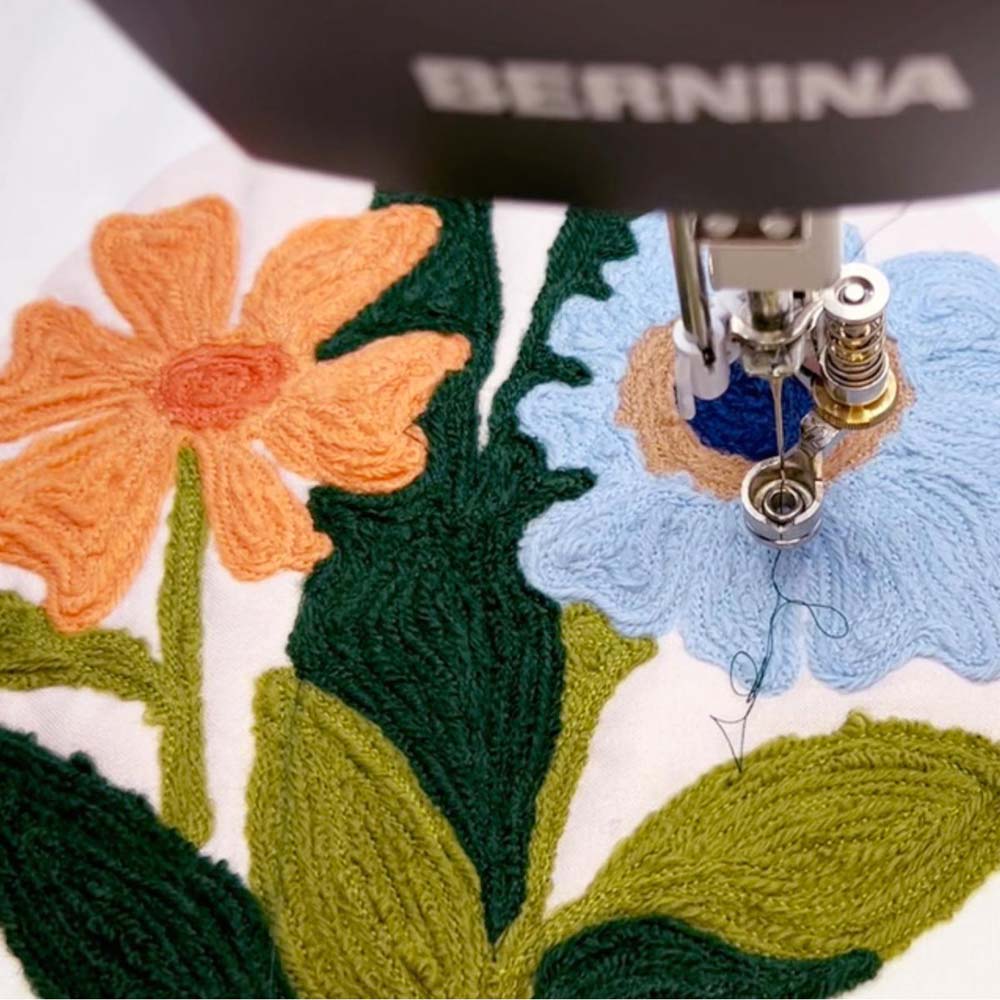
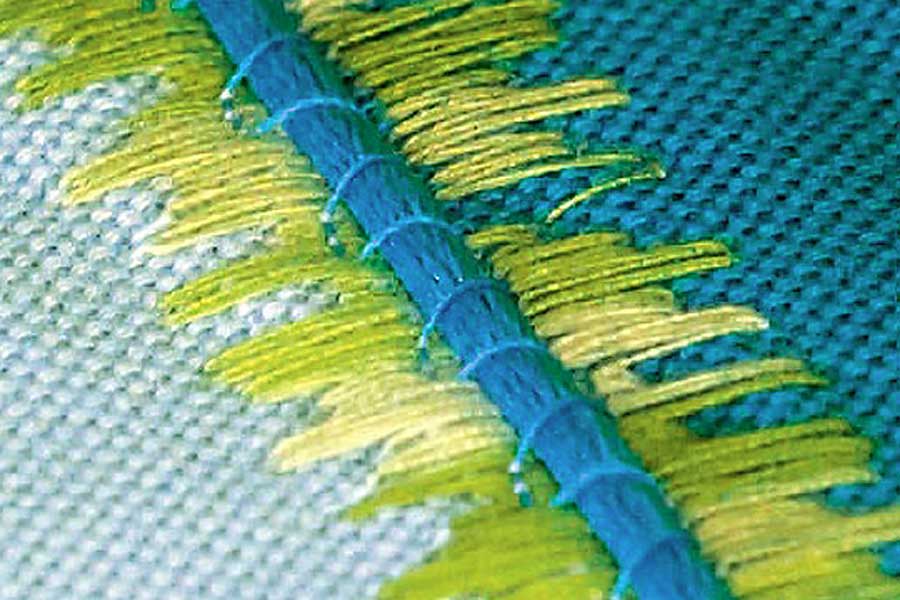
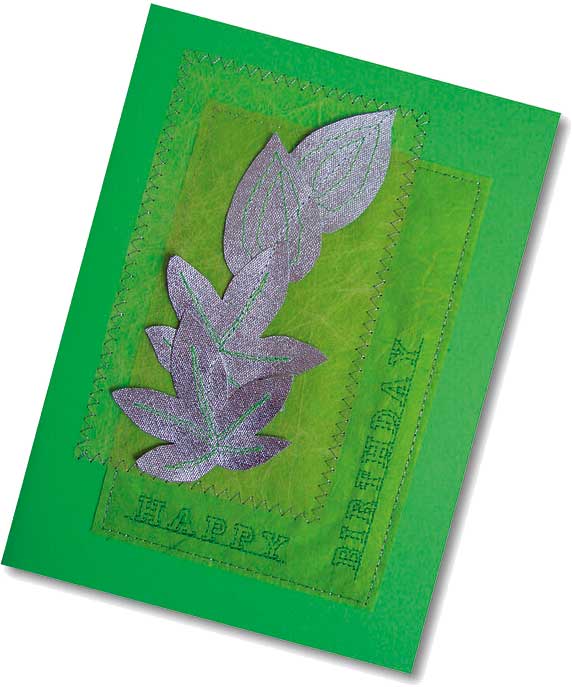
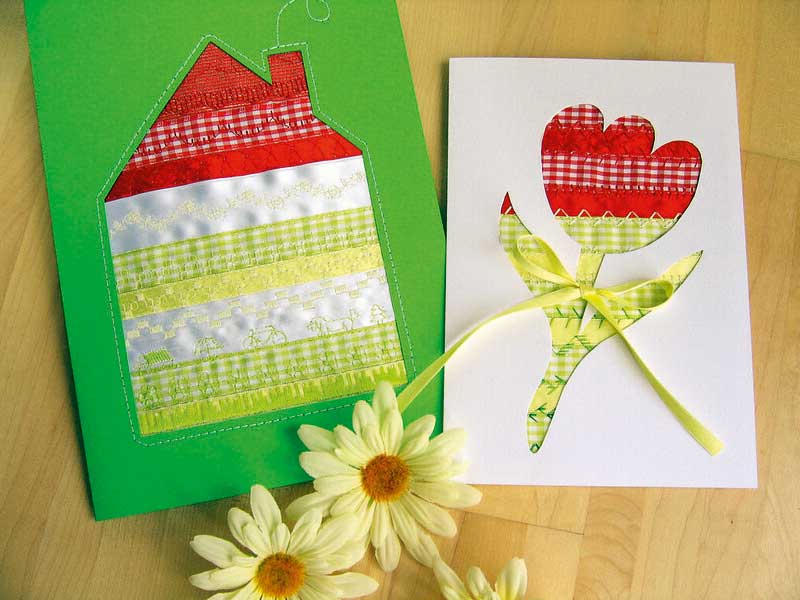
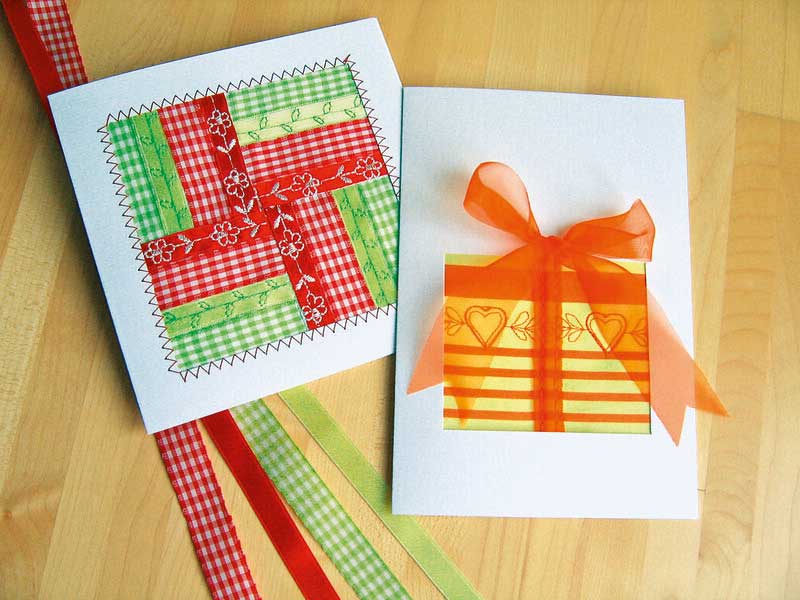
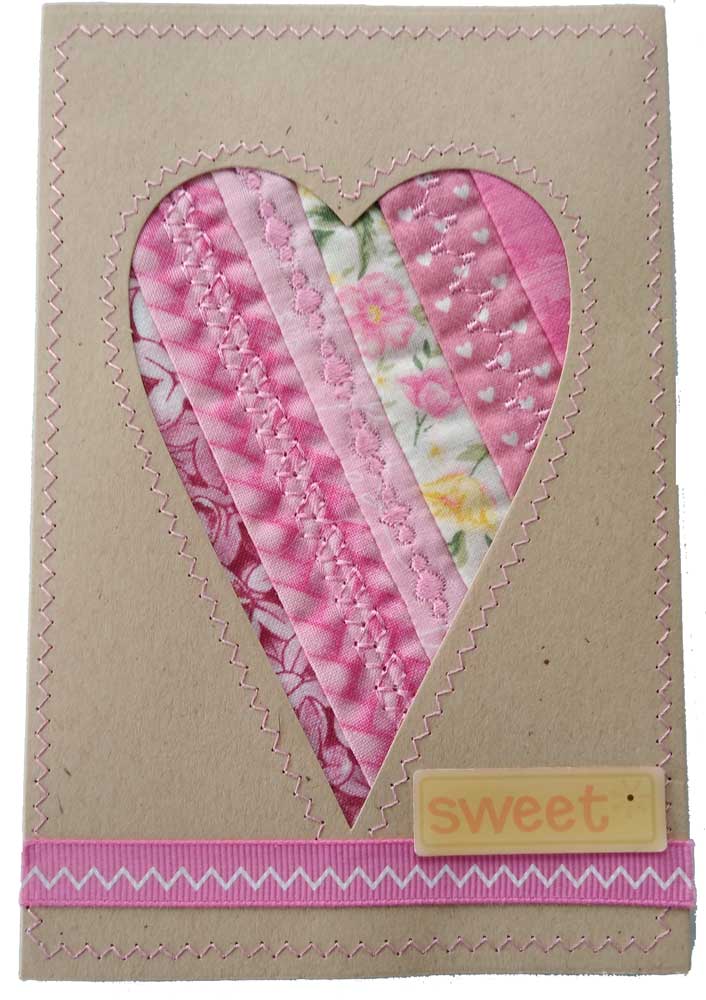
Almost anything is fair game for cardmaking—small bits of colorful fabric collaged together, pieced ribbon bits, leftover quilt blocks too good to throw away, machine embroidered test pieces, or specific pieces made for the card shape. It’s also a good opportunity to showcase novelty threads and embellishments of all sorts—from sequins to trims and everything in between.
Stitching up
If you’re hand stitcher, cards are a great place to showcase your stitchery. The space is relatively small and things sew up fast for framing.
If you prefer a quilted inset, use all or part of a leftover block to feature.
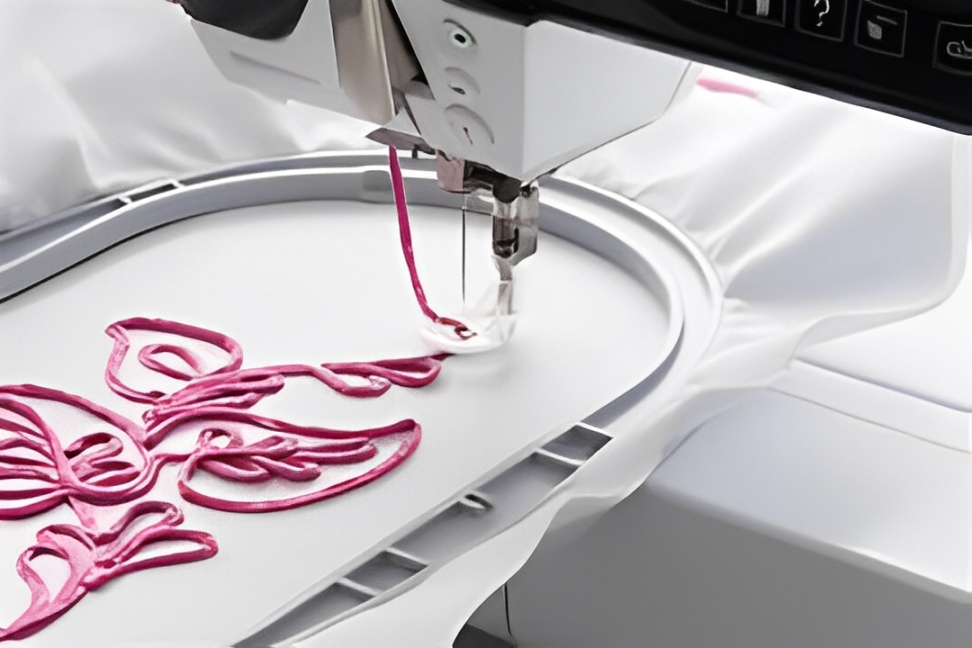
For machine sewers, the world is your oyster for stitch combinations to embellish the small size piece needed for cardmaking. Cards are also ideal just for showcasing a beautiful piece of fabric—sans any stitching.
- No matter which technique you plan to use, it’s a good idea to stabilize the featured piece. A lightweight iron-on stabilizer is ideal for most circumstances, and a lightweight batting is great for quilting a small fabric block to fit your frame.
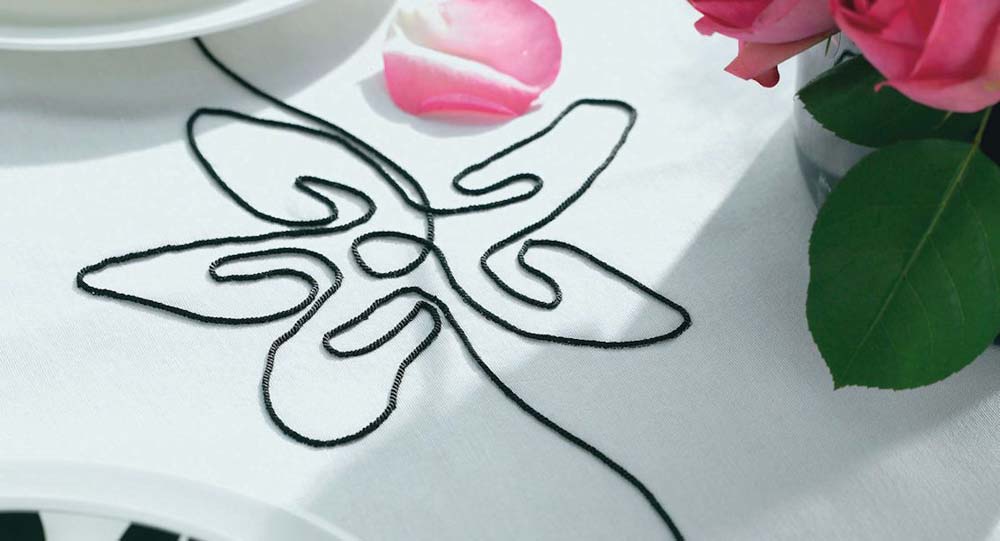
- Before you stitch your featured piece, trace the frame opening size onto the fabric right side using a removable marker. This gives you lines to stitch within.
- Extend any embellishment—stitching, trim, etc.—1/4” beyond the traced line and anchor all the threads securely. Then trim your finished piece 3/8” beyond the traced line with your feature area centered.
- Open out the tri-fold section to showcase the frame opening, then place the featured fabric piece under the cut-out in the desired position. If you’re including ribbon or trim on top of the fabric, this is time to place it into position. Carefully apply glue or tape to the extension area underlap area only.
- Before finishing the card, you can stitch around the opening shape if you want to. Use a small sharp needle and a medium stitch length. Too small of a stitch may damage the card stock. Bring threads to the underside and tie off to anchor—don’t backstitch.
- To finish the card, fold the third panel over the underside of the fabric piece and lightly glue the corners in place. This hides the underside of your stitching. Allow to dry thoroughly.
- Finally, write your heartfelt sentiments inside the card using a colorful marker and send it on its way!
All photos, except where noted, are reprinted with permission from Bernina
~Linda Griepentrog is the owner of G Wiz Creative Services and she does writing, editing and designing for companies in the sewing, crafting and quilting industries. In addition, she escorts fabric shopping tours to Hong Kong. She lives at the Oregon Coast with her husband Keith, and three dogs, Yohnuh, Abby, and Lizzie. Contact her at .