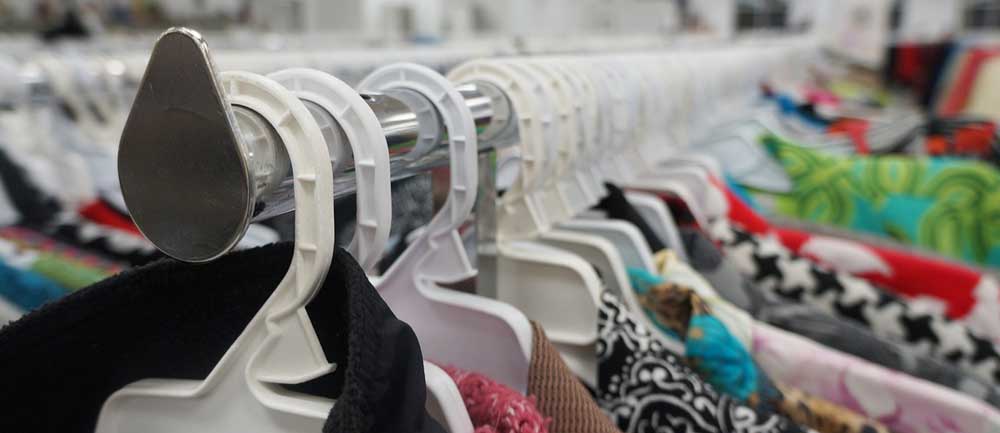
We often don’t think about seam finishes when constructing a new garment. A standard straight-stitched seam may be your go-to technique, you may zig-zag the seam and trim close to the stitching, or you might use your serger to provide a clean and easy finish. While any of these methods are efficient and give a clean, ready-to-wear look, sometimes you are looking for a more custom-made finish. There are some wonderful alternatives that are not only effective but can actually become a design element of your garment.
Hong Kong Seam Finish
A Hong Kong seam finish is a method used to neatly encase the raw edges of a seam, providing both a decorative and durable finish. It’s commonly used in garments where the inside of the garment is visible, such as unlined jackets, dresses, or blouses.
- Begin by sewing your garment pieces together with a regular seam allowance. Use the seam allowance specified in your pattern or the one you’ve chosen if you’re drafting your own design.
- Cut (and seam together, if needed) 1”-1 ½” wide bias strips of lightweight, matching fabric or for a colorful effect, use a contrasting fabric. The strips should be long enough for the total length needed for all seam edges to be finished, plus a little extra for overlap. If the fabric needs a little more body, gently press it with some spray starch or starch alternative but be careful not to stretch the bias as it will narrow.
- Press the seam allowance open with an iron. This will make it easier to attach the binding evenly.
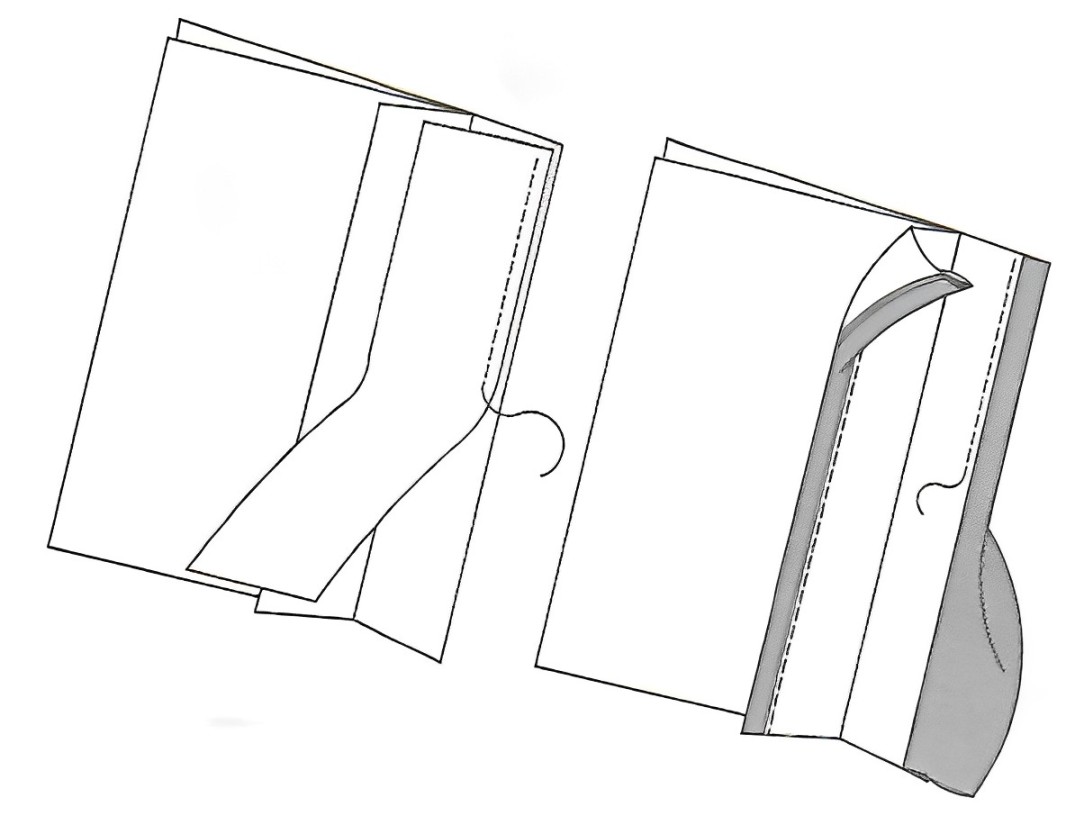
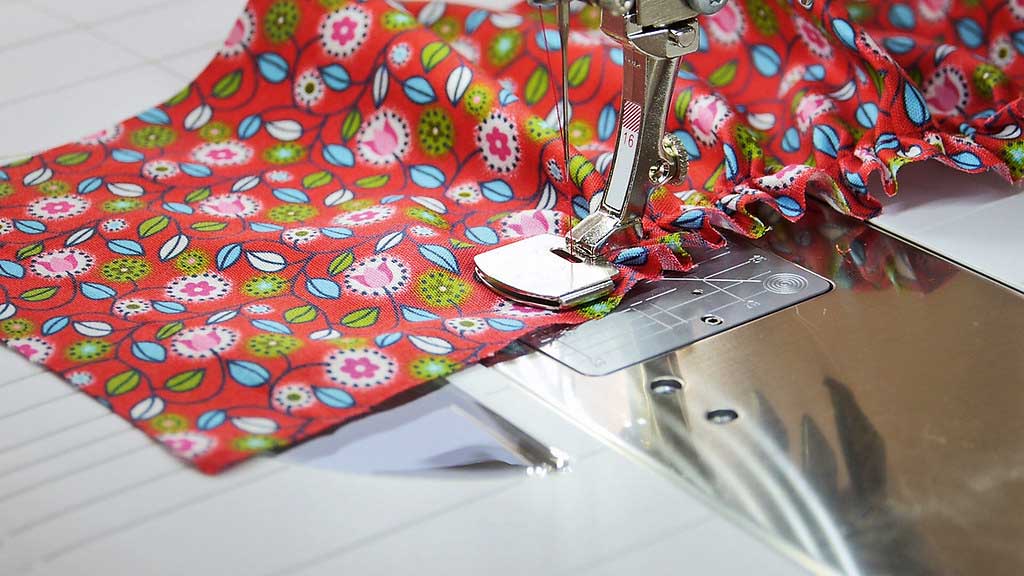
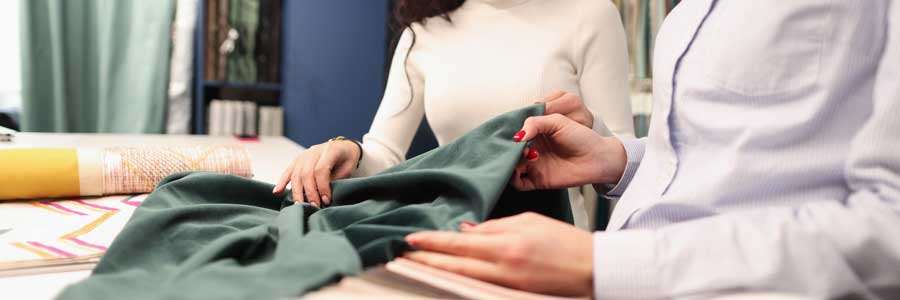
- With right sides together, place the strip along the single garment seam allowance or edge, matching the raw edges. Sew with a scant ¼” seam. (image 2 of 3 above)
- Press the seam allowances toward the bias strip.
- Wrap the seam allowance edge snugly with the strip and pin in place.
- To finish, stitch in the ditch of the seam, catching the fold-over strip portion on the underside in the stitching.
- If needed, trim the fold-over portion of the strip evenly next to the stitching.
- Repeat for all seam allowances that need finishing.
- Give your finished seams a final press with the iron to set the stitches and ensure a neat appearance.
 That’s it! Your seams are now neatly finished with the Hong Kong seam method, providing both durability and a polished look to the inside of your garment.
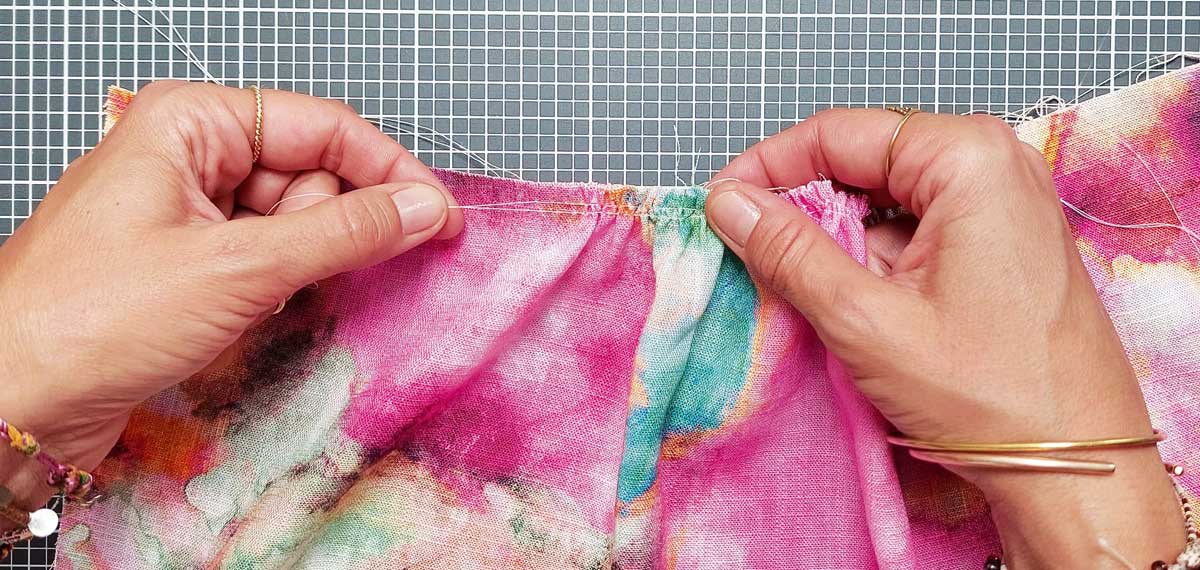
Hand Overcasting
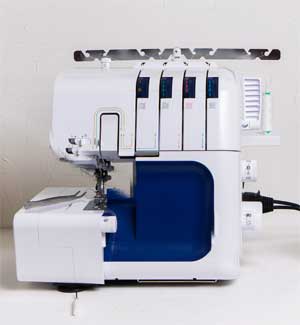
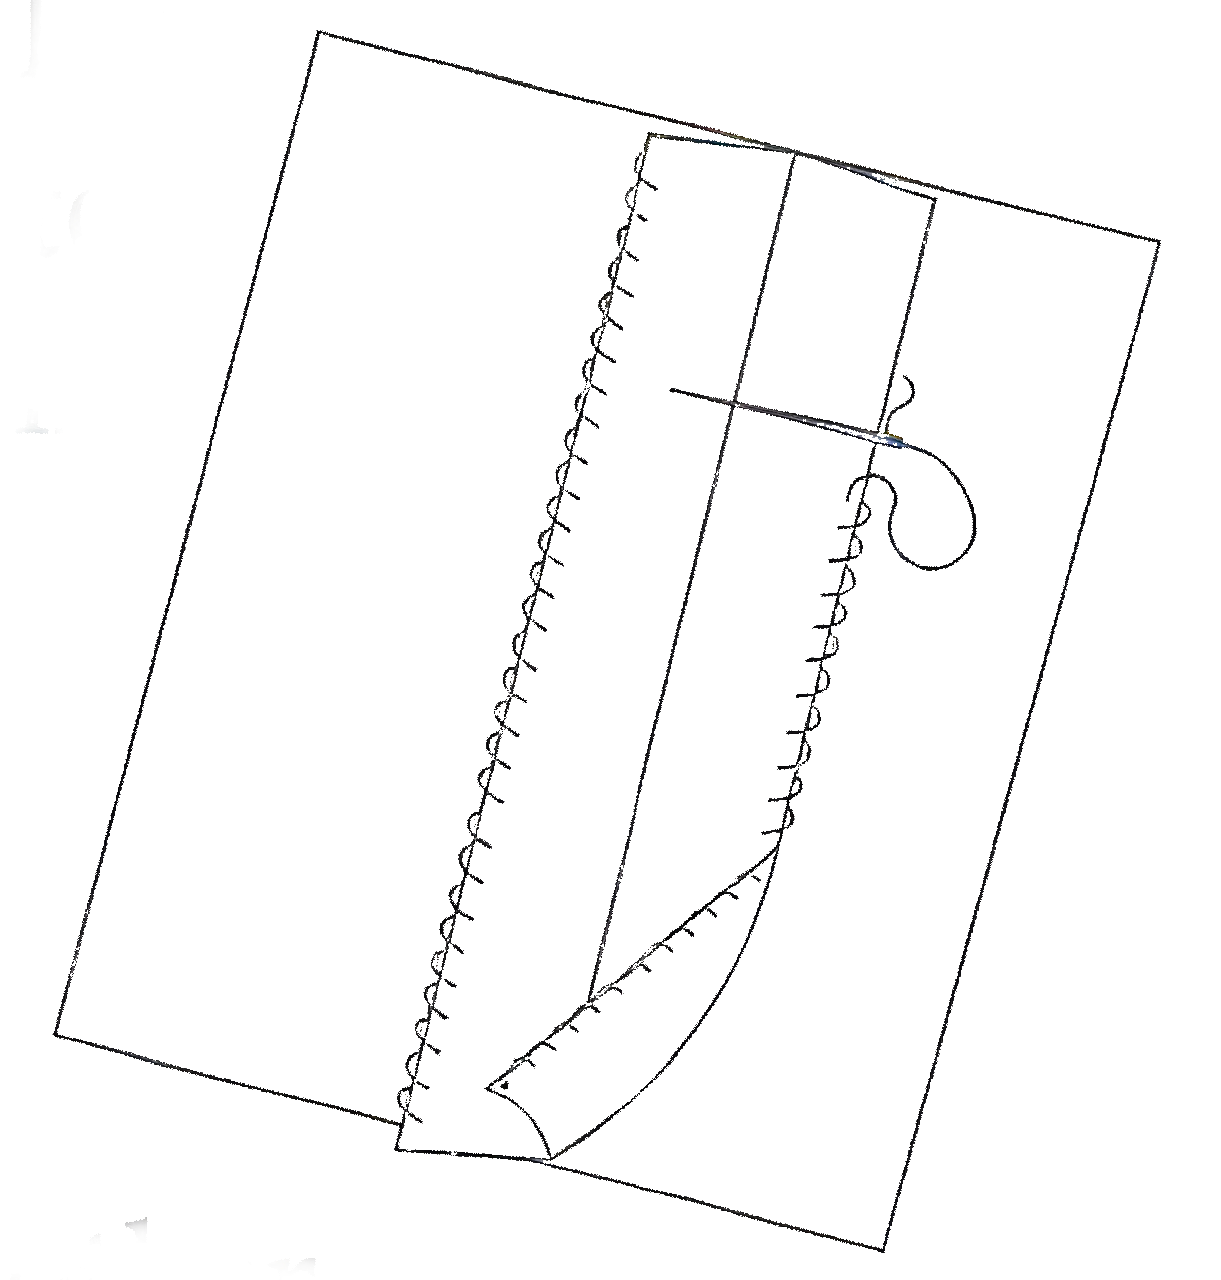 If you’ve ever constructed a garment from sequined or metallic fabric, you will be familiar with the countless broken needles and will have experienced the massive raveling. By the time you’re ready for seam finishes, you’re looking for an alternative to running this fabric through a sewing machine again. Hand overcasting the seam allowance is a great choice. While time consuming, the saving grace is that these garments tend to have simple lines with few seams to finish. Waxed thread makes this job easier. Simply whipstitch all the seam allowances that will be exposed. If the fabric is not too bulky, you may be able to turn under a small bit before you overcast-all the better. This is more than likely the seam finish your grandmother would have chosen and the one that is often used in today’s haute couture houses.
Enclosed Seams
An enclosed seam refers to a stitching technique where the raw edges of the fabric are completely encased within the seam allowance, leaving a neat and clean finish on both the inside and outside of the garment. This method adds durability and a professional look to the project, preventing fraying and ensuring a polished appearance. Enclosed seams are commonly used in garments that require a high level of precision and neatness, such as tailored clothing or garments made from delicate fabrics like chiffon or silk.
To create enclosed seams, the garment is constructed using a method that eliminates exposed seam allowances. One option is the flat-felled seam. This seam is often found in jeans that have topstitching on the outside. Some try and mimic this by serging the seam allowances together, pressing them to one side, and then topstitching. This is not quite the same as a traditional flat-felled seam, although it still looks great from the right side of the fabric.
- In order for the seam allowance to be enclosed, seam the fabric with wrong sides together.
- Trim one seam allowance to 1/8″.
- Wrap the remaining seam allowance around the trimmed allowance and tuck it under.
- Now topstitch along the fold through the seam allowance and the main fabric.
Flat-felled seams are very strong and work well where there is a lot of wear and tear, like with jeans.
French Seam
Sewing a French seam involves a two-step process to enclose the raw edges of fabric neatly within the seam allowance. This finish is a good choice for fine and extra fine fabrics and works especially well on sheers where the seam finish would be visible from the right side, or on lingerie or very ravel-ly fabrics as no raw edge is left exposed.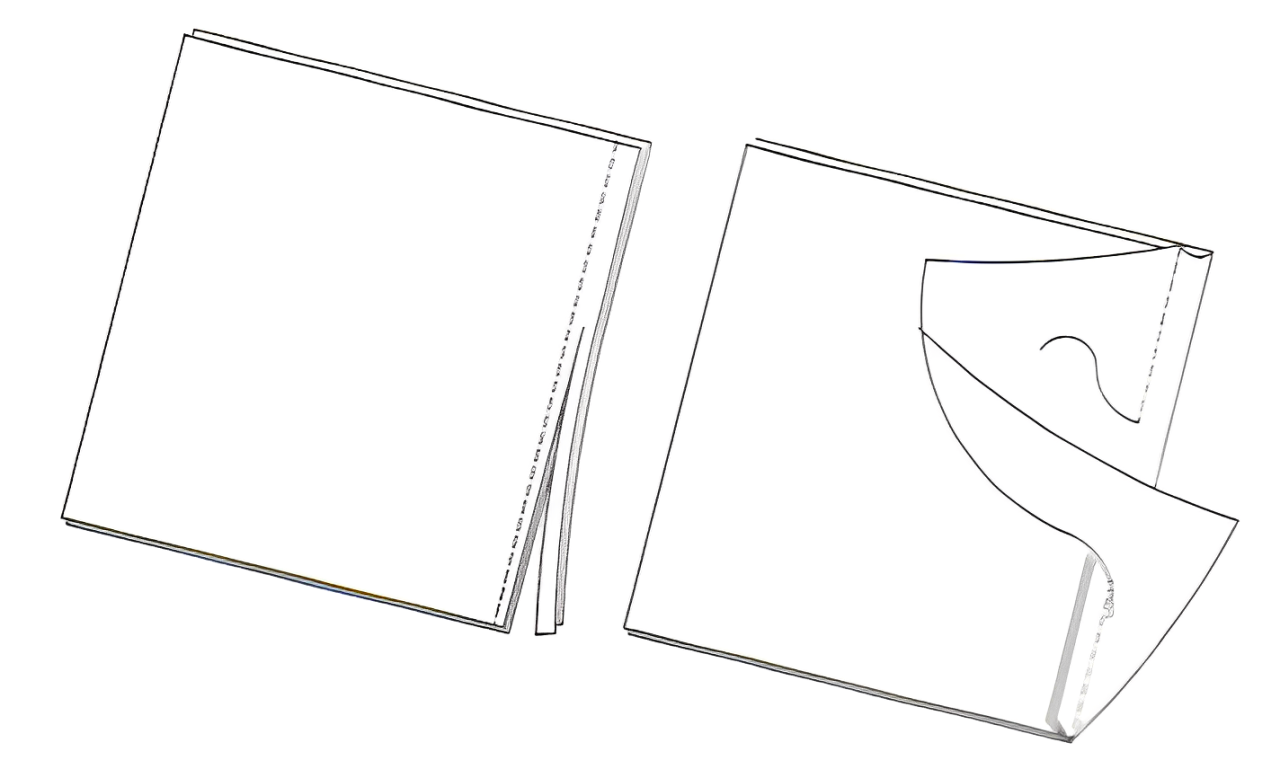
- With wrong sides together, stitch the two layers with a 1/4″ seam.
- Press flat to set the stitches.
- Now turn the fabric right sides together and press the seam flat.
- Seam at 1/4″ for a total of a 1/2″ seam.
- With the right sides of the fabric folded together and the raw edges encased within the seam, stitch again with a 1/4″ seam. This will give you a total of a 1/2″ seam allowance.
- Alternatively, if your original seam allowance is 5/8″, stitch the first seam at 1/4″ and the second seam at 3/8″.
Your finished project will have a clean, durable seam with no raw edges visible on either side, making it ideal for lightweight and sheer fabrics as well as garments that require a polished finish.
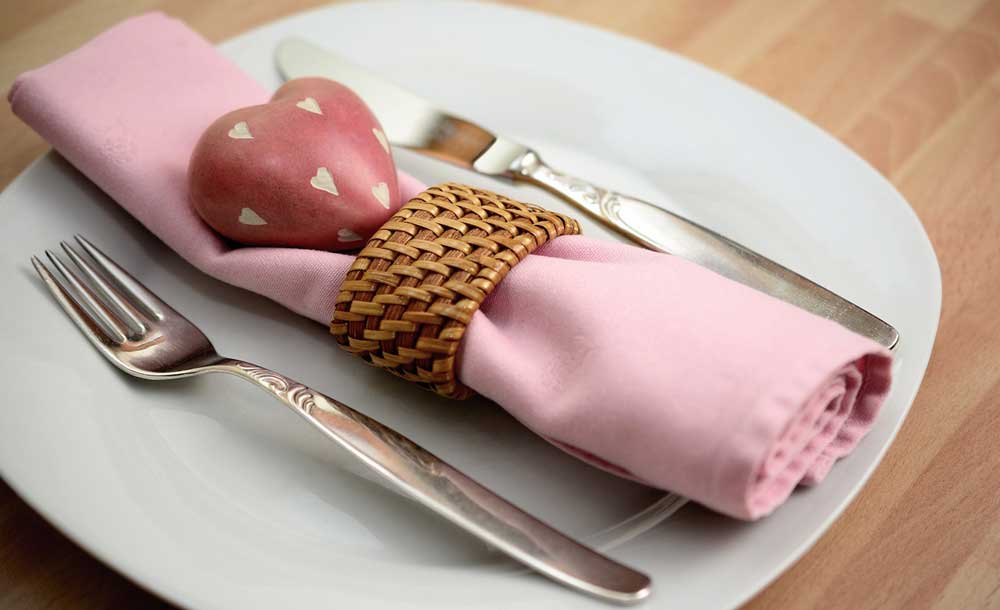
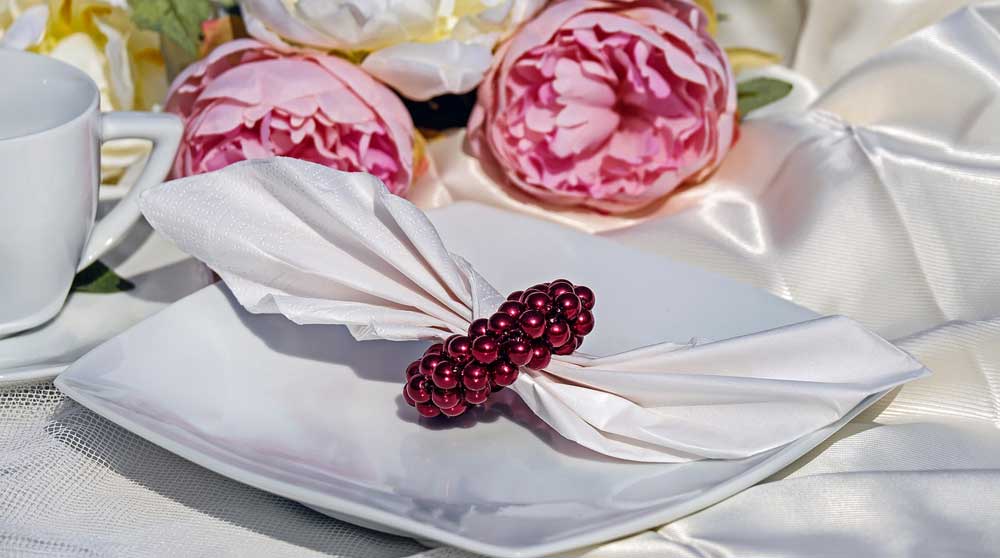
 The key decision for napkin-makers is choosing an edge finish. There are many options, so let us count the ways.


 Stretch Test: Try stretching the fabric on each grain: straight, cross, and bias. This will help you understand how much give is built into the fabric. A fabric with no stretch on straight or cross grain but a great deal on bias will need careful handling during cutting and sewing.