


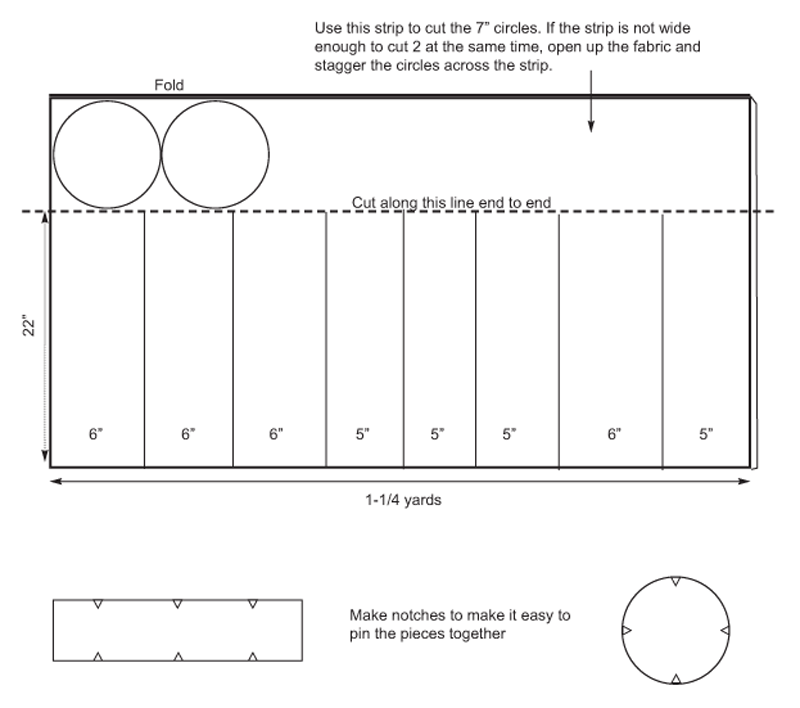
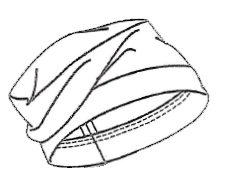
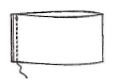
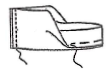
Proud to be a brand new member!
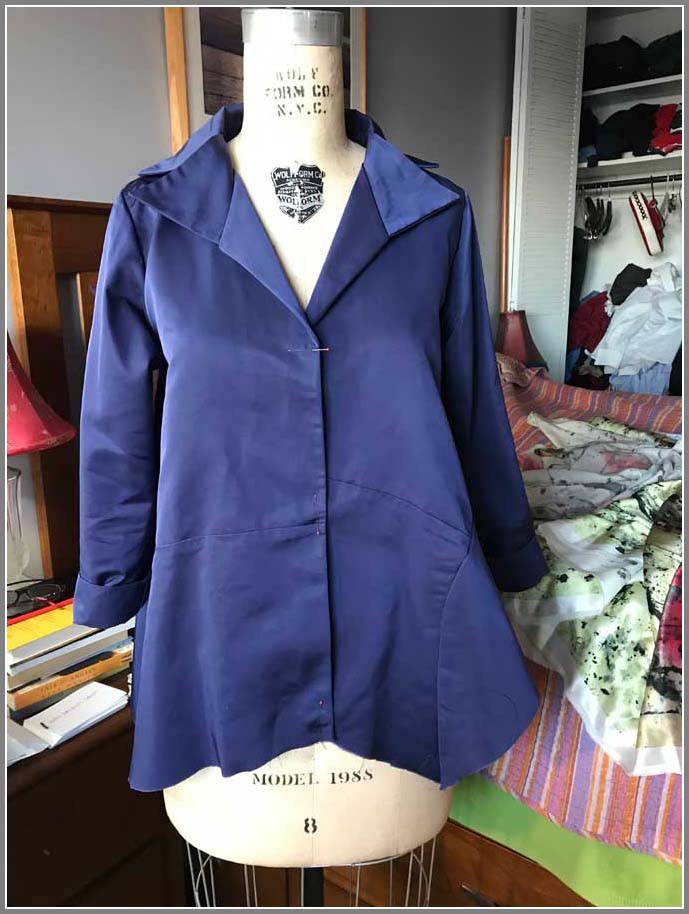 For 15 years, I had been a vendor at the Puyallup Sewing and Stitchery Expo; however, this year was my first time attending as a sewing consumer and a brand new American Sewing Guild Member. Imagine how excited I was when I was invited to appear in the local ASG chapter’s Fashion Show at the Expo! I decided to sew a blue silk taffeta shirt and proudly named it my Welcome to ASG Membership shirt
Like you, I simply love to sew and have been sewing since I was a small child. My mother, also a sewing enthusiast herself, taught us on her Singer Feather weight machine and I still have that machine to this day. She learned to sew from her mother (my grandmother), whom I unfortunately never met but was a dressmaker. Grandma made everything from fine cotton batiste lingerie — as well as the lace used to trim it — to baby doll clothes that I dressed my own dolls in almost 25 years later.
Sewing memories
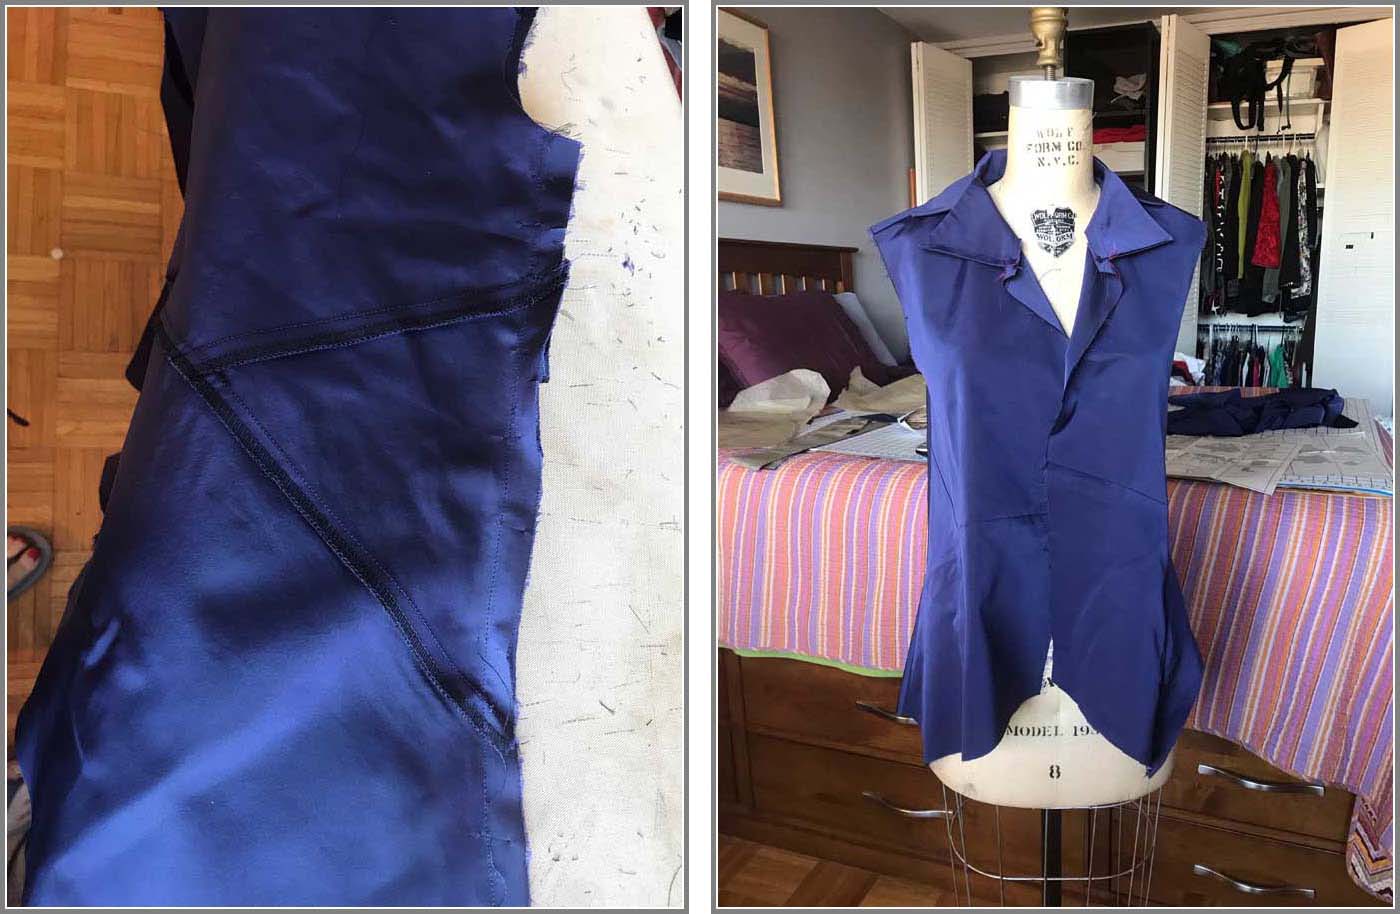
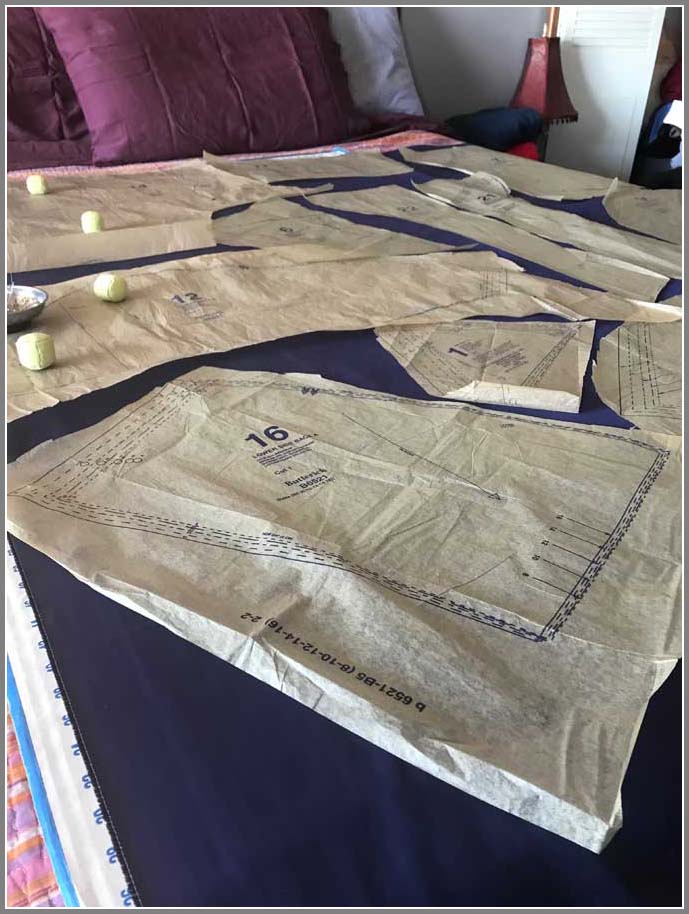 The process of making this shirt for the Fashion Show was a wonderful reminder of all things I love about sewing. I think that sometimes it is just the powerful “need” to be sewing that drives many of us to take fabric to machine. In this case there were a lot of things that happened easily and just added to the joy of sewing the shirt. I was thrilled with the fact that I could shop my fabric stash for the fabric. I had a Katherine Tilton shirt pattern, Butterick B6521, in mind and once the fabric made itself known, I was in business. Changing the serger thread — all three spools — successfully is always a bit of trick, but I managed it on the first try and I was ready to go.
I had not spent a full day sewing for a very long time. And while I did not complete the whole shirt the first day, I did manage to get the body and the collars stitched together. I was so happy to just be in that zone, where your hands know the next steps to take without thinking.
I believe that this is why we are here. Why we are a growing a vast community of people of all kinds who simply love to sew. Baby boomers, young girls and boys, grandmothers, lawyers, actors, people of all ethnicities and genders. Our faces, our reasons, styles and skills, are as diverse as the items that we stitch together. But the common thread is that we create something, and that connects us all.
Deborah Kreiling | Deborah will be the Keynote Speaker at the 2019 ASG Conference
 Deborah’s almost forty-year career at Simplicity Pattern Company began as a sewing instructions writer and evolved through the years to having responsibility for ensuring that the designs created could be produced to meet manufacturing and packaging standards as well as be created successfully by home sewing enthusiasts. After establishing the first Quality Control Department at the company, she moved on to become Design Development Director, the position she held until fall of 2018. Deborah’s unique insiders’ view into almost four decades of pattern development and the company whose patterns we all know and love – the producer of the ASG patterns featured in our annual Anyone Can Win contest – is sure to entertain. Deborah is a dedicated garment sewer, an avid cyclist and holds the rank of 5th degree Black Belt in Seido Karate.


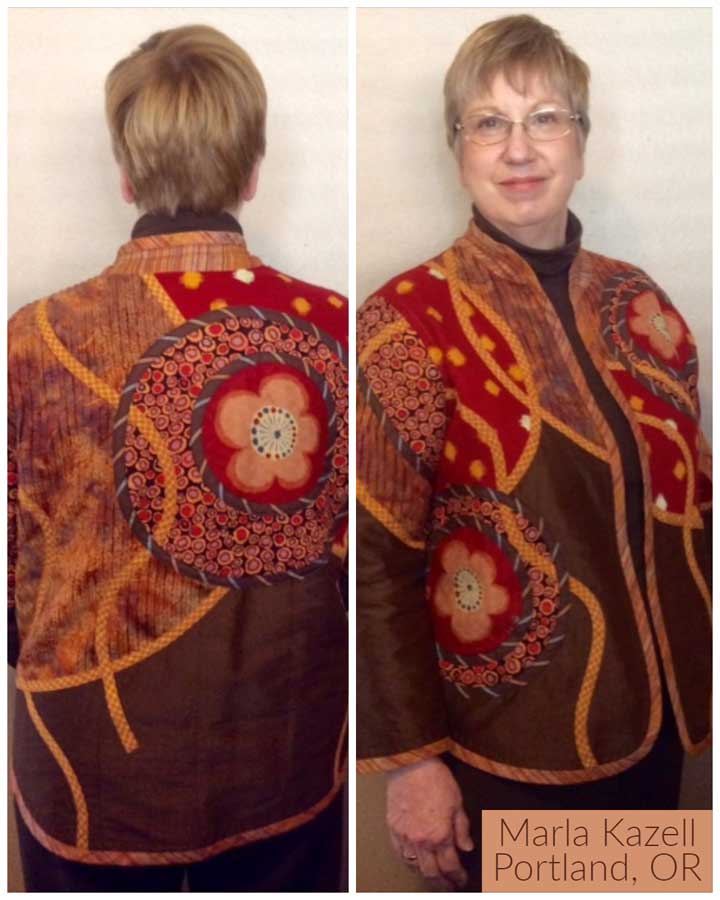
 The beauty of the challenge is that there aren’t any rules. In general, the challenge is meant to help you appreciate your handmade garments and think about the goals you want to achieve when it comes to your sewing. The most common “rule” that challengers follow is to wear a self-made or repurposed garment every day of the month. But if you only have a small collection of clothing you’ve made for yourself, you may instead choose to style one item differently each week or to share one amazing item you’re creating and document your progress. It’s a challenge that works with your skill level or your personal collection of handmade clothing.