


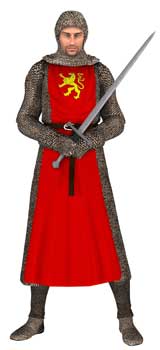
 A primary element of many costumes — whether for Halloween, cosplay, or a medieval fair — is a tabard. A tabard consists of front and back panels connected over the shoulders and open at the sides, similar to a tunic. It can be long or short and is usually secured at the waist by a ribbon belt that keeps the tabard in place while allowing free movement of the arms. Originally worn by men during the late Middle Ages and early modern period in Europe, tabards today are considered a great alternative to full suit costumes, as they can be made more quickly with very little consideration to fitting. Simple undergarments are used to complete the basic costume, with the addition of any desired headgear or other accessories.
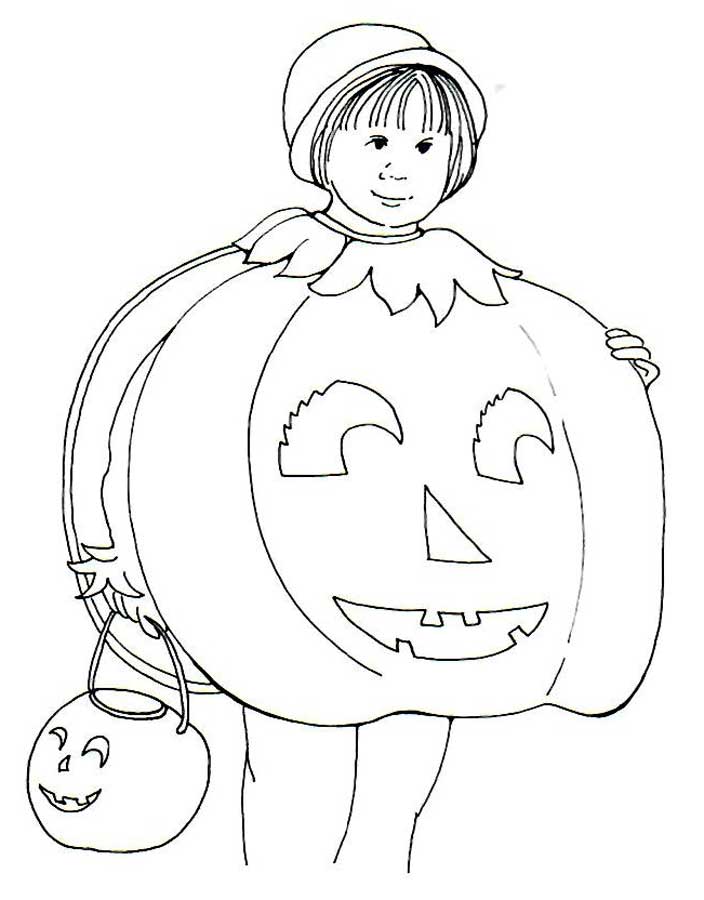
The surface of the tabard can be embellished in a variety of ways.
- Shapes, such as the eyes, nose, and mouth of a jack-o’-lantern, can be cut out and appliqued to the front or back of the tabard.
- Strips of jagged points can be cut from colorful felt and sewn in rows to the surface of the tabard to represent scales or feathers.
- Insect legs and stingers or animal tails can be sewn and attached to the sides or back of the tabard.
- Found objects, such as large buttons, metal springs, or egg cartons, can be painted and hand-sewn to the surface of the tabard, to mimic the mechanical riggings of a robot.
It is always a good idea to sketch the costume before drawing the pattern. Determine what elements to include along with the tabard to complete the costume. If there is a tail, for example, plan to make the back panel of the tabard long enough to allow for its attachment. The possibilities are limited only by the imagination, and they can be as simple or as elaborate as you like.
 Materials
- Fabric for Tabard
- Fabric for Lining
- 1/4″ foam
- Ribbon for the shoulder straps and belt loops
How to Draw a Pattern for a Basic Tabard
- Start by sketching your desired tabard design.
- Measure the width across the shoulders and distance from shoulders to desired length of tabard front and back.
- Draw the pattern in your desired shape on paper, adding a gentle curve about 1″ deep at neck. Don’t forget to add a 1/2″ seam allowance around entire pattern before cutting it out.
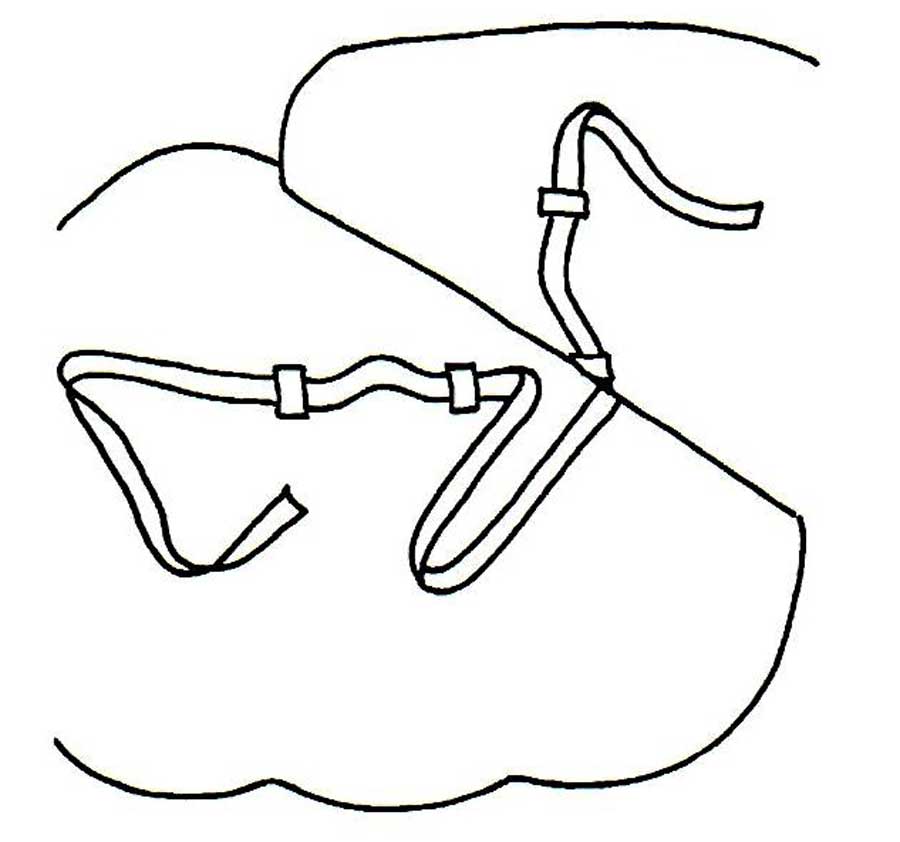
- Hold the pattern up to body and mark the desired positions for shoulder straps. Then mark placement for two belt loops at waist level, spaced 3″ to 5″ apart in center of front and back tabard patterns.
Cutting Directions
- Cut one tabard front and one tabard back from fabric.
- Cut one tabard front and one tabard back from lining.
- Cut one tabard front and one tabard back from 1/4″ foam.
- Cut two 6″ pieces of ribbon for the shoulder straps.
- Cut four 4″ pieces of ribbon for the belt loops.
- Cut a piece of ribbon for the belt, with the length equal to the waist measurement plus 20″ for tying.
How to Sew a Basic Tabard
- Apply any surface embellishments that should be done before construction, such as appliques.
- Fold each ribbon for the belt loops in half; stitch 1/2″ from cut ends.
- Press seam allowances open; press each loop flat, with seam centered.
- Pin belt loops, seam side down, to right side of tabard front and back lining pieces at marks. Stitch loops to lining along upper and lower folds of loops.
- Pin shoulder straps to right side of tabard front at marks, aligning raw edges; baste. If legs are desired, make legs and baste to right side of tabard front along outer edge.
- Place tabard front over lining, right sides together; layer, lining side down, over the foam. Pin, then stitch 1/2″ from raw edges around the entire tabard, leaving an opening between shoulder strap marks for turning. Stitch lining to the foam between marks, stitching scant 1/2″ from edges.
- Trim foam close to stitching; aim remaining seam allowances to 1/4″.
- Tum the tabard right side out; press.
- Fold in 1/2″ seam allowance of opening; hand-stitch closed. Topstitch 1/2″ from the outer edge of tabard. Stitch design lines as desired, avoiding belt loops.
- Repeat steps 4 and 5 for tabard back.
- Insert ends of shoulder straps at least 3/4″ into opening of tabard back at marks; pin. Check fit. Follow step 6, leaving straps pinned in place until they are caught in topstitching.
- Attach any surface embellishments desired.
- Finally, insert belt through belt loops.
~Adapted from an article from the Singer Reference Library, with permission
