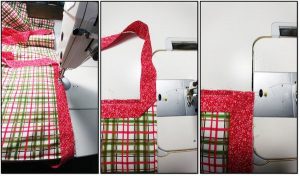
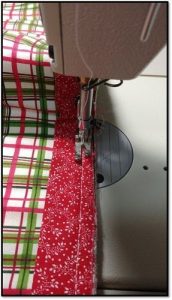
I consider myself a very novice quilter although others have said I’m more intermediate to beginner-advanced. I’ve been sewing for years, I can read a pattern, sew an accurate seam allowance, and love using software and a long-arm to do my quilting. My goal has been to “perfect” (for my little quilting world) a quilt binding “join.” That said, I have tried various different methods (see videos in the members only area) and think I’ve landed on something that pretty much comes out correctly time and again.
Developing my own method
Years ago I was watching Marianne Fons (Fons & Porter) demonstrate her method of binding. I didn’t care for the trial-and-error methodology but used that as a base to create a method that works for me every single time. I use a low-loft cotton batting in most of my projects; if I were to use a different batting, a little more experimentation would be needed to figure out the measurement of the gap to leave to be sure the join is smooth.
1. Start by applying the binding as you normally would, mitering the corners.
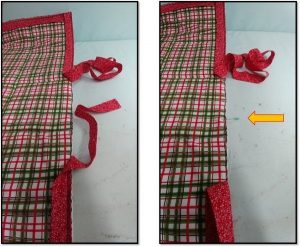
2. Sew the binding to the quilt sandwich leaving about a 12″ area un-sewn. Find the center of the un-sewn area and place a pin.
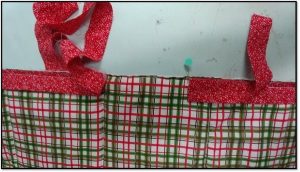
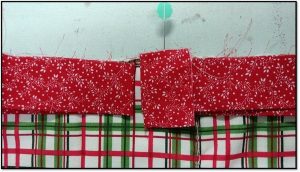
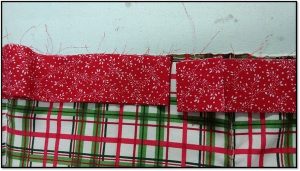
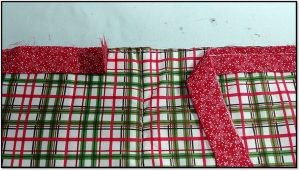
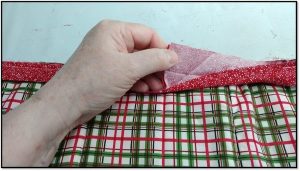
3. Turn the piece so the un-sewn binding is now at the top facing you. Bring the right side binding to the center pin and create a fold in the binding at the pin as shown.
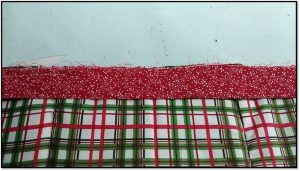
4. Bring the left side binding to within 3/16″ of the right side binding and fold in place. After trial and error, I figured out this measurement works for the low-loft cotton batting I use for most of my projects. If I were using a higher loft batting like a wool, I would test and discover what that measurement would be for that particular batting.
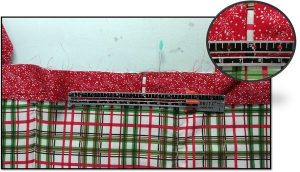
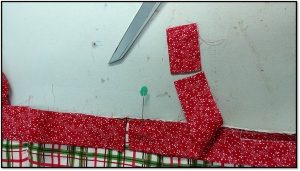
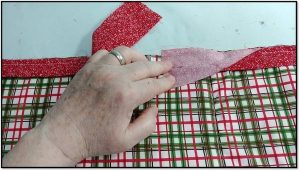
5. Now cut off a section from the end of the binding—about a 2”-3” piece will do. This little piece is going to be used as a measuring tool.
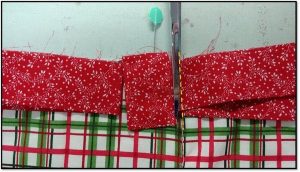
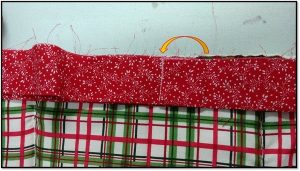
6. Lay the folded edge of the piece just cut, on top of the right binding, at the fold line. Make sure the folds align exactly.
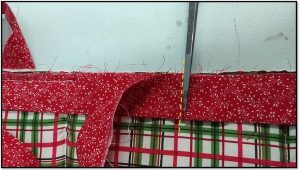
7. Cut the loose part of the right binding even with the cut edge of the measuring piece.
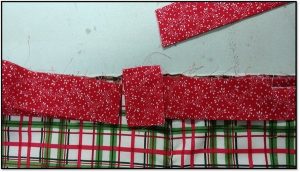
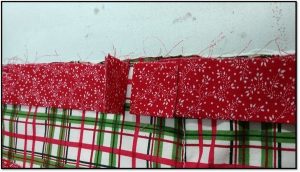
8. Remove the excess right binding and the measuring piece; they are no longer needed.
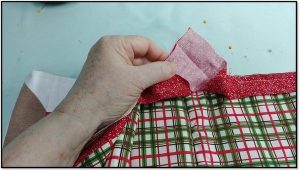
9. Next, take the end of the right binding
10. and flip it to the left over the left binding.
11. Trim the excess left binding loose-piece even with the cut edge that was just flipped from the right.
12. Remove the excess left binding. Next will be to sew the join.
13. Position the right binding out of the way. We’ll work with the left binding section first.
14. Open up the left binding piece. Flip the left binding piece over so the right side of the fabric is facing up.
15. Open up the right binding piece.
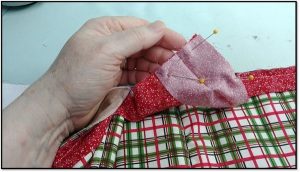
16. Meet the right binding piece over the left, right sides should be together, and cut edges should match as shown; pin the binding sections together.
17. The seam will be sewn from the upper left corner to the lower right corner.
18. Using a 2mm stitch length, sew from the upper left corner to the lower right corner. Be sure the cut edges remain aligned.
19. This is what the sewn seam looks like. Before trimming the binding,
20. Fold the binding down as it will be once finished. The join should be smooth and the binding should match the quilt sandwich 1:1 with no extra ease nor should the binding and join be too short to cause the quilt sandwich to bunch up.
21. If everything is satisfactory, then open up the binding again and trim away the excess fabric leaving a ¼” seam allowance. Press the seam allowance open.
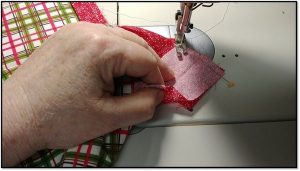
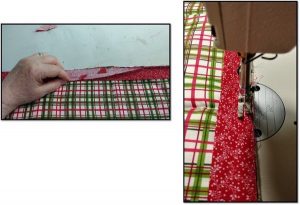
22. Fold the binding back into position and stitch the remaining section to the quilt sandwich. Begin a few stitches from where the stitching ended,
23. and continue to sew the seam, sewing a few stitches over the beginning stitches. Complete the the binding by sewing it to the project as you normally would either by hand or by machine.
I hope the few additional steps of actually measuring the gap left and using the binding itself to measure and cut, will result in a smoothly joined binding for you as it does for me.
Sew ‘til next time…enjoy the journey of sewing!
~Ramona
P.S. If you’d like to learn more sewing, machine embroidery, and quilting tips and tricks, join an ASG Chapter! There are free classes on the website and the chapters have events, classes; neighborhood group have members eager to share and help with your sewing.


