


Who doesn’t love a fun tassel to decorate a new project? Sure, you can buy tassels of all sorts, but why do that when you can create your own custom pieces.
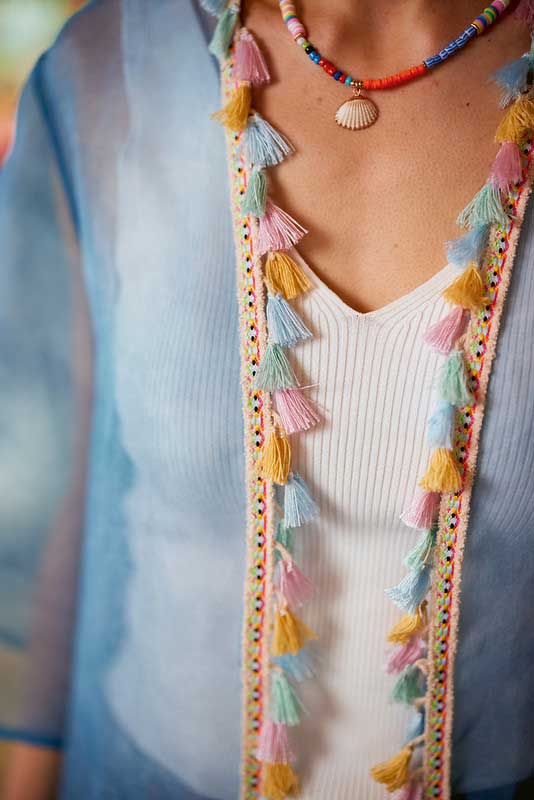
Tassels can be used for all kinds of things—from zipper pulls to tote bag adornments. String several tiny ones together for an innovative necklace or belt. Tie them onto packages as an accent or add a wire to create sweeping earrings.
Thread types
Tassels can be made from all kinds of strands—solid or variegated threads of any weight or type, yarns, trims, baby rickrack, skinny suede strips, raffia, tiny cords, etc.—anything flexible enough to wrap and tie. Use one kind of thread, or multiple strands of various threads. And, don’t stop there—add in some beads, charms, etc. for extra embellishment or combine thread colors and textures for more interest.
Wrap and go
There are several different ways to make tassels, including using some readymade tools designed specifically for the process.
A simple tassel can be made using cardboard or a piece of sturdy foam as the template for wrapping. Cut the cardboard to the desired finished height of your tassel and 3”-4” wide.
Closely wrap threads around the cardboard until you create a bundle with half the desired fullness you like. Push the threads together tightly. Holding the bundle firmly, slide it off the cardboard, wrap a separate piece of thread tightly around the tassel a short distance from the top, and tie off.
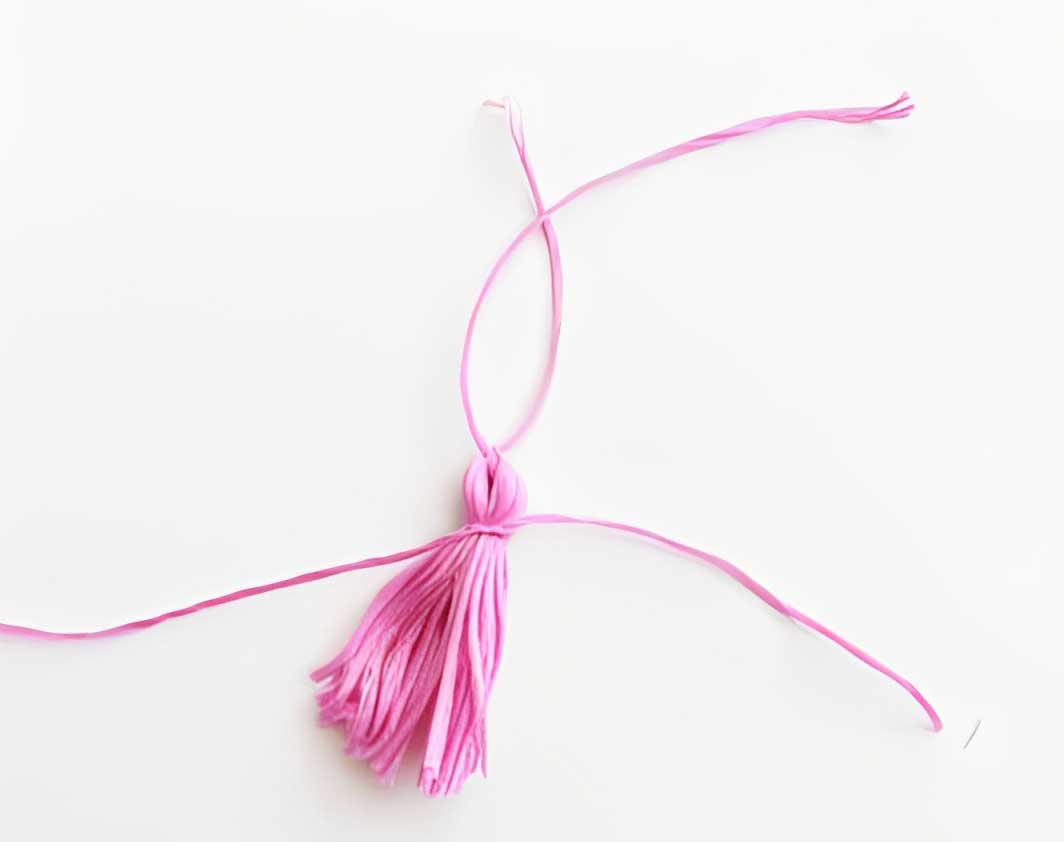
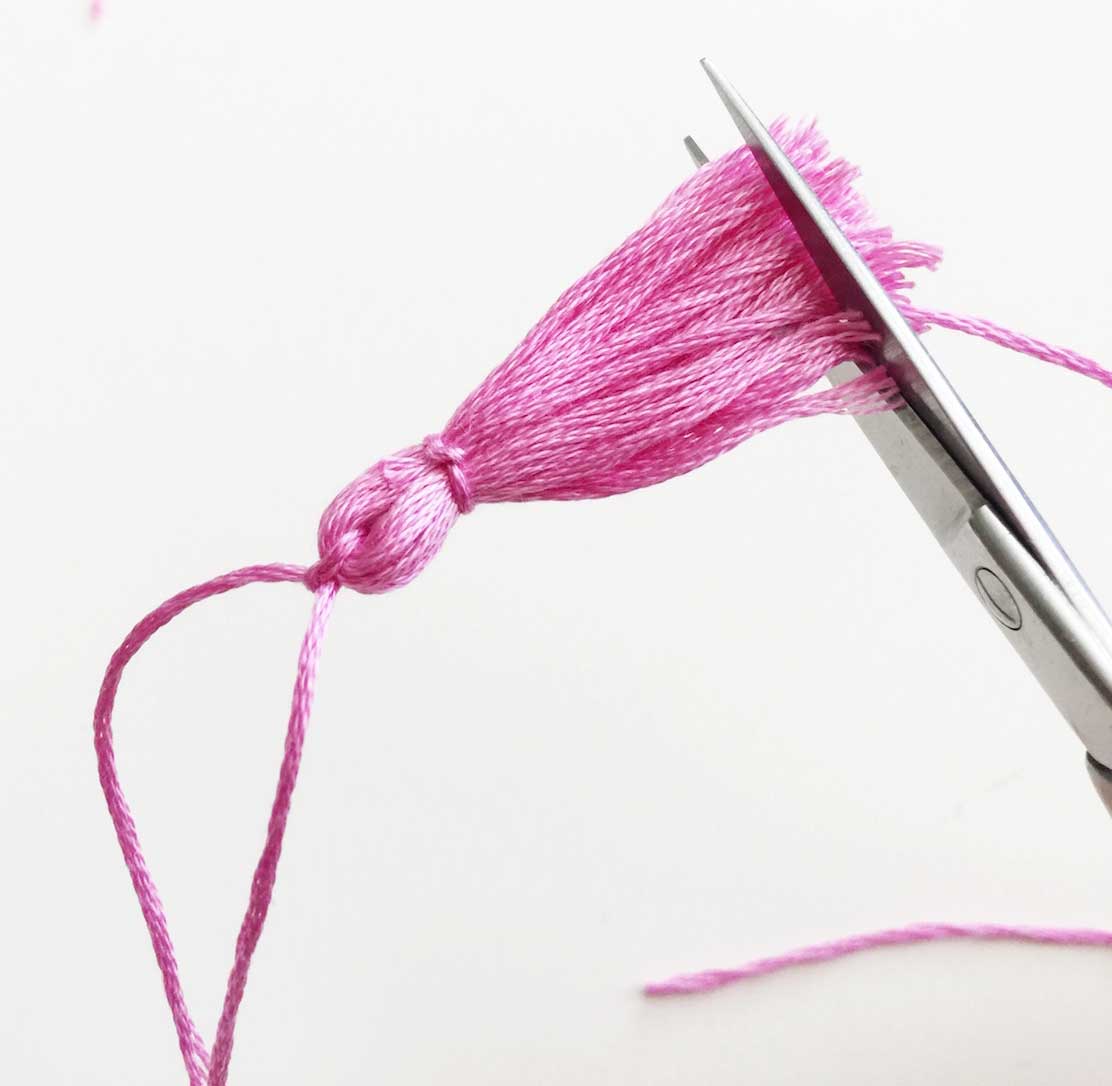
Do not trim the ends of the wrapping strand but instead continue wrapping the ends around the tassel top, then tie off again and bury the thread ends into the tassel wrapped portion. Thread another strand through the folded upper loop to use as a hanger or attachment to your project. Cut the lower looped edges and trim as needed, or leave the ends looped.
Fold and go
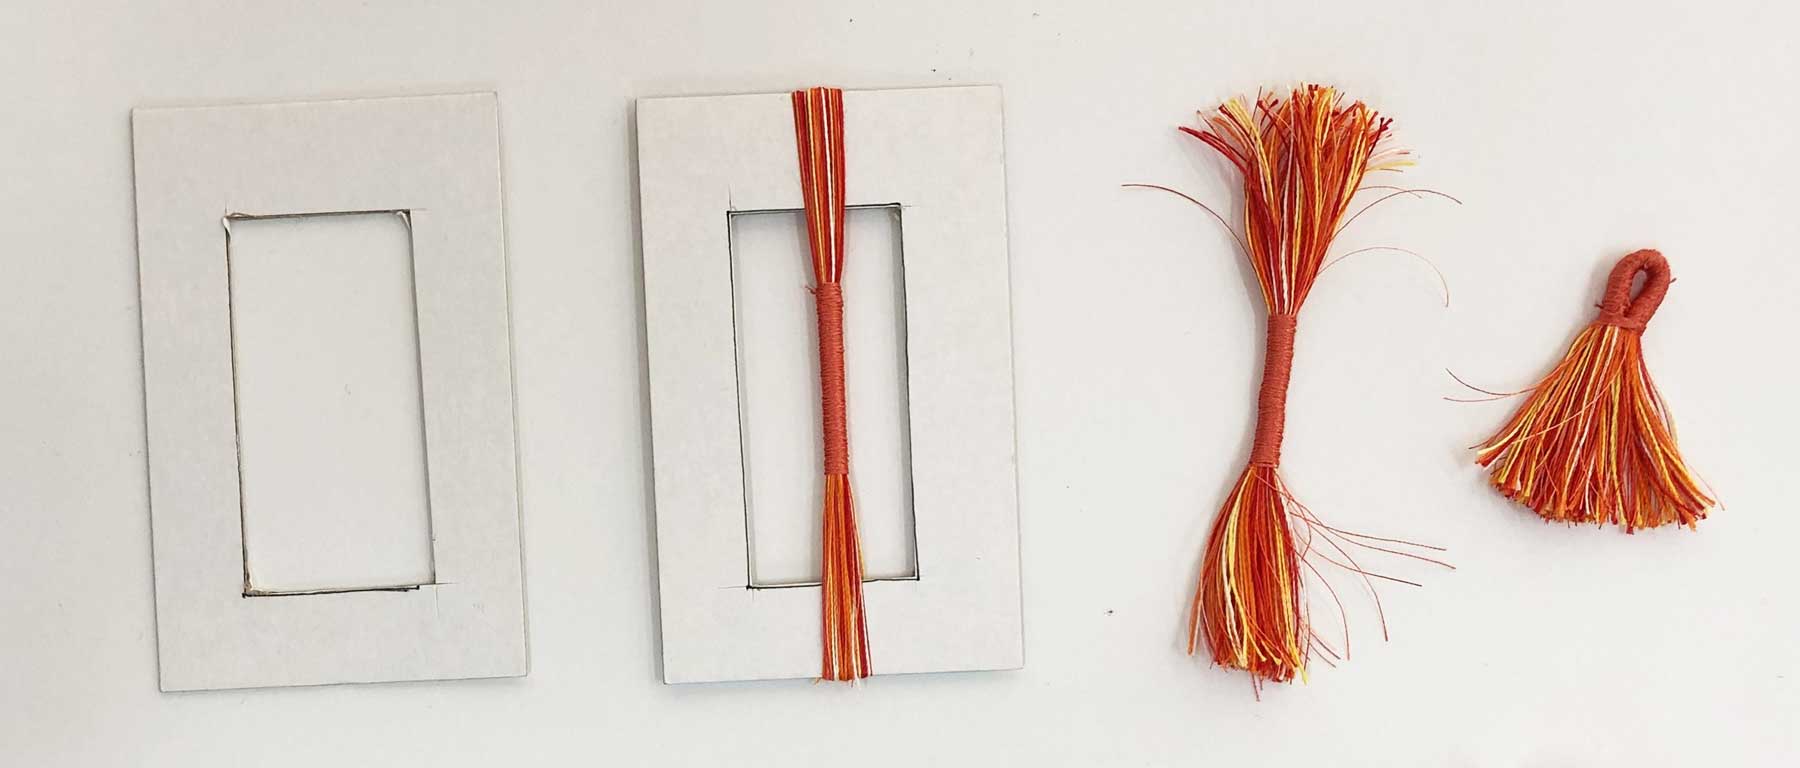
This method works best for thinner thread tassels. Similar to the wrap-and-go method above, the fold-and-go method uses a piece of cardboard with the center cut out. Wrap thread about the cardboard to the desired fullness (half of the finished look), then use your sewing machine to stitch the center of the strands together using a dense satin stitch. Leave the thread ends long enough to weave back into the wrapped area. Cut the ends of the wrapped tassel strands and fold the tassel in half. Using a wider, dense satin stitch, sew the edges of the wrapped areas together forming a loop at the upper edge. Thread a strand through the top for hanging or attaching to the project.
Easy peasy
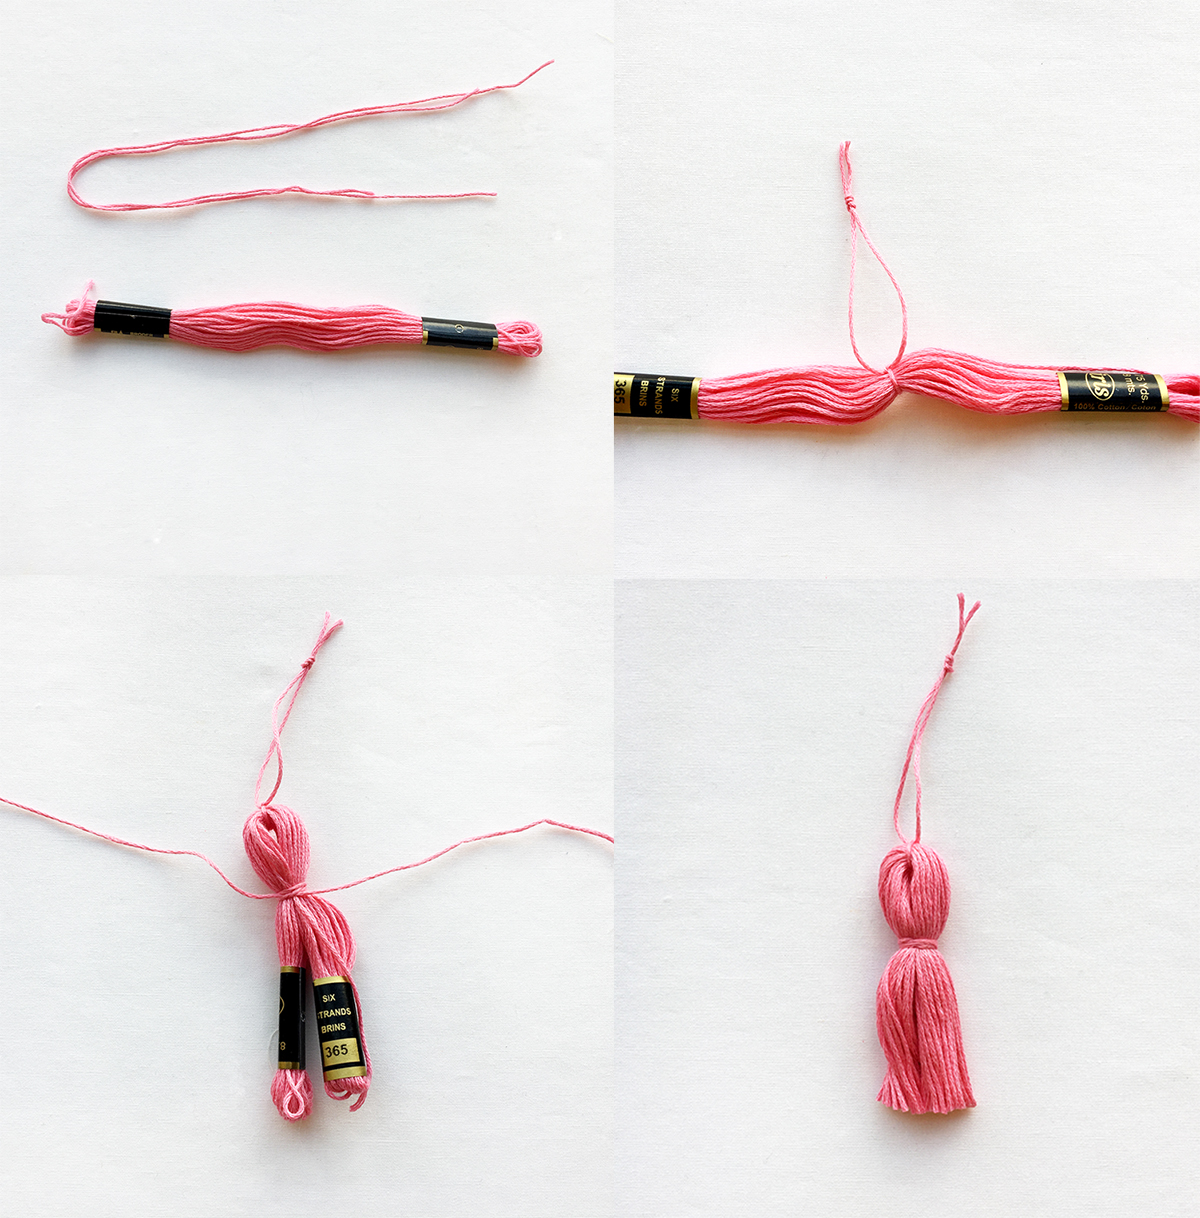
To make tassel making even easier, begin with a skein of embroidery floss, in any color or weight. Cut off a length of the thread, and tightly wrap and tie the center of the skein and tie off to form a hanging loop. Fold the entire skein in half and wrap/tie again a short distance from the top fold. Tuck the loose ends into the wrapped area. Trim the lower looped ends of the tassel strands. Voila…a quick and easy option!
And there’s more…
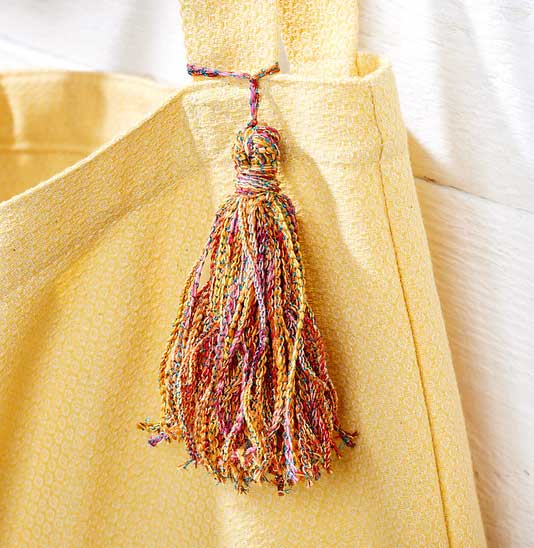
*Instead of thread or yarn to create your tassels, consider stitching out lengths of serger chain and use that for the strands and wrapping. Any type of thread is fair game, from glitzy metallics to slinky rayon or fuzzy wool strands. After the tassel is done, use a fray stopper or fabric glue on the ends of the strands to keep them from unravelling.
Tassel Tips
- Check out readymade topper caps (available on Amazon. Note we may receive a small commission if you make a purchase). They can be metal, wood or plastic and you simply slip your custom tassel top into the cap and glue it in place. Some caps also come with clips to attach them to your project, or with earring wires for jewelry.
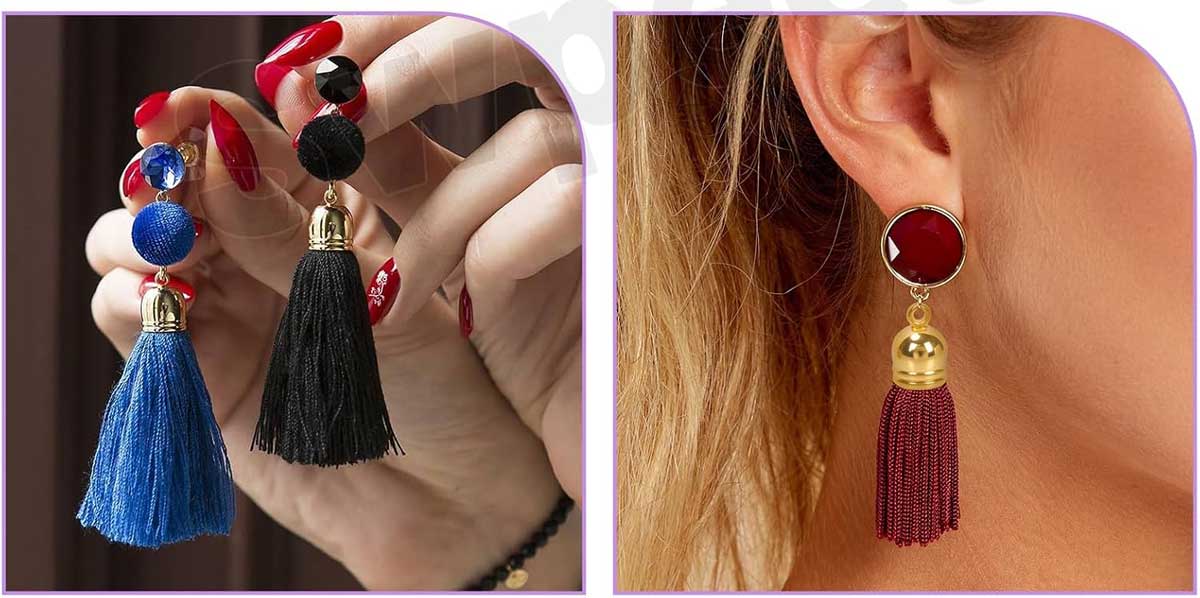
- Use a large bead for a tassel topper. The hole needs to be large enough for the tassel to be glued firmly into it.
- Make larger tassels to use for home décor projects, whether you adorn the corners of a pillow or you use a larger tassel for a shade pull. If you use them on pillow corners, stitch the attachment loop into the seam as you join the pillow front and back.
Thank you to Bernina for use of select images.
~Linda Griepentrog is the owner of G Wiz Creative Services and she does writing, editing and designing for companies in the sewing, crafting and quilting industries. In addition, she escorts fabric shopping tours to Hong Kong. She lives at the Oregon Coast with her husband Keith, and three dogs, Yohnuh, Abby, and Lizzie. Contact her at gwizdesigns@aol.com.
