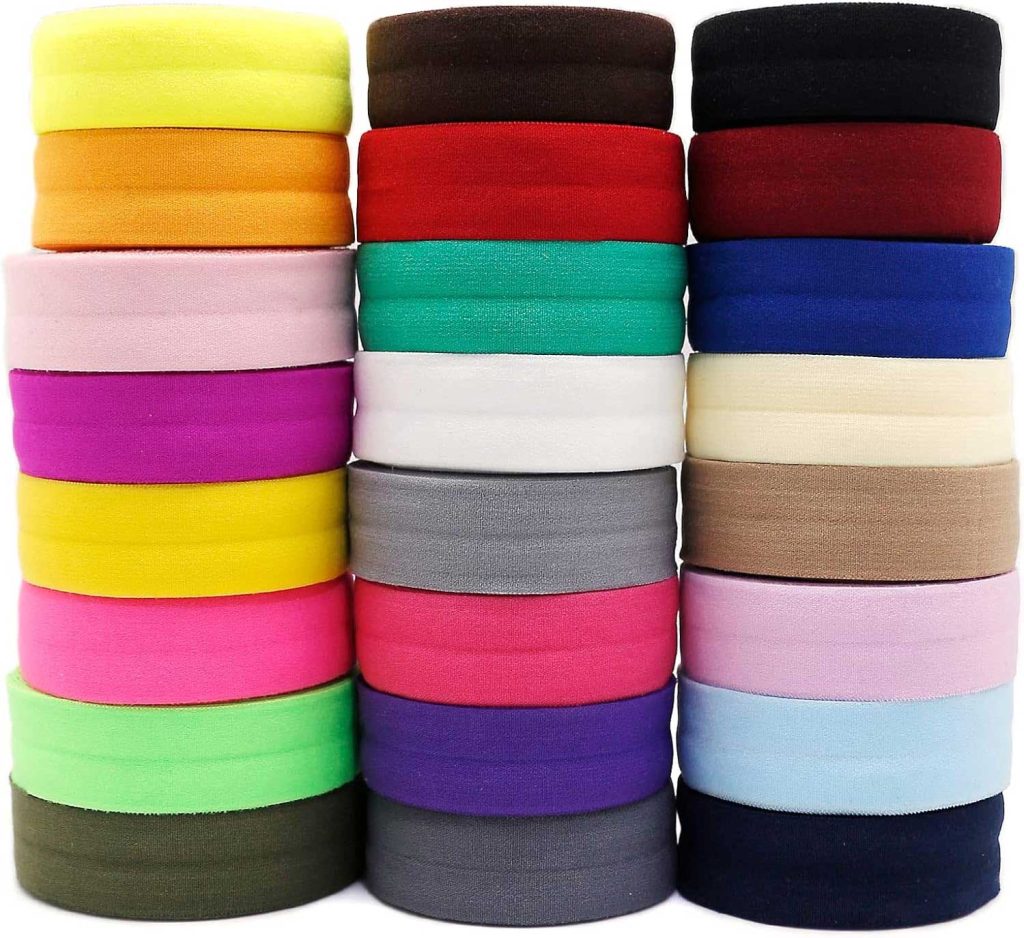
Fold-over elastic (also known as FOE) is one of those notions that, once you try it, you’ll wonder how you ever managed without it. It’s a versatile, latex-free product that functions similarly to bias binding to finish a raw edge, with the added benefit of stretch and recovery so it keeps the edge up against the body. FOE comes in a variety of widths, finishes, patterns, and colors, and for that very special project, you can even dye your own.

The elastic has a channel right down the middle to easily fold it exactly in half. In most cases, the narrower the elastic, the more stretch it has. While you can use different widths of fold-over elastic on the same project but keep the stretch factor of each and where you plan to use it when choosing your yardage.
How to use it
In most cases, your elastic should be 90% of the length of your fabric. Remember to account for seaming!
Tip: If your fold-over elastic has both a shiny and a matte side, the shiny side is typically the outside or “front” of the elastic.
To start insertion, leave about 1″ of elastic hanging off the edge of the fabric. Fold the elastic, encasing the edge of your fabric, then stitch through all layers of elastic and fabric in one operation. Choose a stitch that can be centered so that it sews half on the elastic and half on the fabric. A good choice is the wavy zigzag serpentine stitch. To accommodate the stretch in the elastic, lengthen the stitch slightly. For some applications, such as when using a 5/8″ wide, satin-finish fold-over to finish a neckline, use a matching silk thread so that the stitches will blend in. In this case, position the stitches so they fall mainly on the elastic, just barely catching the fabric on the left swing of the needle. After you have done this once or twice, you will find pins are only a nuisance.
Watch this video for 4 different ways to sew with fold-over elastic:
Project Ideas
Diaper covers: For moms who prefer to use cloth diapers, diaper covers are often a “must have.” You can whip up a dozen in no time flat using 1″ fold-over elastic. The product is latex free, so it’s hypoallergenic and great for baby and functions as a binding along the straight edges of the cover. In the leg area, where a tight fit is crucial to holding in wetness, pull firmly on the elastic as you apply it. Once you are past the leg area, release the elastic so it becomes “just” a binding. Even on the straight edges, pull on the elastic ever so slightly so there will be no slack in your diaper cover.
Plan to join the ends of the elastic in an inconspicuous spot, such as at the center back. To do this, start and stop the application about 2″ on either side of where you want the joining to fall, also remembering to leave 1″ tails of elastic. Place the elastic tails right sides together and stitch a 1″ seam. Trim the seam allowance to 1/4″. Open up the seam allowance, refold the elastic, and complete the application.
Swimwear: If you use FOE for swimwear, you won’t be folding over the edge of the fabric so start by trimming 1/4″ from the seam allowances that you will be finishing with the elastic. Remember that your fabric is not folded, it will simply be encased withing the fold-over elastic.
Click the image below for an article at Brother with step by step instructions for sewing with fold-over elastic.

Other great projects include baby clothes, fitted sheets, and converting a crew neck T-shirt to a satin-edge T-shirt with a deeper neckline. You can even fix a gaping neckline or armhole with FOE.


