


Log cabin is one of the oldest, and easiest, quilt blocks—ideal for beginners, as it features only strips and squares. But do you know the story behind this commonly found block and its variations?
First appearing in the Civil War era, the quilt block may actually have a political connotation, as would-be officials ran as “log cabin candidates” hearkening to their rural roots.
The early log cabin quilts were a mix of silk, cotton, wool, velvet and shirting as the components reflected the available fabrics at the time. Most of the quilts were made from worn or discarded clothing, so the fabrics were repurposed. A bit later, calicos were introduced into the mix as fabric technologies improved.
In the middle
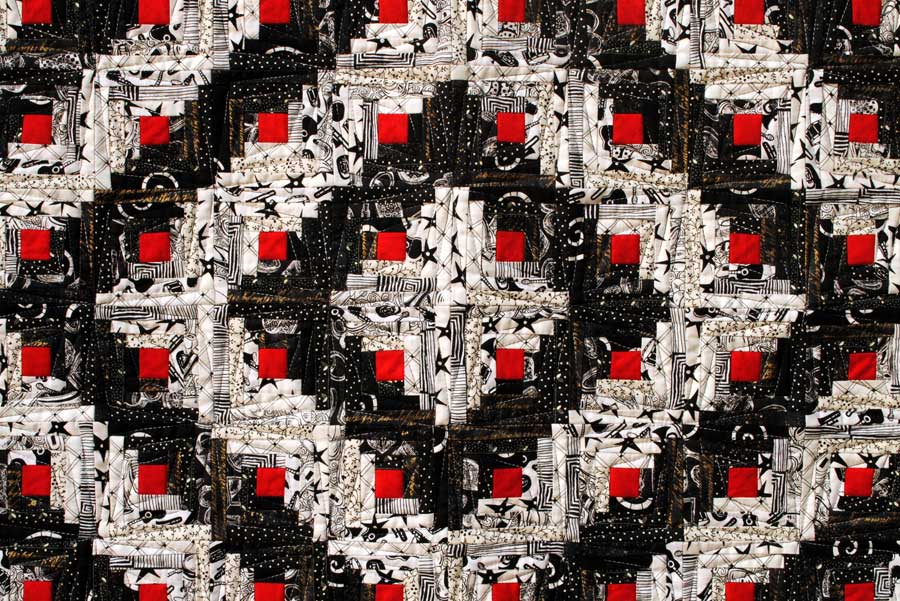
The center square of a log cabin block was traditionally red, symbolizing the hearth and fire that was the center of the home in pioneer times. Later, some log cabin quilt blocks used yellow squares in the center to symbolize light streaming in through the cabin windows.
Variations over the years
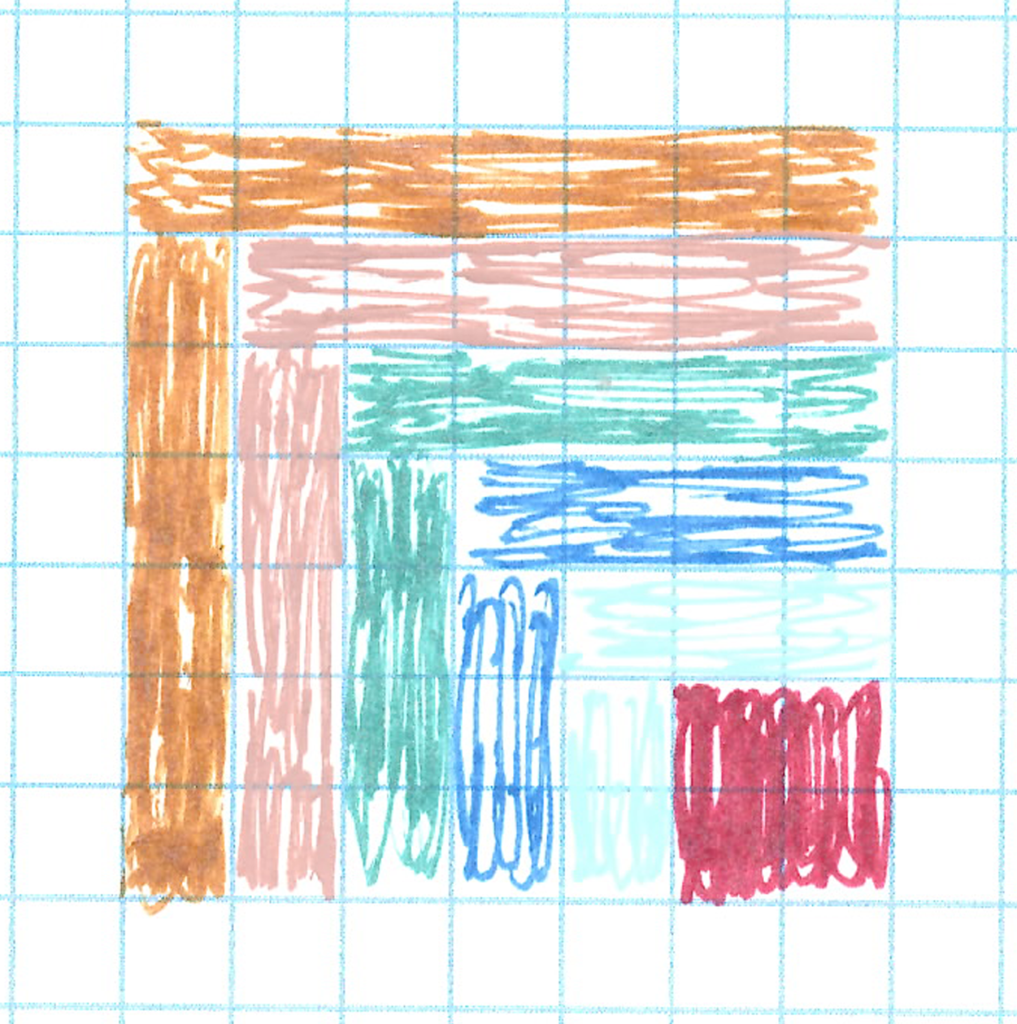
As fabric technology improved, so did the number of variations on the traditional log cabin block, so get out your graph paper and play with colors.
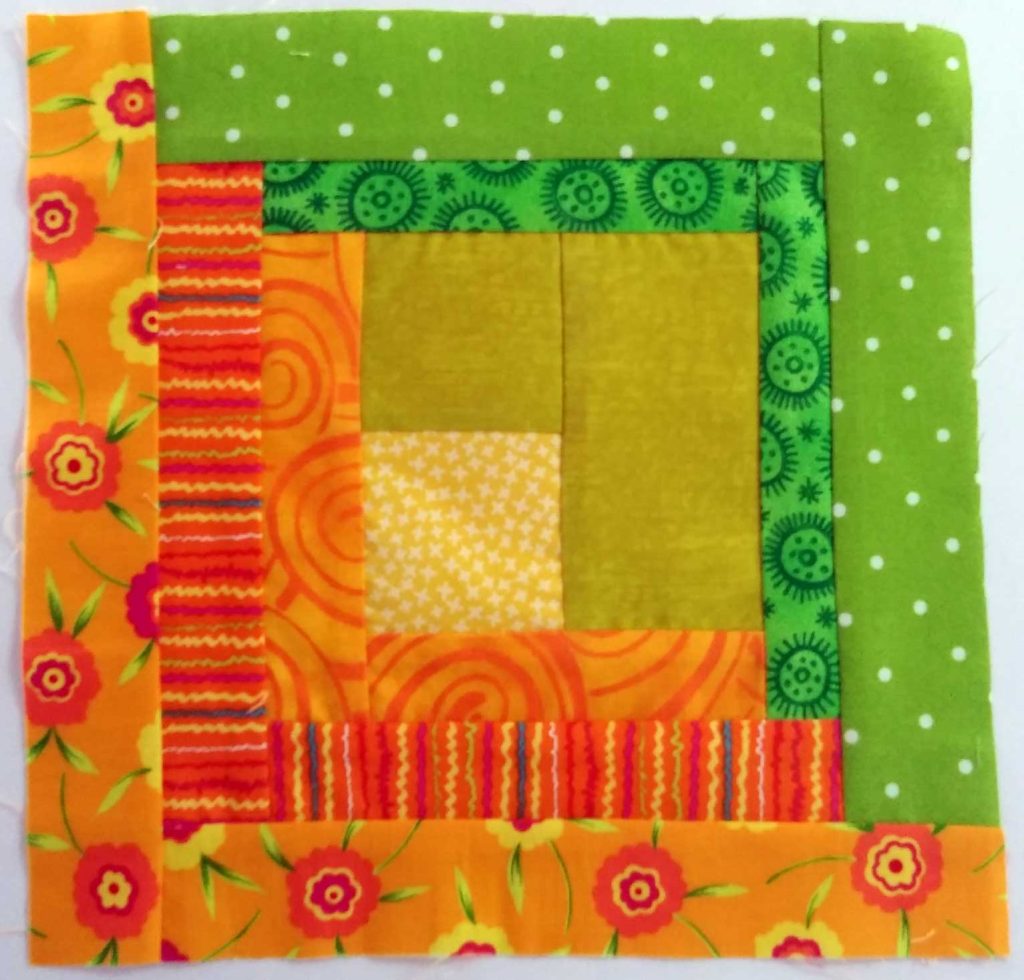
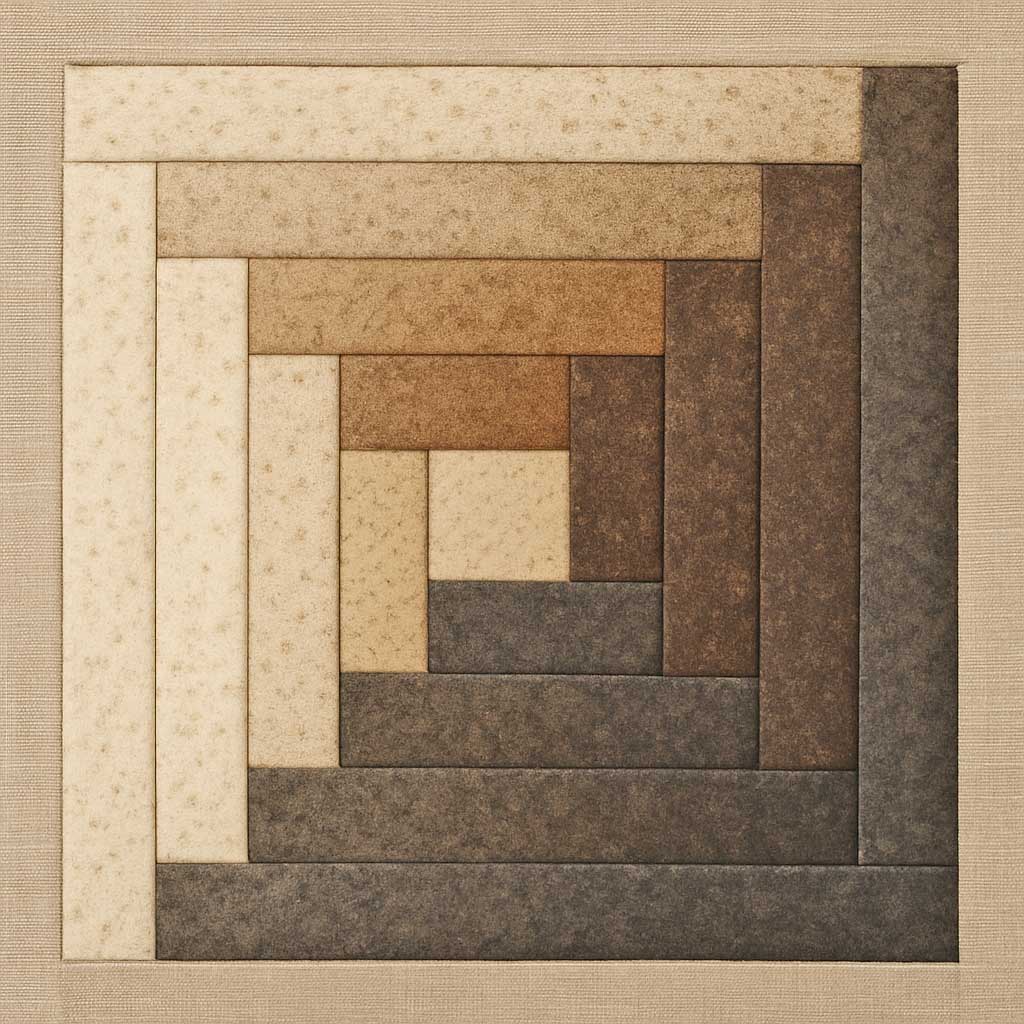
Traditional blocks showcase a bright center square and then diagonally half the block has “logs” of light colors, and the opposite half has logs of darker colors (1).
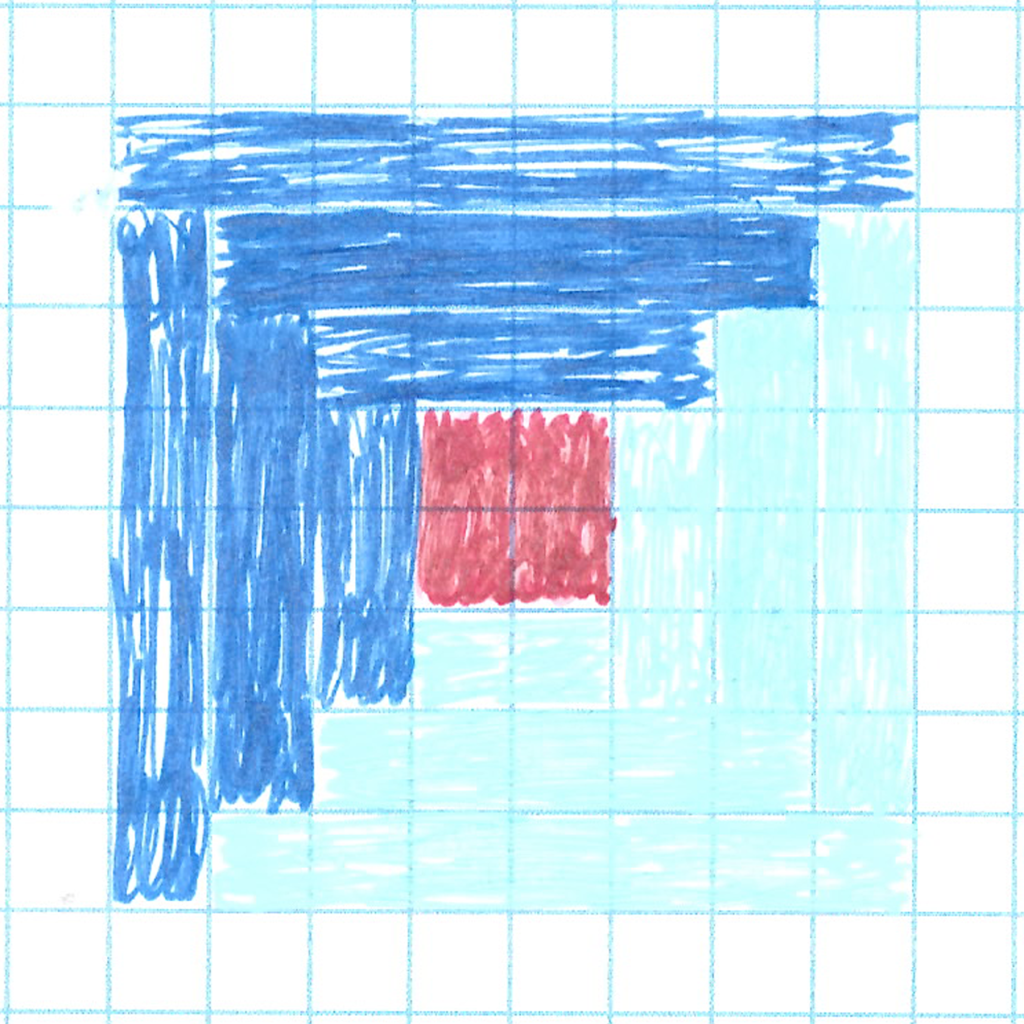
Sometimes the block center square is divided in half diagonally to reflect the light/dark color scheme (2).
Strips (aka “logs”) are added around the center square in either a clockwise or counterclockwise sequence with seams pressed toward the addition.
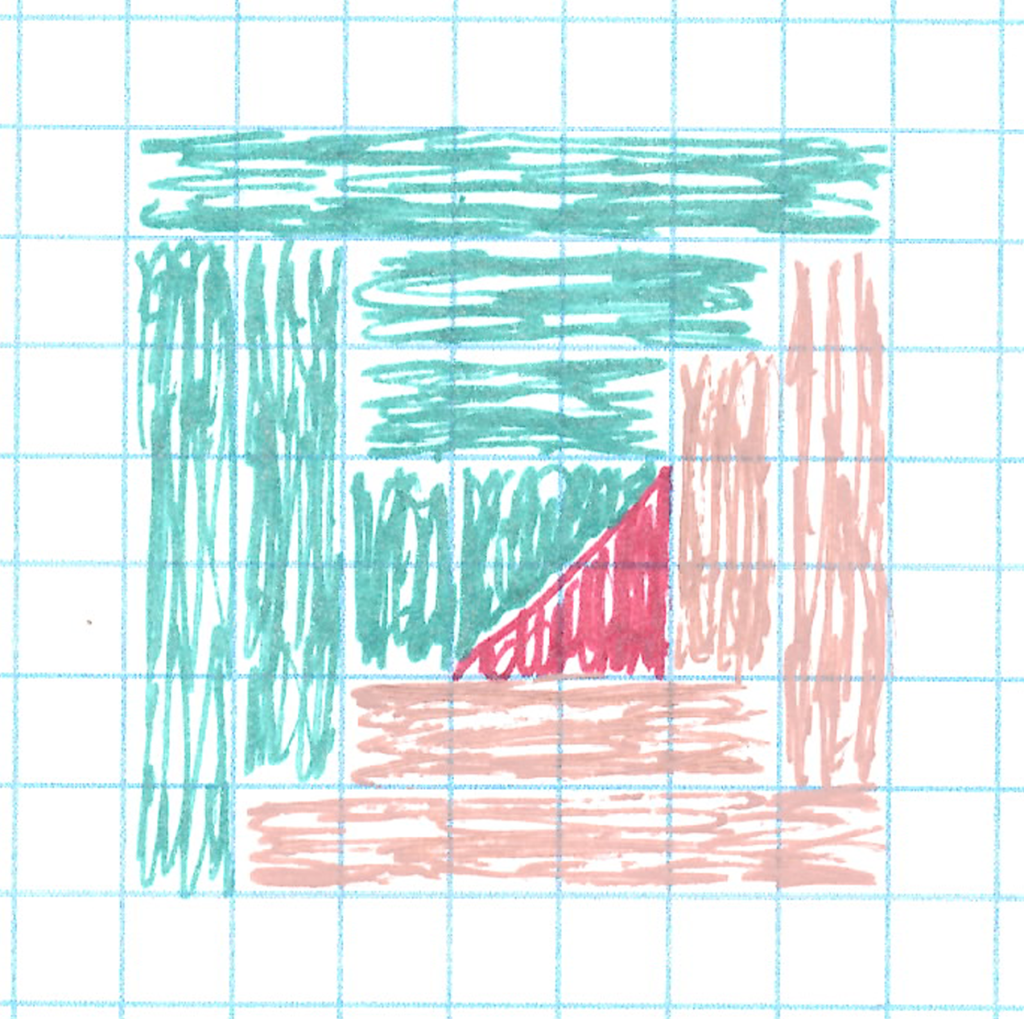
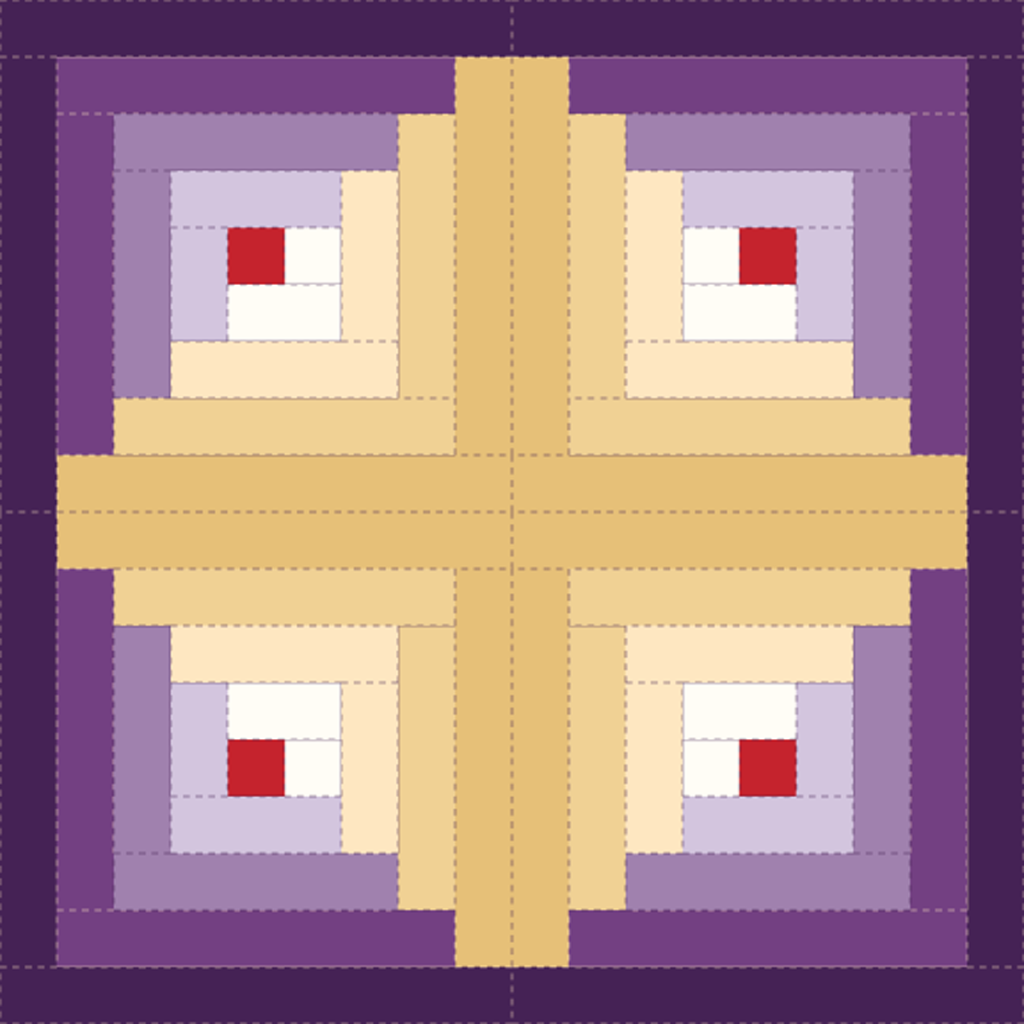
Another variation on the block is called Courthouse Steps. This block is built by adding strips to opposite sides of the center square, alternating top-bottom with side-to-side. Keeping with the light/dark sequencing, a secondary hourglass shape is formed (3).
Small squares, known as cornerstones, can be added to the “logs” before they are attached to the previous one, forming a secondary diagonal pattern in addition to the light and dark sequencing (4).

Depending on color placement, it’s also possible to create a spiral looking color pattern within the log cabin block.
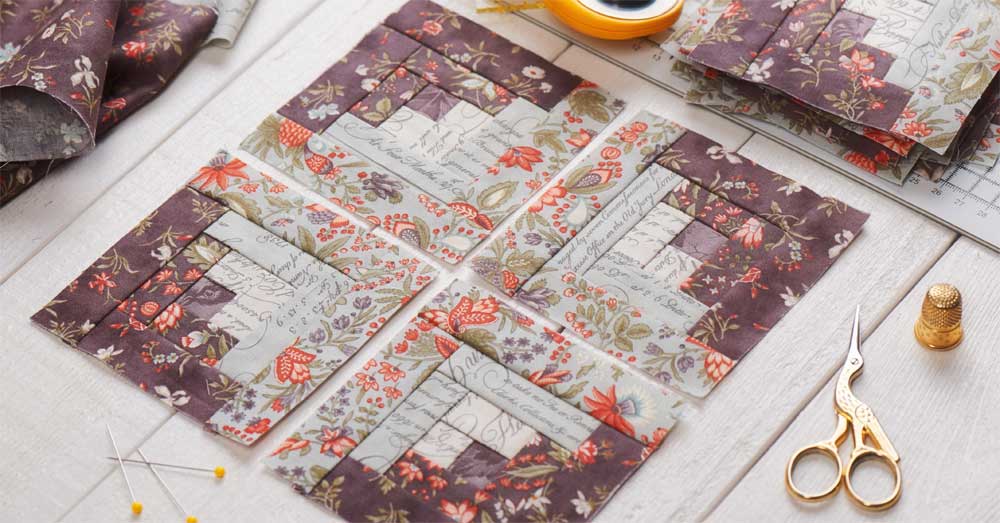
Variations can also be constructed with the square portion not in the middle of the finished block (5).
Light and dark logs can be of differing widths on one or both sides of the starting square (6). Numerous variations can be made by changing the strip width, as well as the colors.
All set
Once you’ve created all the blocks for your quilt, the setting, or how you put them together, will also add additional patterning to the project.
Alternating light and dark placement result in a Straight Furrow setting.
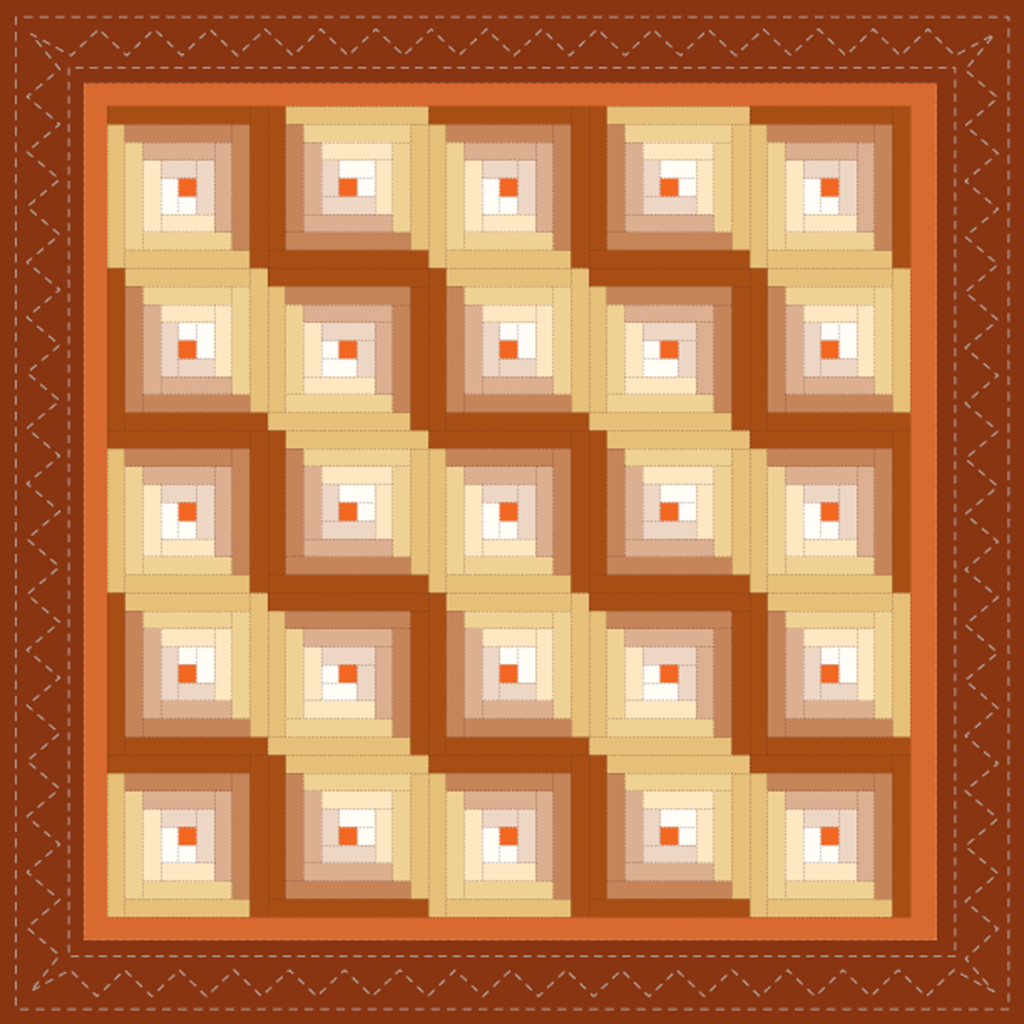
Placing like values together creates secondary patterning of light and dark diagonal “squares”.
If the blocks are assembled to make concentric squares within a larger square, the setting is called a Barn Raising.
Making the block
You really don’t need a pattern to make log cabin blocks. Simply cut a center square and start building out with the logs, choosing colors and widths as you please. After each addition, press the seam toward the added strip.
Continue alternating strips to get the block size you want. One block can become a pillow, multiple blocks can build a quilt. The world is your oyster in terms of color and patterning, so create something whimsical and lively, or something more somber and traditional.
If you feel the need, draw your block design and setting ideas on graph paper using colored pencils or crayons to help visualize the finished project.
~Linda Griepentrog is the owner of G Wiz Creative Services and she does writing, editing and designing for companies in the sewing, crafting and quilting industries. In addition, she escorts fabric shopping tours to Hong Kong. She lives at the Oregon Coast with her husband Keith, and three dogs, Yohnuh, Abby, and Lizzie. Contact her at gwizdesigns@aol.com.
