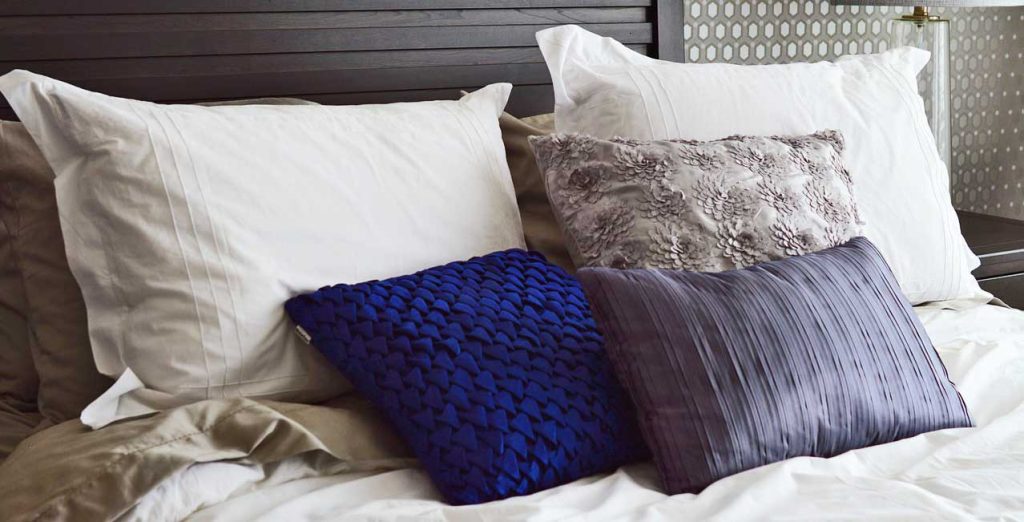
A throw pillow is a perfect accent for any room, and multiples make it even better! Pillows are an easy project for beginner sewers and success is almost assured.

Shapes and sizes
Pillows can be almost any shape or size, from squares and rectangles to round or oblong. Common square sizes are 12”, 14”, 16”, 18”, 20” and 24”, and there are forms that fit inside these size options. Forms also come in rectangular sizes, round and roll sizes. Check out the offerings at your local fabric store or online source.

Inside options
Pillows can be filled with pre-made forms that are stuffed with foam or polyester fiberfill, or even your fabric scraps. Or, if you prefer, you can stuff pillows yourself using either of those materials, or with your collection of fabric scraps. Make your own form or simply stuff the finished pillow with loose fiber.
When choosing a pre-made form, purchase measure the exact size of your finished pillow and go an inch or two larger on your form to get a firm look to the pillow. Or, for a softer look, purchase the exact size of the finished pillow.
Close encounters
Pillows can be made with or without back closures, depending on your preference. Having a closure of some sort allows for the pillow covering to be easily washed or cleaned, depending on the fabric. Closure options include a zippered back, envelope back, hook-and-loop tape or snap-back opening. An envelope back is the easiest option for beginners, as it simply has two overlapping finished edges.
If the pillow has no closure and cleaning is needed, it requires opening the seam and removing the stuffing, then reassembling after cleaning.
On the edge

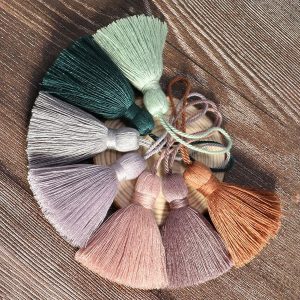
Some pillows offer decorative edge finishes like piping or novelty fringe trim. Both can be purchased ready-made and applied during construction or after the pillow covering is complete. Tassels may also be added to the corners for extra embellishment.
Fabric options
Pillows can get a lot of wear and tear, depending on where they’re used, so select sturdy fabrics. Home décor-weight fabrics are ideal, with tightly woven surfaces to avoid snagging. Prints or solids are both good options, depending on the decorating scheme, and nothing says that the pillow front and back have to be the same fabric—you can mix and match. This is especially helpful when purchasing more expensive decorator fabrics.
Simple pillow construction
- Cut the pillow front and back from the selected fabric(s), allowing 1” extra beyond the finished size for seam allowances. If the fabric has nap, be sure to mark the top on both pieces.
- Place the pillow front and back right sides together and pin the edges to hold them in place for stitching. Mark a 6” opening along one edge to leave open for turning and stuffing. The opening should be in the center of one side to avoid the corners. If you’re using a pre-made pillow form, it may be necessary to leave a larger opening.
- Beginning at one end of the opening, sew around the pillow shape using a ½” seam allowance and backstitching at each end of the seam. Pivot at each corner, taking two stitches diagonally across the corner.
- For bulky fabrics, trim the seam allowances diagonally at the corners.
- Reach into the opening and turn the pillow cover right side out. Gently poke out the corners to square them. Lightly press the edges.
- Insert the pillow form or stuffing through the opening. If the corners don’t look square, add some additional stuffing in those areas to fill them out before closing the seam.
- Hand-stitch the opening closed, tucking in the raw edges as you sew.
Envelope backing
If you prefer to have an overlapping opening on the pillow back, cut two backing pieces the width of the pillow by one-half the size, plus 5”. For example, a 16” finished square pillow requires two backing pieces 16 1/2” x 13”.
- Hem one long edge of each pillow back piece with a double ½” turn-under. These will be the overlapping edges of the pillow back.
- Overlap the hemmed edges so they create the same size piece as the pillow front. Baste the overlap side raw edges together.
- Construct the pillow as detailed above and insert the form through the overlap area. If you want to add snaps or buttons to the closure, hand-stitch them in place at the over- and underlap edges.
Members can learn more about pillows in the article, Custom Decorative Pillows, available in the members-only area.
~Linda Griepentrog is the owner of G Wiz Creative Services and she does writing, editing and designing for companies in the sewing, crafting and quilting industries. In addition, she escorts fabric shopping tours to Hong Kong. She lives at the Oregon Coast with her husband Keith, and three dogs, Yohnuh, Abby, and Lizzie. Contact her at gwizdesigns@aol.com.


