


If you’re making a shirt or blouse with long sleeves, you know that you need space to get your hand through the cuff opening, and that’s where a placket is needed. A placket is the opening above the actual cuff.
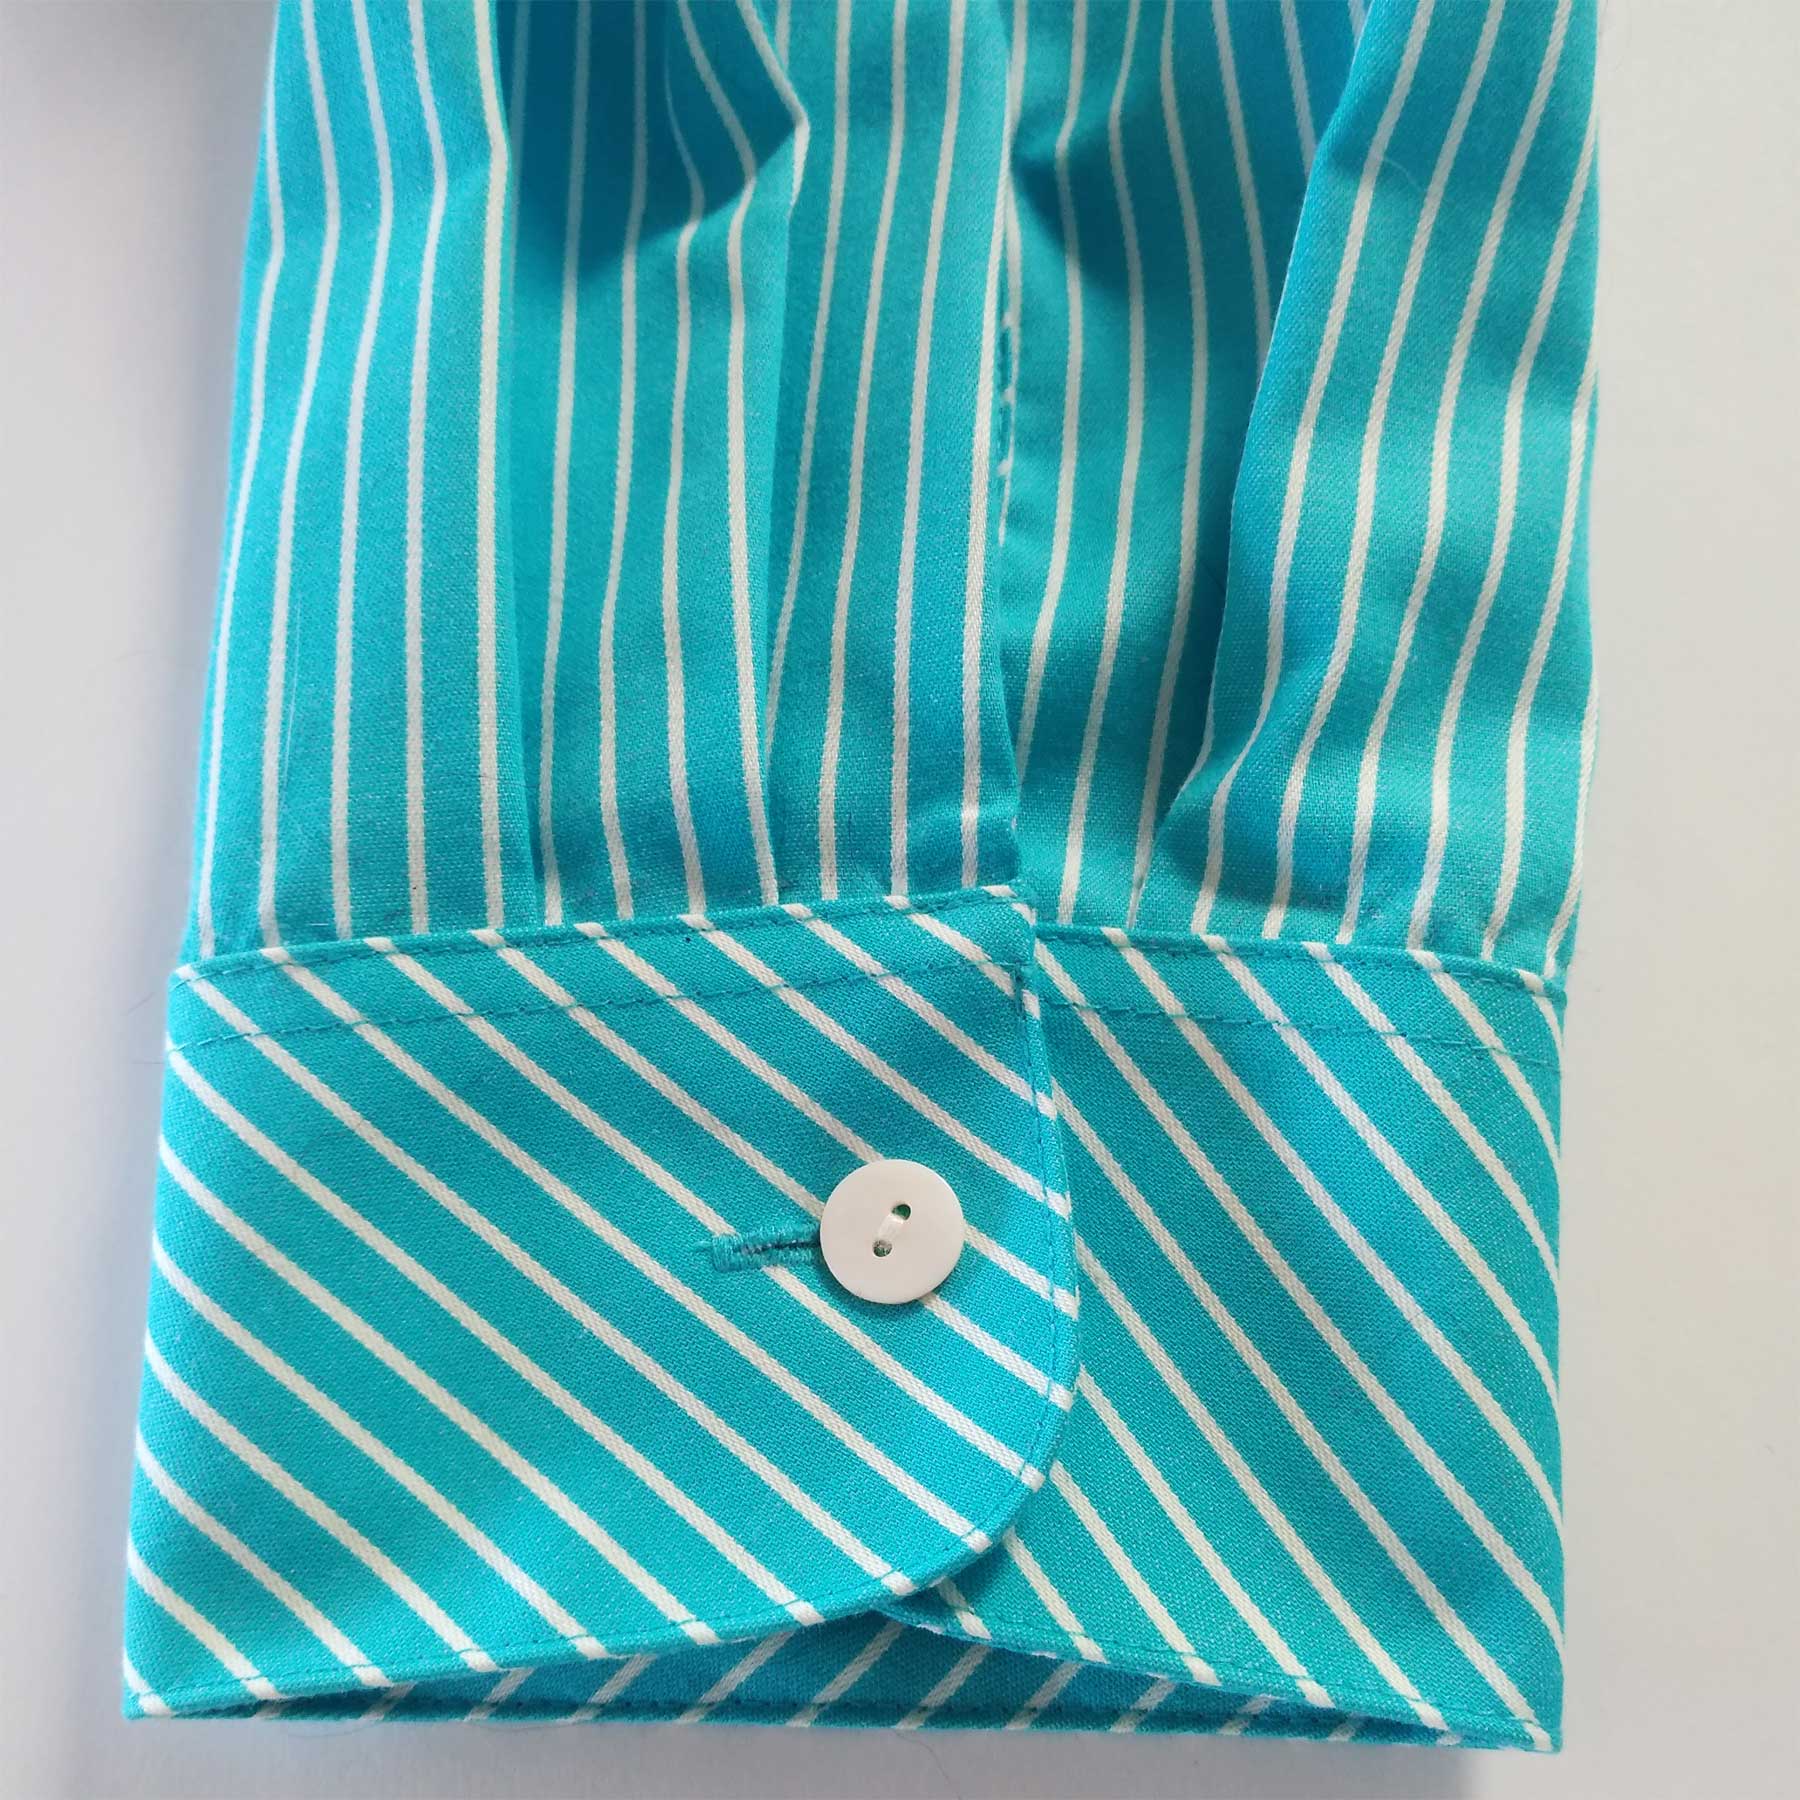
The most common treatment of that opening is to bind it in a matching fabric, though occasionally for a design detail the binding is a contrast. The binding can be cut on the straight grain or on the bias. The latter is often done on striped shirtings for a fun contrast.
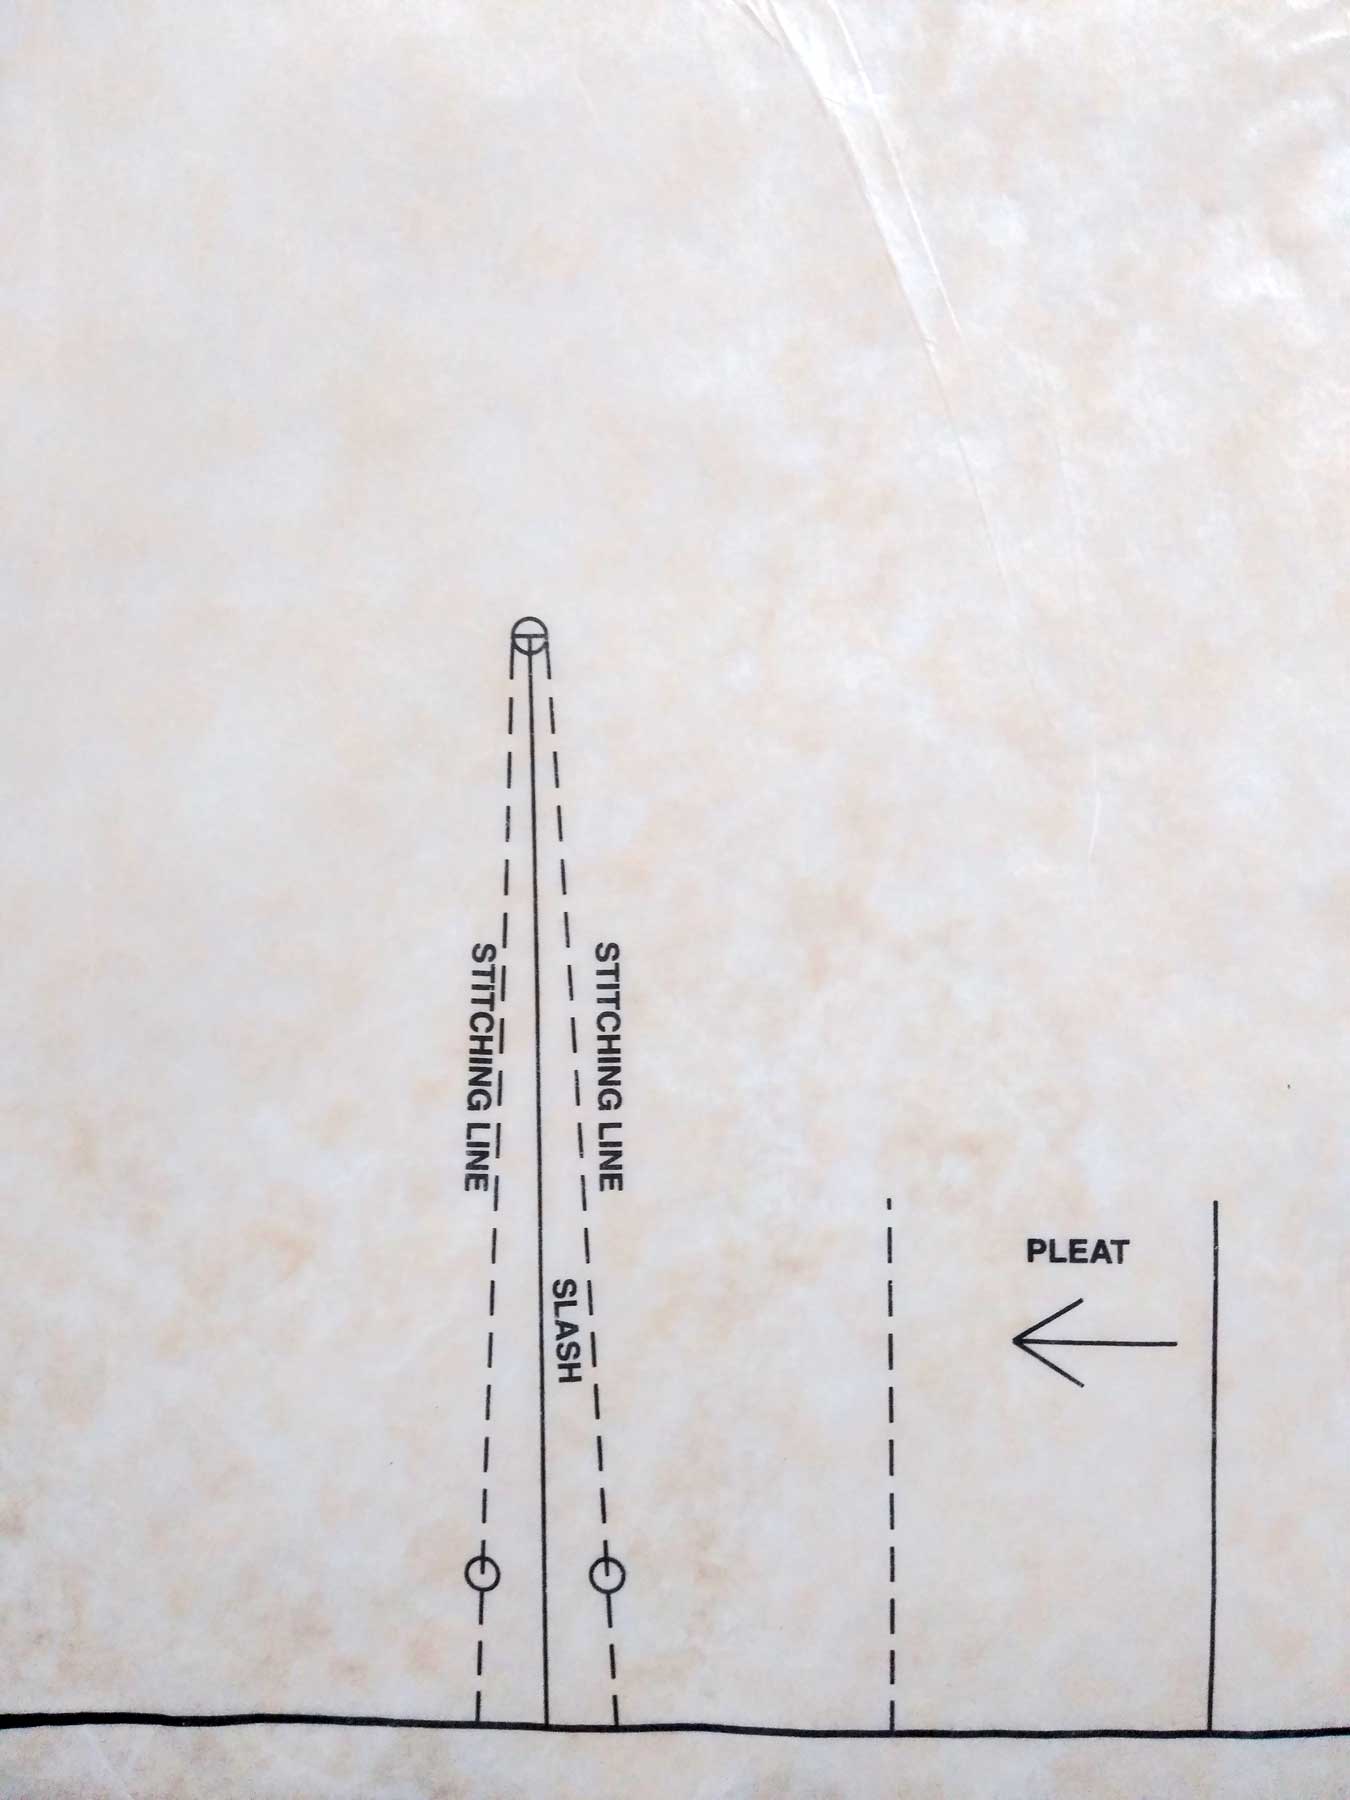
When you look at the sleeve pattern lower edge, you’ll see a narrow triangle where the placket opening goes (1). Transfer that marking to your cut sleeve pieces using a method appropriate to the garment fabric. Be sure to clearly mark the upper point.
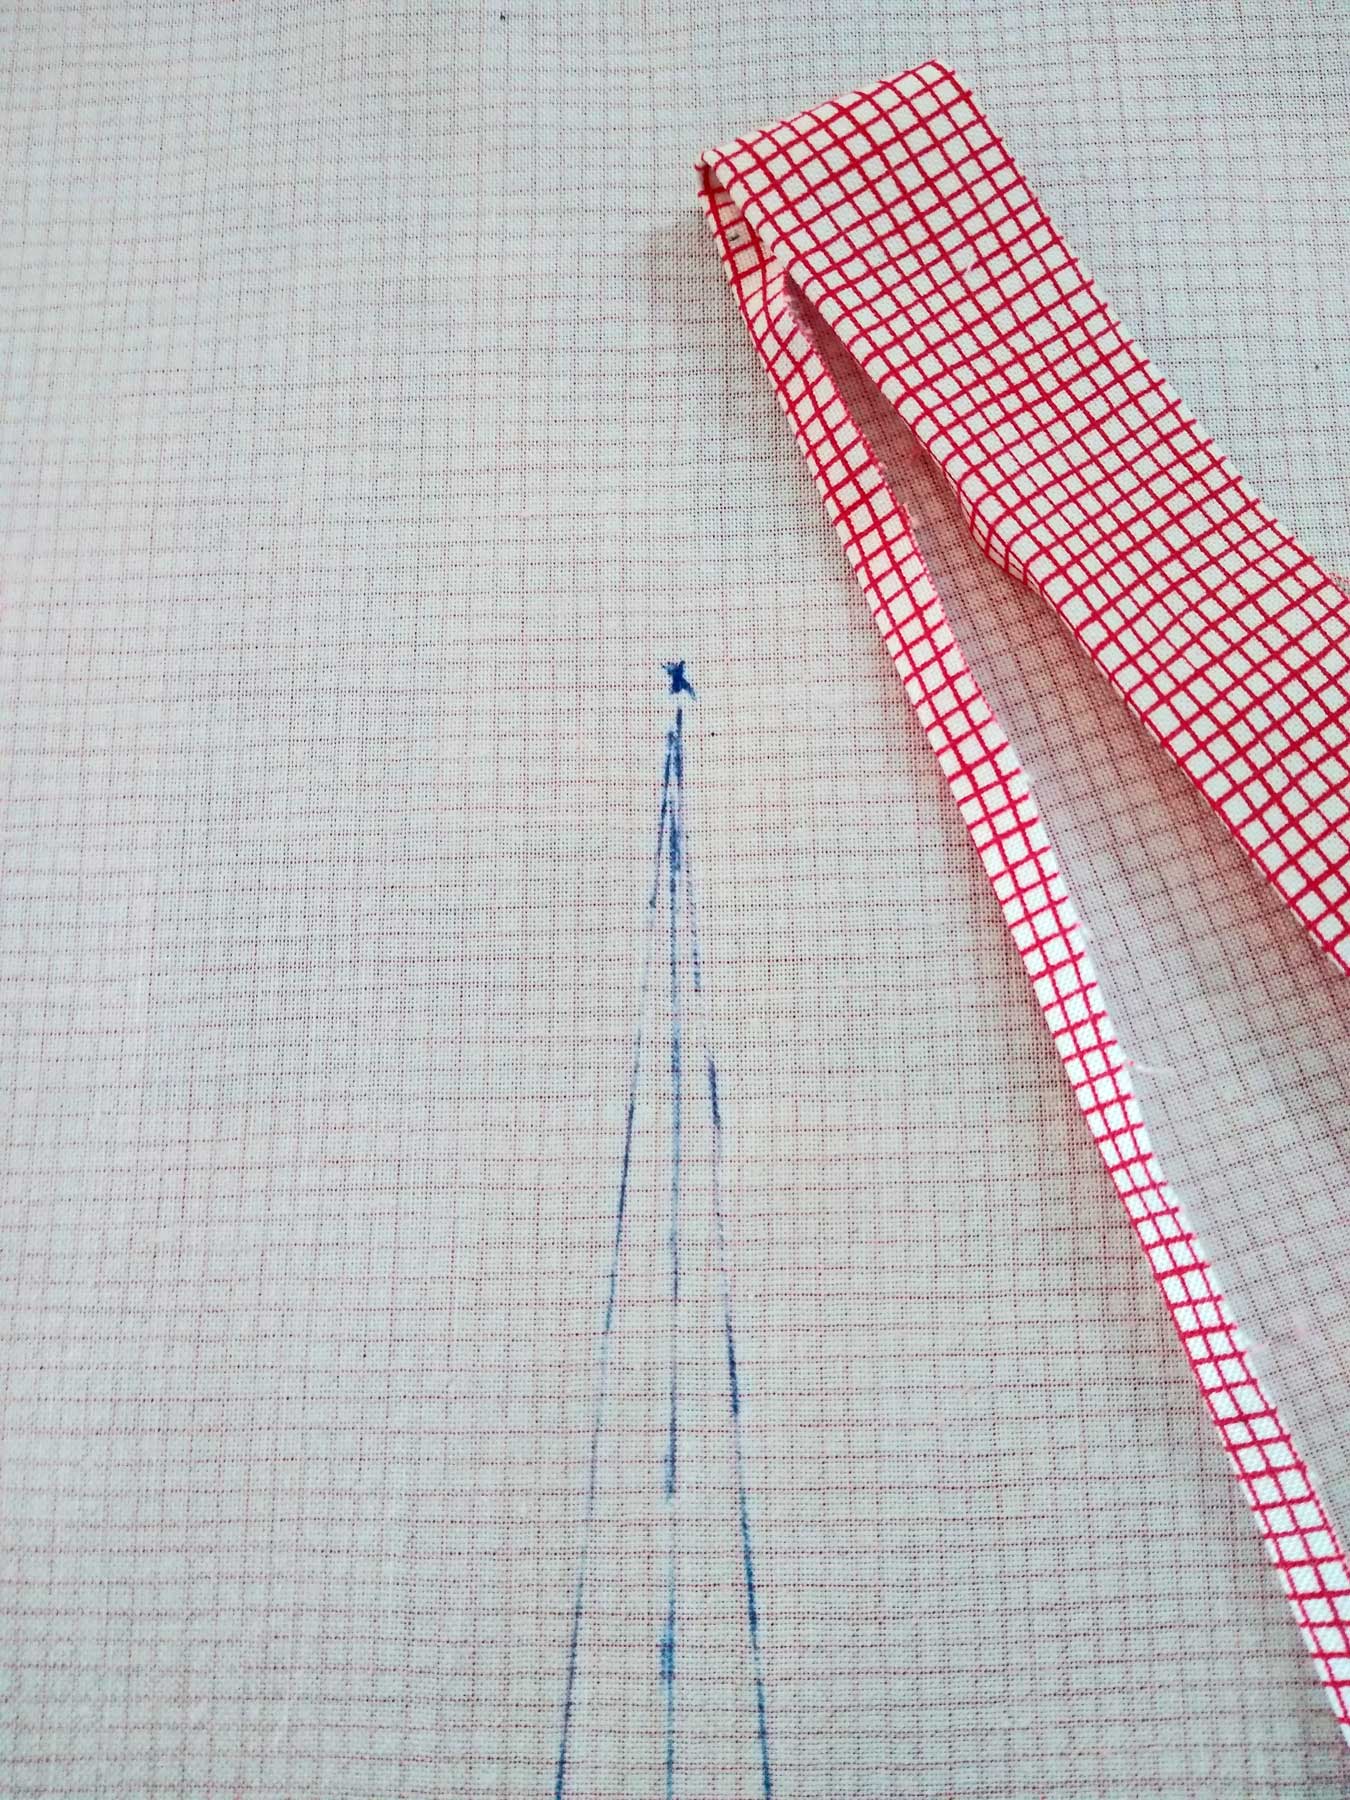
Follow the pattern instructions to cut the placket binding—usually 1 1/4” wide and twice as long at the placket opening, plus 1”. You’ll need a binding strip for each sleeve. Press under one long edge of the binding 1/4” (2).
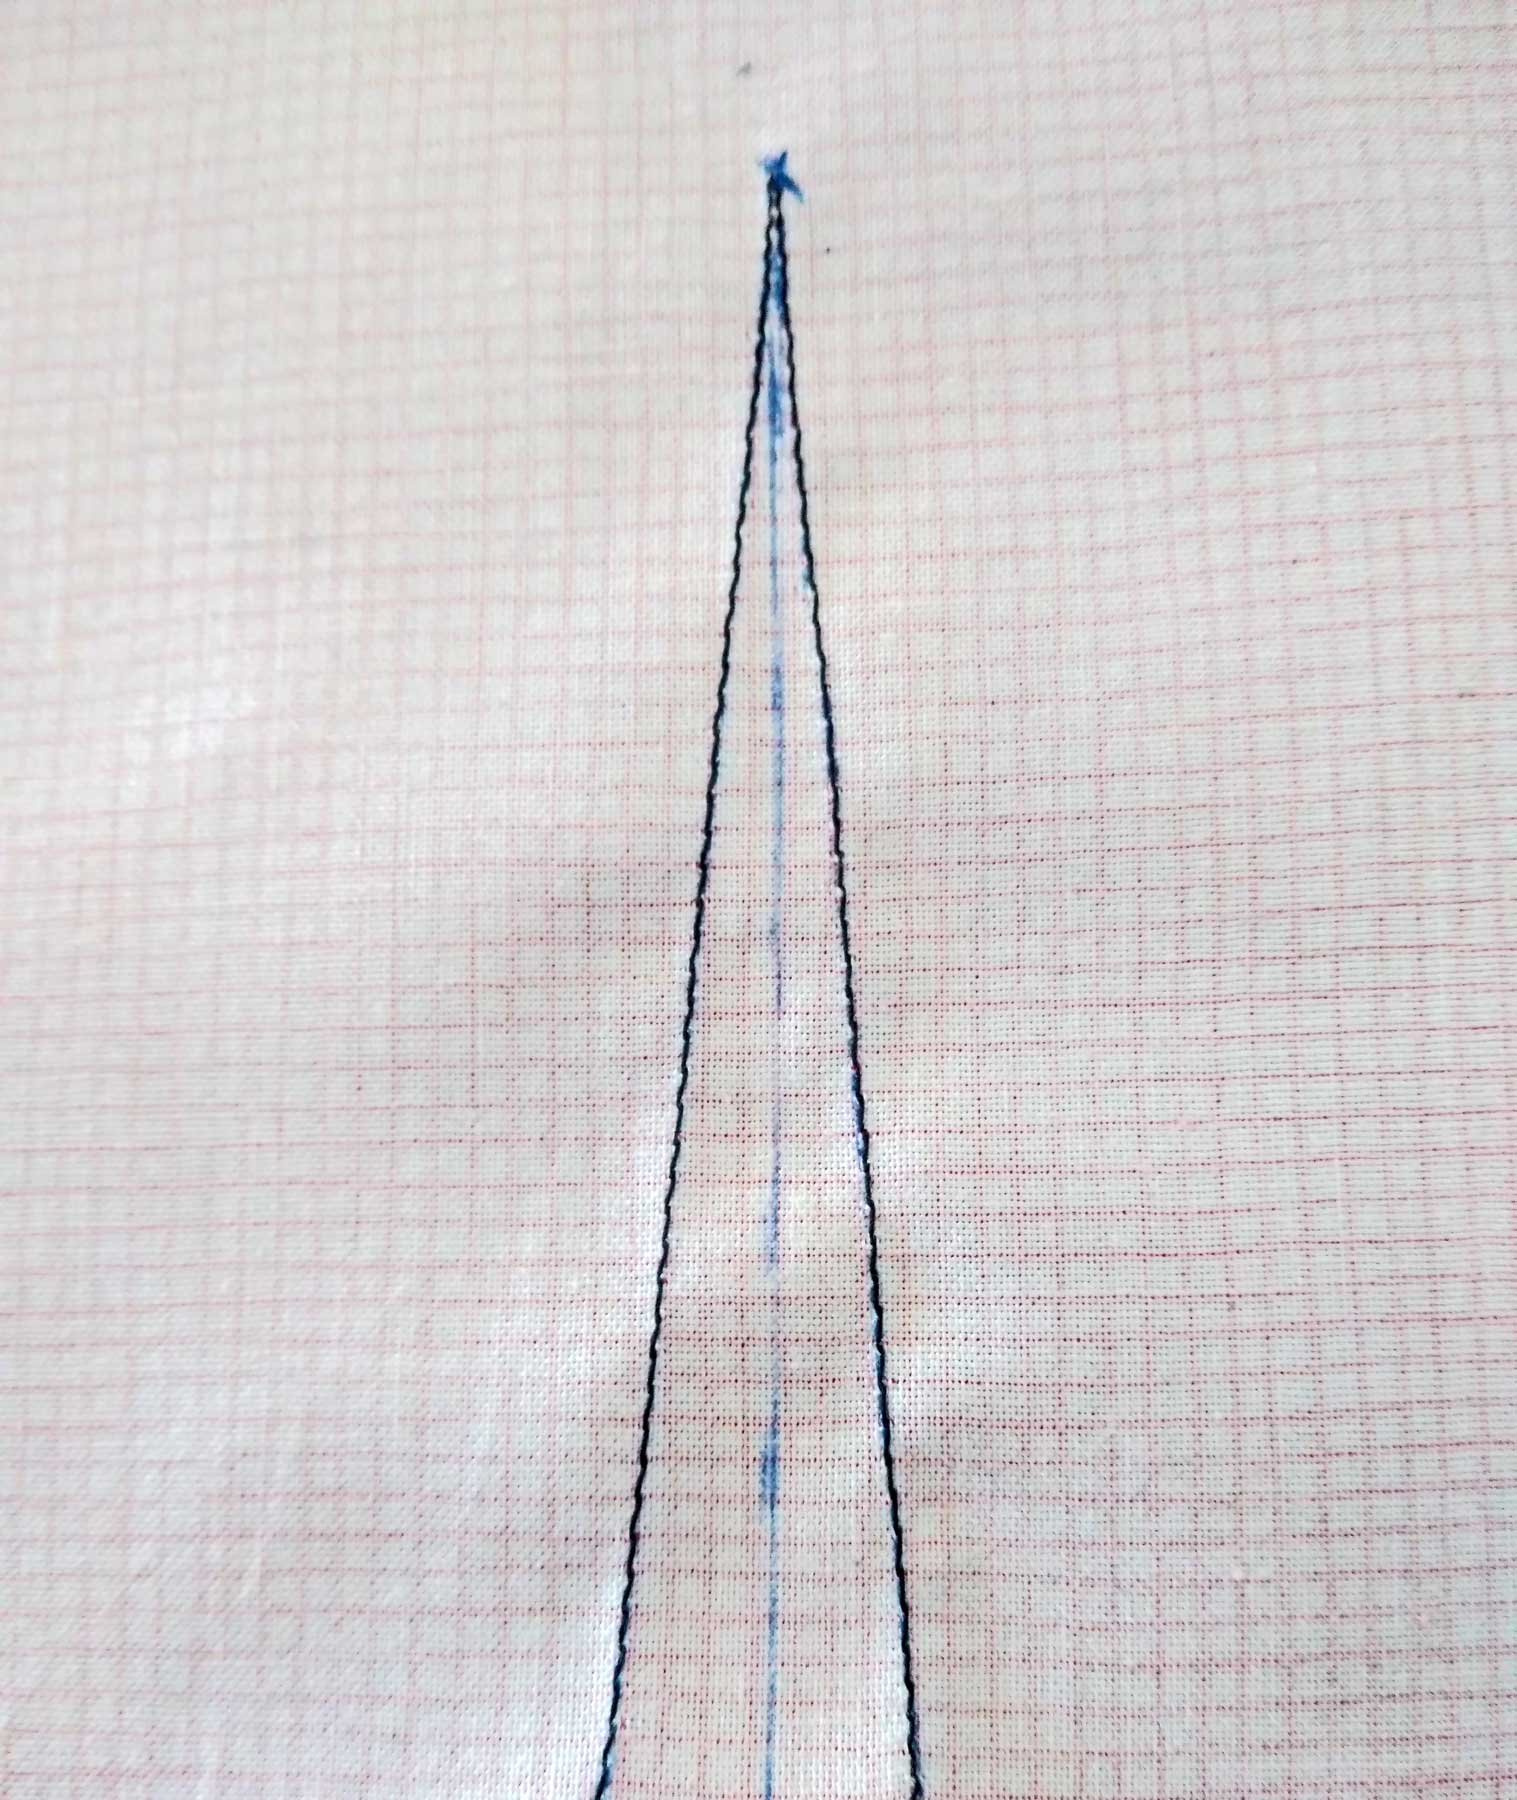
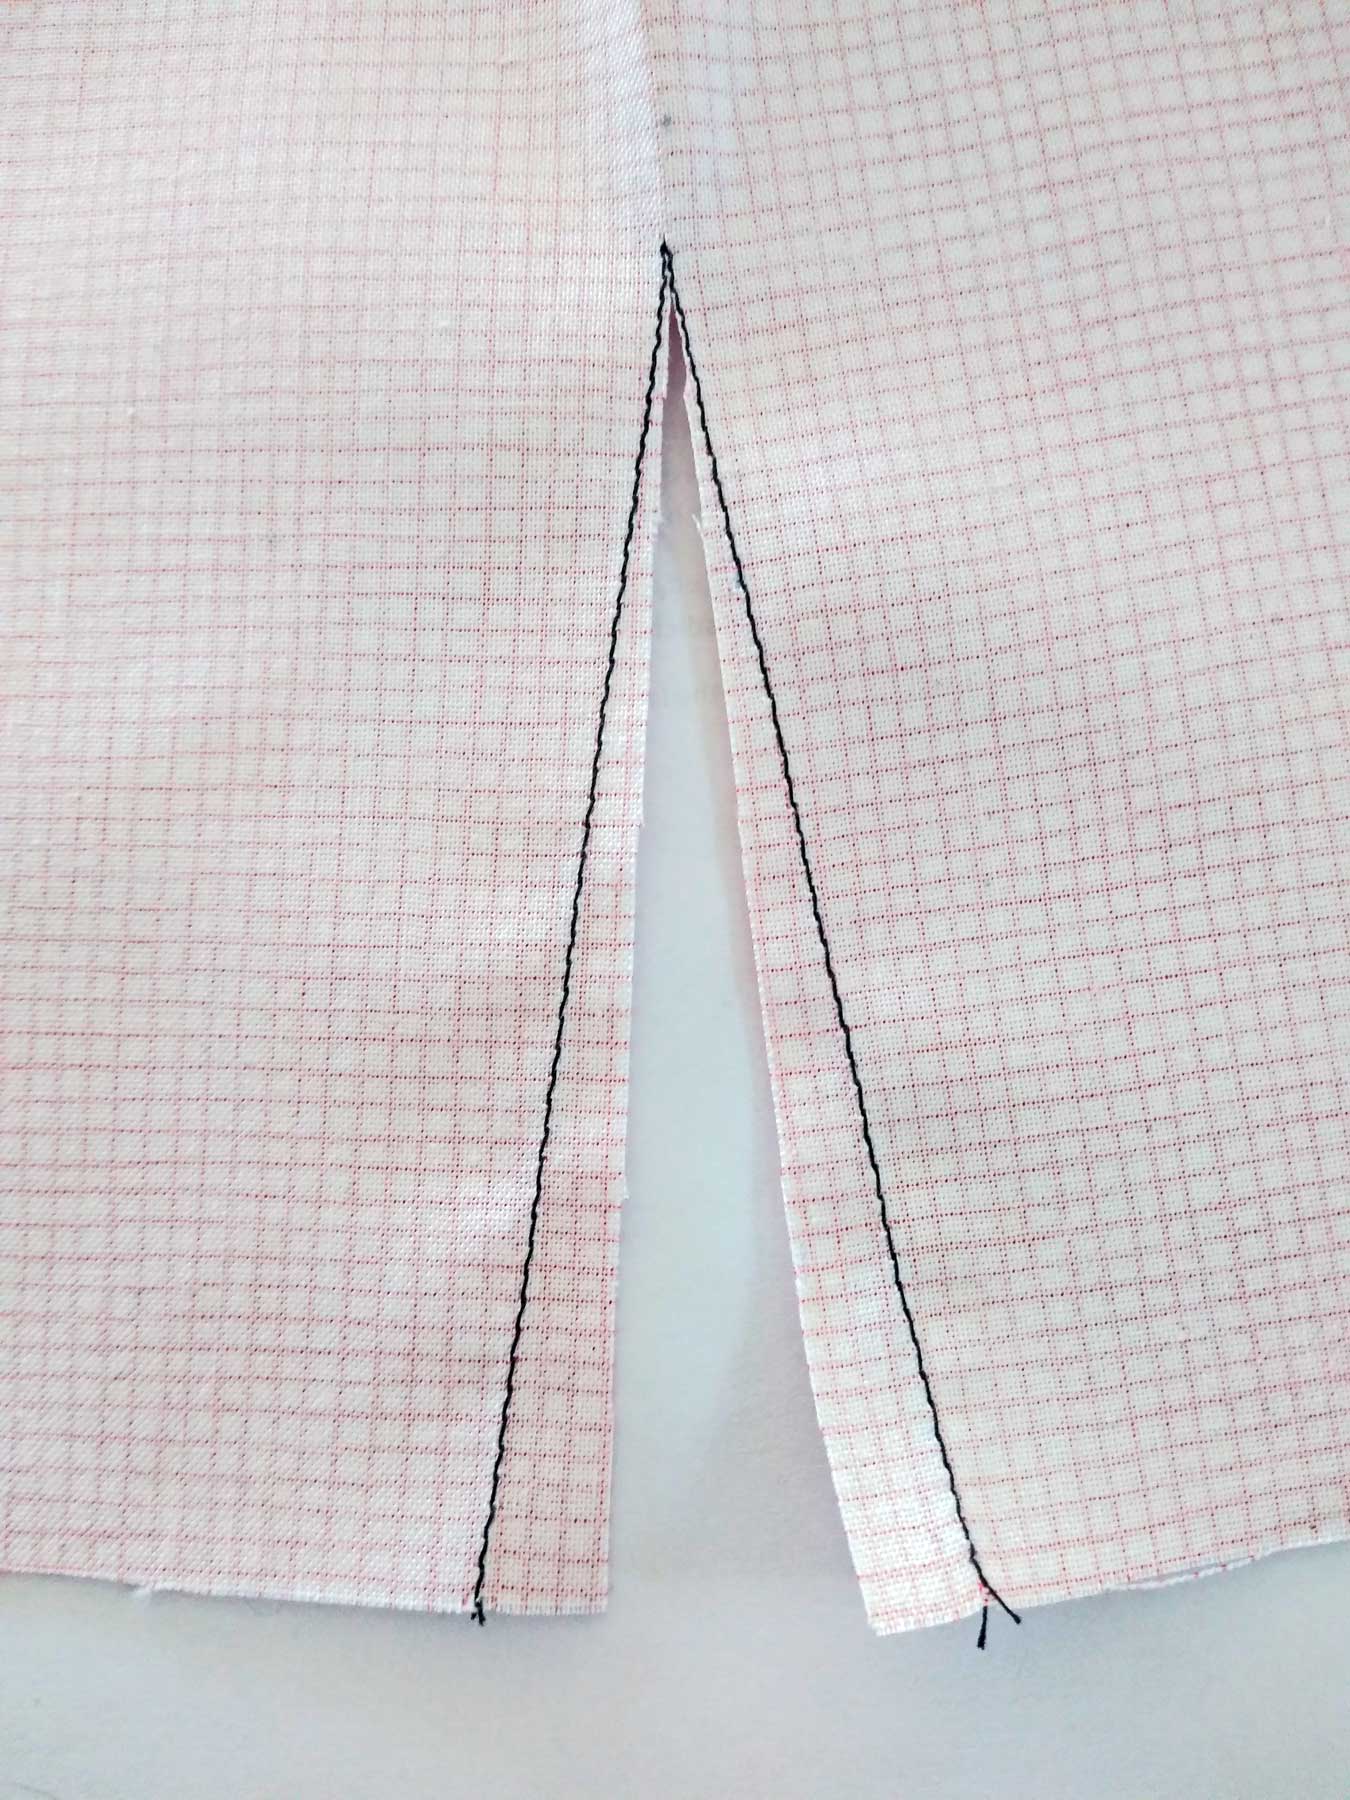
Once you’ve marked the opening on each sleeve, stitch along the triangle legs for reinforcement through the single layer of sleeve fabric. As you near the point, shorten the stitch length to about 15 stitches per inch. Pivot at the point, then stitch down the other side returning the stitch length to normal about an inch away from the apex (3).
Slash down the triangle center all the way to the point, but not through the stitching. The opening is now ready to bind (4).
Binding Basics
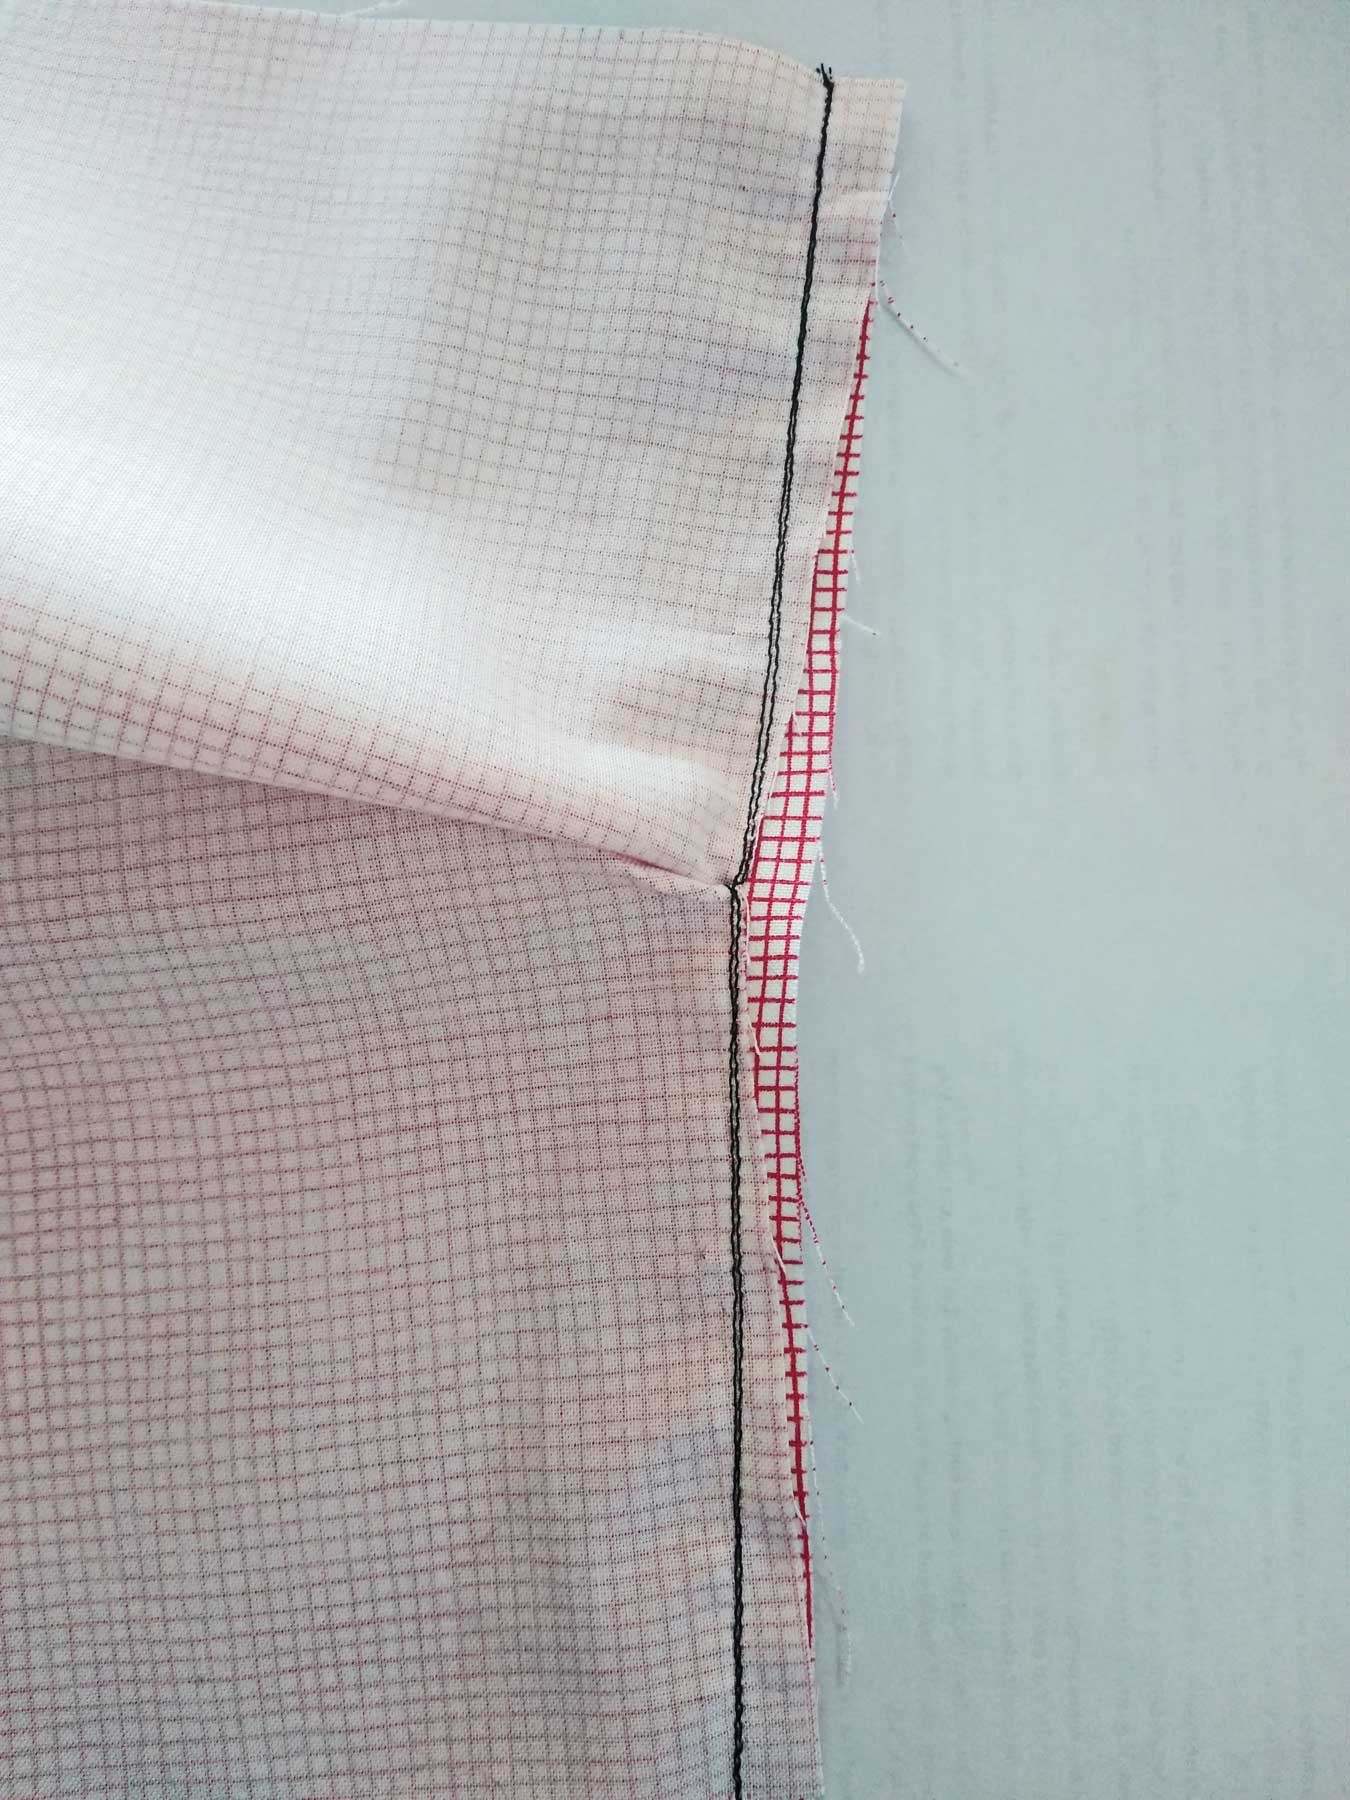
Pin the unpressed edge of the binding right sides together with the opened out slit opening. Align the reinforcement stitching line with a 1/4” seam allowance on the binding. Match the edges at the beginning and end of the strip, but note that in the middle, you’ll be able to see the binding strip extending beyond the slashed opening edges. The marked point should be 1/4” in from the edge.
Stitch the binding to the placket opening using an even 1/4” seam and being careful not to stitch a pucker at the point (5). You’ll only be catching a few threads of the shirting fabric at the point. Press the seam allowances toward the binding strip.
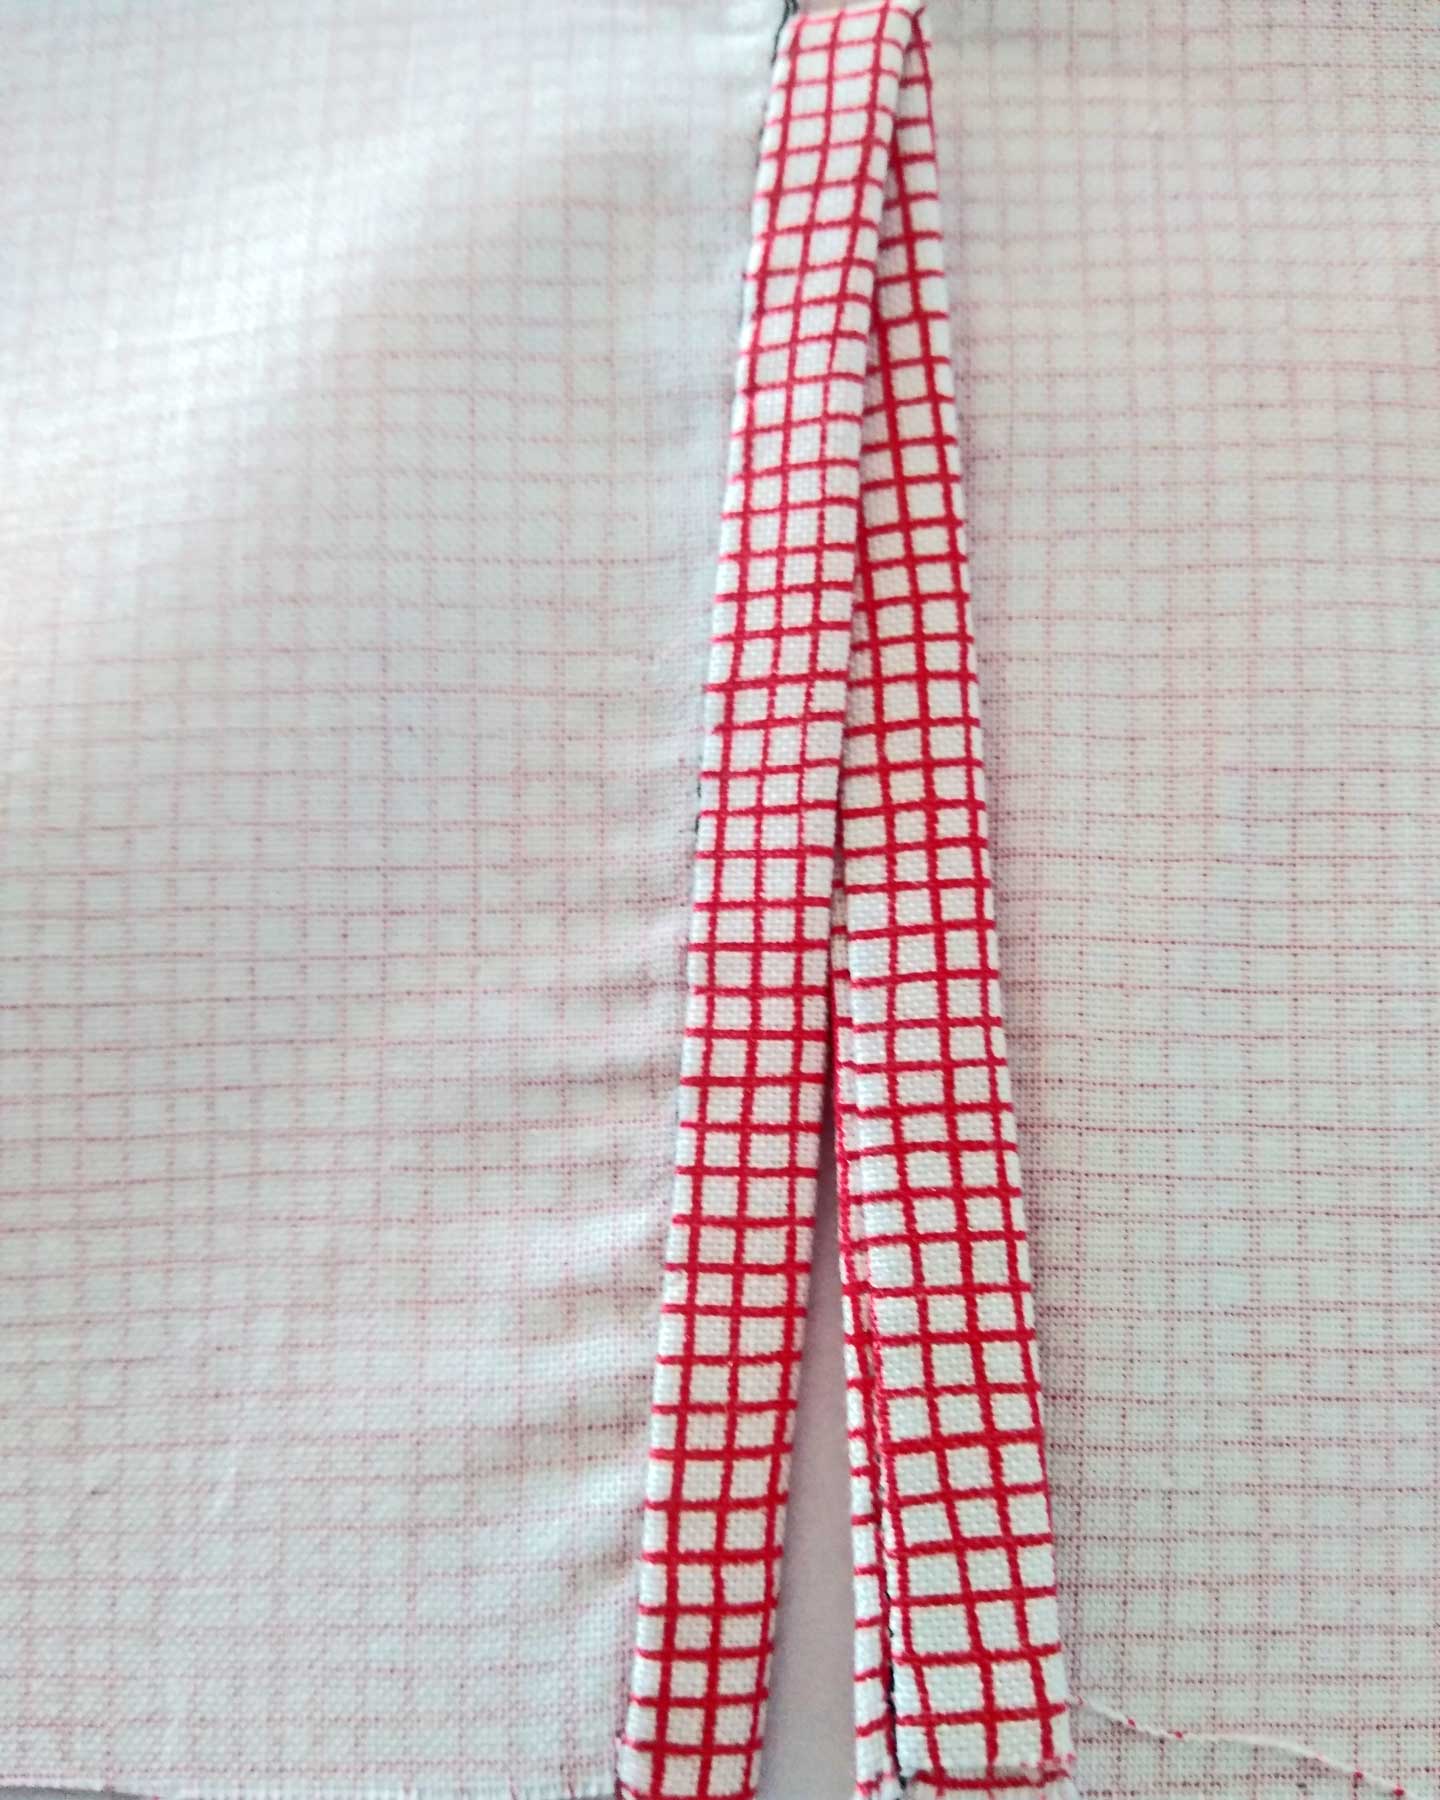
Fold the placket band to the wrong side of the sleeve with the folded edge just over the stitching line. Hand-stitch the folded edge in place (6).
Two other Options
- If you prefer a machine stitched binding, place the binding on the wrong side of the shirt sleeve and fold to the right side after stitching, then edgestitch the folded edges in place over the stitching line, again being careful at the point not to sew in a pucker.
- If you prefer a double-layer binding, cut the binding strip 1 3/4” wide, press in half, then apply either to the right or wrong side, depending on your preference.
Finishing Touches
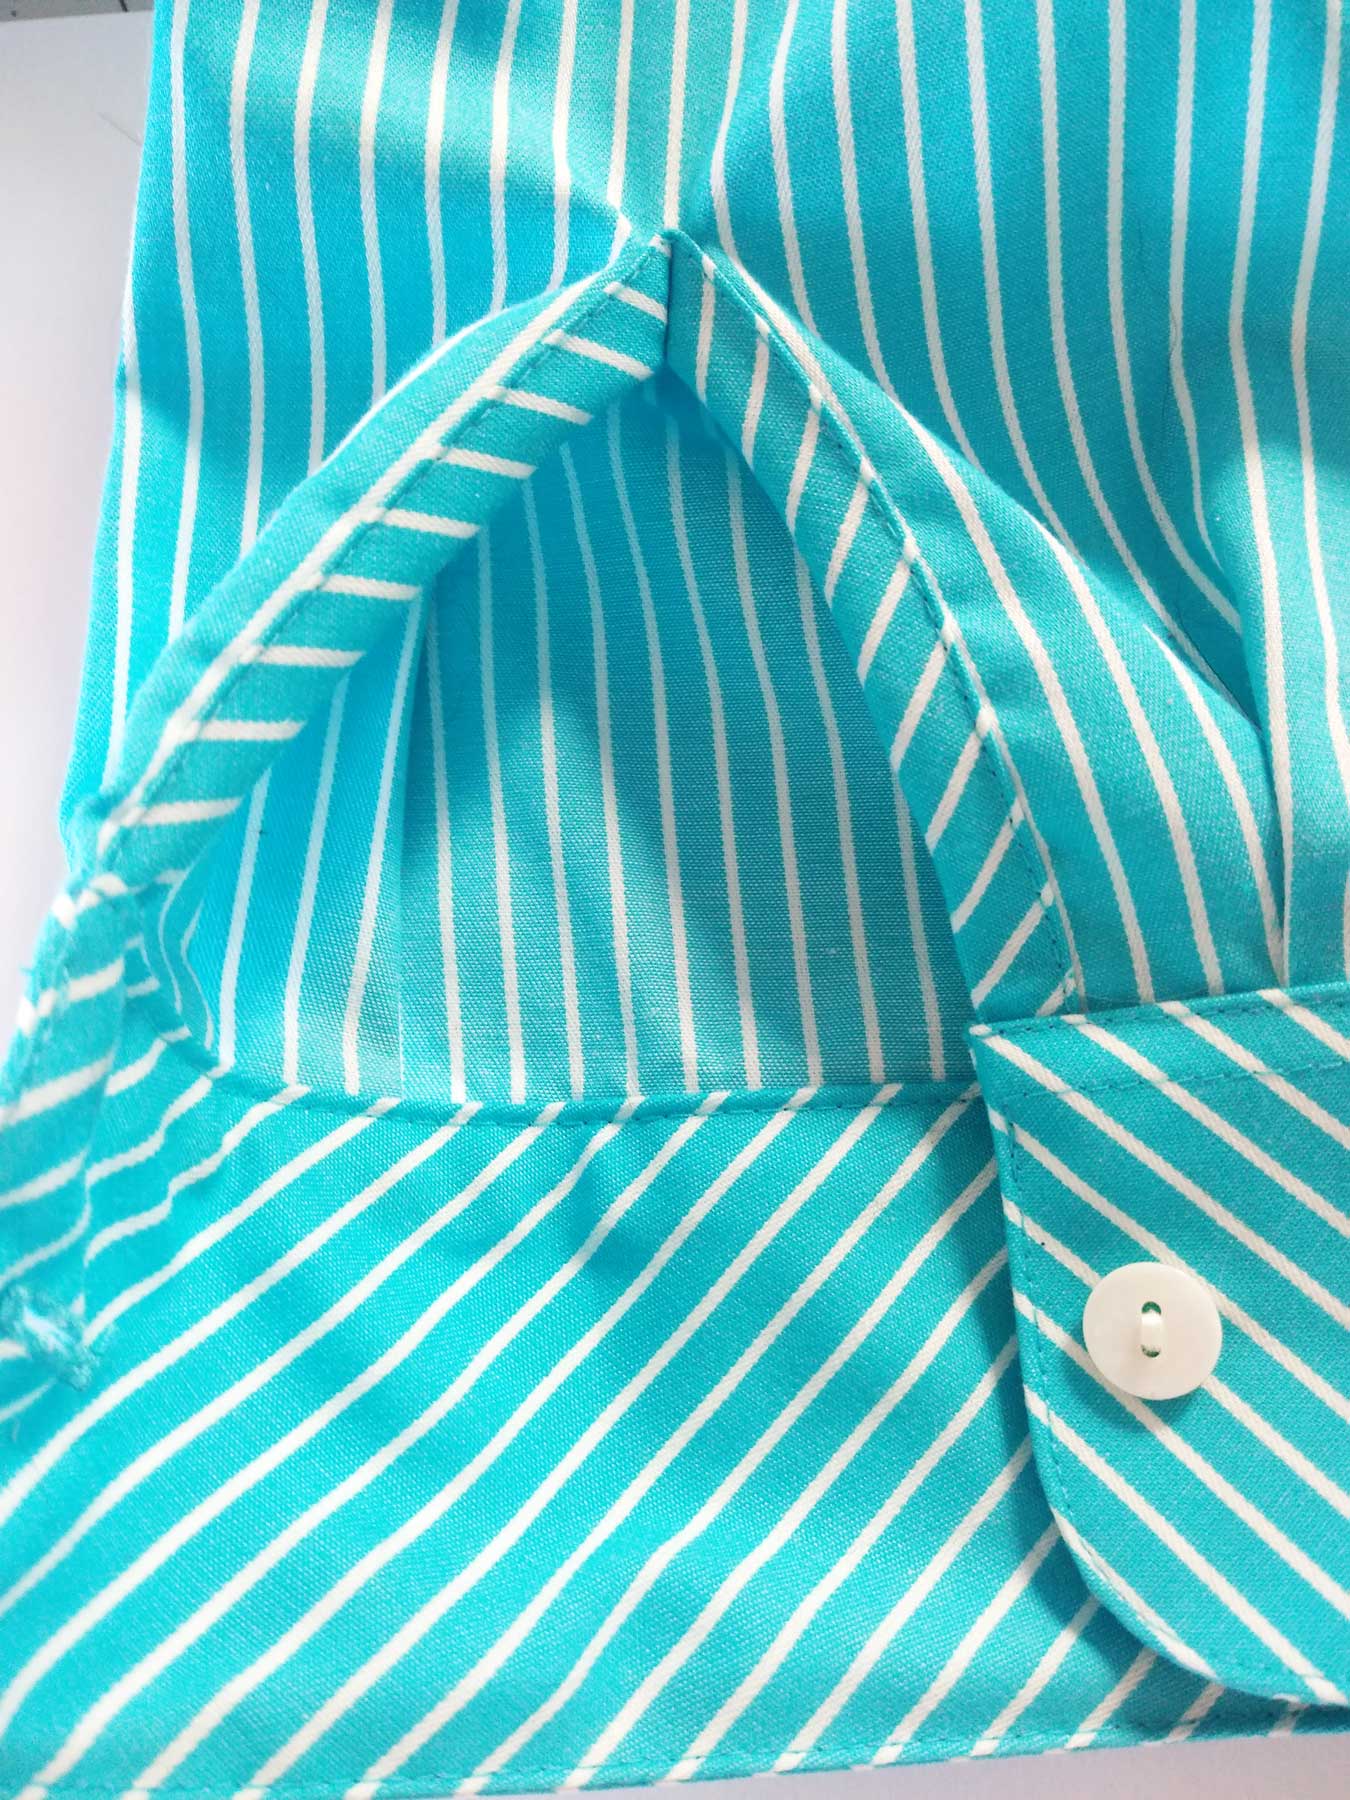
To finish the placket, fold the sleeve opening and press the binding so that it’s extended on the back side of the sleeve and pressed under on the overlap side. Baste the lower sleeve edge to secure the binding overlap in place.
Stitch the binding edges together at the upper fold along a 45° angle. Be careful not to catch the sleeve in the stitching.
Apply the cuff to the lower sleeve edge following the pattern directions.
~Linda Griepentrog is the owner of G Wiz Creative Services and she does writing, editing and designing for companies in the sewing, crafting and quilting industries. In addition, she escorts fabric shopping tours to Hong Kong. She lives at the Oregon Coast with her husband Keith, and three dogs, Yohnuh, Abby, and Lizzie. Contact her at gwizdesigns@aol.com.
