


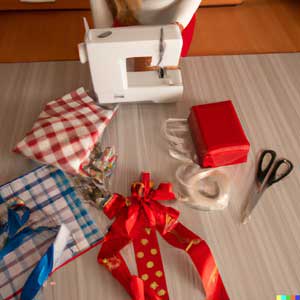
It never fails that the closer we get to the holidays, there’s more to do, and time can get crunched. But if you need quick gifts for friends or family, your sewing skills can come in handy to save the day. The two items detailed in today’s ASG blog post are great for almost anyone on your gift list… and you can whip them up in a short time, likely from what you have in your stash or with a quick trip to the fabric store.
Bracelet Trio
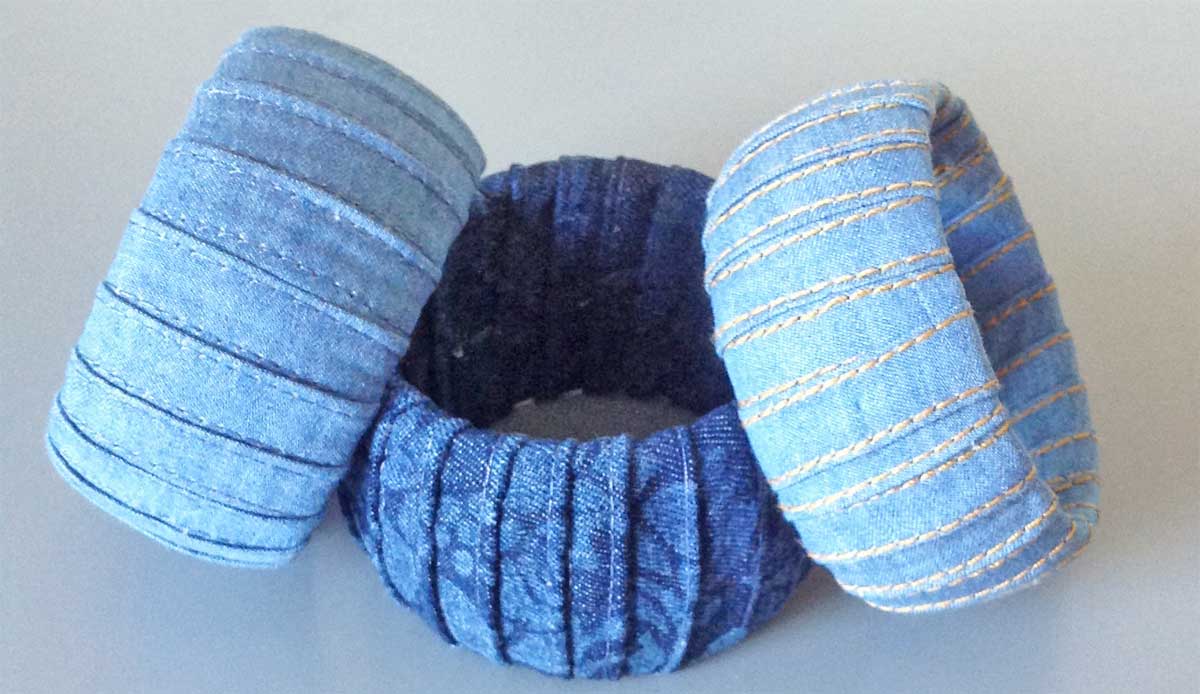
Make them match, make them different; give one, two or three—the choice is yours.
What you Need
- Your local craft store (or online resource) will likely have wooden bracelet blanks. They come in varying widths and with rounded or flat surfaces, depending on the desired look. Choose them singly or in sets.
- Fabric glue
- Fabric strips at least 1” wide
- Matching or contrasting threads, regular or topstitching weight
- Topstitching needle, if using heavier threads
- Spring clips
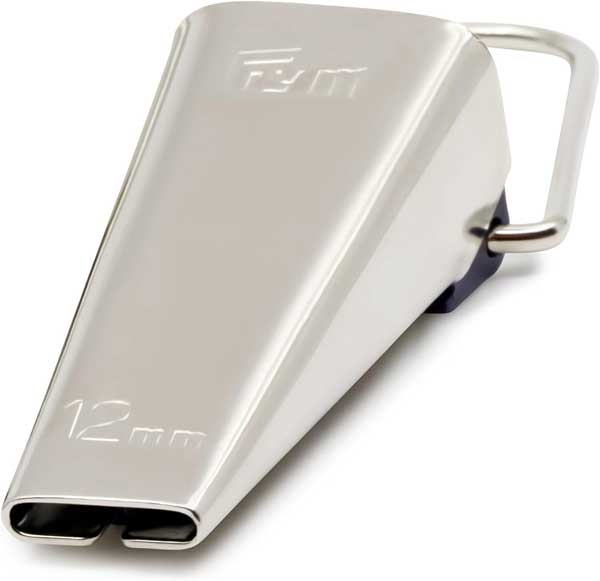
- Bias tape maker (1/2”) (optional)
Preparation
- Cut the fabric strips 1” wide across the fabric width (42”-60”). Use different fabrics or all the same, depending on the number of bracelets you’re making and desired finished look.
-
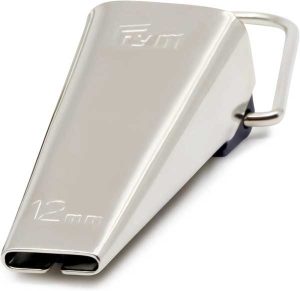
Bias tape maker from Amazon. Press under the long raw edges of the fabric strips to create ½”-wide folded strips. Option: Use a bias-tape maker to make the folded strips, following the manufacturer’s instructions.
- Edgestitch the fabric strips using a slightly longer than normal stitch. Press the strips flat.
Assembly
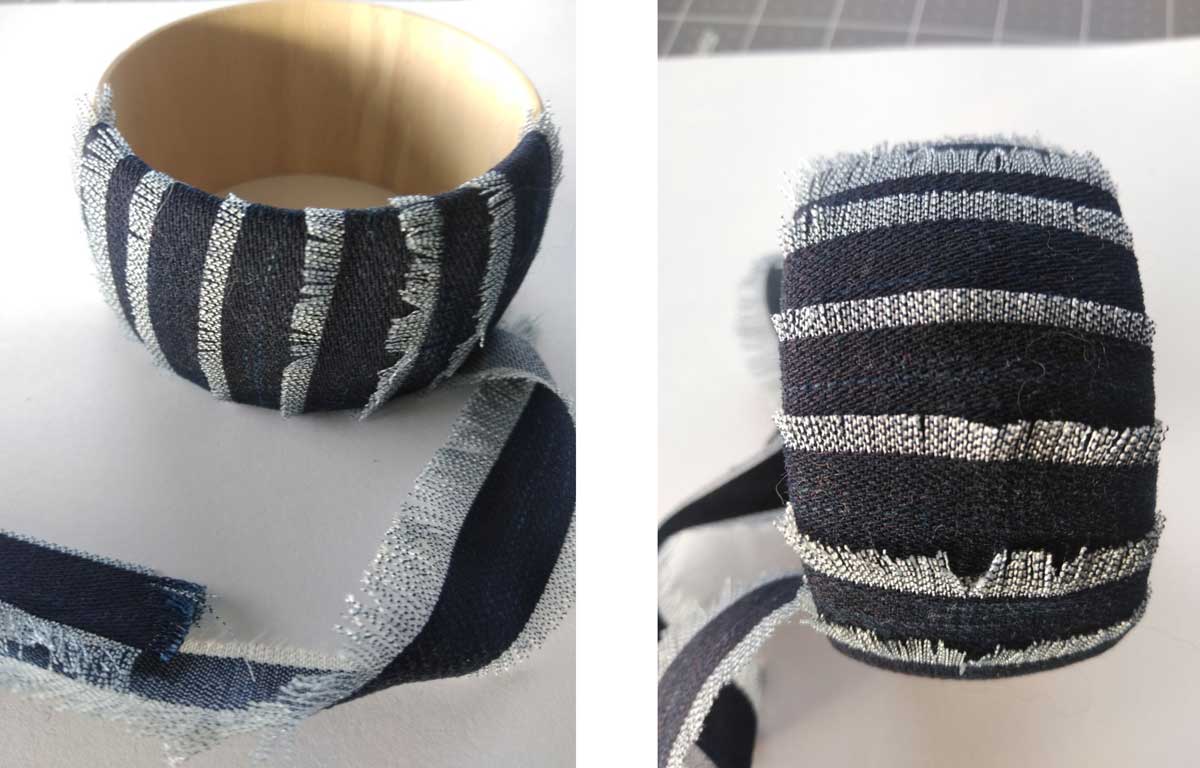
- Place one short end of a fabric strip inside the bracelet and glue in place. Allow to dry.
- Wrap the strip tightly around the wooden bracelet and continue with successive wraps, overlapping the previous strip ever so slightly. The wooden bracelet should not be visible. Pull the strip snugly to avoid any gaps. Use spring clips to hold the wraps in place and add dots of glue randomly to secure the wrapping.
- Continue wrapping to cover the entire bracelet surface. If you run out of strip length, trim so that the end is on the inside of the bracelet and glue the strip end in place. Begin a new strip where the old one left off by initially gluing the end and clipping in place.
- Once the entire bracelet is covered, trim the end of the fabric strip so that it will be on the bracelet inside; glue and clip in place.
Bracelet Tips
- Use the decorative stitches on your sewing machine to embellish the fabric strips prior to folding.
- For a more casual look, cut narrower strips and fringe the edges.
- Wrap with pre-made flat trim for the quickest bracelet ever. Think metallic!
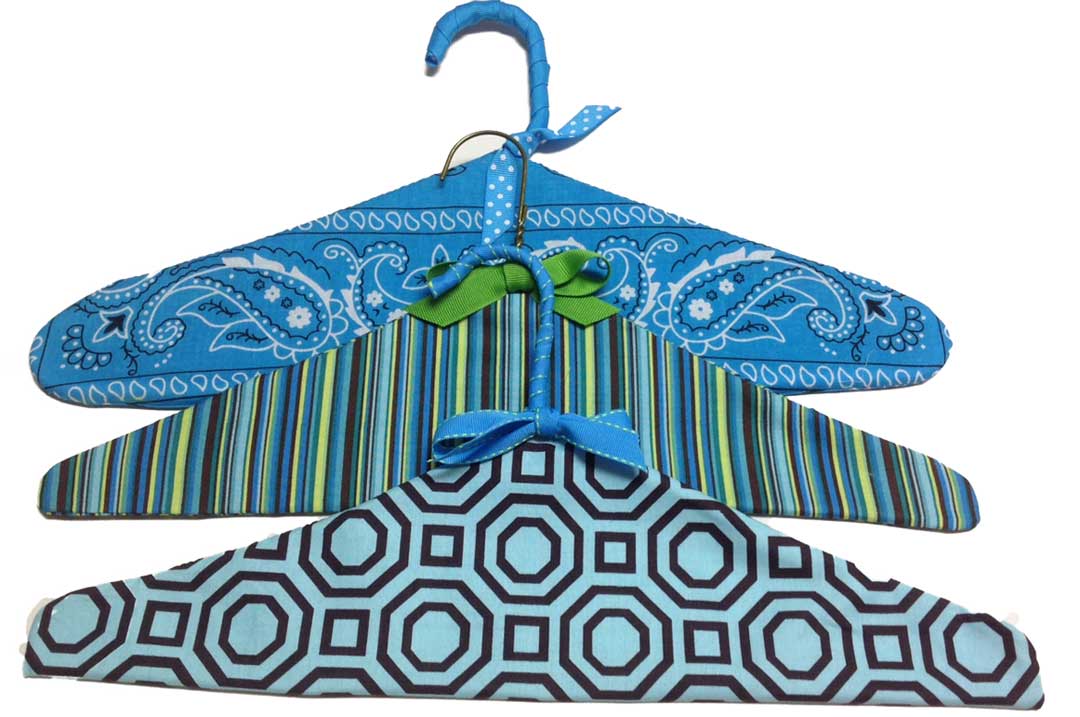
Covered Hangers
Perfect for guys or gals, these fun hangers add a bit of fun to anyone’s closet.
What you Need
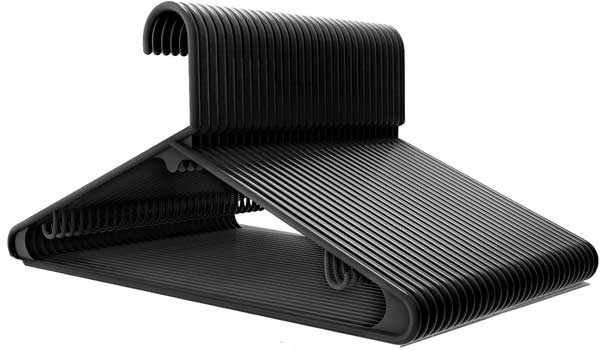 Wire or plastic hangers (if you don’t have any, try these from Amazon)
- 1/4 yard fabric (for each)
- Matching thread
- Pattern tracing paper
- Ribbon/trim (optional)
- Fusible web (optional)
Preparation
- Trace around the hanger shape up to the neck hook. Add 3/8” for seam allowances on all the edges.
- Cut two pieces of fabric the shape of the pattern created in step 1.
- To embellish the hanger, stitch any ribbons or trims in place on the single-layer fabric as desired.
Assembly
 Place the hanger cover pieces right sides together and sew the side angles together, leaving open the neck hole.
- Turn the cover right side out and press the edges. On the neck and lower edges, press under the seam allowance to the wrong side.
- Carefully insert the hanger hook through the lower cover edge. Pin together the pressed-under lower edges and hand-stitch closed. When covering metal hangers, the lower edges can be fused together instead of stitched, but do not fuse the edges when using a plastic hanger as it may melt.
- To finish, tie a ribbon around the hanger neck and/or wrap the hook portion in ribbon to totally cover it. Hand-stitch (or glue) the ribbon ends in place after wrapping.
Hangers can be covered with bandannas or scarves instead of fabric off the bolt.
~Linda Griepentrog is the owner of G Wiz Creative Services and she does writing, editing and designing for companies in the sewing, crafting and quilting industries. In addition, she escorts fabric shopping tours to Hong Kong. She lives at the Oregon Coast with her husband Keith, and three dogs, Yohnuh, Abby, and Lizzie. Contact her at gwizdesigns@aol.com.
