


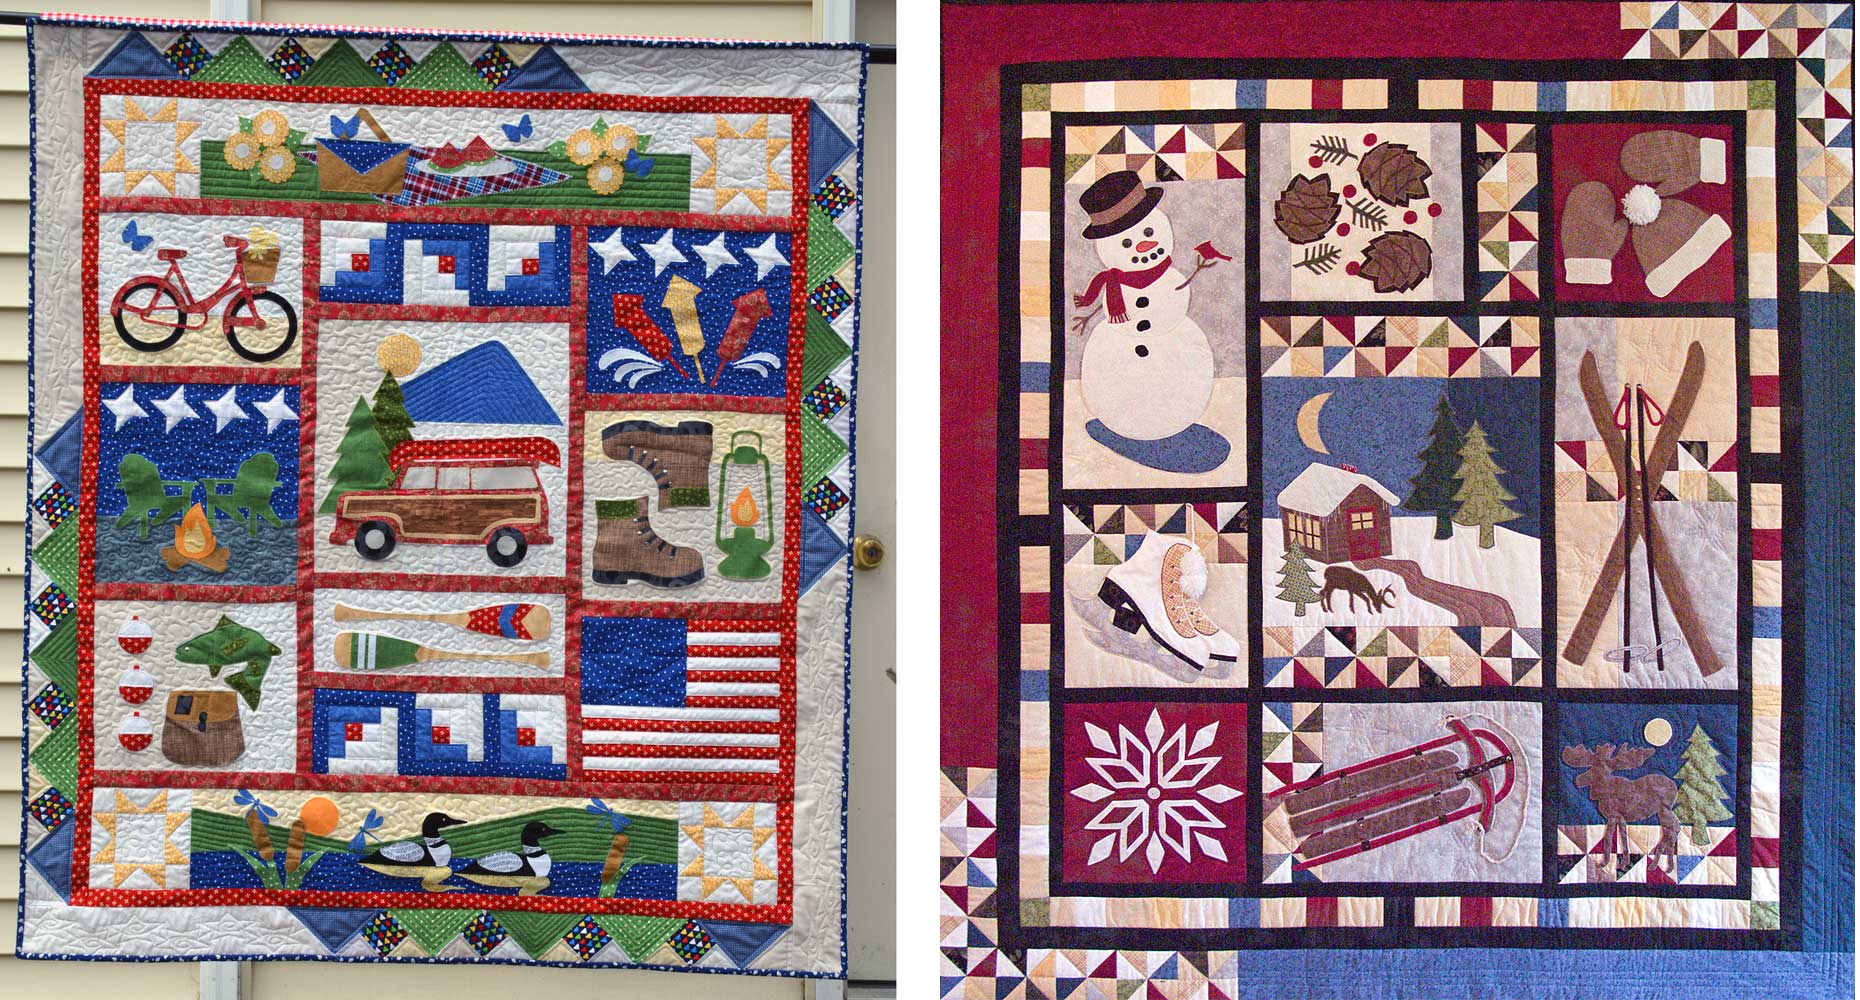
When you finish the center of your quilt, there’s always the last sprint to the finish to add the border. Borders add a frame to the quilt and make it larger than the perhaps intricately pieced center section. They also provide a wonderful place to showcase running quilt designs and fussy corner motifs.
Quilt borders can match the quilt center, pick up one of the piecing prints or they can be a coordinating print or solid color. And, of course you don’t have to stop with just a single border—use multiples of varying widths for added interest. Borders should be a proportionate width to the quilt size, so consult your quilt pattern for the recommended size(s).
Borders can be pieced or simply straight strips, depending on your preference. Or go for the gusto and make shaped borders with scallops or zigzags, or add in some leftover blocks from the center.
Long Story Short
Unless you’re making small quilts for kiddos or to hang on the wall, chances are good that one width-of-fabric strip may not be long enough for a border without seaming it. No one wants a prominent seam in a quilt border, but there are ways to make them less obvious.
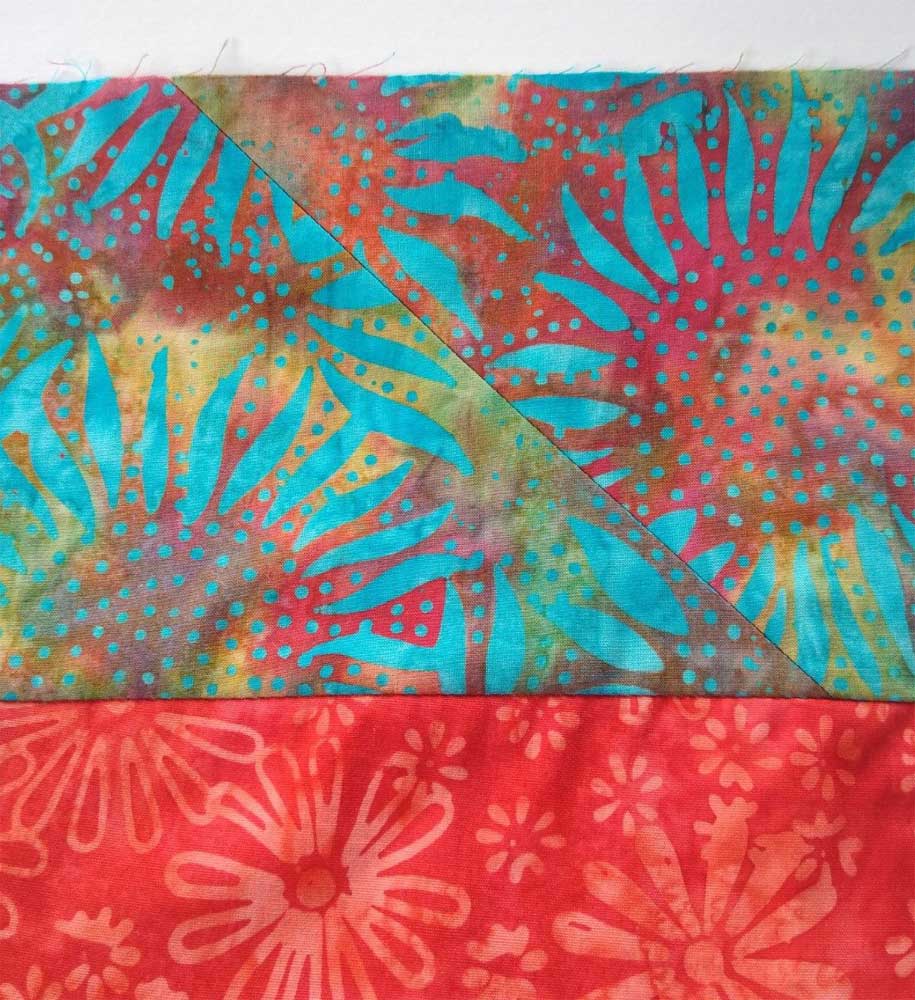
If a single fabric width strip if too short to make a border for your quilt size, team it with a matching strip using a diagonal seam. Place the strips right sides together at a right angle matching the top and side edges. Draw a diagonal line from corner to corner. Sew on the line, trim the seam to ¼” and press it open. Pressing the seam open makes a flatter seam than pressing both seam allowances in a single direction.
This diagonal seaming can be used in prints or solids, and while you might think it’s too obvious, it practically disappears once the quilt it quilted. Some people like to position the seams to one side or the other, rather than showcasing it exactly at the quilt edge center.
Depending on the size of your quilt, you may need to seam multiple strips together to fit the quilt center.
Corner Cues
Cornerstones accent two borders on this quilt
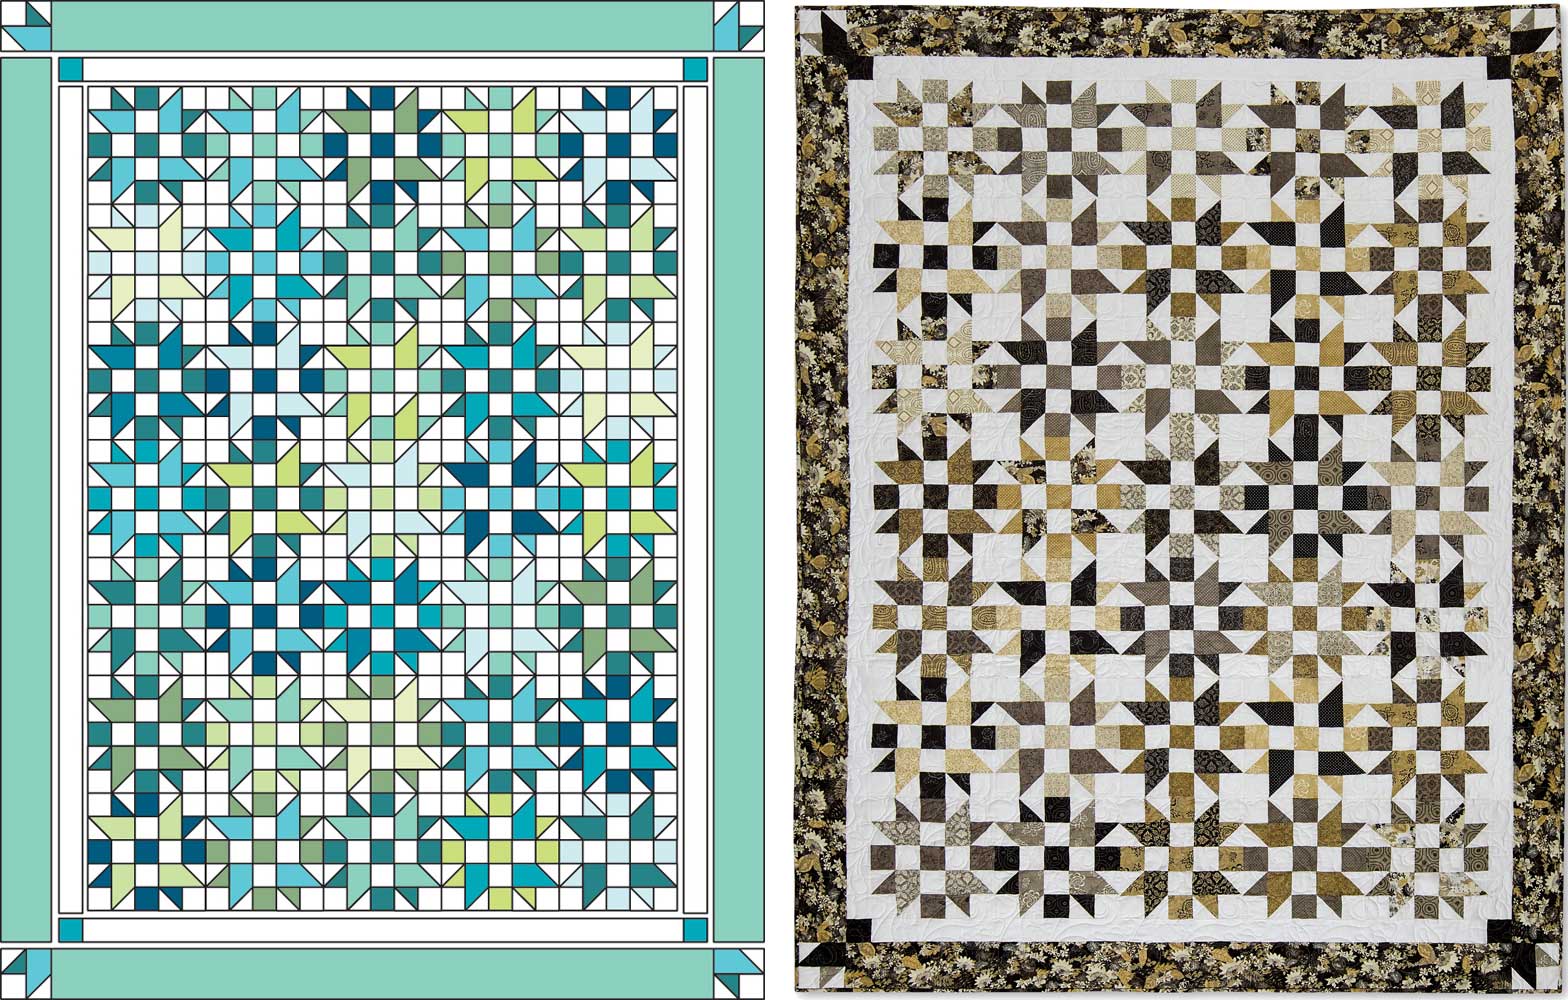
If you’re making a small quilt and the border strips are just a bit too short and you’re hesitant about seaming, think about using cornerstones to lengthen the strips. A cornerstone is a contrasting block positioned in each corner of the quilt and it’s as wide as the border itself. Note that cornerstones can also be used on larger quilts with seamed borders as a design feature.
To use a cornerstone, measure the quilt top center. Cut and sew the quilt border to each side of the quilt center and press the seams toward the border. Cut four squares the same width as the cut borders—these can be all the same fabric or different if you prefer a scrappy look. Cut the top and bottom border the width of the unfinished quilt center measurement. Sew a cornerstone block to each end of the top and bottom borders, pressing the seams toward the border.
Matching the cornerstone seams to the side border seams, sew the top and bottom borders to the quilt. The addition of the cornerstone creates additional length for the upper and lower borders.
Note that cornerstones can also be pieced in the same or different pattern as the quilt top center. Just be sure the finished block is the same width as the border strips.
Symmetry Not Required
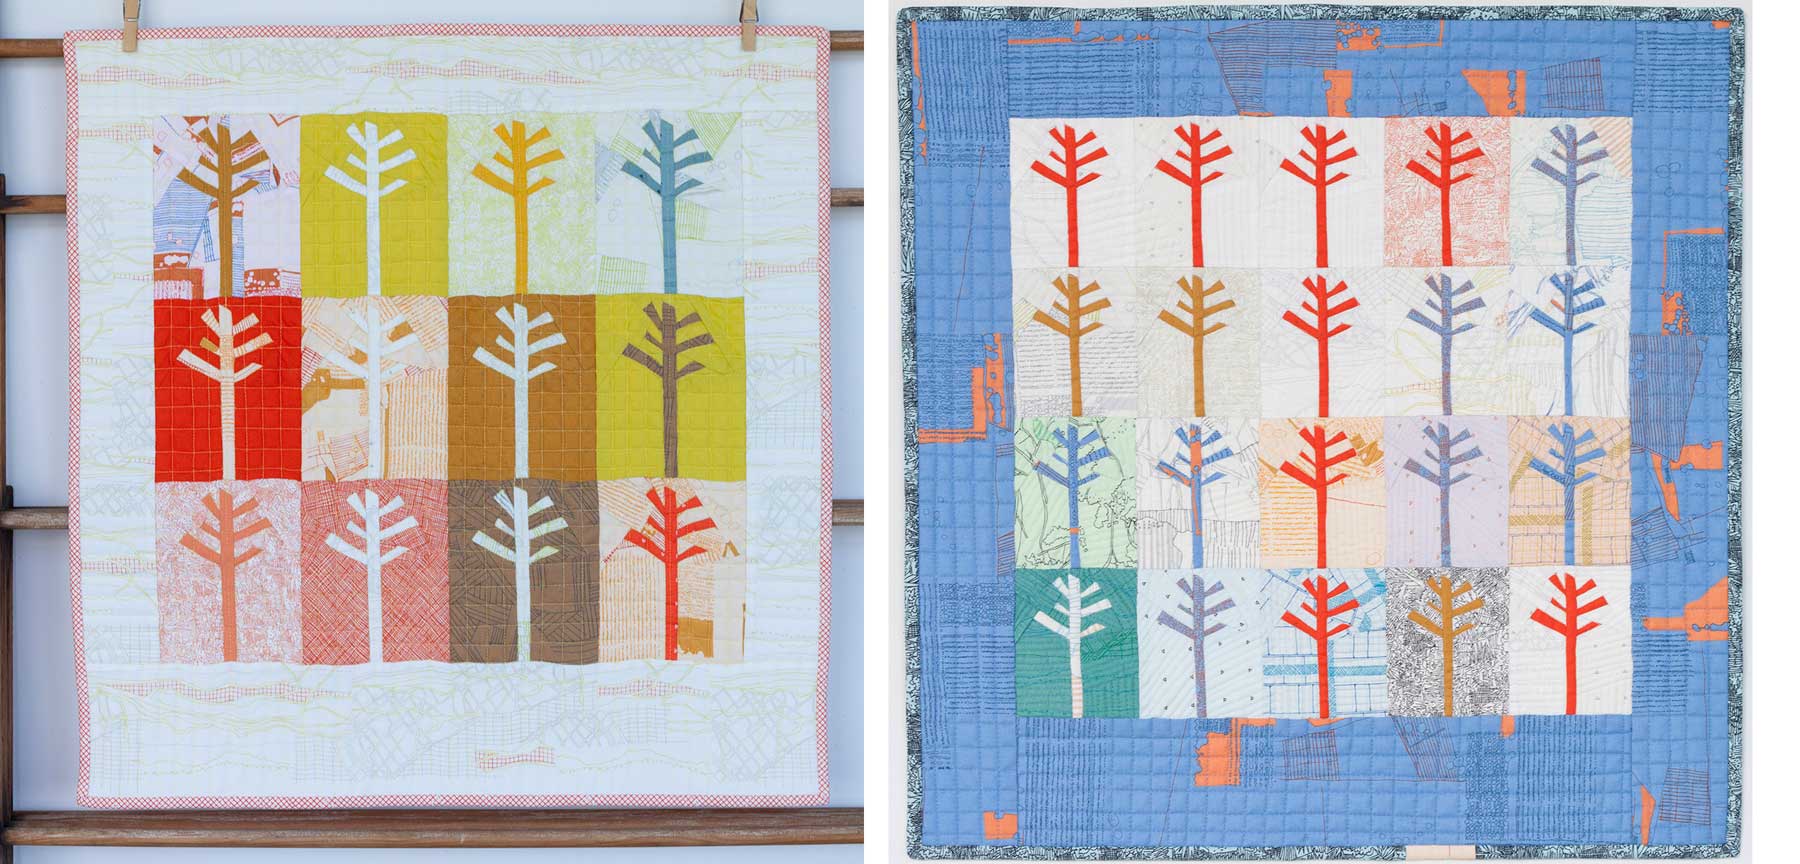
Traditional quilters tend to choose borders that are the same size all around, or at least on opposite sides of the quilt, but more modern quilters often opt for asymmetric borders of all ilks. Sometimes just a border on one edge, or sometimes just two, or even three. There’s no hard and fast rule regarding sizes, number or placements, as when you create, the choice is yours.
~Linda Griepentrog is the owner of G Wiz Creative Services and she does writing, editing and designing for companies in the sewing, crafting and quilting industries. In addition, she escorts fabric shopping tours to Hong Kong. She lives at the Oregon Coast with her husband Keith, and three dogs, Yohnuh, Abby, and Lizzie. Contact her at gwizdesigns@aol.com.
