If you’re a quilter, you know that sometimes things don’t go as planned and you’re forced to get creative. These recent questions offer that opportunity for an innovative resolve.
Q: What should I do if I run out of bobbin thread while I’m quilting with a decorative stitch—I don’t want a mismatched stitching line?
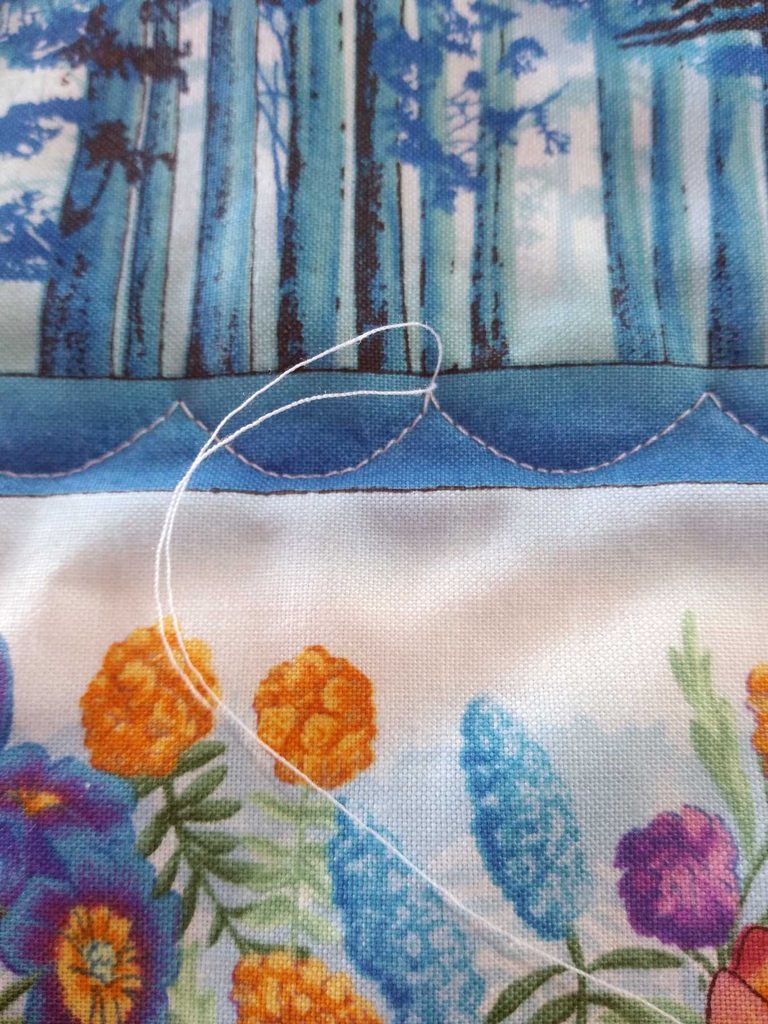
It’s always a good idea to begin quilting with a full bobbin, but if you run out the strategy is simple. First, don’t panic! This dilemma is resolvable and you may not have to pick out any stitches. Remove the quilt from the machine and leave the upper thread about 6” long. Thread that end into a needle and thread it to the underside of the quilt. Use the last tail of bobbin thread, if it’s long enough, to tie a small knot with the top thread, then thread the ends through the backing into the batting and trim off. If the thread end is not long enough to knot, thread it into the needle eye and bury it between the quilt layers along with the top thread.
Return to examine the decorative stitch from the right side. Replace the bobbin with a full one, and test stitch on a similar fabric scrap until you get to the point in your stitch patterning where you ran out of thread. Slide the quilt under the presser foot and put the needle down in the exact position where the stitching ended and begin sewing again. The stitching should align perfectly where it left off. Once you get to the end of the row, thread the beginning thread into a needle and bring to the underside and tie off like the original thread and bury the ends between the layers.
Another option is to remove stitches until you get to the beginning of the stitch pattern, such as the beginning of a scallop, tie off the threads and bury the tails. Then replace the bobbin and follow your machine’s instructions for “pattern start” and align with the stitching. The machine will begin stitching out at the point to begin a new full pattern.
Q: I love to work with pre-cuts, but sometimes I use fabrics from different companies and the size varies. What’s the best way to deal with that?
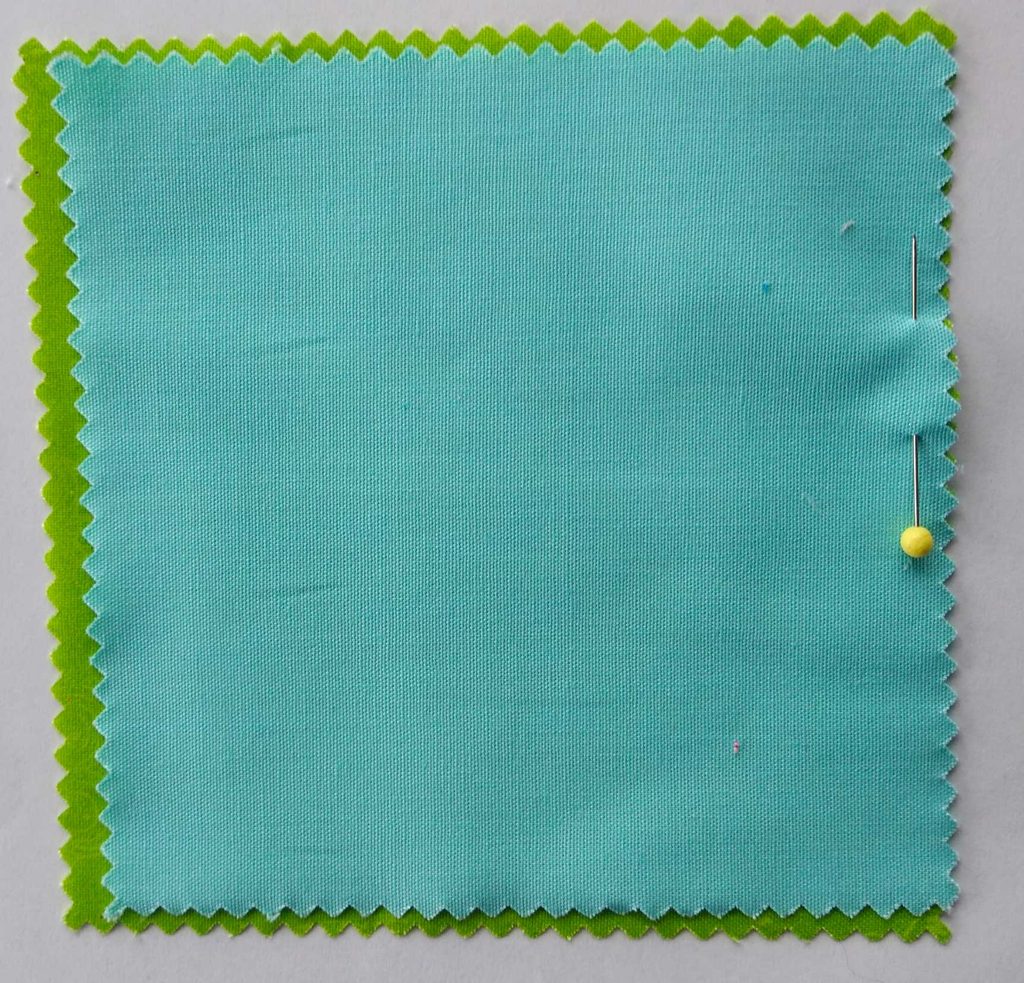
Different companies have different cutting criteria, so a 5” charm square from one company may not be quite the same as from another. This is especially true if the edges are pinked, as some companies measure from the inside of the tiny V cuts, while others measure from the outside.
The best solution is to use pre-cut packs from the same company if you need more than one grouping for your project. Otherwise, you’ll need to compare sizes and trim down the larger ones to fit the smaller size. No fun!
Q: I have a quilt pattern that calls for “cross-cutting” strips. What does that mean?
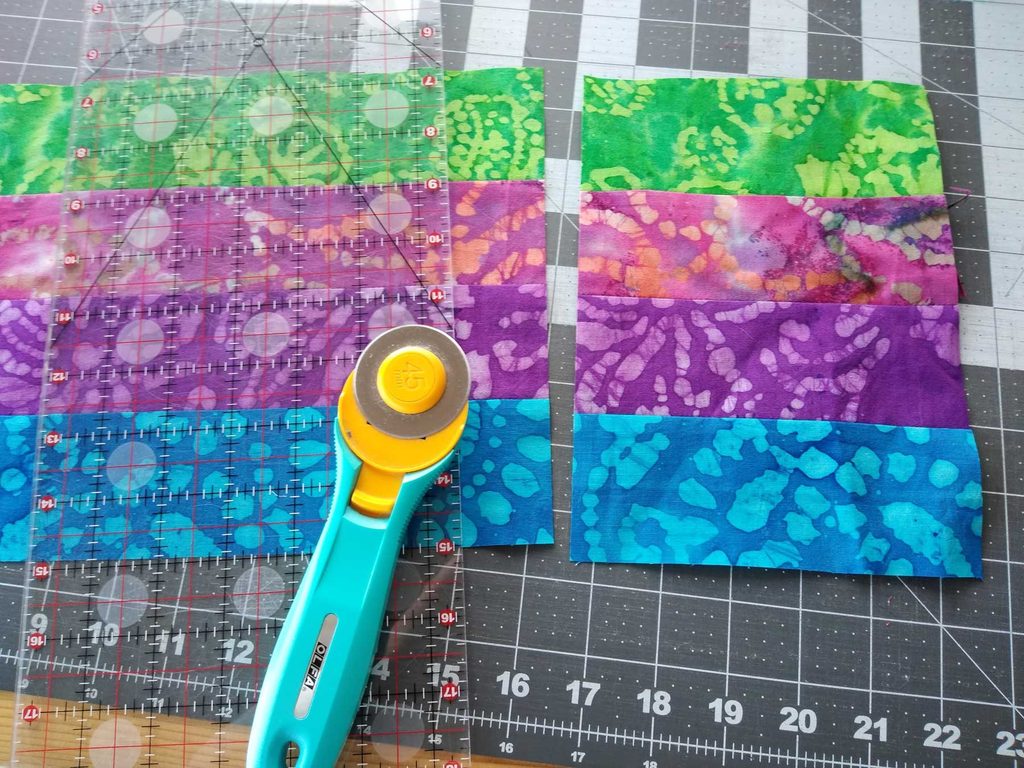
Cross-cutting simply means that you sew some larger pieces together first (usually strips), then recut to make the piece size needed. This is a common occurrence when using strips for blocks. For example, if you sew together four 2 1/2” x width-of-fabric strips, you can cross-cut the blocks in the width needed for your project x the 8 1/2” resulting width.
This method of piecing is much quicker than cutting the strips individually into the needed size and then sewing them together, and it’s more accurate as well.
Be sure to follow the lines on your ruler to keep the cross-cut pieces squared to the seamlines.
~Linda Griepentrog is the owner of G Wiz Creative Services and she does writing, editing and designing for companies in the sewing, crafting and quilting industries. In addition, she escorts fabric shopping tours to Hong Kong. She lives at the Oregon Coast with her husband Keith, and three dogs, Yohnuh, Abby, and Lizzie. Contact her at gwizdesigns@aol.com.