


Pipe it Right
Perhaps you’ve never looked beyond the standard foot on your serger to see the other possibilities of this mighty little overlocker. Did you know you can actually make and install foolproof piping?
Check your instruction manual or with your dealer to see about getting a piping or cording foot for your model of machine. It’s either a metal or plastic foot with a groove on the underside, which is the secret to the process. Depending on your serger brand, you may be able to get different sizes of the grooved feet, like 3mm and 5mm (referring to the diameter of the cord that will go into the piping).
The piping foot can also insert ready-made piping if you prefer not to make your own.
Check your serger’s instruction manual for specific setting for your machine. The following are general instructions.
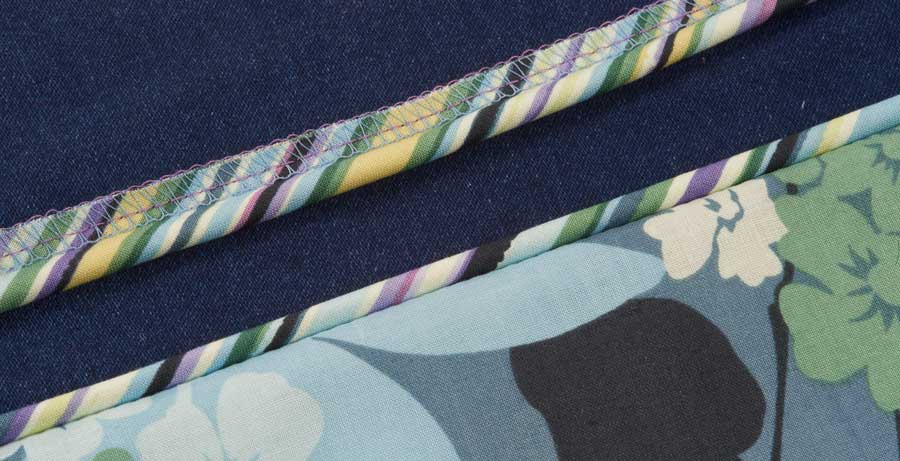
Making Piping
 Determine the length of cording needed for your project and add 6”. Cut the fabric strips the same length.
- Cut a strip of fabric about 2” wide and on the bias grain if your piping will be going around a curve or a corner. Plaids and stripes look great cut on the bias as well. If the piping is simply being applied to a straight edge, cut the strip on the crosswise grain. Piece the strips together with a diagonal seam to achieve the final length needed and press the joining seams open.
- Center the cord length in the center of the strip wrong side and fold over the upper fabric so the raw edges meet. Leave about a 3” tail of cord extending from the initial end of the mix, so you can hang onto it behind the foot.
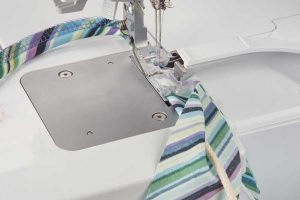
- Set the serger for either a 3-thread or 4-thread stitch, with a fairly open length.
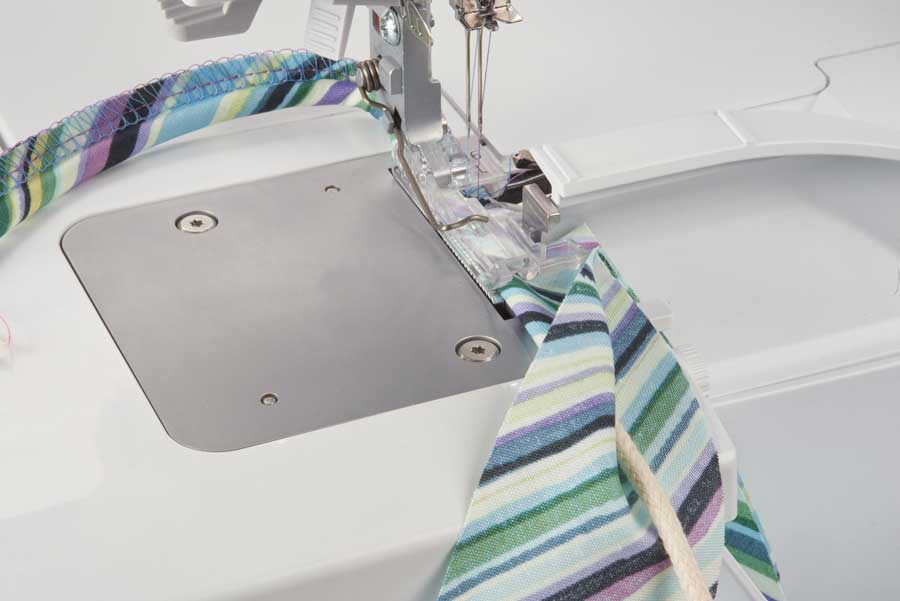
- Slide the cord end under the foot and nestle it into the groove, then pull the end behind the foot until you get to the wrapped fabric portion. Put the foot down and stitch! The groove guides the cord with precision, the blades trim off the fabric edges and give you an even seam allowance. Voila!
Inserting piping
 Set the serger stitch length to a standard length (about 2.5mm).
- Place the piping between the two layers of project fabric, either matching the seam allowance edges, or with the cord along the seam allowance. Slide the layers under the foot and again place the piping tail extending behind the foot. Start stitching about 1” from the covered piping end if you need to finish the end upon completion. If the piping end goes into a seam, then start at the end.
- Keeping the layer edges together and the piping in the foot groove, sew the seam, encasing the piping between the layers.
- If your project has a corner, stop serging about 2” before the corner and clip into the piping seam allowance (only) at the exact corner location. Shape the piping around the corner, but continue to serge straight off the end of the seam area. Remove the item from the serger, shape the piping around the corner, and reinsert the project into the serger at a right angle to the previously serged seam. Start serging again on the next side, and repeat at each corner.
- If your piping project is continuous, like a rectangular pillow, stop serging about 2” before the place you began and finish the joining using your conventional machine.
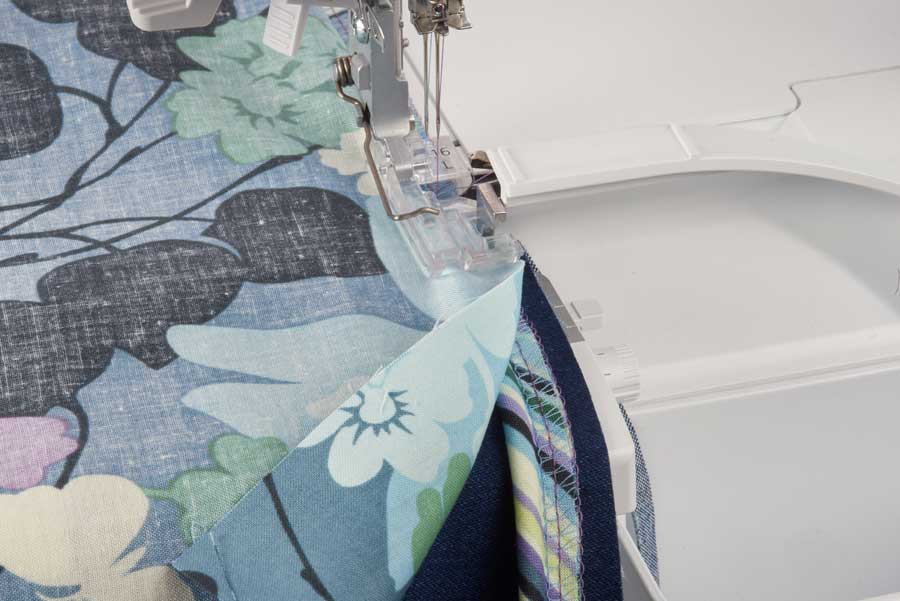
PHOTO CREDITS: All photos courtesy of Bernina, used with permission
~Linda Griepentrog
Linda is the owner of G Wiz Creative Services and she does writing, editing and designing for companies in the sewing, crafting and quilting industries. In addition, she escorts fabric shopping tours to Hong Kong. She lives at the Oregon Coast with her husband Keith, and two dogs, Yohnuh and Abby. Contact her at gwizdesigns@aol.com.
