


Sewing with sheer fabrics may not be something you do every day, but for that special garment or home décor adventure, it’s good to know the ins and outs of seaming these wispy see-throughs.

There are various types of sheer fabrics, from organdy and chiffon to georgette and voile. No matter which one you choose, pay attention to the details of sewing the perfect seam. Use some fabric scraps and test-sew these seam finishes to see what works best with your particular fabric.
Conventional Machine Finishes
Stitch and trim
Using a conventional machine, straight stitch the project seam, but do not press it open. A full-width open seam in a sheer fabric screams home-made. Instead, stitch another row of stitching next to the first one and trim the excess seam allowance close to the second stitching row. Press the seam allowances in one direction, usually toward the front if it’s a garment. The narrow seam allowances barely show through the outer fabric, and you have an inconspicuous joining.
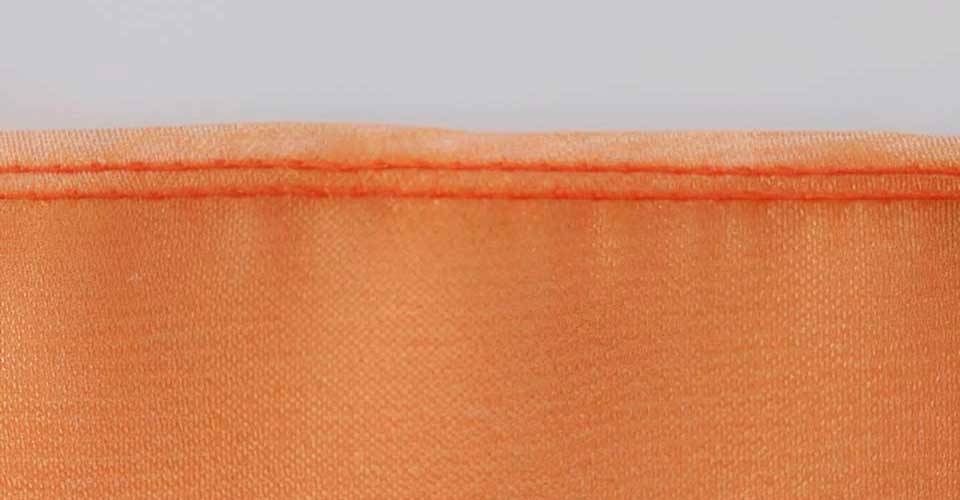
If the fabric is especially ravelly, you can choose a narrow zigzag for the second line to keep threads in check.

French
Note: These directions are for a pattern with a standard 5/8” seam allowance.
To create a French seam, sew the two layers of the project WRONG sides together using at 1/4” seam allowance. Trim the seam allowances next to the stitching, then refold the seam so that the previously sewn seam is along the folded edge, but this time the fabric is right sides together. Sew another seam 3/8” from the previously seamed edge, encasing the trimmed seam allowance.
This type of seam works best on straight seams—creating a French seam on a curve (like an armhole) is trickier. On curved areas, choose one of the other seam finishes mentioned above.
It’s OK to mix seam finishes on a single garment! Some techniques work better on straight seams, and others for curved areas.
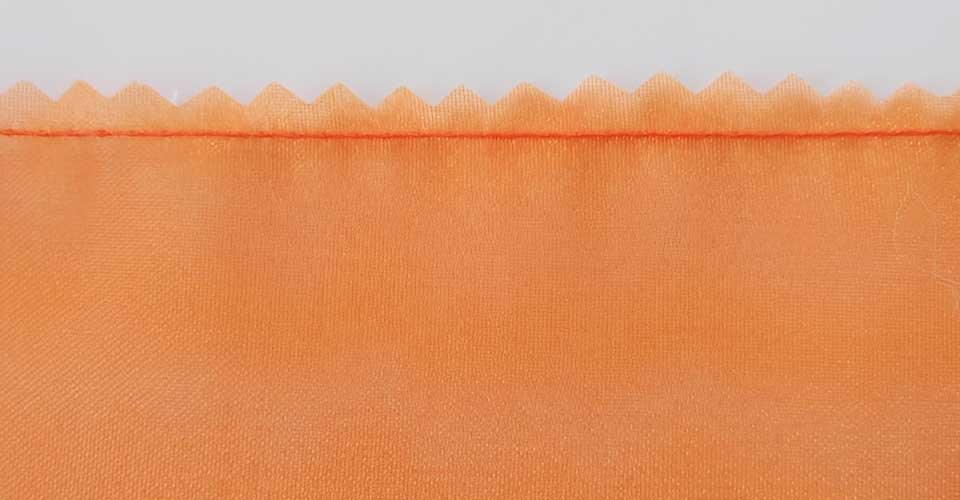
Pink
If you own pinking shears, they can be used to finish a sheer seam, but depending on the opacity of the fabric, you may be seeing the small zigzags through the outer fabric. Pink seam allowances together after sewing a single or double row of seam stitching, then press the seam allowances in one direction.
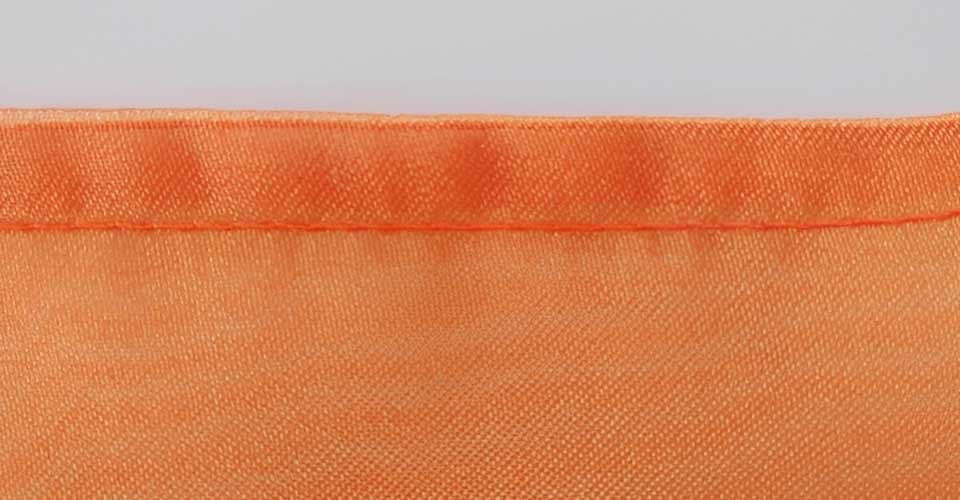
Serger Finishes
If you choose to use a serger for seaming, set the stitch width for a relatively narrow seam and use two or three matching threads. Sew your seam, allowing the machine to trim the excess seam allowance as it sews. You’re left with a narrow, overcast seam with minimal show-through. This type of seam works best on crisp sheers, as very soft fabrics may distort in the serging process unless you use a stabilizer beneath the seam.
Rolled hem
For an even narrower seam, turn your serger to the rolled hem setting. This will create a very narrow, wrapped seam allowance never to be noticed from the outside.
Other tips for sewing on sheers:
- Choose a small size sewing machine needle to avoid leaving holes in the fabric.
- Select a lightweight thread.
- Shorten your stitch length to avoid puckering.
- Enlist tissue paper or removable stabilizer to help “tame” any stretching or puckering.
- Be sure your scissors are sharp when cutting and trimming.
- Use a straight-stitch presser foot and/or throat plate to keep lightweight sheer fabrics feeding evenly without poking down into the needle hole.
- Use self-fabric for interfacing to avoid dramatic color changes.
~Linda Griepentrog is the owner of G Wiz Creative Services and she does writing, editing and designing for companies in the sewing, crafting and quilting industries. In addition, she escorts fabric shopping tours to Hong Kong. She lives at the Oregon Coast with her husband Keith, and three dogs, Yohnuh, Abby, and Lizzie. Contact her at gwizdesigns@aol.com.
