


It’s not often that I write about my personal sewing projects, but I’m currently making bags for our community’s upcoming holiday market, and I’ve been stitching up some very thick seams.
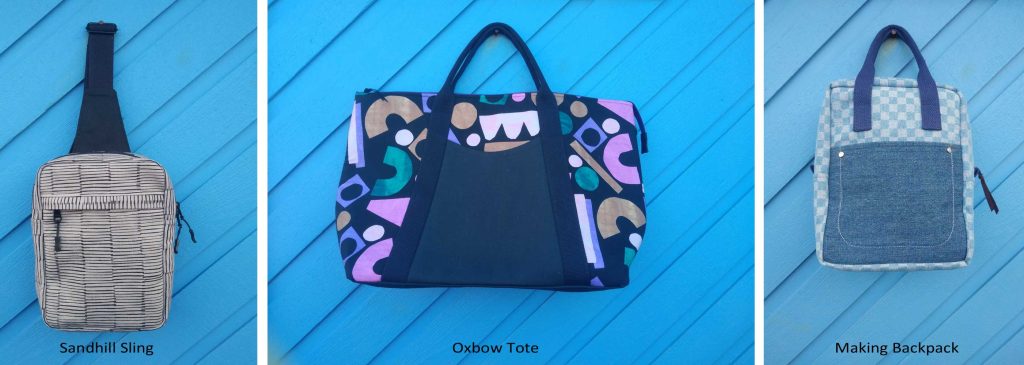
I’m making Oxbow Totes, Sandhill Slings and Making Backpacks, all from Noodlehead Designs, and some of the seams are really thick—like eleven strata thick with multiple canvas, interfacing, foam, lining and webbing layers stacked atop each other.
This isn’t the only time our machines (and our patience) are called upon for thick seaming. Have you tried hemming denim jeans and cautiously approaching the flat-felled seams on the inner and/or outer legs? That can be a bit of a scary moment.
There are some challenges with thick seams, and sometimes some broken needles, but generally most of today’s sewing machines are up for the challenge if you follow some simple guidelines.
Be Thick Smart
- Make sure your machine is clean, oiled and lint free. Snap off or unscrew the needle plate and brush out the lint and threads that have accumulated below. Follow the manufacturer’s guidelines for oiling to keep things running smoothly.
- Use a new needle in a size large enough to accommodate the maximum number of fabric layers. Note that the needle can be a Universal, Denim or Sharp point, depending on the fabric density.
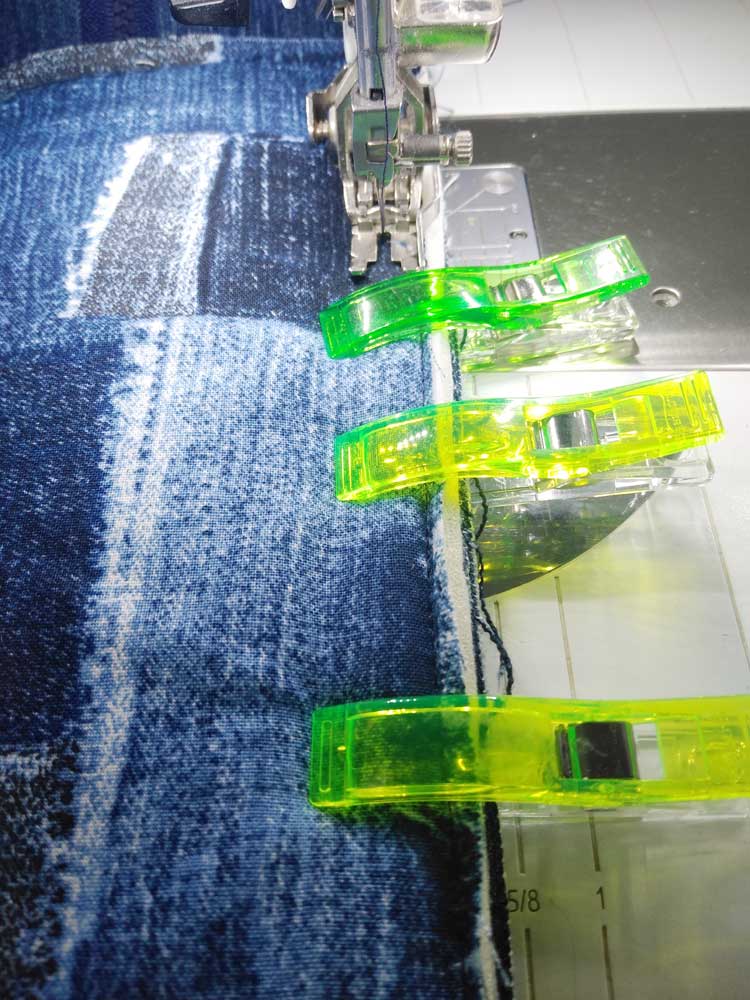
- Swap out pins for spring clips to hold multiple layers in place. Pins will only bend as they try to secure too many layers. Spring clips are available in different sizes to “bite” various thicknesses. Stitch up to the clip, then remove it before continuing the stitching line.
- If you have the option, set your machine for the “needle down” function. Keeping the needle in the fabric as you stop to adjust layers helps maintain an even seamline.
- Use a longer than normal stitch length for construction and topstitching heavy layers and slow the stitching speed.
- If you have a walking foot or dual-feed system, both can be helpful for even feeding of stacked layers.
- Adjust the presser foot pressure on your machine if you can. Lighter pressure helps keep multiple layers from scooting as you sew seams.
- Don’t push or pull the seams as you sew them. Let the machine feed dogs move the fabric through the machine at an even pace.
- Use the handwheel to stitch to through extra-heavy areas or when you come close to zippers and/or fragile or bulky hardware areas.
- Topstitch to help hold layers flat, whether seam allowances are pressed in one direction, or opened.
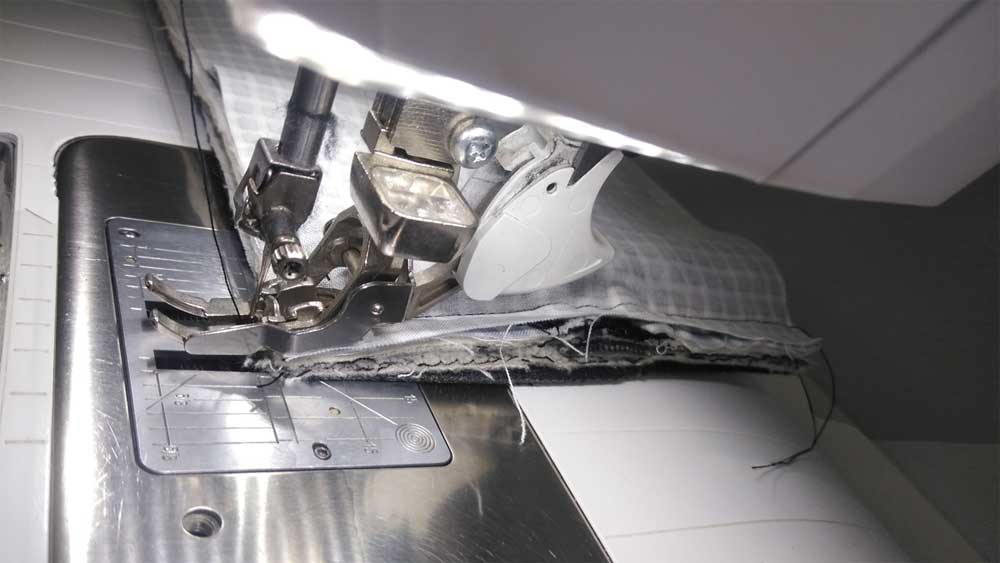
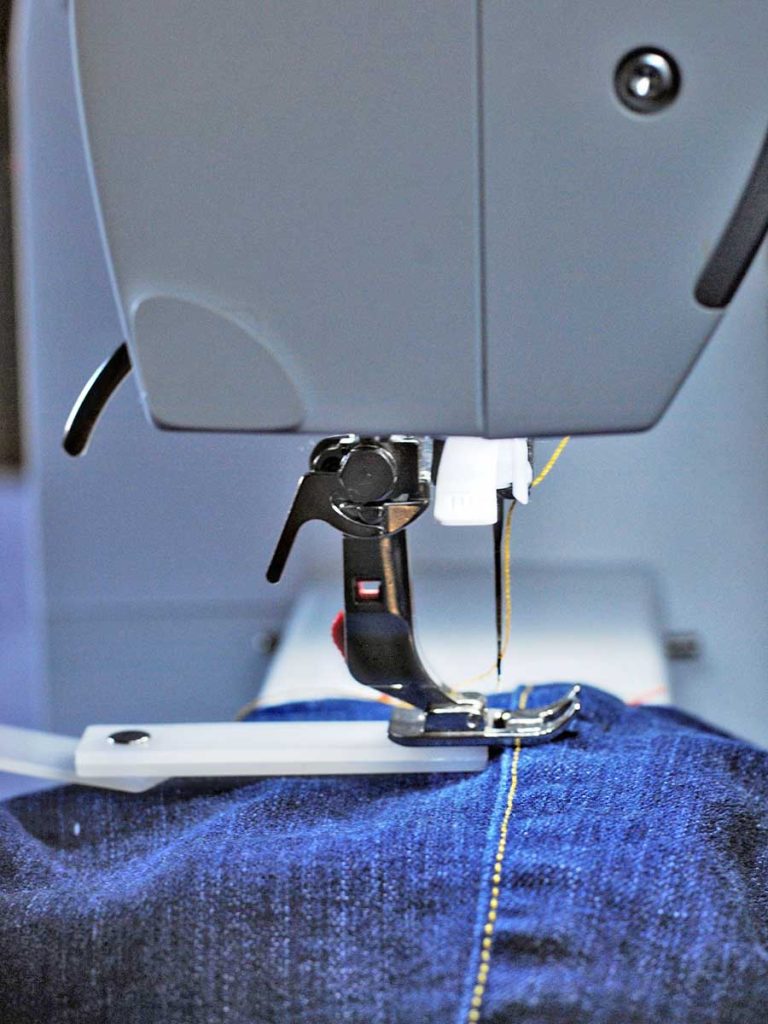
- If you’re stitching various thicknesses in one pass—like hemming jeans over bulky seams—use a height compensation tool to stitch onto and off the extra-bulky areas. You may have one of these devices with your machine accessories, or you can purchase a generic version.
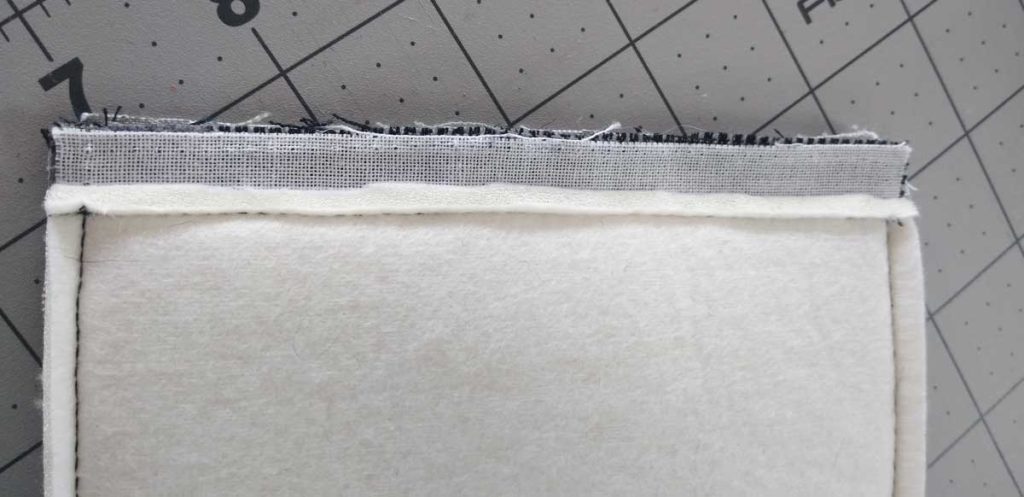
- Always grade and/or trim seam allowances to reduce bulk. When grading seams, the layer closest to the outside of your project is left the longest, and the seam allowance widths get ever-so-slightly narrower as you work your way to the most inside-facing seam allowance. This helps to taper the bulk and avoids a sheer “drop-off” where all seam allowances end.
- Anytime you can, reduce bulk by eliminating some layers from within the seam allowance. For example, trim foam to keep it outside the seamline or perhaps just barely caught in stitching to hold it in place.
- If you do break a needle, be sure to carefully remove the broken bits so they don’t lodge in the bobbin area of the machine wreaking havoc.
- For handwork areas, use a thimble to avoid piercing your fingertips while trying to push the needle through thick layers.
- Fill the iron with plenty of water and press every seam in bulky fabrics. You’ll have much better control of the project than if you don’t press as you sew.
Following these simple tips can reduce your stress when sewing bulky seams and add a more professional look to your project.
~Linda Griepentrog is the owner of G Wiz Creative Services and she does writing, editing and designing for companies in the sewing, crafting and quilting industries. In addition, she escorts fabric shopping tours to Hong Kong. She lives at the Oregon Coast with her husband Keith, and three dogs, Yohnuh, Abby, and Lizzie. Contact her at gwizdesigns@aol.com.
