


Trapunto [ truh–poon-toh ] is a funny sounding word that is an Italian term meaning “quilting.”

It’s used to describe not just ordinary quilting, but a design that stands above the rest of the quilt surface in high relief. It can be used throughout a piece, or as a focal point like on the yoke of a tote or centered on a pillow. Trapunto is also a perfect accent on garments—like along a jacket front band, on a sleeve hem, or gracing a front or back yoke.
There are multiple ways to achieve this raised look—one method involves using an embroidery machine, another involves free-motion or handwork, and yet a third involves stuffing by hand.
Trapunto can be done with tone-on-tone stitching, or threads can contrast for emphasis. Or mix it up within a project for added interest.
Embroidery Machine Trapunto
- Choose an embroidery design specifically digitized for trapunto, available from several different design companies. Hoop up your stabilizer, then a layer of thick batting or foam, and stitch the design outline. The machine will tell you when to stop stitching.
- Remove the hoop from the machine, but don’t un-hoop the design, then trim the batting very close to the design stitching using small sharp scissors or duckbill scissors.
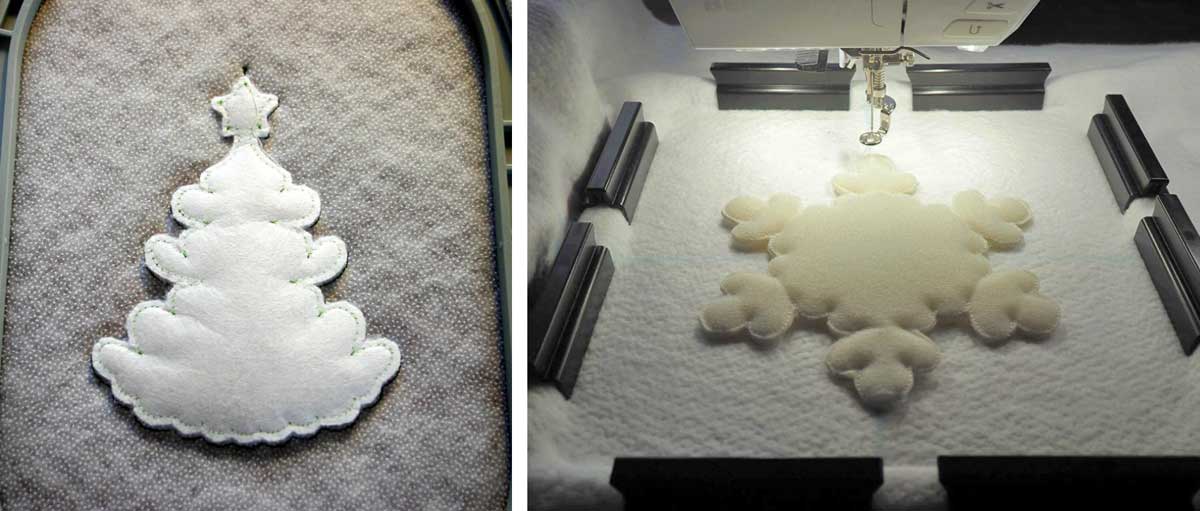
- Position a layer of fabric over the outlined motif and continue stitching the full design for the next step in the embroidery process.
- After the stitching is complete, remove the stabilizer and finish your project. If it’s a quilt, add another layer of lightweight batting and backing.
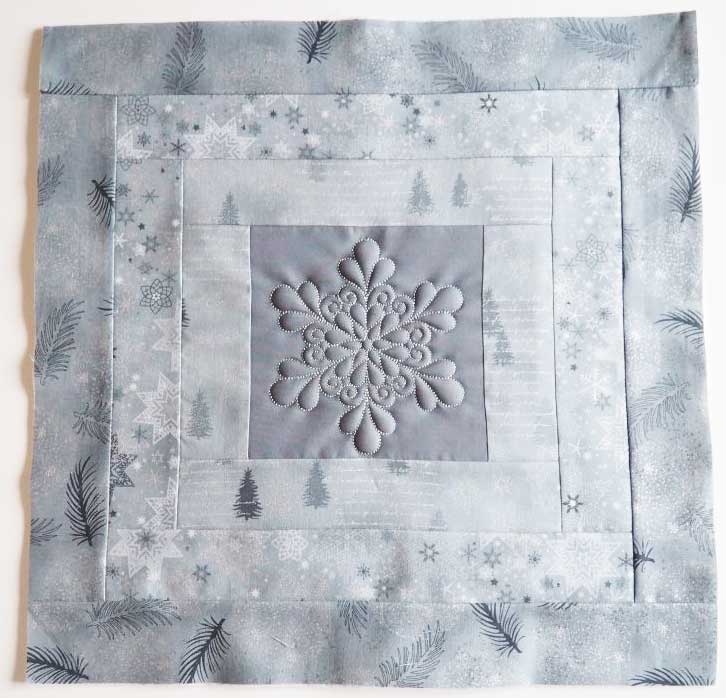
The motif will rise above the remaining design area because of the added batting to give it more dimension than the surrounding quilting area.
Free-motion/Non-embroidery Machine Trapunto
- Trace the desired design onto the right side of your project fabric using a removable marker or chalk.
- Add a layer of high-loft batting or foam below the design area and stitch around the shape outline. Some people like to use water-soluble thread for this purpose so it can be dissolved later.
- Once you’ve outlined the shape, turn the fabric over and carefully trim the batting very close to the stitching line.
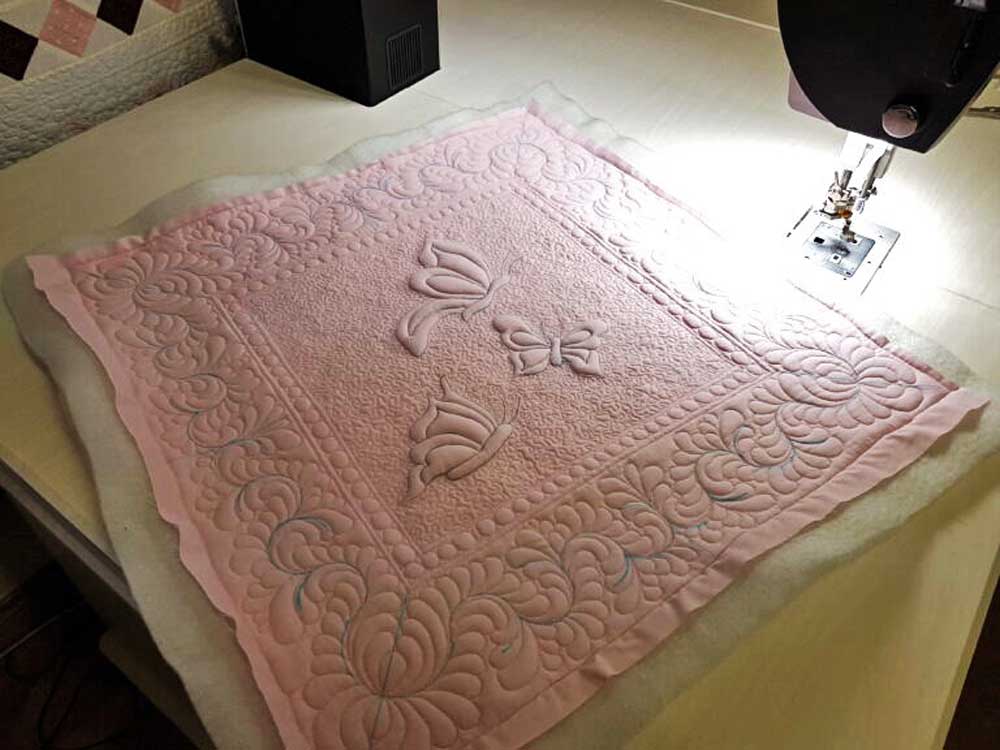
- Place another layer of lighter weight batting and backing under the entire project, and begin your free-motion quilting, stitching tightly outside the outlined motif. The tighter the quilting stitches, the more the design motif stands out.
- Finish the project with binding, or incorporate it into a bag, pillow, garment, etc.

Note: This technique can be done with hand-stitching instead of machine stitching, if desired.
Stuffed Trapunto
- The initial design outline can be done using hand or machine stitching, or even an embroidery machine. Instead of layering the fabric with batting, simply stack two layers of fabric together before stitching. A sheer fabric can be used for the upper layer.
- Once all the design areas are outlined, use a trapunto needle threaded with yarn to create a tiny hole in the underside of the backing fabric only. Stuff yarn into the design area to the desired fullness. You can also use a small crochet hook to stuff fiberfill into the outlined design area.
- To create shadow trapunto, use a contrasting yarn color for elevating the design area. Fill the area firmly, but not too stiffly as overstuffing can distort the design shape.
- To finish a stuffed project, add a layer of batting and backing to the underside to hide the holes created during the stuffing process.
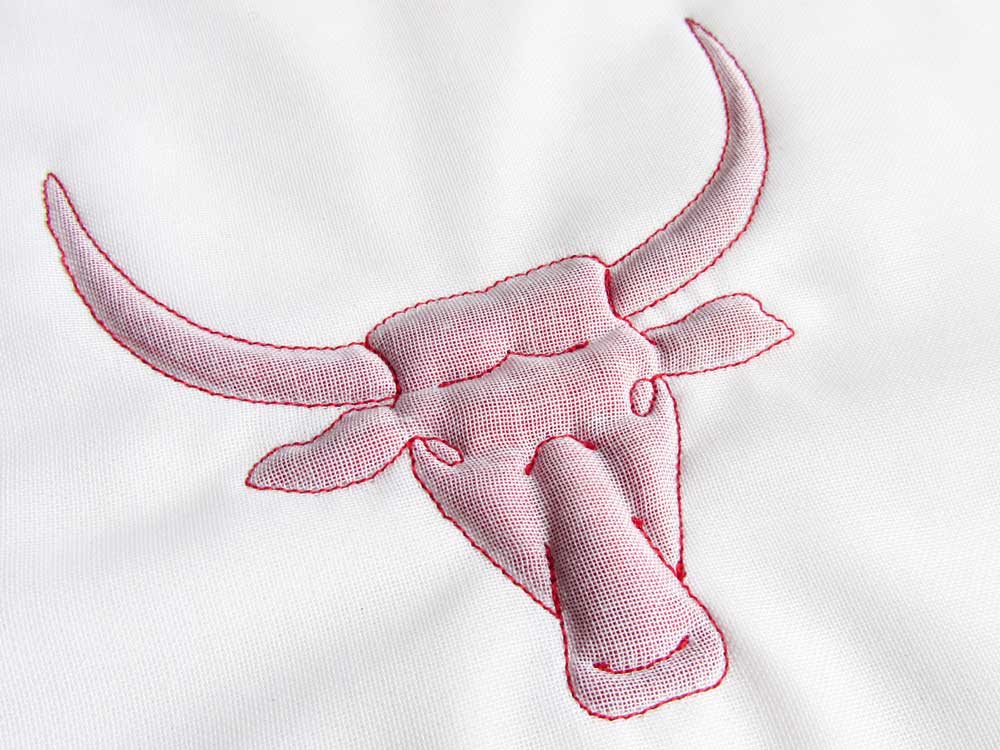
Print Options
Instead of creating trapunto with a stitched design motif, substitute a fabric print and create a raised shape using the outline of the print motif. This works great for kid’s quilts or garments—think of a stuffed whale or a giraffe.
Photos courtesy of Bernina.
Cutting it Close
To trim batting very close to the design stitching, use duckbill or appliqué scissors. They can cut close to the stitching without damaging it.

~Linda Griepentrog is the owner of G Wiz Creative Services and she does writing, editing and designing for companies in the sewing, crafting and quilting industries. In addition, she escorts fabric shopping tours to Hong Kong. She lives at the Oregon Coast with her husband Keith, and three dogs, Yohnuh, Abby, and Lizzie. Contact her at gwizdesigns@aol.com.
