Position the Machine for Comfort
With the exception of when you are travelling or at sew-in meetings, never sew with the machine in a portable state because the fabric cannot be controlled properly when it is dropping off an edge. While you may succeed for a time, there will be greater strain on your back and wrists, and the end result of your project will not be as professional. If your machine is a frequent “traveler” though, you can purchase a portable tabletop or extension that fits around the arm of your machine and rests on the existing table that will help to alleviate any strain or fabric-skewing issues.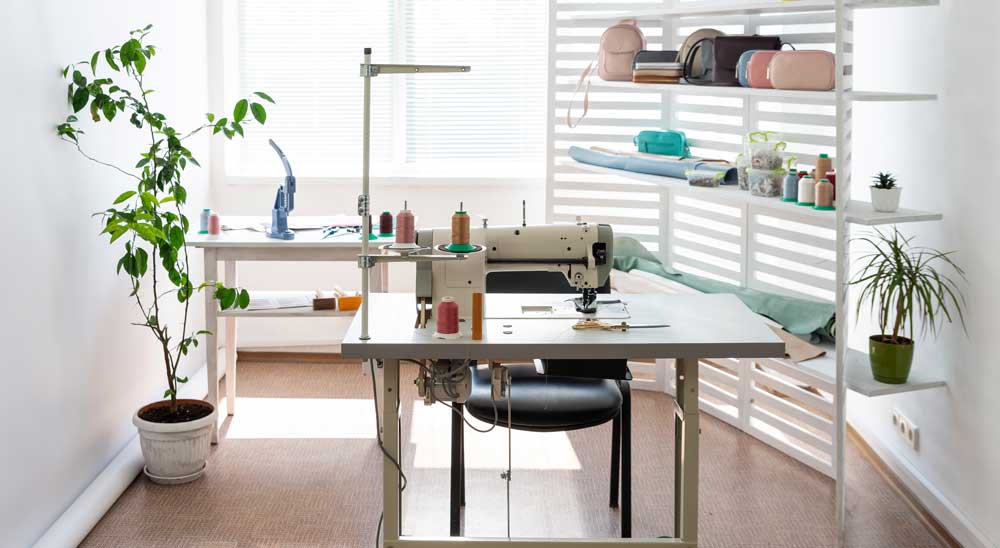 At home, a machine that is recessed into a table or cabinet at the correct height (usually about 30″ from the floor) is one of the best options. You should be able to sit comfortably with your back as straight as possible while resting your arms on the machine. While you may be leaning forward slightly, your back will still be straight. Accordingly, when using a portable machine, since it rises above the table, try to get a shorter table, adjustable table, or cut down the legs of an old table to bring it to the proper height. Also make sure the table is stabilized so that it doesn’t jiggle and jive when you press on the pedal.
Seating
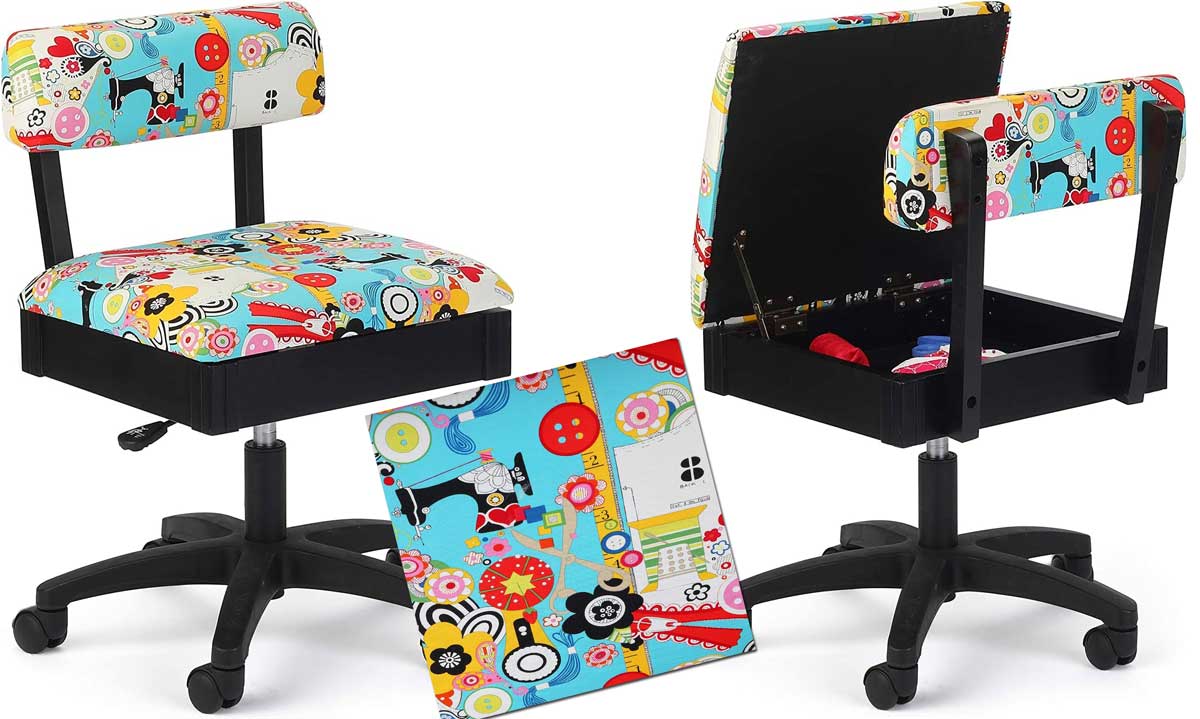
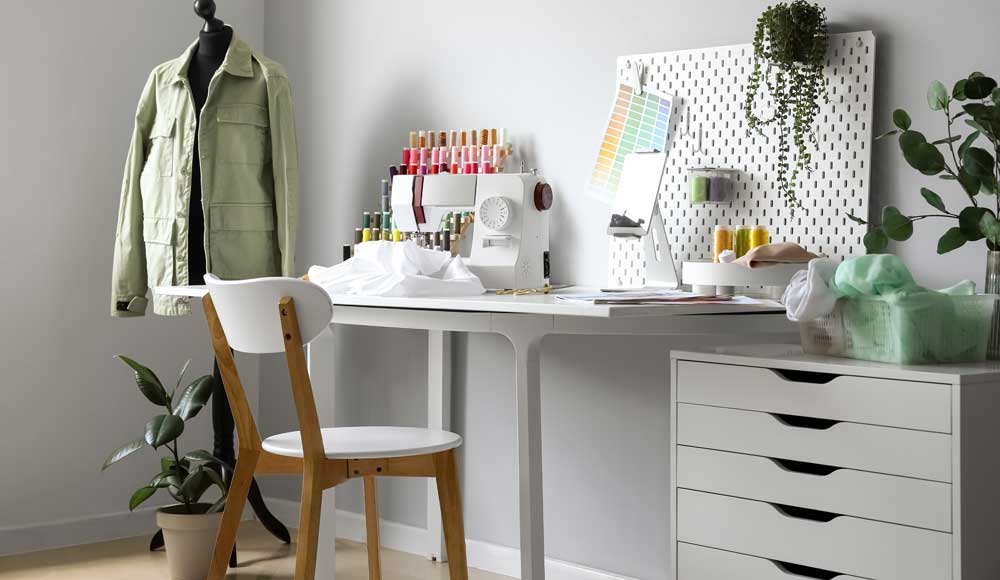 The choice of a chair is crucial to your comfort level. There are chairs that are specifically made for use at a sewing, quilting, or craft table, but any comfortable, sturdy, solid-backed chair that allows you to rest your arms comfortably on the machine without back strain will work. Look for chairs with adjustable features such as seat height and backrest angle to customize your seating position. A chair with adequate padding and cushioning on the seat and backrest will enhance your comfort during long sewing sessions. Some sewing chairs even come with built-in storage compartments or pockets for holding sewing supplies or tools.
Look in your local sewing or craft store for chairs specifically made for the sewing room or check out an office supply store for armless secretarial chairs. If you have solid surface floors (tile, vinyl, etc.), note that a lightweight chair with wheels could be problematic and may be slip-sliding away from you. The chair should provide good support for your back, neck, and arms to prevent discomfort and strain during long sewing sessions. Remember that a comfortable and ergonomic sewing setup can make a significant difference in your sewing experience and help prevent fatigue or discomfort.
Lighting
If you’re tiring quickly or your eyes are straining, lighting could be to blame. Try adding a clip-on lamp to the left side of your machine to add task lighting, but remember to clamp toward the back of the table so it doesn’t interfere with your work. When considering placement for the machine, never place it so that you face into a window. It may seem pleasant, but you’ll be facing into a glare. If you want to be by the window, place the machine perpendicular to the window so that your left shoulder faces the window.Remember the 20-20-20 rule — blink often and look up from your machine or close-up work every 20 minutes and focus at least 20 feet away for 20 seconds.
Bright Ideas
Sometimes we need a little assistance with light. The following are some ideas from our members: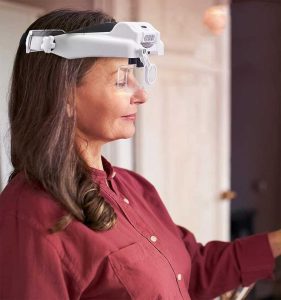
- Jane uses a lighted magnifier worn on a headband which allows the lens piece to be tilted up when not in use.
- Pattie uses all LED’s.
- Cindy reports that she uses overhead can lights with LED bulbs above her cutting table and machines, with the addition of two under-counter LED lights at her worktable.
- Virginia has LED bulbs in the overhead light in her room, along with some track lights. She also uses a large Ott light above her machine.
- Denise uses a floor lamp, two table-top lamps, and one clamp-on light.
- Mary loves her DayLight Company floor and table lamps.
- Karen enjoys skylights and a window in her room and adds goose-neck Ott Lights for task lighting.
- Betsy has an overhead 4′ LED light, a fluorescent task light (circular) with magnifying glass at the machine; and an incandescent banker’s desklight on the table with the backup machine.
- Janice added several mirrors to her sewing space to help reflect the light.
- Finally, Becki says her philosophy is that if the 7:15 from Atlanta isn’t trying to land in your sewing room, then you should buy ‘Luminos Task Lamps’ from the Daylight Company.
Solutions
Former couture sewist and garment industry technical assistant, Margaret Islander, shared these tips with ASG many years ago and they are still applicable today: Extend your sewing table:- Attach a strip of wood on the wall directly across from the back edge and at the same height as the back edge of your machine.
- Make a canvas sling the width of the back of the machine table and the desired length needed from the wall to extend it to carry the bulk of fabric.
- Hem the sides and ends of the sling and attach a row of grommets to each end.
- Attach hooks to the mounted board and to the back edge of machine table to match the placement of grommets and hook on the sling. This will give you a much larger “table” space. You can use any means of attachment that will be sturdy.
- Set up your sewing space with special departments. Consider repurposing a trusty older machine just for topstitching. Then, instead of rethreading with contrast thread and changing stitch length each time you need to topstitch, simply move over to your Topstitch Deparment.
- Do you do a lot of buttonholes? Set up a Buttonhole Department for standard and keyhole buttonholes. (Some of the old machines with template buttonholers were great!)
- Finally, if you are in the business of sewing, an industrial sewing machine that is designed to speedily accomplish straight and zig-zag stitches will allow you to use your preferred machine for the specialty touches.


