


Much as we hate to admit it, we all make mistakes, and sometimes those are stitching-related. But, luckily there’s a tool for that—the humble seam ripper.
Seam rippers come in many styles and shapes, but they all function in a similar way to remove errant stitches so we can fix whatever caused the error in the first place.
Anatomy of a Ripper
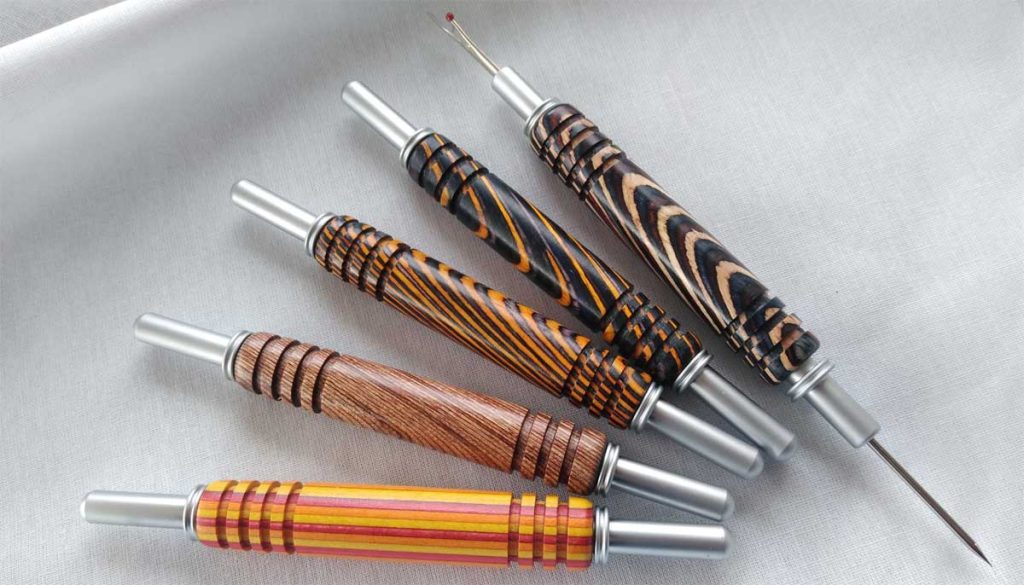
All seam rippers have blades of some sort for cutting, and they all have handles. Most rippers also come with a safety cap to protect not only the blade, but humans, when the tool is not in use.
Handles come in all shapes, sizes, and materials, so it’s a matter of finding one that fits your hand comfortably. Look for plastic, wood, or metal handles. Some rippers are flat on one side to prevent the tool from rolling on the table, others offer loops for hanging on a ribbon or cord. It’s a good idea to test out the “feel” of a ripper before purchasing it—is it comfortable in your hand?
Safety caps help protect the delicate ripper blade from nicks, moisture, and inadvertent drops to the floor. Some caps are attached to the tool for easy storing while others are separate.
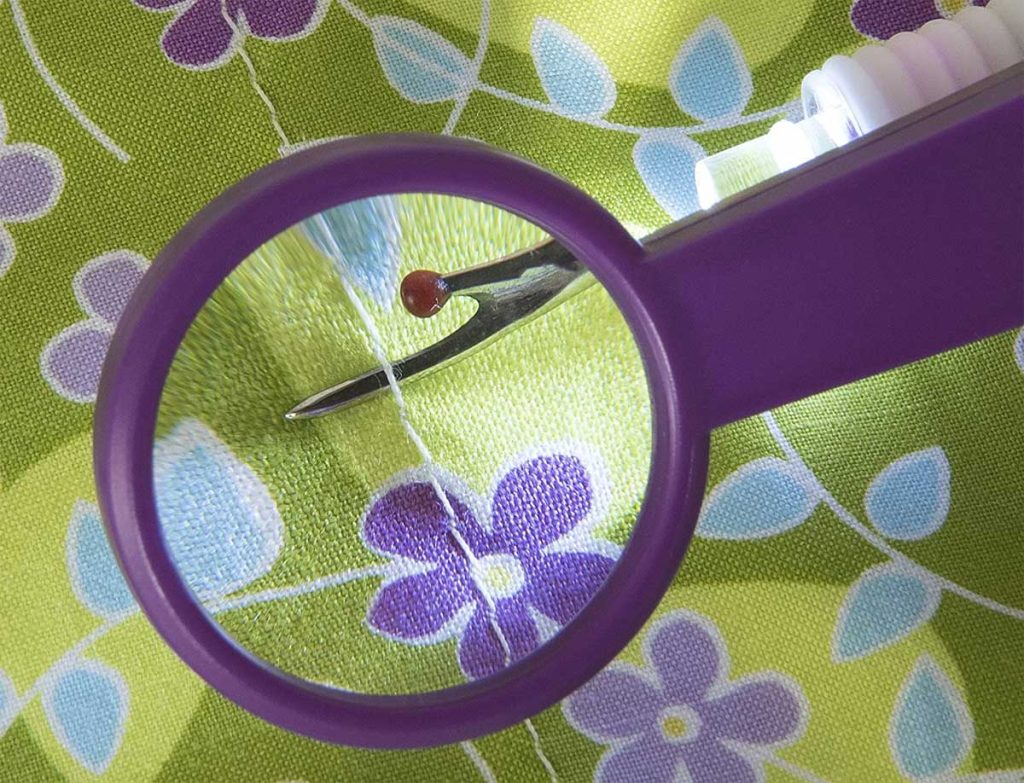
If you’re ripping something out at night, and/or it’s a dark thread on a dark fabric, a built-in light is helpful for greater visibility. Look for this battery-powered accoutrement to help save your eyesight. Another helpful addition is a magnifier, especially if you have vision issues. A light and a magnifier together help get the blade to the right place in the stitching line.
Sometimes rippers are combined with other tools, like tiny scissor blades, a stiletto or a needle threader on the opposite end of the ripping blade, so you get two tools in one device.
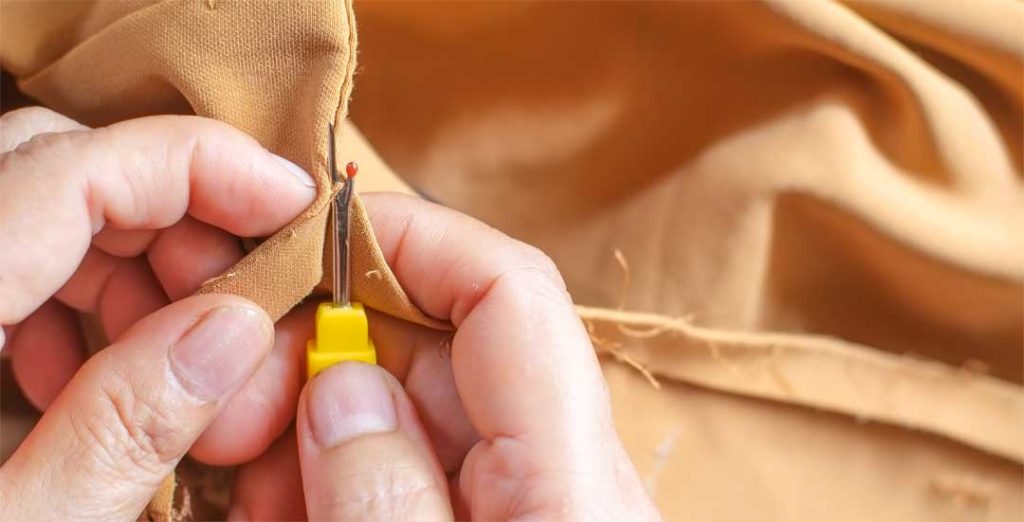
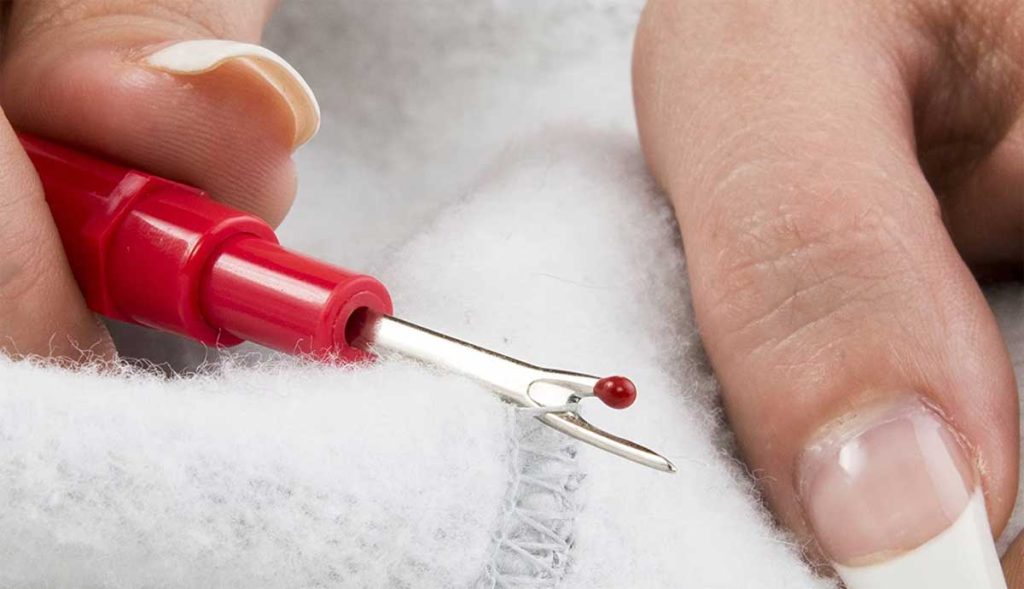
But, probably the most important feature of a seam ripper is the blade that’s doing all the work. Look for rippers with a flat metal blade that look like a surgical scalpel—either curved or straight and with either permanent or replaceable blades. Another blade option is a U-shaped blade with a small plastic ball on one section of the point (to protect the fabric). The longer point extends beyond the shorter one to help guide the fabric as you rip. A third blade type is retractable, pulling itself into the handle with a slide lock. This adds a safety feature, especially if you have children near your sewing tools.

Using a ripper
There are multiple ways to use a seam ripper, but of course the ultimate goal is to remove the wayward stitching without harming the fabric. It’s easy to accidentally tear the fabric with the sharp point of a ripper, forcing another creative option for repair.
One common way to use a ripper is to slide the blade under a stitch at regular intervals, popping the thread. Cut every 3-4 stitches, pull out threads, and repeat along the length needed. Once you have removed all the threads, press the area to help remove the needle holes.
Accidentally made a hole in your fabric with a seam ripper? Restitch the seam just inside the previous stitching line to avoid any visible holes.
You can also use the seam ripper point to pick out the seam stitch by stitch.
Perhaps the fastest way to rip, but the riskiest, is to hold open the seam and slice down the stitches with the ripper blade. It’s hard for one person to do this, so use a “third hand” tool or get a sewing buddy to help you hold the seam open.
If you need to remove serger stitches, simply slide the ripper blade under the looper stitches and move it along the edge.
~Linda Griepentrog is the owner of G Wiz Creative Services and she does writing, editing and designing for companies in the sewing, crafting and quilting industries. In addition, she escorts fabric shopping tours to Hong Kong. She lives at the Oregon Coast with her husband Keith, and three dogs, Yohnuh, Abby, and Lizzie. Contact her at gwizdesigns@aol.com.
