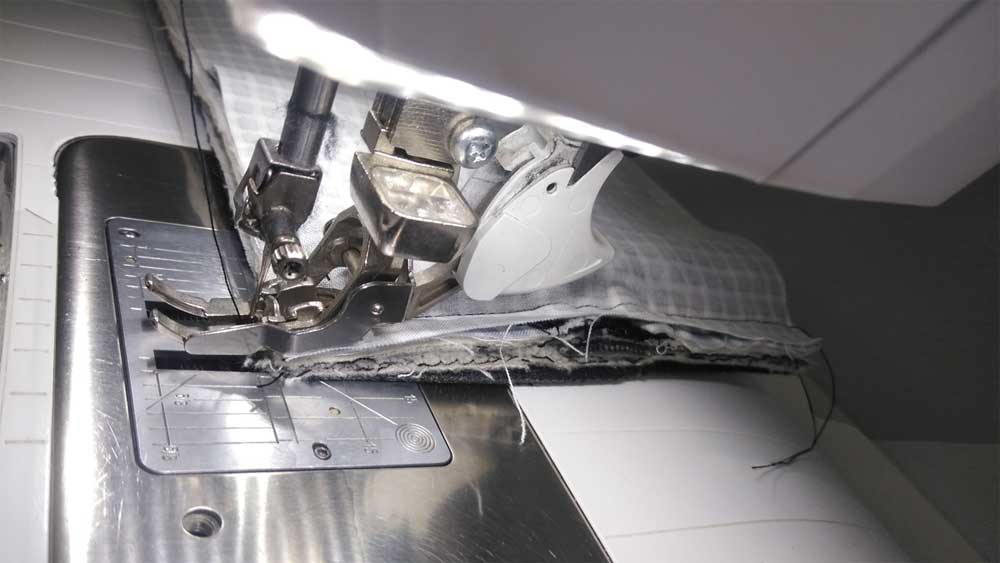
If you need bias for binding a quilt, trimming a jacket, or encasing edges on a placemat or other craft project, this tutorial is for you. Sometimes ready-made bias tape just isn’t right for your project, or maybe you want a custom color or pattern, so the simple answer is to make your own.

One way to make bias is to simply cut 45° strips of fabric and tediously sew the ends of the strips together with diagonal seams. That works, but it’s a bit time consuming. It’s much easier to create continuous bias.
In the Beginning
Continuous bias begins with a square of fabric. The size of that square is determined by two factors—the width of the bias strip you need, and the length you need. There are free online calculators to determine the square dimension, but this chart offers some common options:
Choosing Fabric Square Size
| Length Needed | 1 1/2″ Strips | 2″ Strips | 2 1/2″ Strips | 3″ Strips |
|---|---|---|---|---|
| 110″ | 14″ square | 16” square | 18” square | 20” square |
| 220″ | 19″ square | 23” square | 26” square | 28” square |
| 340″ | 23″ square | 28” square | 32” square | 35” square |
| 480″ | 28″ square | 33” square | 37” square | 40” square |
Chart courtesy of quiltingdaily.com
Cutting Up

- Mark the appropriate size square diagonally from corner to corner and mark the center of the left and right sides. Cut the square in half diagonally (1).

- With right sides together, match the center dots on the short triangle sides and sew the triangles together using a ¼” seam allowance. Press the seam open (2). The result is a parallelogram.

- Using a permanent marker, pen or pencil, mark lines parallel to the long edges of the parallelogram for the chosen binding width (3). The lines should be on the fabric wrong side. Note: Don’t use a heat-removable pen, as you will be pressing during the bias-making process and the lines will disappear.

- Fold the short sides of the parallelogram right side together forming a tube and off-set the lines by one strip width. Note: It’s important to offset the drawn lines or you won’t create continuous bias, only strips. Match the drawn lines at the ¼” seam line (not the edges) and stitch the seam (4).

- (continued) Note that the folded piece will not lie flat because of the off-set. The piece will have an off-set row at both the top and the bottom (4a). Press the seam open.

- Cut along the drawn line, through one layer only, beginning at the off-set edge, and you will have a spiral of bias in your chosen width (5). You’ll need to use scissors for this process as you’re cutting in a spiral—a rotary cutter won’t work.

Strip to Tape
Roll the bias and continue with your project directions. If you want double bias, press the strip in half lengthwise, matching the raw edges. If you want single bias with a folded edge, press under ¼” along the length of one edge.
If you want double-fold bias tape, press ¼” under on both long edges, then press the strip in half.
Make It Easy

For easier bias tape folding, use a bias tape maker in a size to coordinate with the size of your cut strip and desired finished width. Simply slide the strip into the tape maker and press as it exits the folding channel.

~Linda Griepentrog is the owner of G Wiz Creative Services and she does writing, editing and designing for companies in the sewing, crafting and quilting industries. In addition, she escorts fabric shopping tours to Hong Kong. She lives at the Oregon Coast with her husband Keith, and three dogs, Yohnuh, Abby, and Lizzie. Contact her at .


