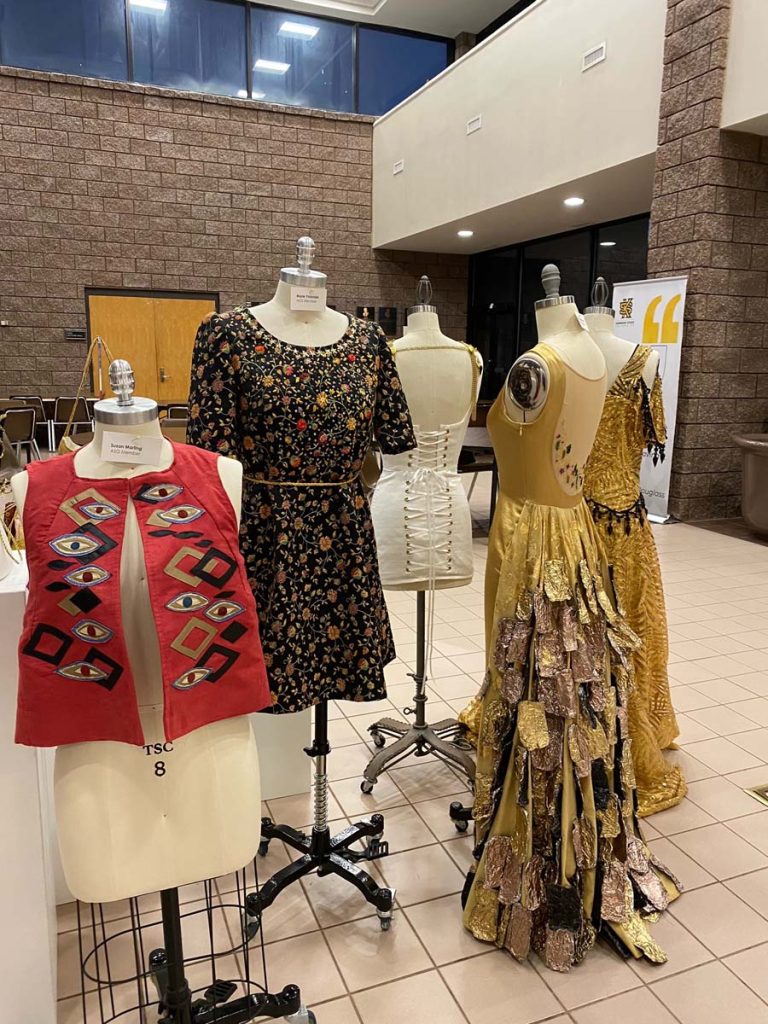
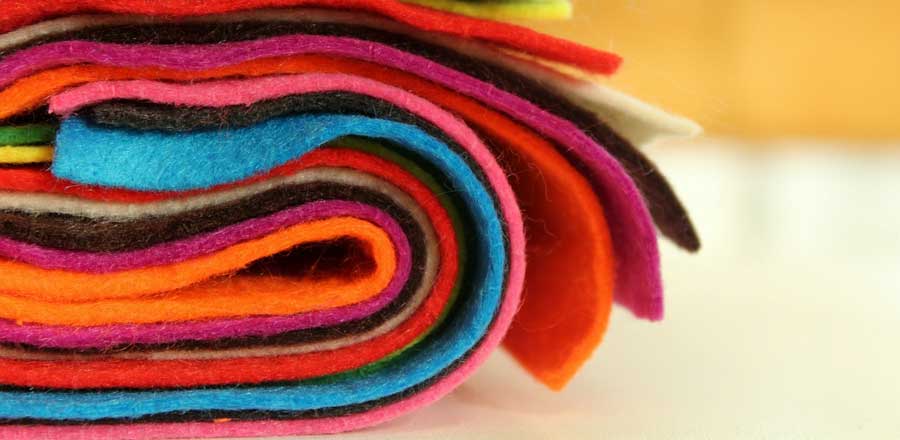
Felt is more than just a material for holiday decorations; it possesses a variety of properties that make it a versatile medium for diverse projects. Its nonwoven nature means it doesn’t ravel and provides durability and insulating qualities. It also comes in a broad range of colors, thicknesses, and textures. Such characteristics render felt ideal for creating unique dimensional clothing items like scarves, hats, purses, and slippers. Moreover, felt serves as a fantastic material for crafting dolls, enhancing its project possibilities.
The History of Felt
Felt is the world’s oldest textile and predates the spinning of yarn or the weaving of threads into fabric. No one is sure how felt was discovered, but some believe that nomadic tribes in central Asia and Turkey noticed the matting of sheep’s wool and began to use this matted wool for the soles of shoes. The constant pressure from walking caused the wool to mat further, creating a rough form of felt. It has a soft and dense texture and is known for its ability to insulate and provide warmth.
Felt can be made from any natural fiber. When the fibers are exposed to a combination of water, heat, and pressure, they entangle to form felt. Feltmaking kits are available to create your own felt at home. Homemade felt has a looser texture than commercial felt but is also very versatile. Felt can also be created from synthetic fibers.
One-of-a-Kind Felt Fabric
Felt allows you to express your creativity in new ways. Using your sewing machine, you can create new types of fabrics by cutting, stacking, and stitching felt to incorporate the variety of colors and thicknesses. Because of its beautiful, smooth, warm finish, the queen of all felt is 100% wool felt. But blends of wool and rayon also offer options to make dimensional fabric. Felt can be washed and dried to produce interesting textured effects. Once you have the texture you want, you can continue to enhance it by adding embellishments of beads, buttons, trims, fabric paint, and other items—the list is limited only by your imagination.
Felt Dolls
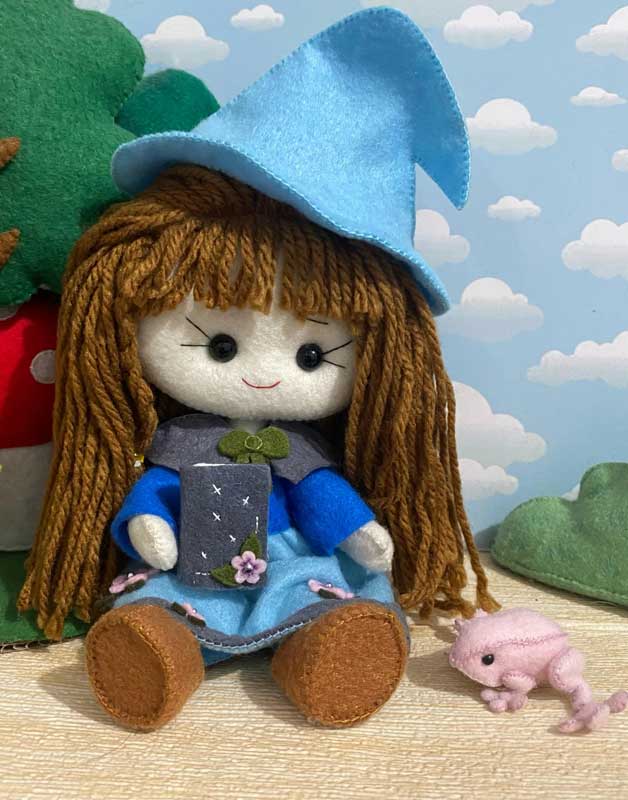 Dolls are easy to make and felt brings a natural warmth, depth, and variety of color that is perfect for doll skin. It takes fabric paint and inks beautifully, resulting in subtle textures and shadows just like porcelain. Making a doll with 100% wool felt is a satisfying experience because the felt is easy to stuff and will give you a smooth finish with no lumps or bumps.
Cut-Play Felt
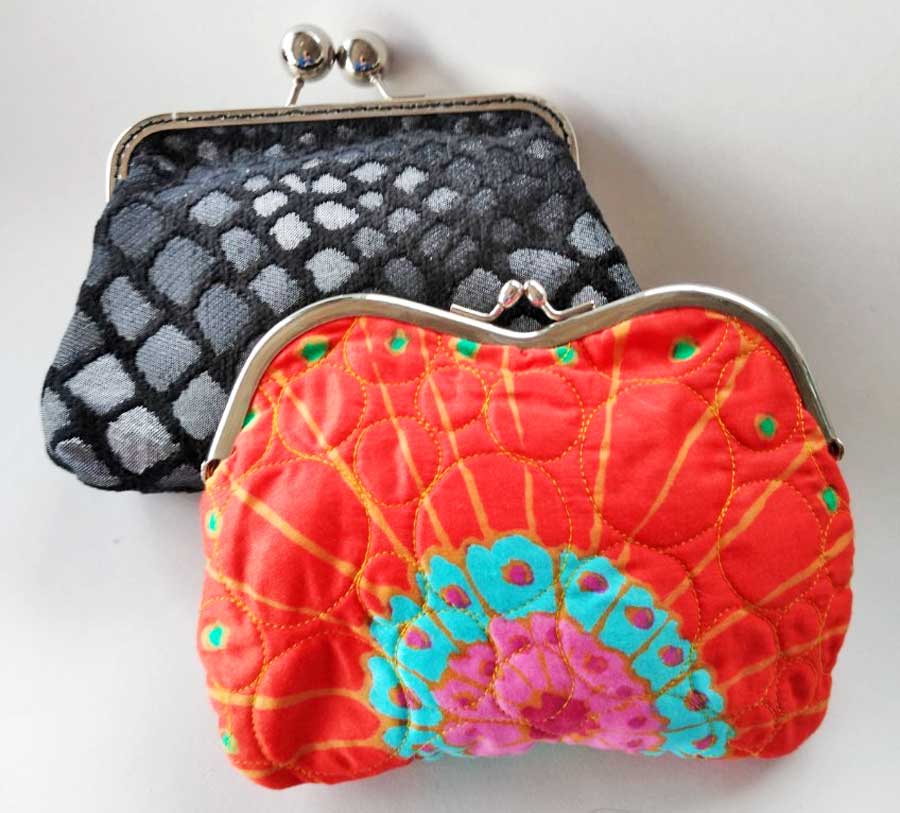
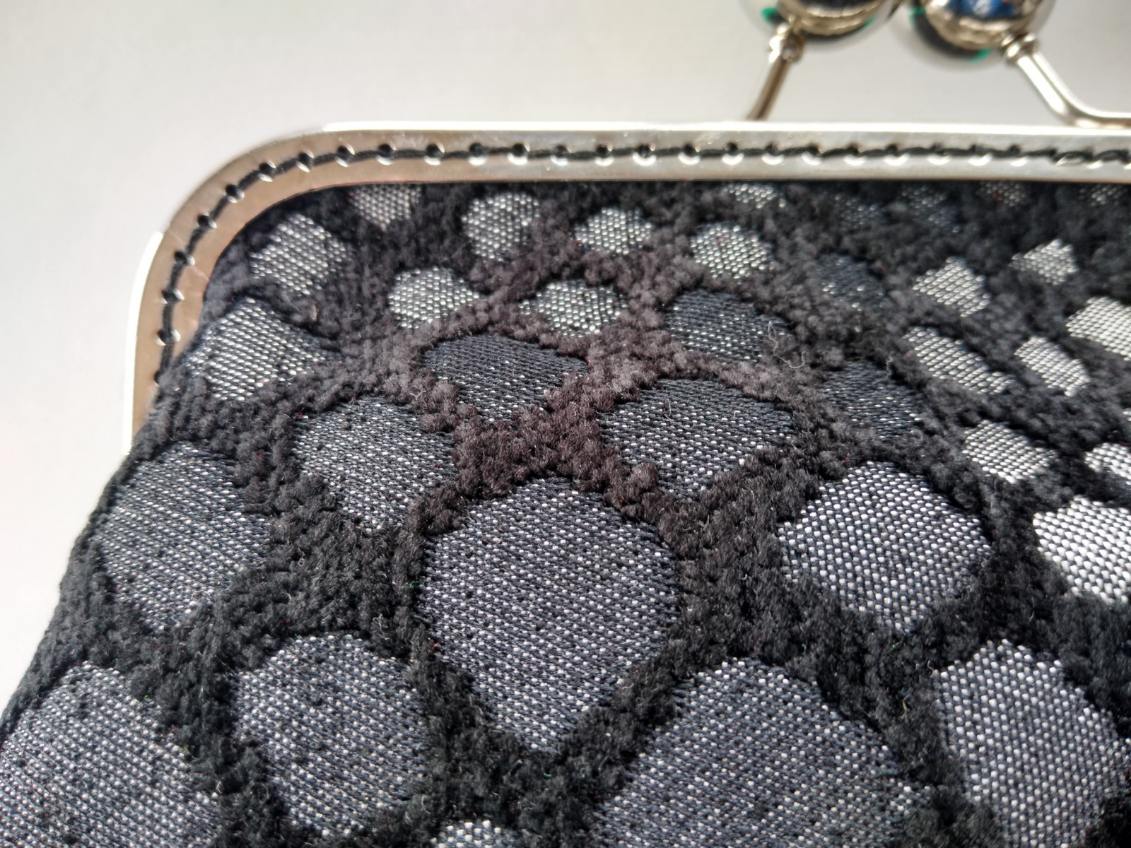
To make cut-play felt (also called reverse appliqué), stitch two layers of felt together and cut away shapes to add texture and interest. A simple purse is a great first project for this technique.
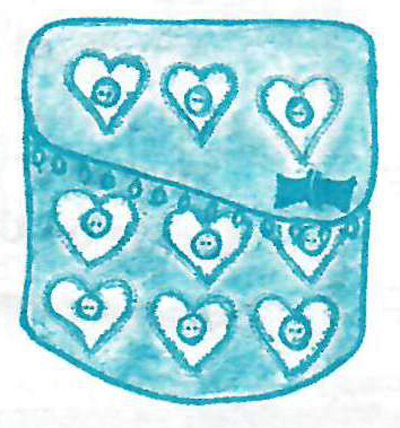 Because the felt may shrink up to 15%, make sure to allow for this, especially if you are making clothing. Use 100% wool felt for the base fabric and an 80% wool/20% rayon blend felt for the top fabric.
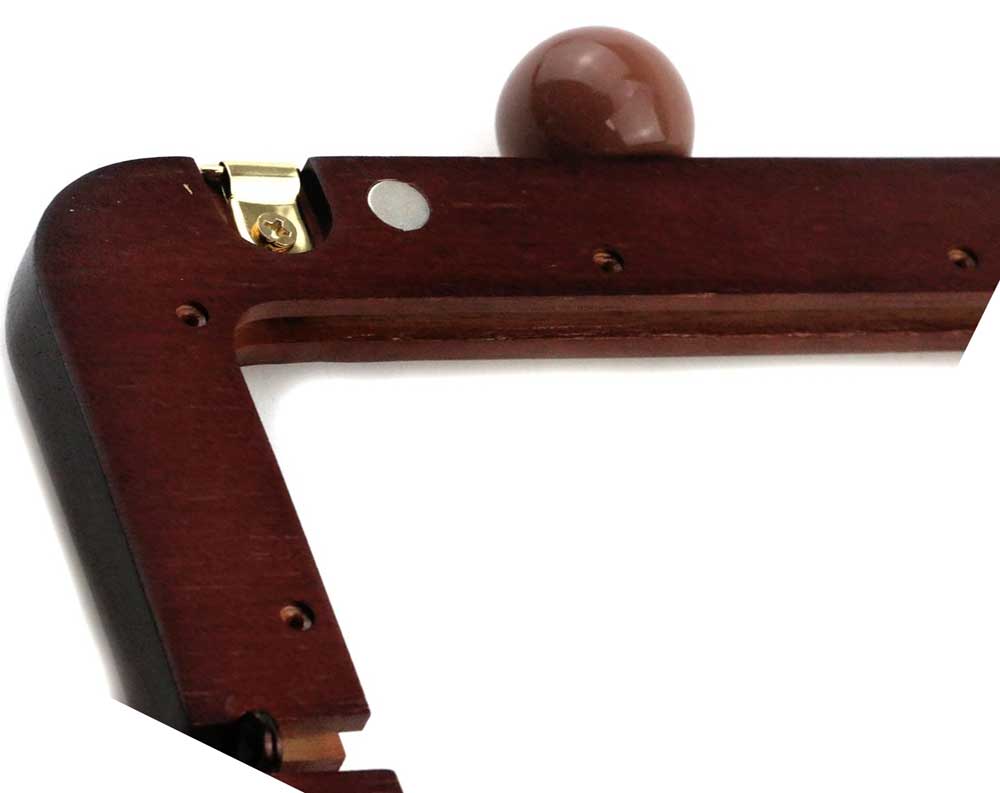
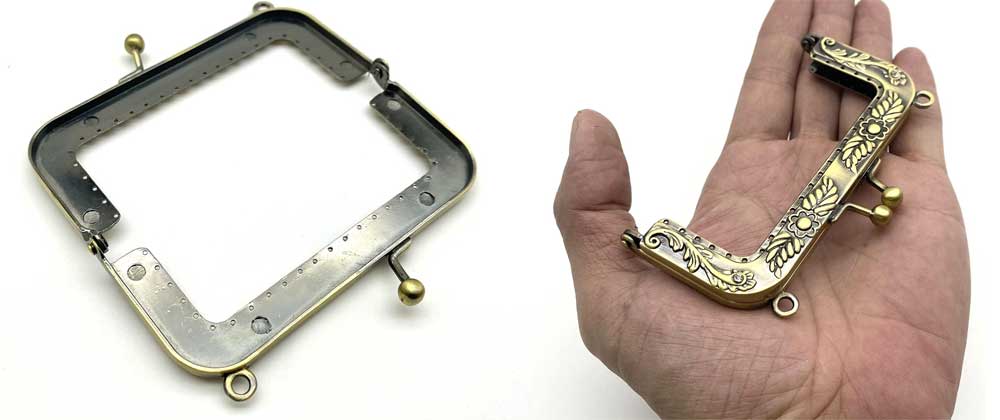
Cut the two fabrics slightly larger than the desired finished purse and baste them together along the outside edges. Create a template for the desired decorative motif then, using the template, trace the shapes onto the top layer of felt. Stitch along the traced lines, using a stitch length of 20 stitches-per-inch. Carefully cut away the inside of the shape close to the stitching to reveal the under layer of felt. Once all of the shapes are cut out, toss the fabric into a hot wash cycle (no soap) and then a hot dryer. After removing from the dryer, you will find that the top felt has developed soft, crinkly edges that form a pleasing look. Now it is time to embellish with buttons in the center of each motif. To construct the purse, fold and sew the sides to together. To finish, line the pouch and add the closure of your choice.
Visit this website for a tutorial on reverse appliqué with felt.