Not all fabric we use in our projects comes from the fabric store—some comes from our own closets or from the closets of others near and dear.
Have you noticed in the past few years that there are fewer and fewer men wearing suits? Blame it on the popular work-from-home phenomena or simply the trend toward more casual dressing. But, that trend can create a gold mine, as suit jackets are relegated to the back of the closet, or shipped off to the local thrift store for retrieval by savvy sewers.
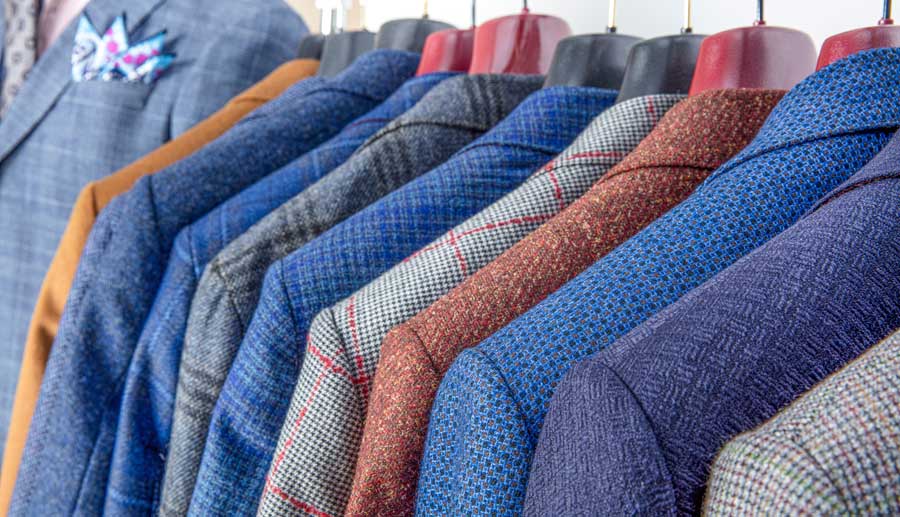
Why, you might say? Suit jackets offer a lot of quality fabric that can be repurposed for other projects. In particular, some ready-made construction details that you may think are beyond your skill level to create, like welt pockets and keyhole buttonholes are already done. So why not “harvest” those niceties for another project or two, or three, or four, depending on the size of the jacket.
What to look for
If you’re shopping thrift stores for men’s suit jackets, look for the largest size to garner more fabric. Choose a worsted weight, as it’s not as bulky as the woolen cousins. Be sure to inspect the item for any stains, moth holes or other damage and look for name brand labels and quality fabrics. In many cases, the suit coat may be almost new and worn only on one or two occasions before discard.

Thrift stores often have sales, so shop smartly. If you qualify, check for senior discount day with savings up to 50%. Or for similar discounts, check the tag color of the day. If you’re shopping for suit coats at rummage sales, ask if there’s a half-off-the-tag-price day or a sale where everything you can fit into a bag is only $1. These usually happen on the last day of the sale and it’s a great time to go crazy for suits and sport jackets.
Deconstruction
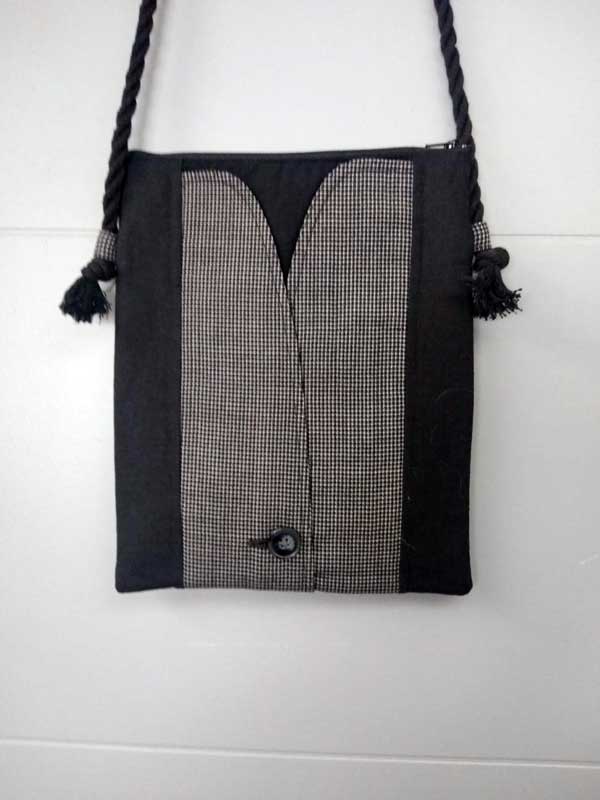
Watching the news or listening to podcasts is a great time to disassemble a suit jacket. First, decide which parts you might like to keep for other projects—patch pockets, welt pockets, front buttons/buttonholes, lapels, sleeve plackets, labels, etc.–and take apart the seams leaving those areas intact. Lining can be separated or left with its original construction detail, depending on how the area will be reused. While you’re taking apart the suit, note the inner construction details—the process can be a major tailoring learning experience, especially on high-end jackets. If you’re into tailoring, you may even be able to harvest some of the jacket’s structural materials like sleeve heads, hair canvas chest pieces, shoulder pads, etc. for reuse.
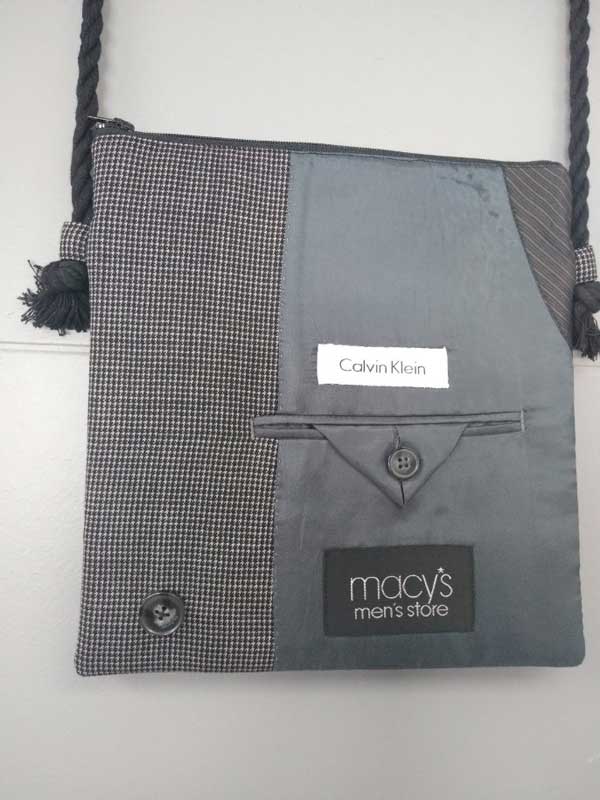
Don’t forget that the inside of the suit jacket can offer some fun details, like bold labels, lining welt pockets and tabs, and accent stitching, so put those to work on the outside of your project.
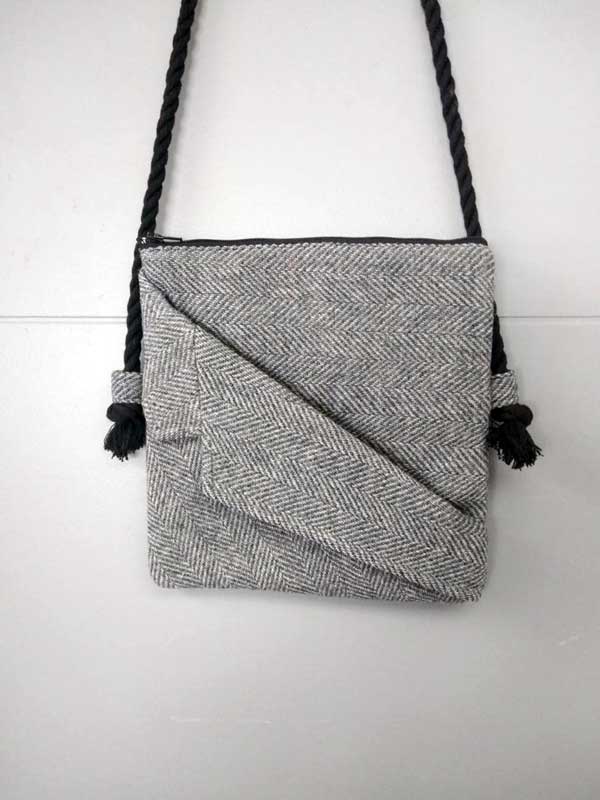
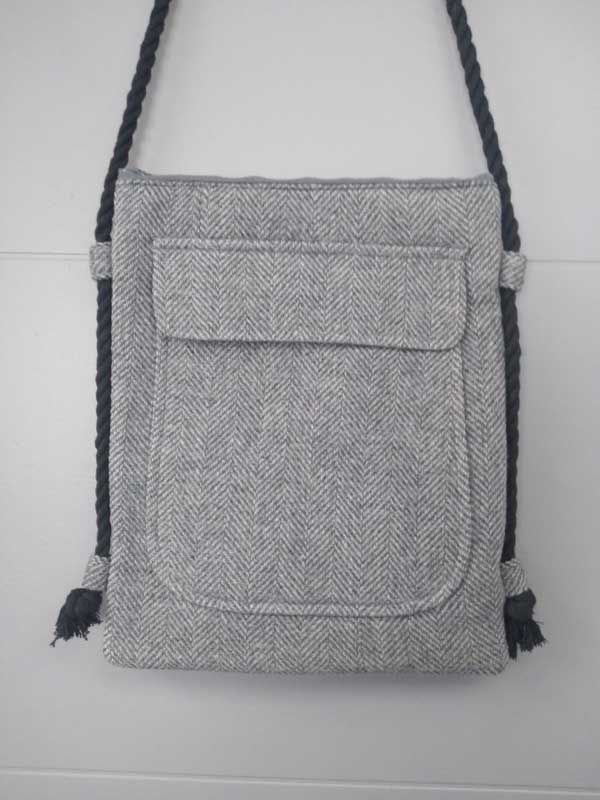
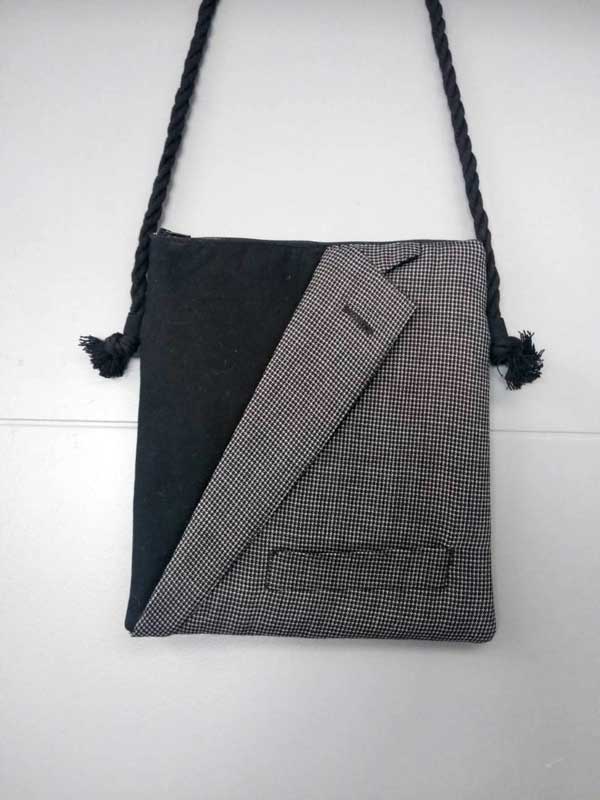
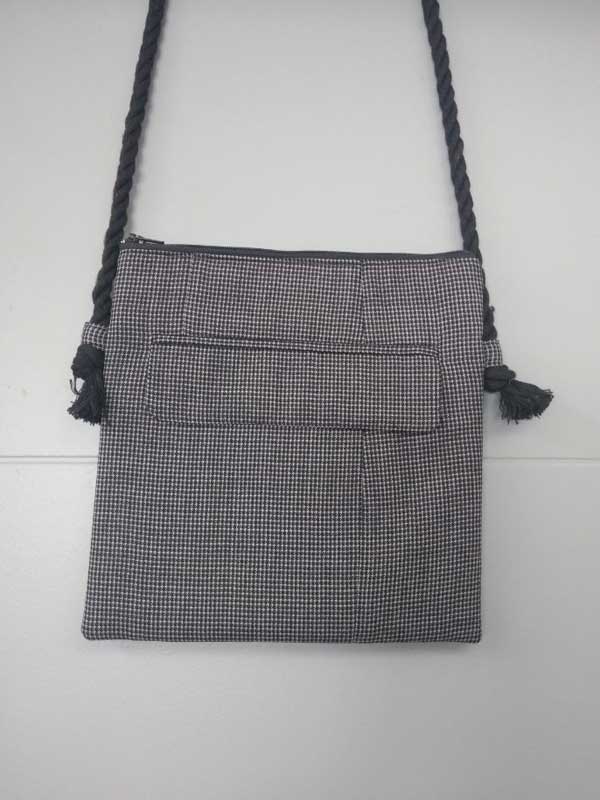
Small projects, like bags, allow for utilizing many details from one jacket and it’s fun to figure out how to make them work to maximize the fun. Check out our featured bags using several different suit details.


Tie Tactics
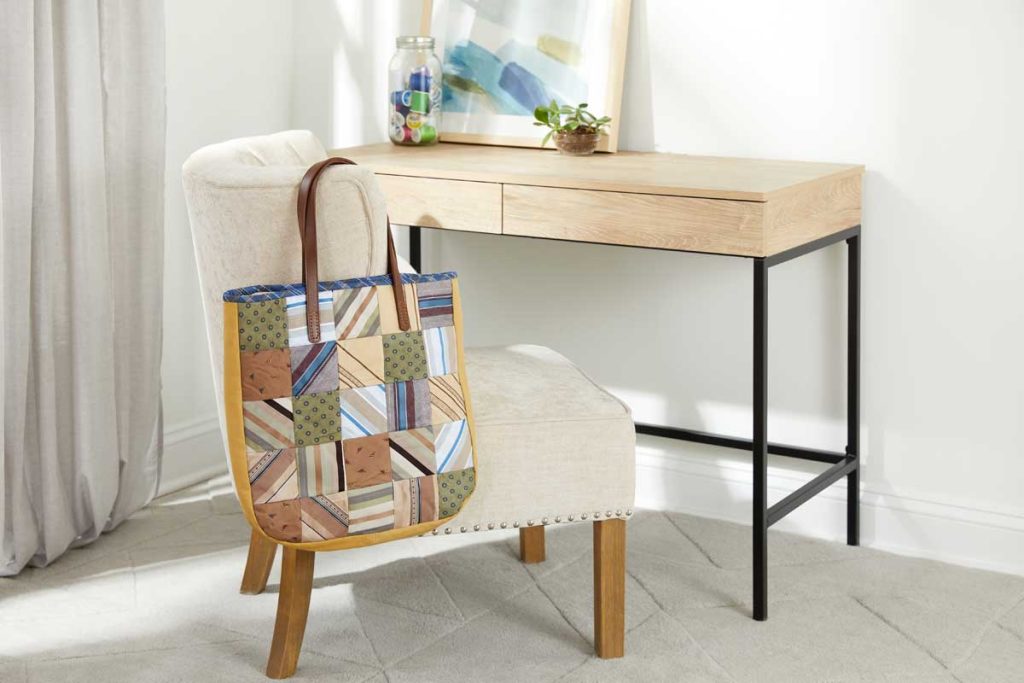
Not far from suit jackets, you may also find some wonderful ties being discarded. Whether they’re silk, polyester or wool, there’s yardage to be garnered. If you’re thrifting or repurposing ties from a loved one, creative options abound.
One idea—this pieced tote made is not only a great project to reuse old or discarded ties, but also can be a wonderful way to remember a special person whose ties you may have inherited. Get the instructions and free pattern from Yarspirations.
~Linda Griepentrog Linda is the owner of G Wiz Creative Services and she does writing, editing and designing for companies in the sewing, crafting and quilting industries. In addition, she escorts fabric shopping tours to Hong Kong. She lives at the Oregon Coast with her husband Keith, and two dogs, Yohnuh and Abby. Contact her at gwizdesigns@aol.com.