Central Illinois Chapter
 The Central Illinois chapter members, spearheaded by Charlotte Cronin and Vicki Ghidina, made repairs to 52,000 N95 protective masks for OSF Healthcare. The elastic in those masks had deteriorated and without their help of ASG members, friends and family, the masks would have been deemed unusable. Instead, these mask angels assured that this critical PPE item was able to be used to protect healthcare workers. Congratulations to all! Read the full story
Dayton, OH Chapter
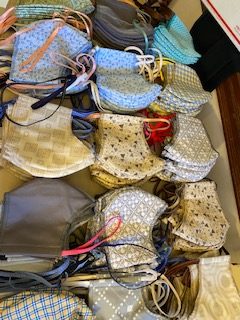 And as the world went in to lockdown, the Dayton chapter encouraged its members to make face masks or sew other community service projects. With the stay at home order, here’s how members, Carol Coleman, set up a one woman very efficient assembly line. Each step was completed for all the masks before going to the next step. She pre-washed some donated cotton fabric, then used a Silhouette Pattern that covers the face with no gaps to cut out all of the fabric. From there, it was on to serging the curved part of the lining and placing the inner lining of either a knit or old sheeting on top of the two outer sections which were cut out right sides together and serged this curve (4 layers). Then it was on to opening the curved seams and placed the lining and and the outer fabric wrong sides together and stitching around each mask. Some time at the ironing board allowed for pressing and folding up the 1/2″ for the casing. The ribbon or 1/4″ bias tape (sewn closed) was cut and enclosed in the casing. In 4 days time, 75 masks were completed and on their way to a medical supplier in Long Island, NY.
North Jersey Chapter
Anne Marie Soto was interviewed by NorthJersey.com, part of the USA Today Network, sharing the North Jersey’s chapter’s enthusiastic readiness and support to make masks for healthcare facilities in the area. Read the full story
Plano Chapter
Sheryl Belson shares a funny video she made regarding making masks.
Sacramento, CA Chapter
More than 30 members of the Sacramento chapter shared their time and talents by making thousands of masks for area hospitals. There is no doubt that their efforts touched the hearts of the recipients of these masks of love. Read the full story

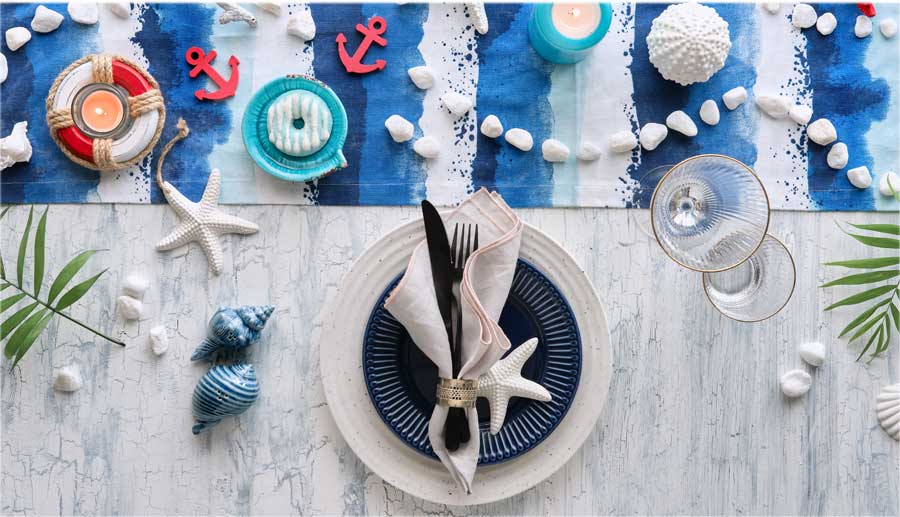
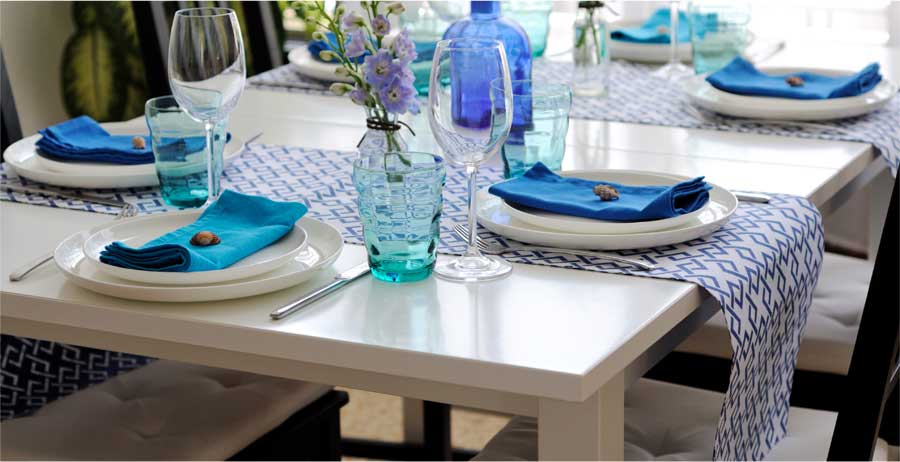
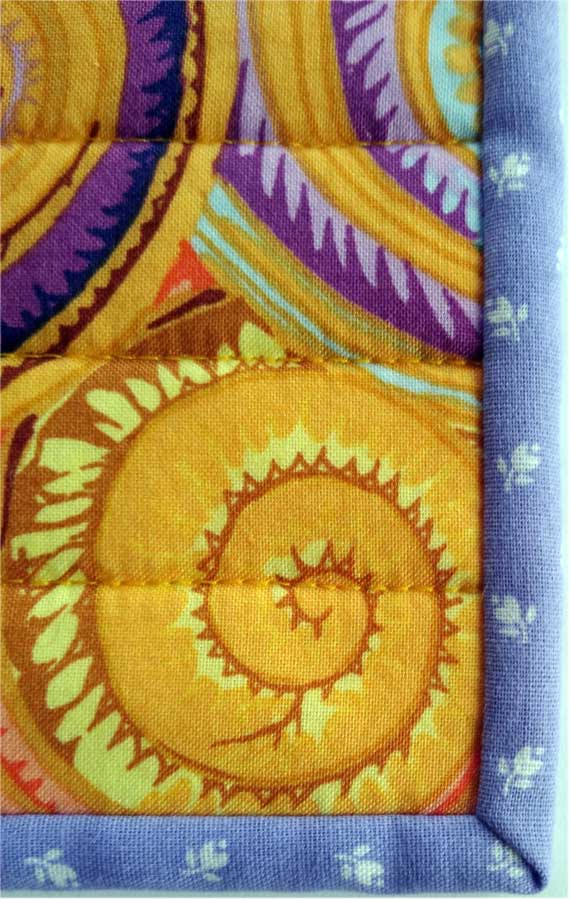
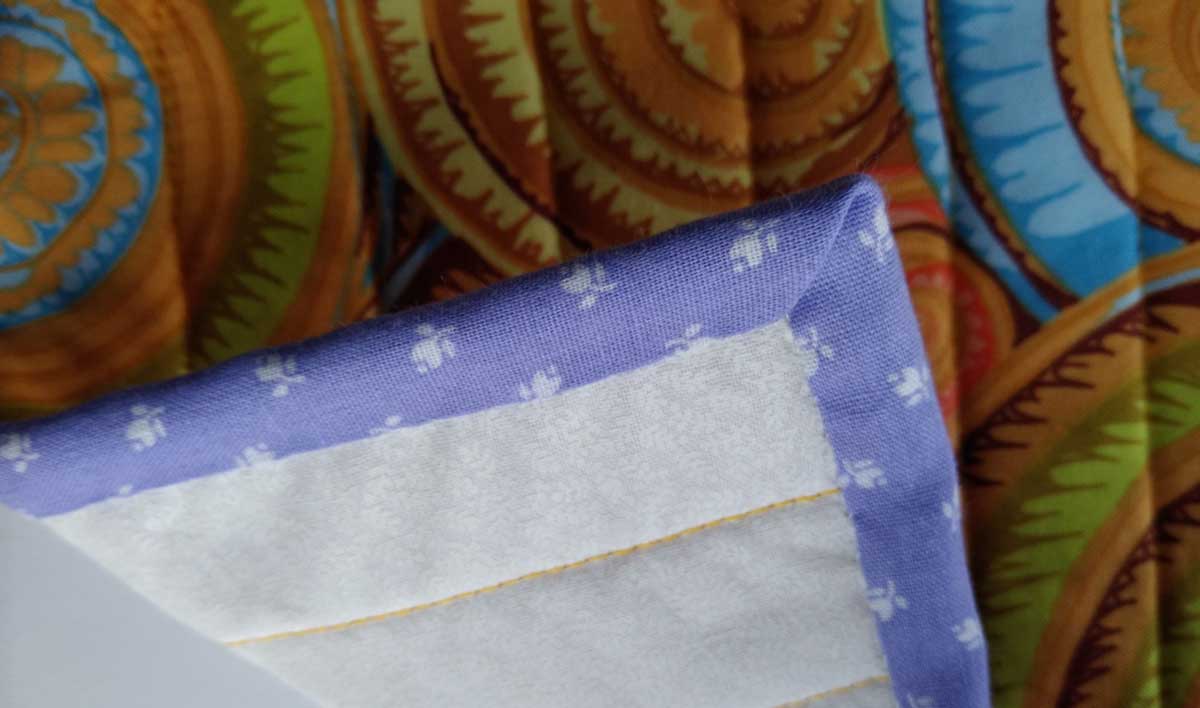
 A table runner can be used to add color and interest to any part of your home décor, showcase a display of collectibles, or it can be used simply to protect the dining table surface. You get multiple functions in one! A runner can even be used over a tablecloth to double the decorating punch.
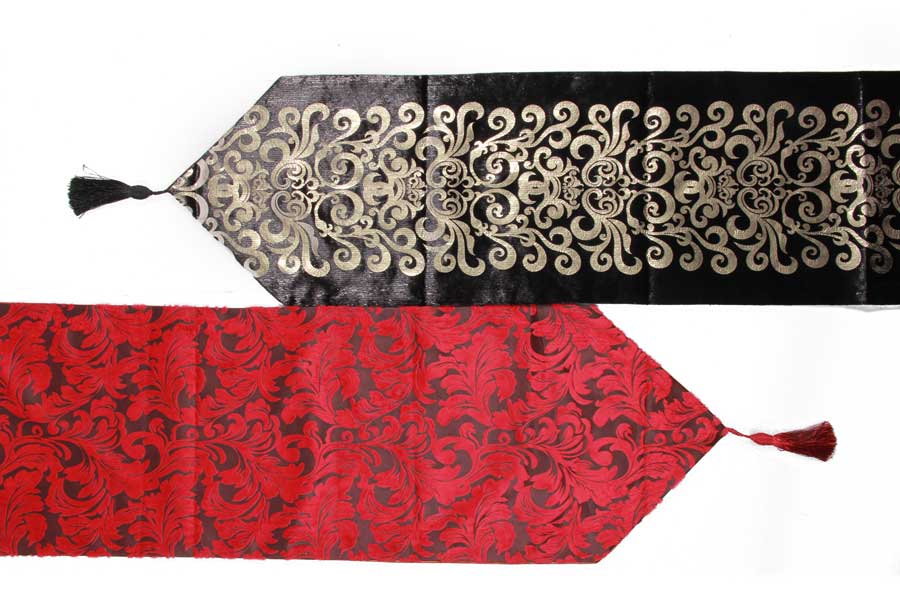

 Needle