


I teach Algebra
T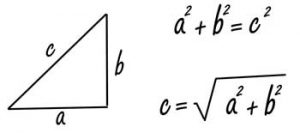 here, I said it. Go ahead, I’m used to the rolling of the eyes as well as both the internal and external groans. Such a pronouncement usually has one of two effects on the conversation: It either stops it dead or leads to everyone sharing their horror stories of trying to learn algebra.
At first I try to redeem myself by quickly adding that I used to teach Accounting, but that usually resulted in adding to the drama, or clearing the room completely. So, for years I have tried to hide my association with anything mathematical. I’m actually not a real math geek. I majored in business and worked my way through college as a stenographer, but I found that math came easy to me and had a logic and balance that went well with my personality and love of sewing.
Yes, I just matched math with SEWING.
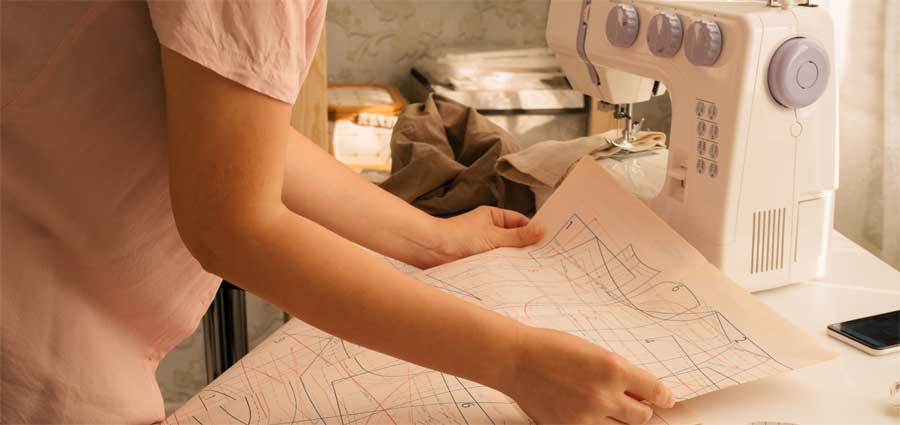
Thanks to my math ability, when I look at a pattern, the logic and sequencing of algebra helps me anticipate the steps in construction. I can almost see a garment coming together before I ever look at the instructions. It’s great for fitting — being able to quickly and accurately manipulate fractions allows me to tackle the most complicated adjustments over multiple pattern pieces. This quirky talent puts me in high demand during any fitting workshop.
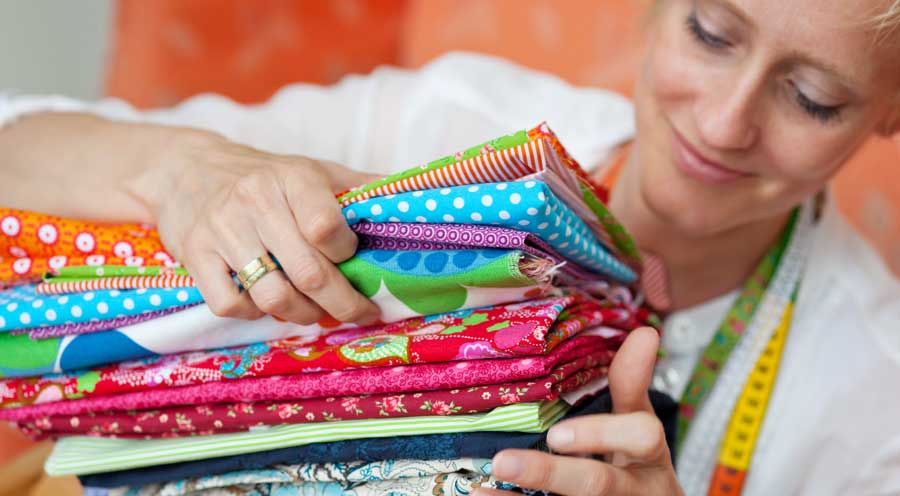
My association with math also helps me to easily draw quilting patterns and design purses, tote bags, placemats, table runners, and more. While my non-mathematical friends are limited to patterns on the market that have predetermined sizing, I can accurately create items to fit the size I want rather than make do with what’s available. Math also helps in determining ahead of time if a piece of fabric is large enough to accommodate my design or I’ll need to adapt the pattern to fit the fabric. And when it comes to mass production, math allows me to calculate how many items I can get from a yard of fabric so that I can purchase just the right amount. (OK, so I rarely limit myself to just the right amount, but it does keep me from purchasing too little.)
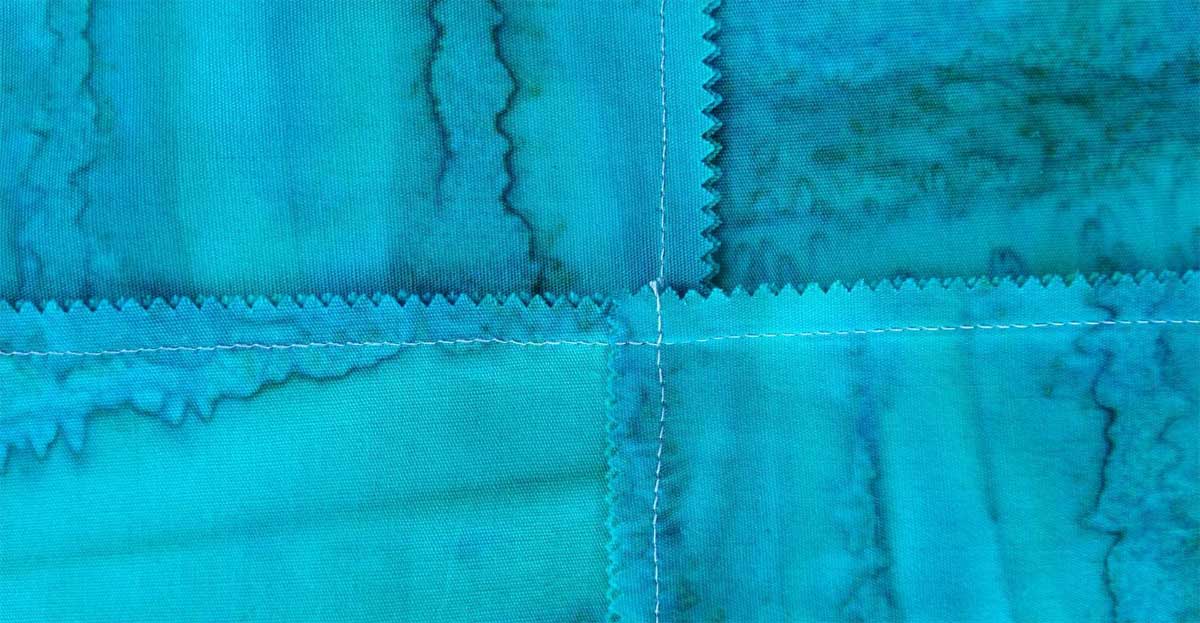
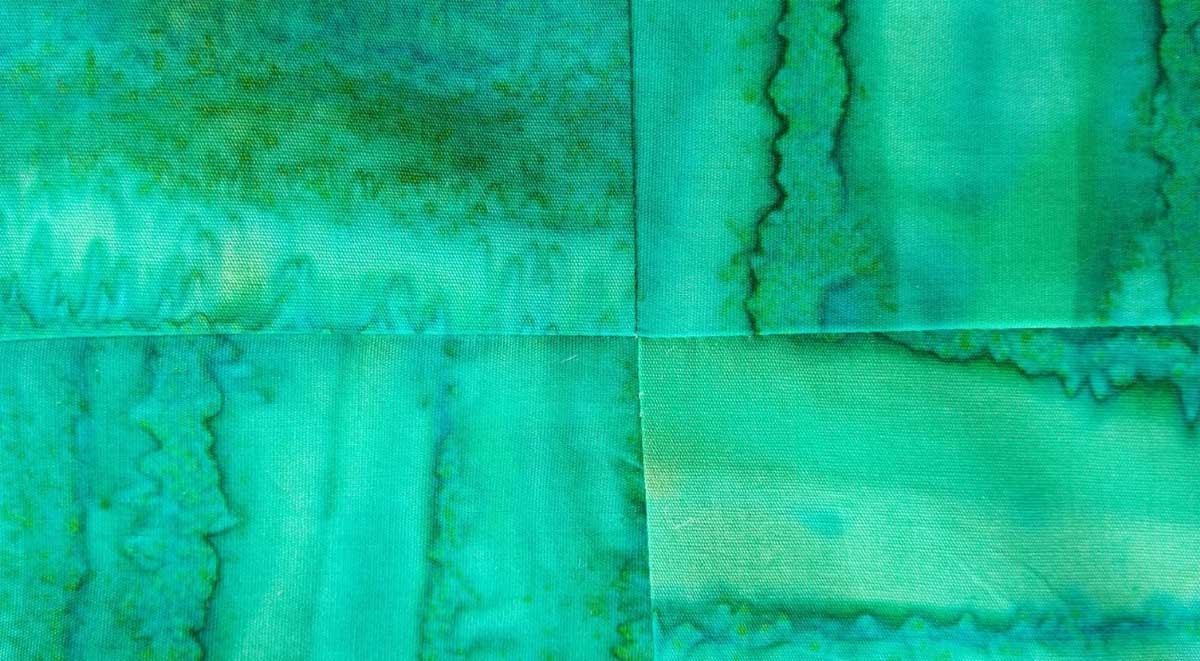
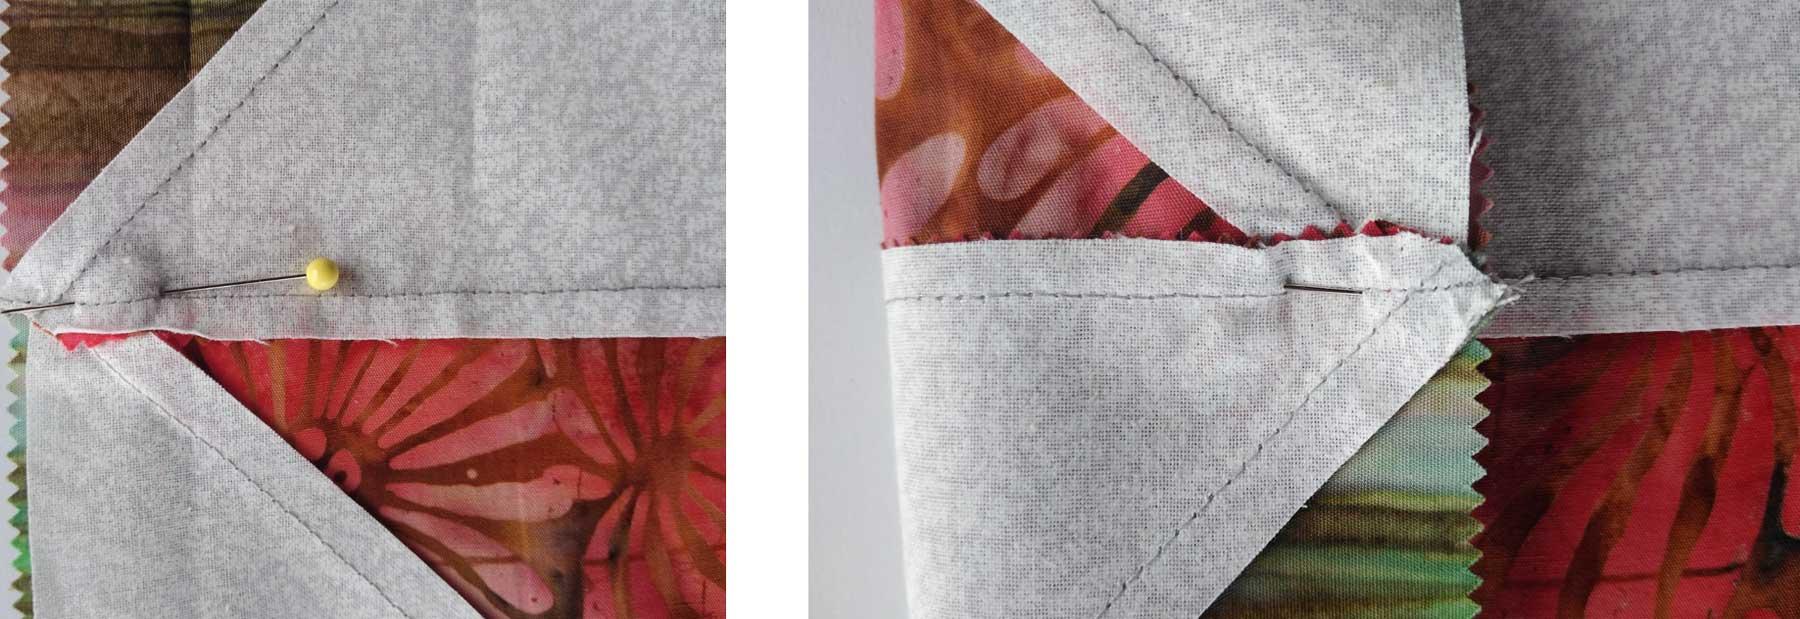
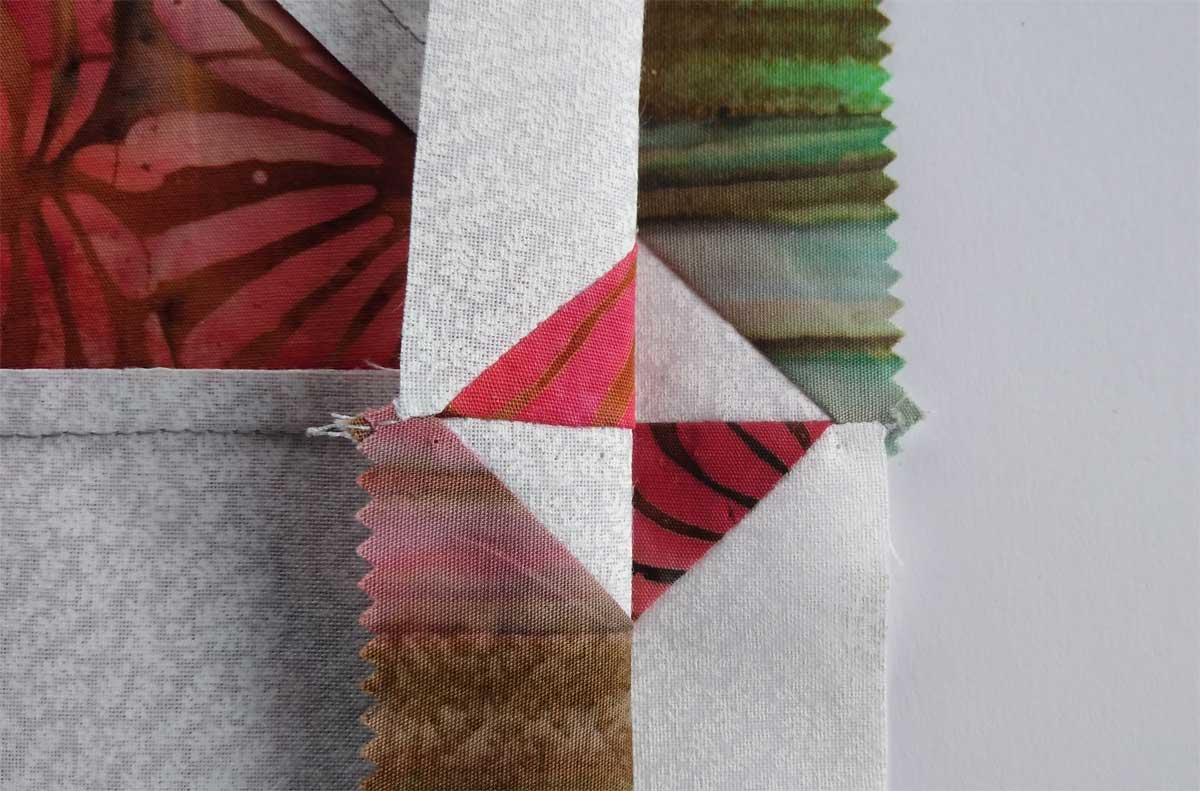
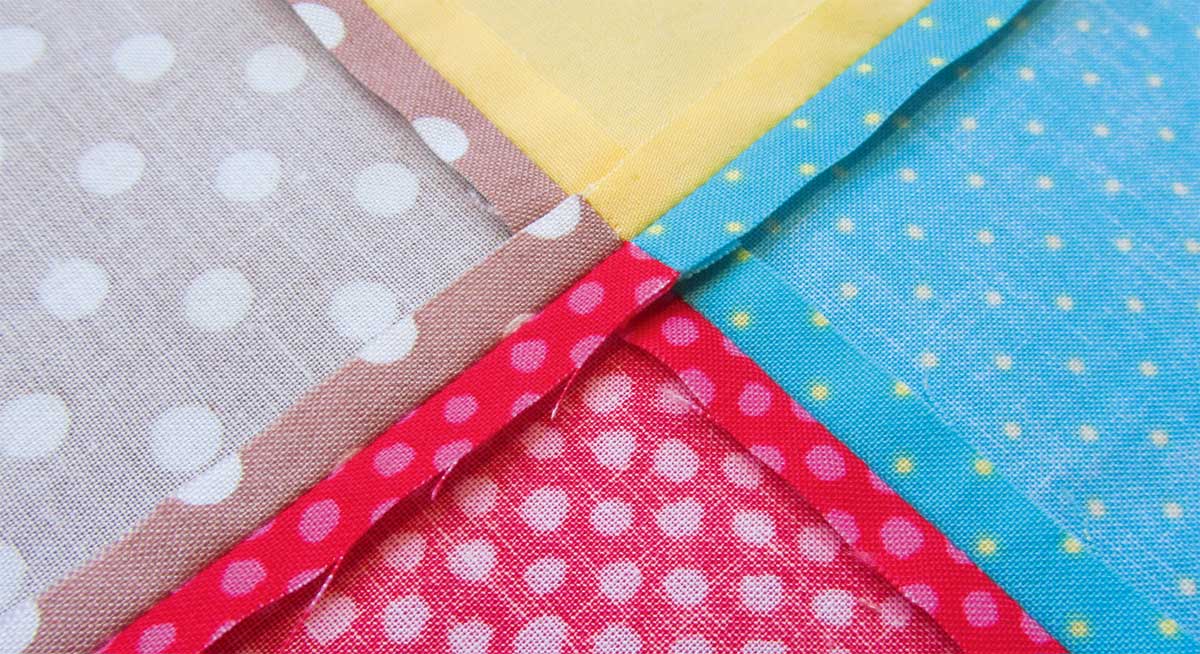
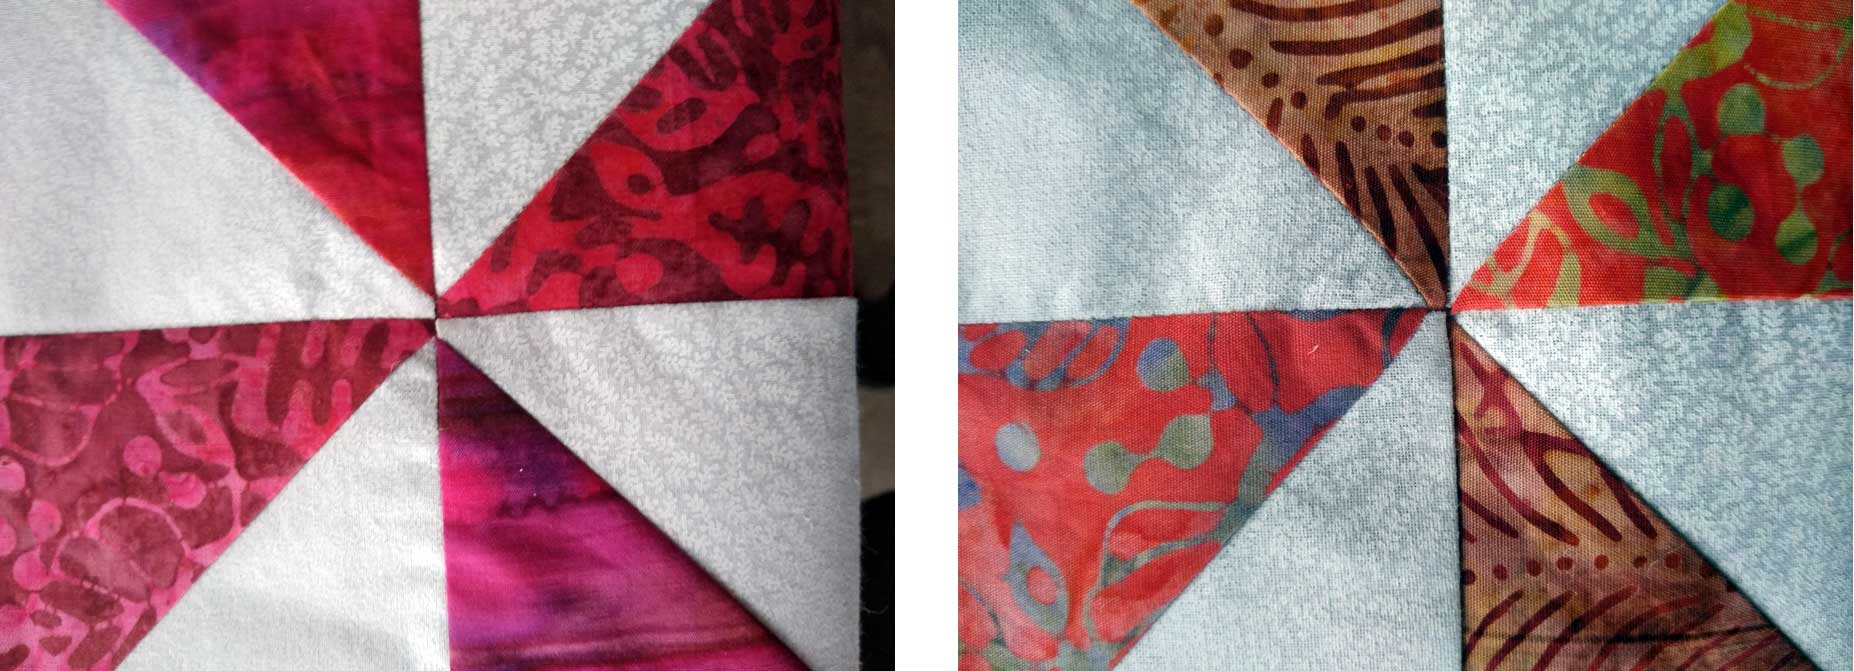
Of course, blessings can quickly turn to curses and, more than once, math has made me the pariah at an ASG meeting. For example, many years ago when a friend discovered kaleidoscope quilts, she shared this wonderful new idea at our neighborhood group meeting and offered to order the plastic template we’d need to create the kaleidoscope effect. While everyone else was scampering around to pay the $25 for the template, I sat and stared at her pictures. Before I realized it, I heard the following words come out of my mouth, “That’s just an equilateral triangle with 60 degree angles.”
 Silence. Dead silence.
My friend assured me I was wrong, and the only way we could create the true kaleidoscope was to purchase the template. On my 45 minute drive home, I reviewed my logic and calculations over and over and couldn’t see any flaws. At home, I got to work drawing a cardboard template and proceeded to make my own kaleidoscope motif. Then I set aside the $25 for more fabric. Yay me!
Who said geometry would never be useful?
As much as I tout the benefits of math, I must admit that its logic and balance occasionally get in the way of my sewing. That’s when the other side of my brain wants to take over the creative process. It’s often an internal struggle to allow myself the freedom to ignore symmetry and place an embroidery design off center or to color block with an abandon of precision. But when I’m fortunate enough to win this struggle, sewing becomes my blank canvas and I can see the many possibilities a piece of fabric provides. What does it want to become? Does it want to be paired with another color, many colors? What accent pieces will give it that “bling” that makes my project “pop?” Making these decisions requires thinking outside the box. It’s not simply following the rules and balancing equations, but making decisions based on emotions rather than pure logic.
When I see the finished product, what pride and feelings of accomplish I achieve! And the more I create, the more inspired I become. Do you use all of your abilities and talents when you sew? Even the ones that aren’t “sewing” related? Remember that structure and rules don’t always have to be followed. Don’t just think outside the box, sew outside of it as well. For me, the blending of math and creativity activates both the right and left brain and keeps me alert and alive. That’s a high that’s worth experiencing, one that only sewing provides.
~Rosemary Fajgier

 I decided to take a few steps that I hope will re-ignite the enthusiastic passion I have felt for sewing and that I miss and started exploring some new sewing adventures. For years I have loved being almost exclusively a garment sewist. Since pandemic quarantine life, I can’t seem to get excited about making clothes, so I’m going to try a few different things.
 I also decided to make a few sewing appointments with myself. If I schedule some time to dedicate to this craft I have loved so much, I am bound to experience those dopamine hits it has given me all those times before. But I have also promised myself a lot of grace as I reclaim what feels a little bit lost at the moment. No more jealousy — just appreciation for what others create. No more guilt — just patience as I explore what sewing adventures await while I gently reacquainted myself with my sewing room.