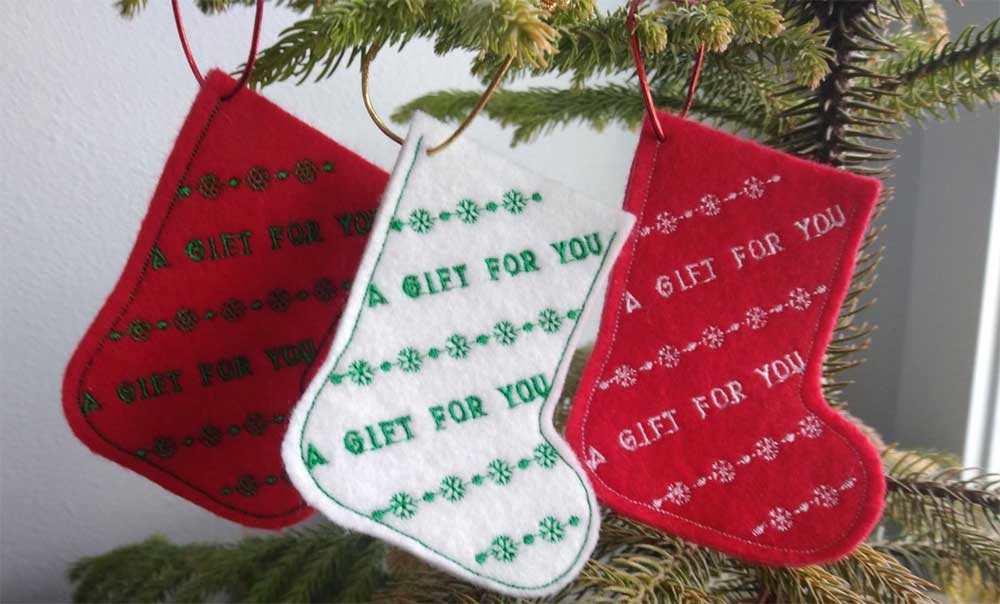
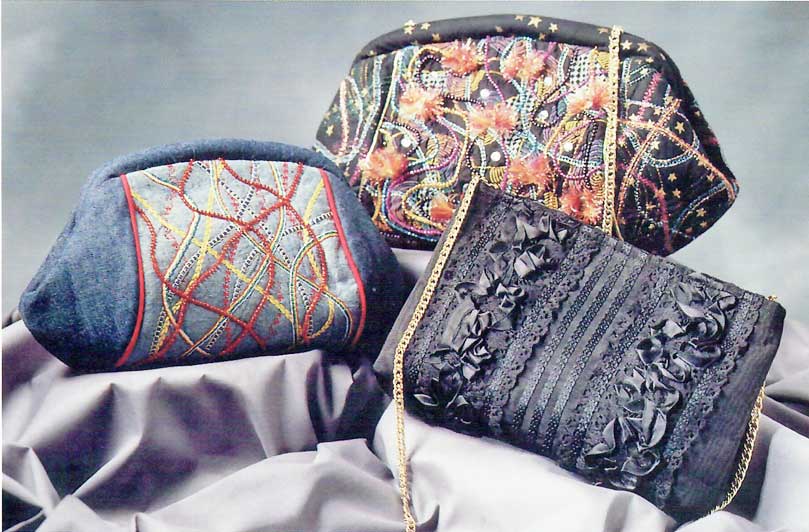
Many home dec techniques cross over into garment sewing. Here is the professional way to create three edge finishes that will enhance all your sewing endeavors.
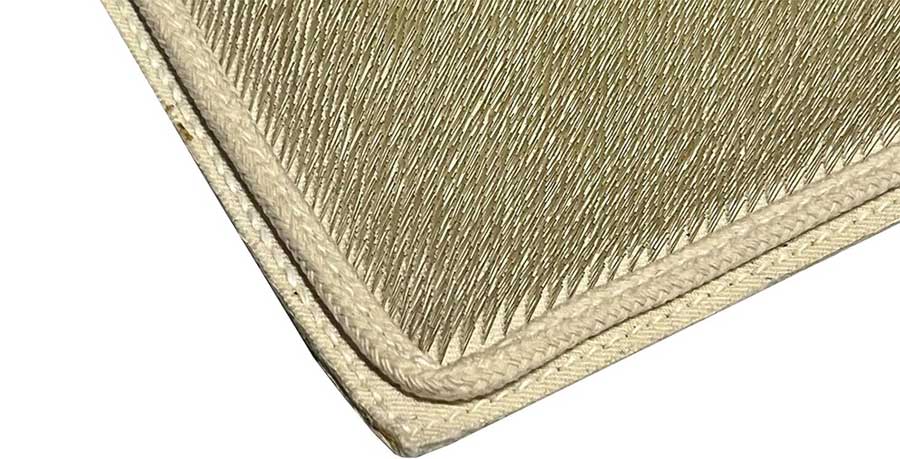
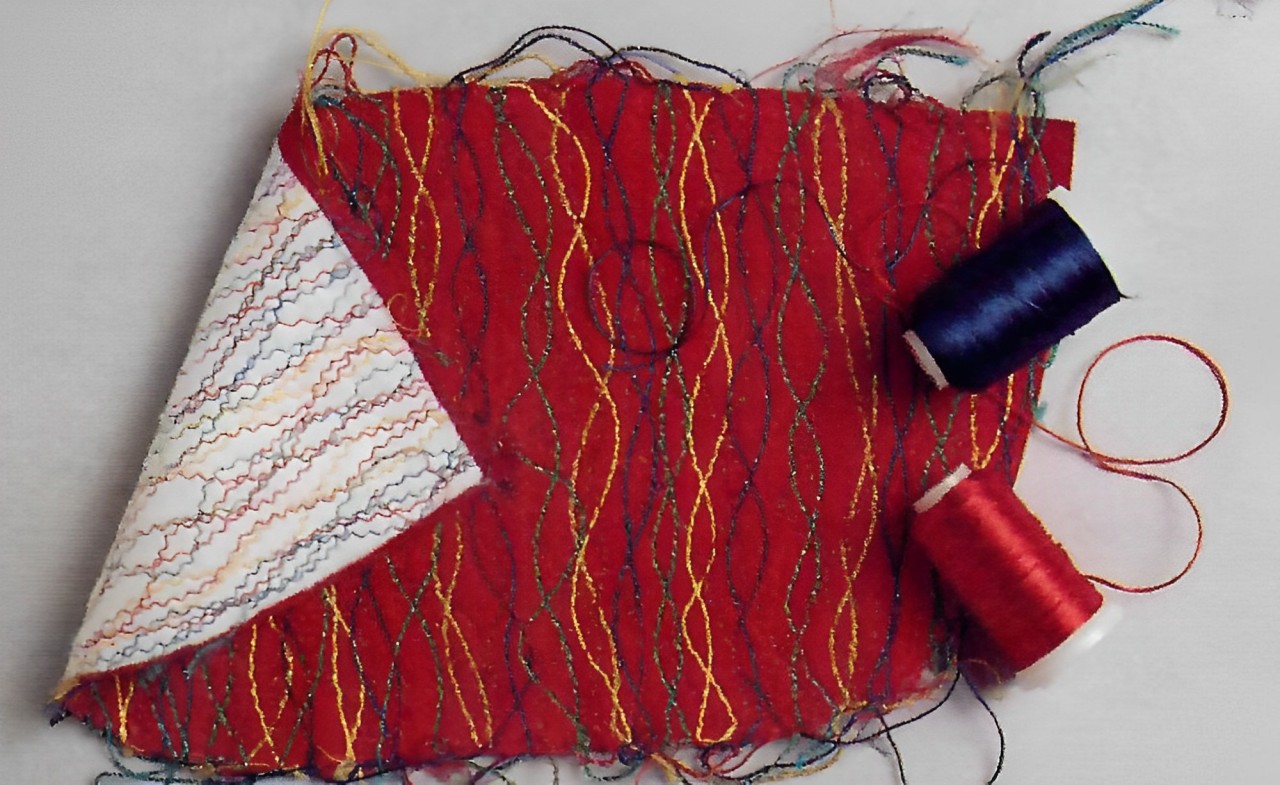
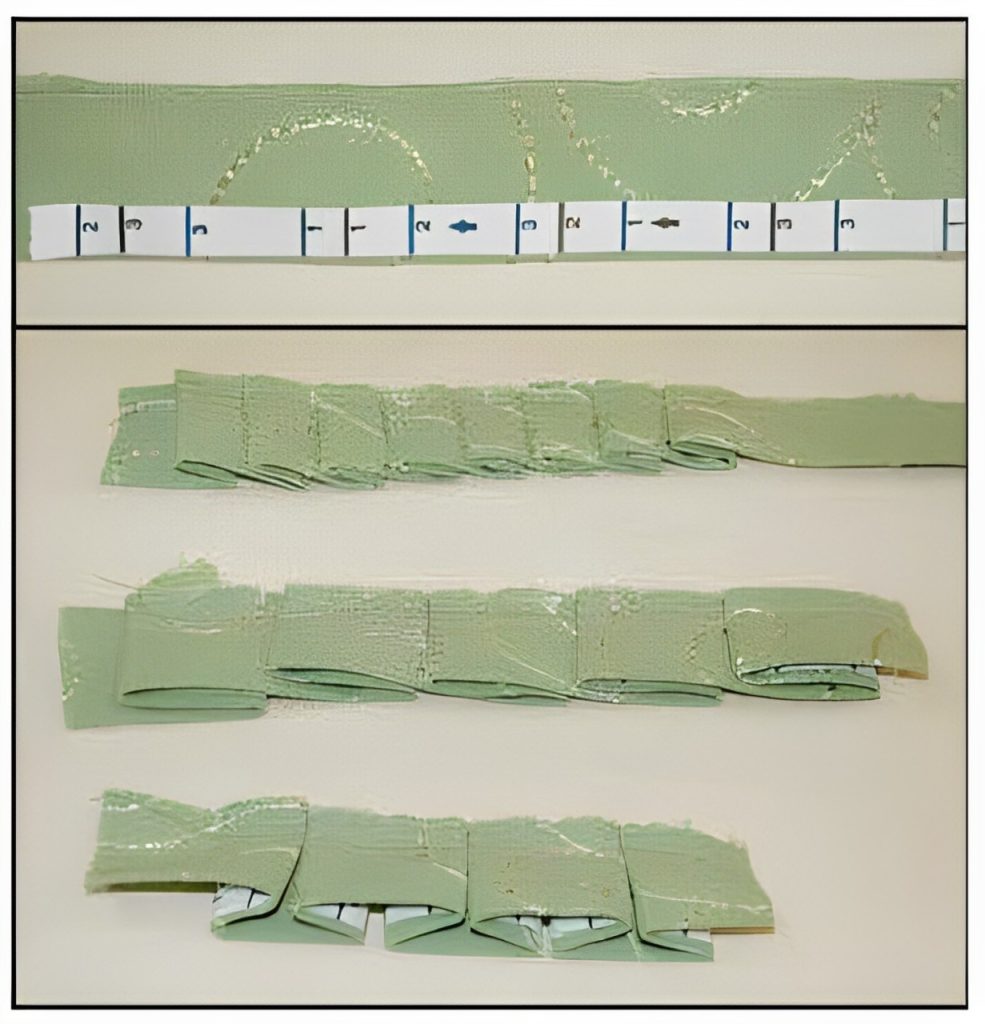
Technique: Pleated Trim
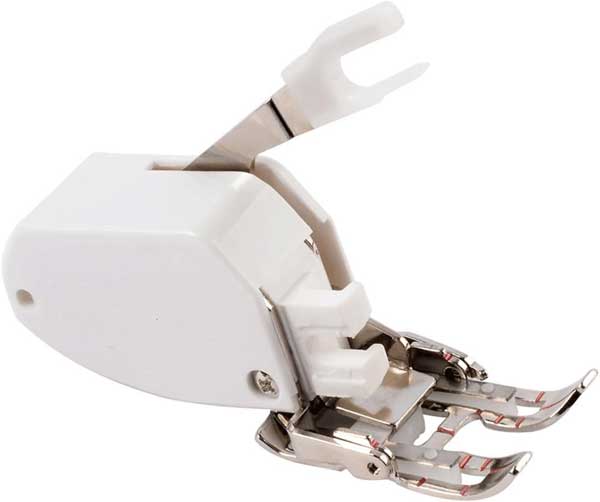
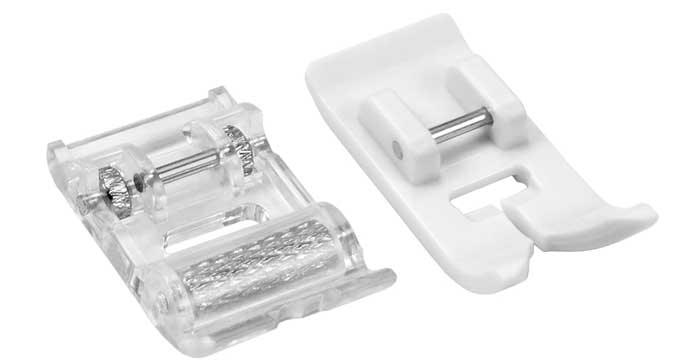
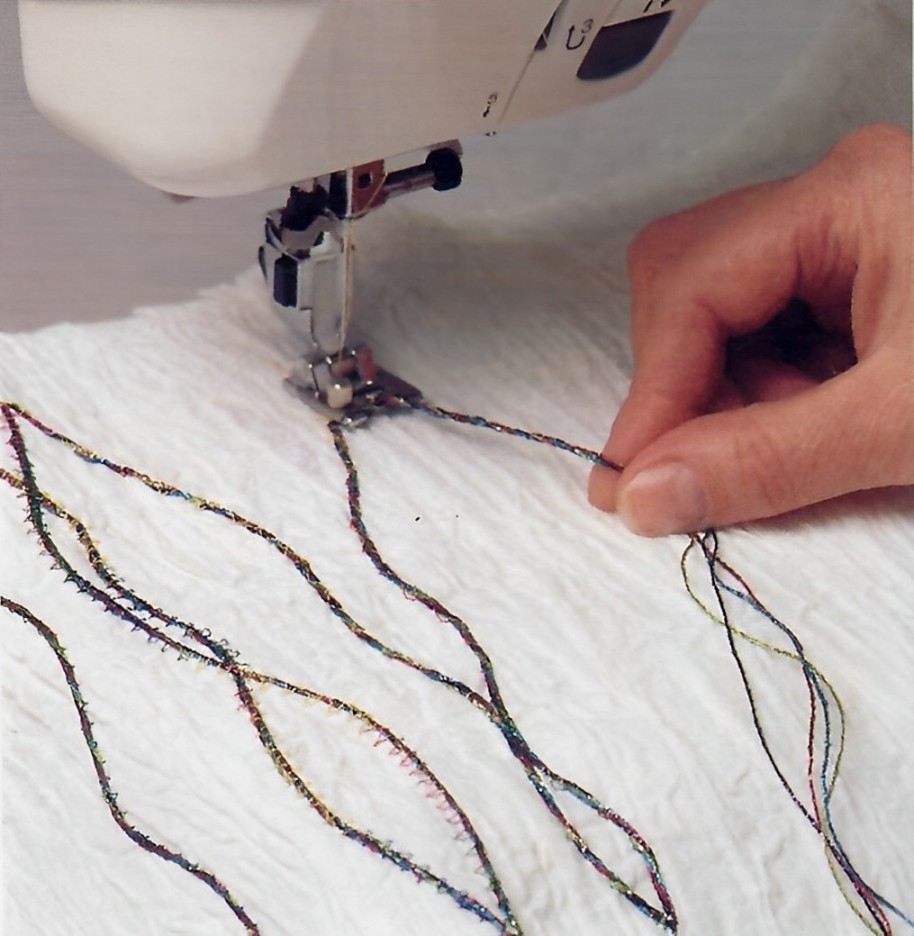
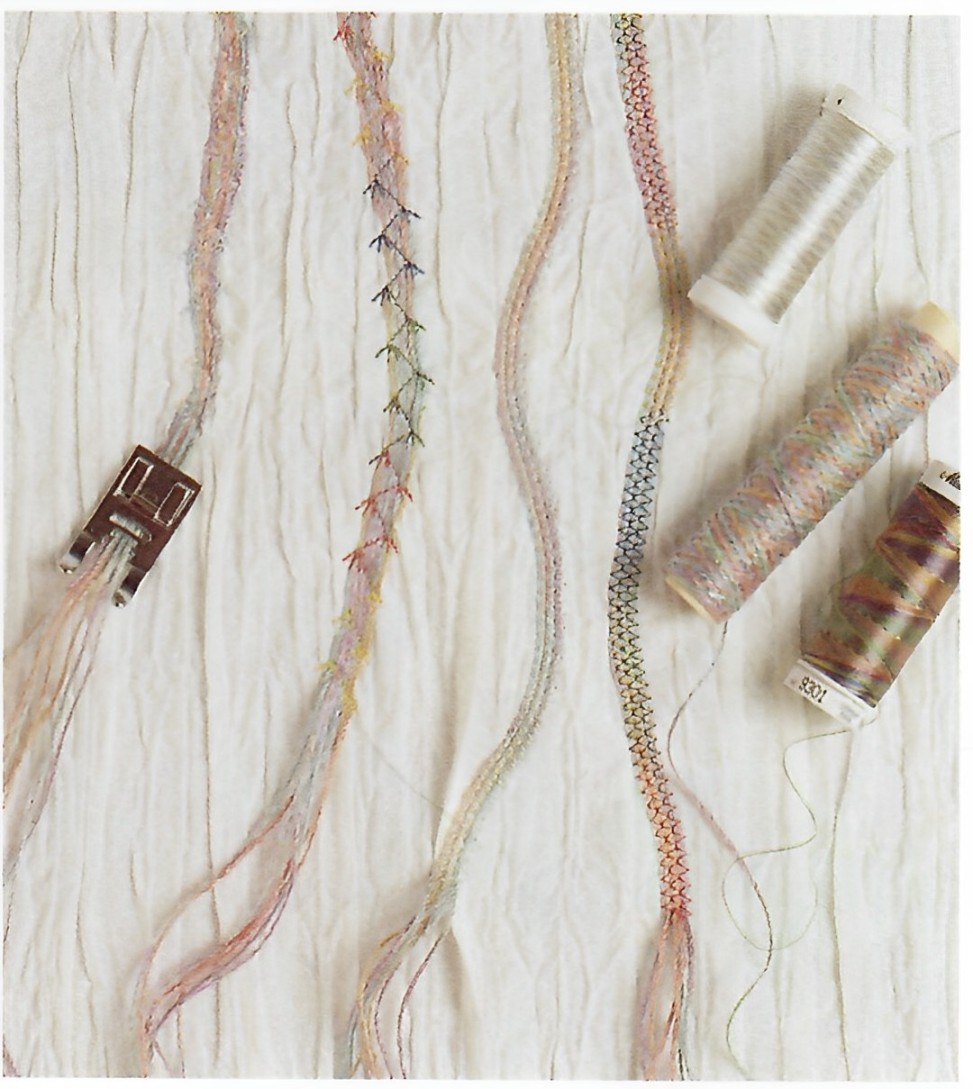
Machine foot: general-purpose foot or open toe appliqué foot.
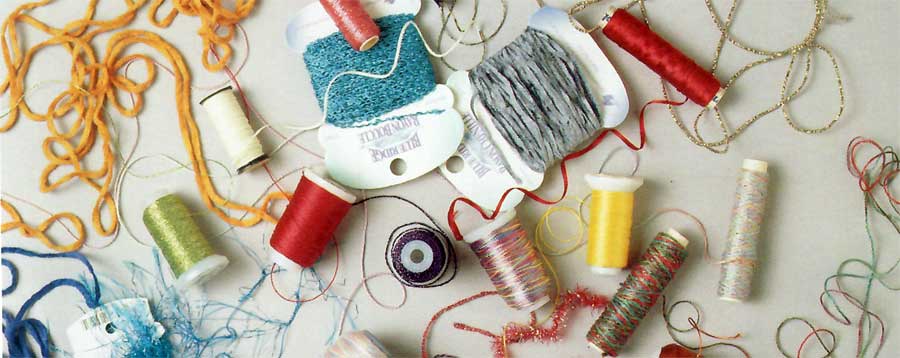
Other requirements: Pleat Tape; bias strip of fabric (folded lengthwise in half) or grosgrain or double-faced satin ribbon—total length should be three times the length of the finished trim.
The full article is in the Members area of the website. CLICK HERE to read the full article. Not a member? Join online!