American Sewing Guild (ASG)

Visit our blog Visit the ASG Facebook page Visit ASG on Pinterest Visit ASG's YouTube channel Visit ASG on Instagram
  • Home
  • Join ASG
    • Join Online
    • Chapter Locations
    • Member Benefits
    • Member Brochure
    • Join by Mail
  • Conference & Education
  • Resources
    • Contests & Awards
    • Giving Back
    • Hall of Fame
    • Links
    • Travel and Tours
    • Measurement Chart
  • Shop
    • ASG Store
    • Chapter Products
    • Video Resources
  • Blog
  • About
    • About Us
    • Donate to ASG
    • ASG Sensitivity Statement
    • FAQ’s
    • Start a Chapter
  • Contact
  • Member Login
    • Login First!
    • Members Only
    • Leadership Only
    • Website FAQ’s
    • Logout
  •  

March 5, 2021

DIY Table Runner

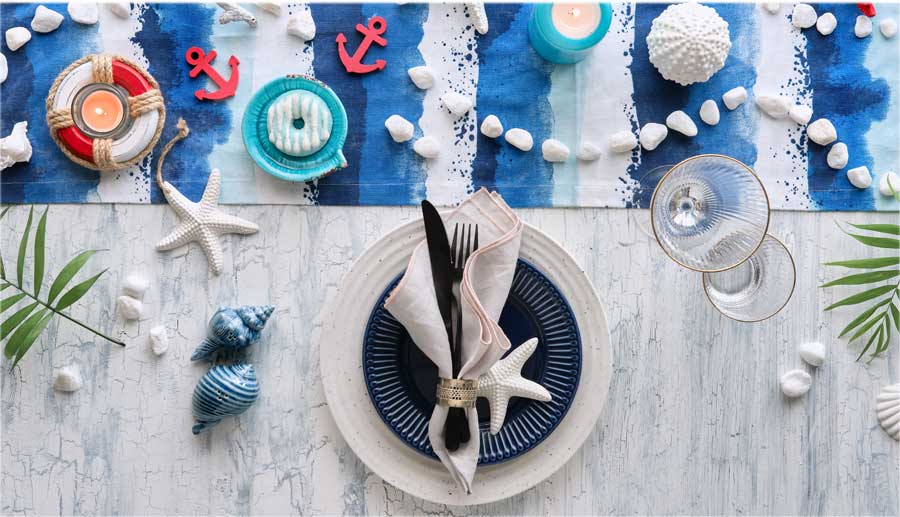
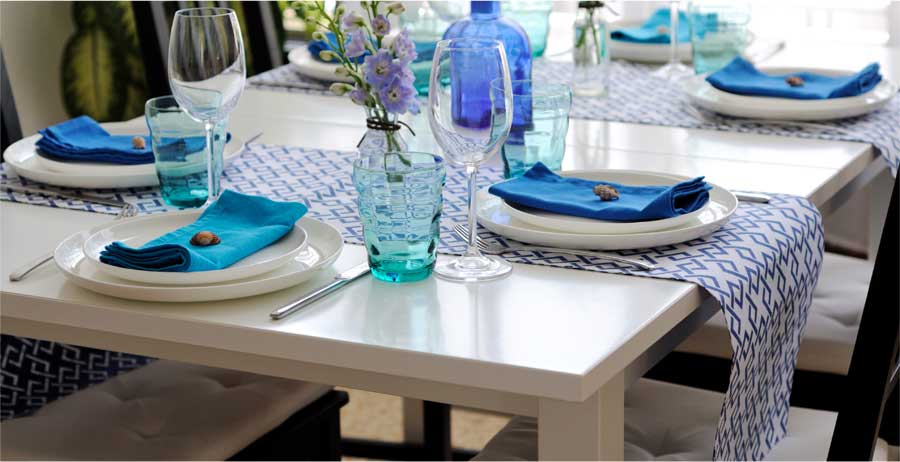
Run, Run… Table Runners

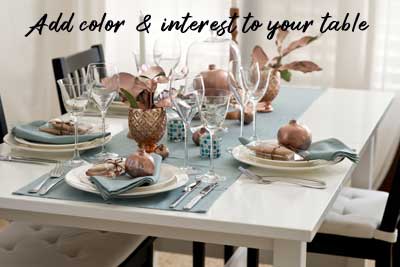
A table runner can be used to add color and interest to any part of your home décor, showcase a display of collectibles, or it can be used simply to protect the dining table surface. You get multiple functions in one! A runner can even be used over a tablecloth to double the decorating punch.

Runners can be as simple as a length of fabric with both edges fringed—a perfect project for kids to make, or they can be more elaborate as a canvas for stenciling, stitching, piecing and quilting.

Don’t limit the use of a runner to an eating table—they can also be used on dressers, coffee tables, buffets, breakfast bars, atop shelving units and other flat surfaces.

Fabric

  • Fabric for runners runs the gamut from burlap for a casual look to velvet, brocade, organza or sequins for a more elaborate occasion. Runners can be single layer, or combined with batting and backing to offer more protection to the table surface. If the runner goes on a patio table, consider a laminate, oilcloth or other outdoor fabric.

Edge Finishes

  • Edge finishes can be simple fringe, applied trim, binding, lace, piping or narrow hems. Or, for a reversible look, make each side different with encased edges. It’s easy to combine Thanksgiving and Christmas in one double-sided runner.

Runner Ends

  • Runner ends can be pointed, round or square. Because runners can be shorter than the table length, the same length or longer with a generous drop, there are creative opportunities for end finishes. Tassels, beads or decorative fringes are often added for weight if the runner extends beyond the table length.

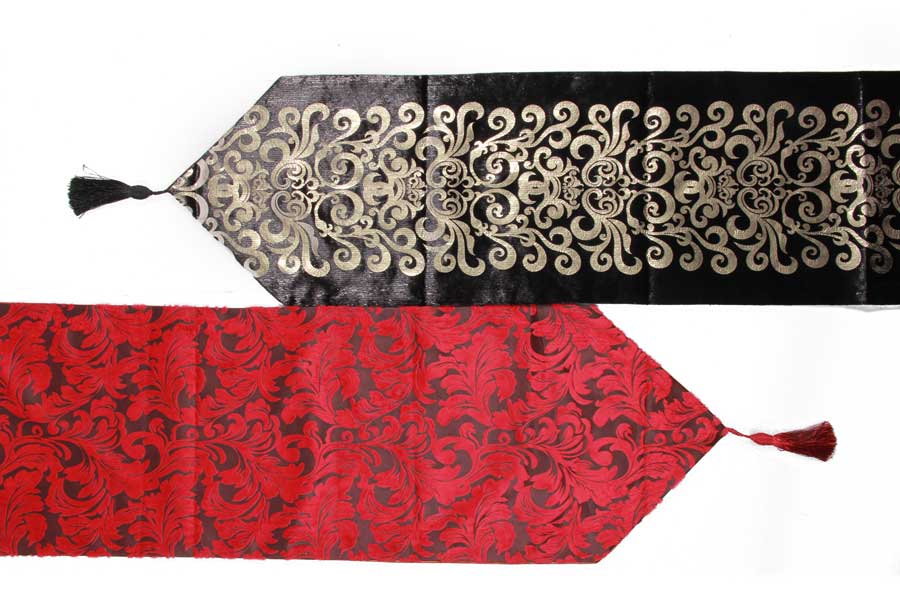
Table runners can be used to dress any table shape, from rectangular to circular. On rectangular tables, they can be placed lengthwise down the center, at one end or crosswise. Multiple crosswise runners can double as placemats. Runners can also be combined both lengthwise and crosswise on a table, visually connecting diners.

Use coordinating fabric to make napkins to accent your runner.

Size Wise

So how wide should a runner be? While there are no absolutes and it’s purely a matter of preference, the general rule is that a runner should be about 1/3 the width of table if it will be displayed lengthwise. This allows for place settings on both sides without having plates teetering half on and half off the runner. So, for a 48” table, the width should be about 13”-16”.

And how long? Again, a matter of preference. If the runner is longer than the table, there should be a 6” fabric overhang on each end. If it’s going over a tablecloth, the runner should not hang below the tablecloth edge. It should also not hit the seat of any guests. On a buffet table accent, the runner could go all the way to the floor as it won’t interfere with diners.

When figuring length, it’s important to consider any leaves that might be added to the table, as you might need longer runners if you’re adding leaves to increase the table length.

Another consideration for length is family pets (and small kiddos) who might be intrigued with dangling tassels, beads, etc. and opt for pulling the runner off the table surface sending any breakables crashing to the floor.

Runners roll up for easy storage, so plan to make several for different occasions.


~Linda Griepentrog
Linda is the owner of G Wiz Creative Services and she does writing, editing and designing for companies in the sewing, crafting and quilting industries. In addition, she escorts fabric shopping tours to Hong Kong. She lives at the Oregon Coast with her husband Keith, and two dogs, Yohnuh and Abby. Contact her at .

Did you enjoy this article?
Are you an ASG member?
This field is for validation purposes and should be left unchanged.

Tagged With: home decor, sewing, table runner

November 6, 2020

Shower Power: Sew a Fabric Shower Curtain

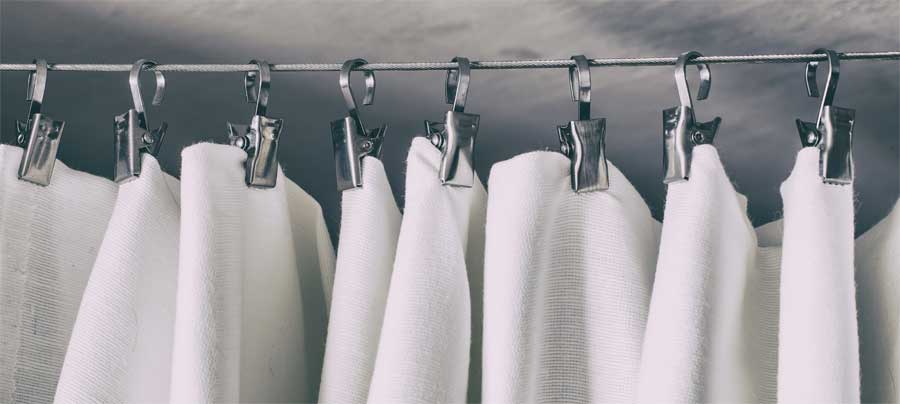
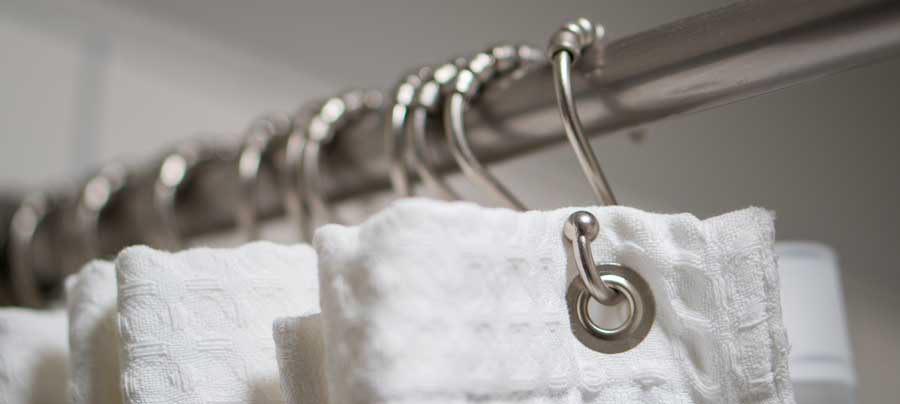
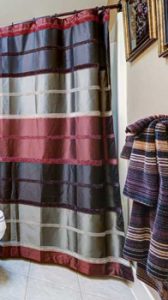
Nothing’s more fun than sprucing up your home and as sewers, a little refresh is easy to do. So, why not start in the bathroom with a fun fabric shower curtain!

  • Choose a bold print, fabulous stripe or even a luscious solid cotton or polyester fabric.
  • Decorator weights work well and often come with coordinates for window treatments.
  • A standard size shower curtain will take 5 yards of either 45” or 54” fabric; if you opt for a wider fabric (like 108” or 110”) then you’ll need only 2 ½ yards.
  • Remember that you may need extra fabric if you have a print that requires matching.

A standard shower curtain is 72” square, so be sure to measure your tub/shower before you buy fabric and adjust as needed.

Preparation

From 45” or 54” wide fabric, cut two panels 88” long, trim the selvages and seam the lengths together. Press the seam open. Trim the seamed piece to 80” wide. Use the extra fabric to trim towels or make a fabric basket for the bathroom.

Making the Curtain

Press a double 2” hem on each side of the curtain and stitch in place close to inner fold.

Press up a double 4” hem along the bottom of the curtain and stitch in place close to the upper fold. To make the shower curtain hang smoothly, include a plastic covered weight in each corner of the hem, or if your tub is metal, a plastic covered magnet for a sure hold.

To make the top hem, fuse a 4” strip of medium-weight interfacing to the wrong side of the upper edge, abutting the seams as needed for the entire width. This provides support for the buttonholes or grommet openings. Press a double 4” hem at the top and stitch close to the lower fold.

Top Treatment

Shower curtains can have one of many options at the top, but a 72” curtain should have 12 openings for attachments of some sort, either metal or plastic hooks or rings. The openings can be stitched buttonholes, or metal or plastic grommets—either large or small–so choose your desired feature. You can even choose spring clips and avoid creating holes altogether.

If you opt for buttonholes, you can hang the vinyl liner on the same rod using the hook/loop set. If you opt for large grommets, then you’ll need a separate rod for the vinyl liner.

For buttonholes, evenly mark 12 hole placements 1” from the finished upper edge. Stitch a 1” long buttonhole at each mark. For quick and easy marking, lay your vinyl shower curtain liner on the wrong side of the fabric curtain and mark through the liner openings so they’ll align. Carefully cut open the buttonholes after stitching.

If you’re using either small or large grommets, follow the manufacturer’s instructions for insertion.

Decorating idea

As easy as it is to make a shower curtain, stitch some for different seasons and holidays to change up your décor. Or if company is coming, try a different theme they can relate to. Personally, we have friends who love everything Disney, and a Mickey print shower curtain brings a smile to their faces when they visit.


~Linda Griepentrog
Linda is the owner of G Wiz Creative Services and she does writing, editing and designing for companies in the sewing, crafting and quilting industries. In addition, she escorts fabric shopping tours to Hong Kong. She lives at the Oregon Coast with her husband Keith, and two dogs, Yohnuh and Abby. Contact her at .

Did you enjoy this article?
Are you an ASG member?
This field is for validation purposes and should be left unchanged.

Tagged With: home decor, sewing, shower curtain

Become a Member

Join the only national organization dedicated to Advancing Sewing as an Art and Life Skill.

Join Now button

Blog Article Categories

  • ASG Conference
  • Chapter Stories
  • Embroidery
  • Fitting
  • Learn to Sew
  • National Sewing Month
  • Products, Books, & Patterns
  • Projects
  • Quilting
  • Sewing
  • Sewing Techniques
  • Sewing Tips
  • Sewing Tours
  • Videos
  • Disclaimer
  • Privacy Policy

American Sewing Guild
National Headquarters
9660 Hillcroft, Suite 230
Houston TX 77096
713-729-3000 | 713-721-9230 Fax
www.ASG.org

ASG wordcloud - education, conference, discounts, videos, special offers, tours and more

Copyright © 1998–2025 · American Sewing Guild · All Rights Reserved