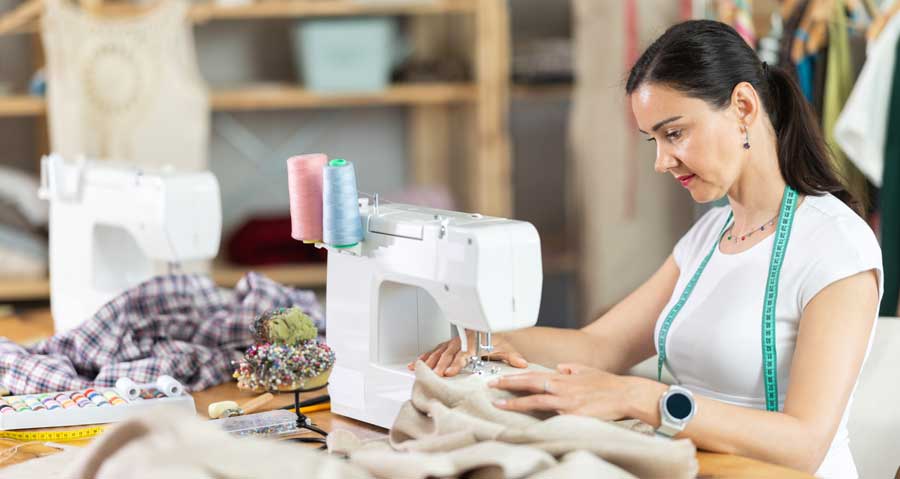
A perfectly placed straight pin will hold fabrics together, keeps seams aligned, and help you transform flat pieces into finished projects. But those tiny metal helpers have a way of disappearing at the worst possible moment—slipping into cushions, rolling onto the floor, or hiding beneath layers of fabric. Keeping your pins close at hand and stored safely isn’t just a matter of convenience; it can save time, protect your work, and prevent painful surprises for you, your family, and even your pets. With a few smart storage solutions and good sewing habits, you’ll always know exactly where your pins are when you need them.
Ripe for the Picking
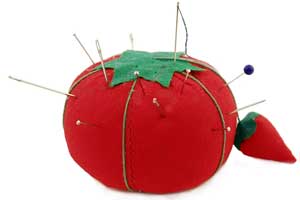
Perhaps you have a classic tomato pincushion, the lore of which goes back to the Middle Ages when tomatoes were considered to ward off evil spirits and placed on the home’s mantel. When real tomatoes were out of season, a sawdust filled one took its place, making a handy spot to store needles and pins of the resident stitchers.
Tomato pincushions are divided into sections by heavy thread, making them ideal for separating different types of pins and needles. Most have a small, attached strawberry filled with emery to help keep pin-points sharp. Today, the classic red has given way to some fashion colors as well and fabrication in velvet, felt and cotton.
Magnetic appeal
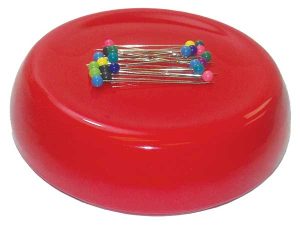
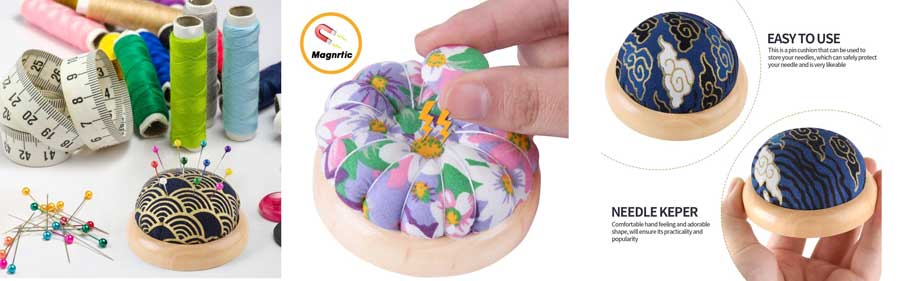
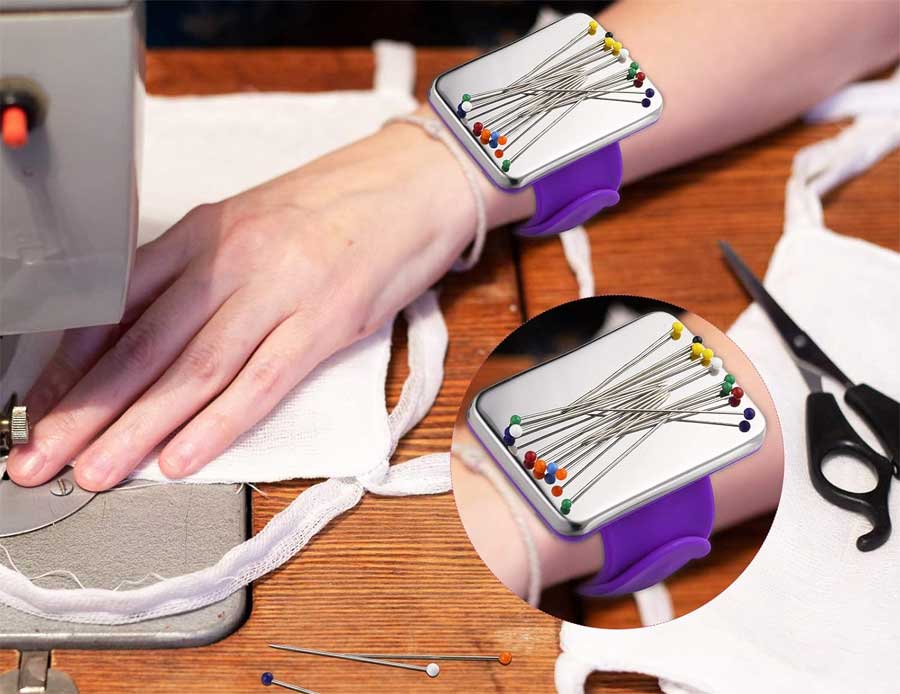
If you prefer magnetic attraction, look for all kinds of shapes and styles with grab. Magnetic pin holders exist for wrists, table tops and even to adhere to your sewing machine. But, be sure to read your owner’s manual before adhering any magnetic device to your machine, as some brands don’t recommend it. Magnetic pin holders also come in wand and bowl shapes and some even keep the pins aligned for easier retrieval.
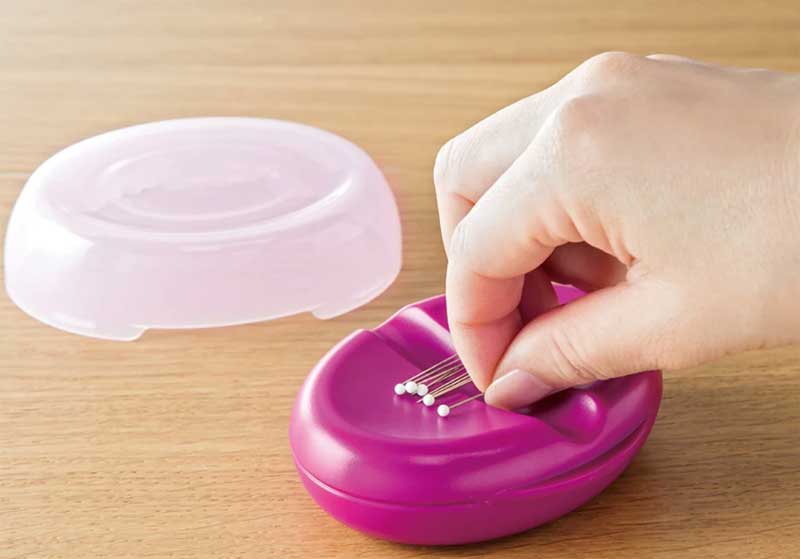
Keeping a lid on it
If you like to take your pin stash to classes or move it from place to place, look for a small container with a snap-on lid for safekeeping. Often you’ll find something suitable in the kitchen section of a dollar store. If you have multiple types of pins, like silk, appliqué, etc., label separate containers to avoid a mix-up.
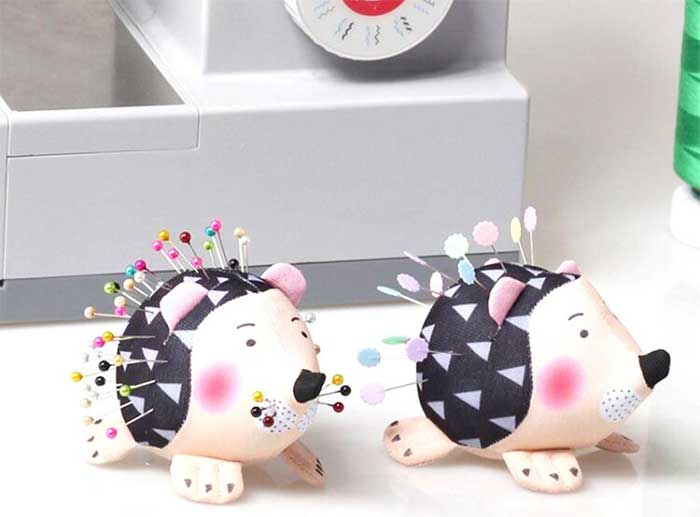
Stuffed options
You can find all kinds of fabric pincushions, either singly or incorporated into other sewing tools, like chatelains or rings. Look for ornate pincushions nestled in Victorian teacups, ice cream sundae dishes or small wooden bowls.
- Let’s not forget the over-the-arm sewing organizers that drape conveniently over your sofa arm and usually offer multiple pockets for storing other sewing tools besides pins and needles.
- Timeless felted pincushions are also handy and they’re actually good for the pin and needle points as the lanolin in the wool felt help protect the tips. Look for dome shapes and slab shapes of felt pin holders.
- Stuffed fabric pincushions offer up multiple stuffings—from emery (the most costly) to sawdust, sand, rice and walnut shells. Avoid those filled with plastic pellets as they can damage pin points. Compressed steel wool can also be used as a filler and it’s great for sharpening pins and needles.
So, if you’re making your own pincushions, do a bit of research on fillers first and if you’re using something like sawdust or sand for stuffing, be sure they’re sterile to avoid any pesty issues.
Who knew there were so many options for the simple task of storing your pins?
~Linda Griepentrog is the owner of G Wiz Creative Services and she does writing, editing and designing for companies in the sewing, crafting and quilting industries. In addition, she escorts fabric shopping tours to Hong Kong. She lives at the Oregon Coast with her husband Keith, and three dogs, Yohnuh, Abby, and Lizzie. Contact her at gwizdesigns@aol.com.