For most ASG members, charitable sewing is nothing new. Long before “giving back” became a popular phrase, sewists were quietly using their skills to help neighbors, support communities, and provide comfort to those in need. Across decades of service, ASG members have sewn quilts, clothing, blankets, tote bags, walker caddies, adaptive garments, and countless other items that have touched lives in ways both large and small.
While the finished projects are often the focus, the true story of charitable sewing is about something much deeper. It is about connection. It is about purpose. And it is about the unique ability of sewing to transform fabric and thread into an expression of care.
Charitable sewing gives purpose to my creativity and reminds me that even small acts can make a difference.”
The Gift of Time and Talent
In today’s fast-paced world, time may be our most valuable resource. Every charitable project represents hours spent selecting fabrics, cutting pieces, pressing seams, troubleshooting challenges, and adding thoughtful finishing touches. Those hours are a gift.
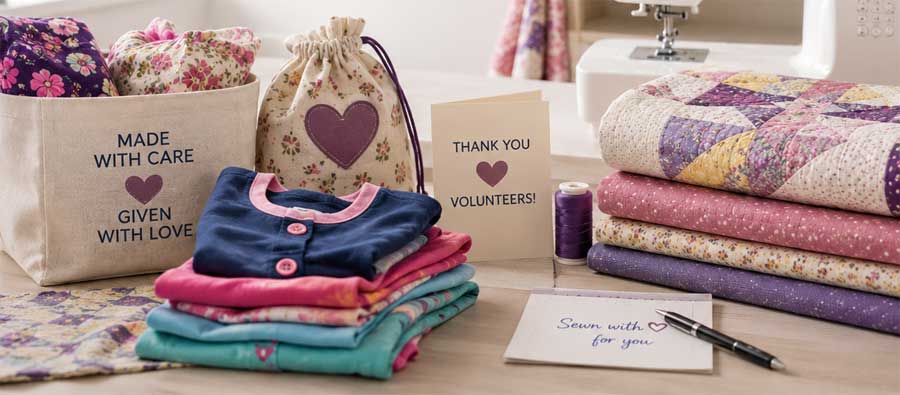
Unlike a purchased item, a handmade donation carries something personal from its maker. Whether it is a quilt for a child entering foster care, a pillowcase for a hospitalized patient, or a memory bear created from a loved one’s clothing, each project reflects the care and attention of the person who made it.
ASG members understand this better than most. Experienced sewists know that every stitch requires intention. When those stitches are made for someone else, the project becomes more than an object—it becomes an act of kindness.
I may never meet the person who receives my quilt, but I hope they feel the love stitched into every seam.”
A Tradition That Continues to Inspire
One of the most remarkable aspects of charitable sewing is its ability to bring generations together. Many sewists learned not only sewing skills from parents, grandparents, and mentors, but also the belief that those skills should be used to help others.
Today, ASG members continue that tradition. Chapter service projects introduce newer sewists to the satisfaction of creating for a cause. Longtime members share techniques, encourage beginners, and demonstrate that sewing can be both a creative outlet and a powerful form of community service. In this way, charitable sewing becomes part of a larger legacy. The knowledge is passed along, but so are the values of generosity, compassion, and service.
The Benefits Flow Both Ways
It is easy to focus on the recipients of charitable sewing projects, but the benefits extend to the makers as well. Many describe a deep sense of fulfillment when working on projects intended for others. There is satisfaction in knowing that a skill developed over years of practice can bring comfort to someone facing a difficult circumstance.
Some projects provide a tangible connection to a recipient. A cancer patient receives a quilt. A child receives a handmade backpack. A veteran receives a patriotic lap blanket. Even when the recipient remains anonymous, sewists often feel a meaningful connection to the person who will ultimately use the item. That sense of purpose can be especially rewarding. Studies have shown that volunteering and helping others can contribute to increased happiness, reduced stress, and a greater sense of well-being. Sewers often experience these benefits firsthand. Time spent creating for others combines the calming, meditative qualities of sewing with the emotional rewards of generosity. The result is a unique form of fulfillment that extends beyond the sewing room.
Building Friendships Along the Way
For many ASG members, charitable sewing has also strengthened friendships and built lasting connections. Service projects often bring members together around a common goal. Fabric is shared. Techniques are exchanged. Stories are told. Laughter fills the room while hands remain busy. These gatherings remind us that sewing has always been about more than the finished project. It is also about community.
Many lifelong friendships have begun around cutting tables, sewing machines, and chapter service events. Working together toward a meaningful purpose creates bonds that extend far beyond the project itself. In a world where genuine connection can sometimes feel increasingly rare, charitable sewing continues to provide opportunities for fellowship, encouragement, and shared accomplishment.
I’ve made lifelong friends through ASG service projects. We come together to help others, but we receive so much in return.”
Every Stitch Leaves a Mark
The true impact of charitable sewing is often impossible to measure. We may never know how a quilt comforted a frightened child, how an adaptive garment restored someone’s independence, or how a handmade gift brightened a difficult day. Yet those impacts are real.
For decades, ASG members have quietly improved lives through their generosity and skill. Their work demonstrates that sewing is more than a hobby. It is a means of serving others, strengthening communities, and creating meaningful connections. As new generations discover the joy of sewing, they also inherit this tradition of giving. The projects may change, and the needs may evolve, but the spirit remains the same.
One stitch. One project. One act of kindness at a time.
And that is a legacy worth celebrating!
~American Sewing Guild