Many of you are reading your very first issue of Notions. Others have just received their first membership renewal notice. Some of the former group may be wondering how to really plug in and benefit from their membership in ASG. Some of the latter may be questioning whether they’ve received what they expected from their membership and if they really want to renew. I’d like to address both groups.
I’m not going to tell you about the fantastic educational programs and active virtual community and special discounts, though those are very important benefits. I’m not going to appeal to your charitable nature by pointing out the incredible impact ASG members make on their local communities by sharing their talent and skills. I won’t even remind you that your dues provide a voice to the home sewing industry that has resulted in so many great partnerships and benefits to the home sewing enthusiast.

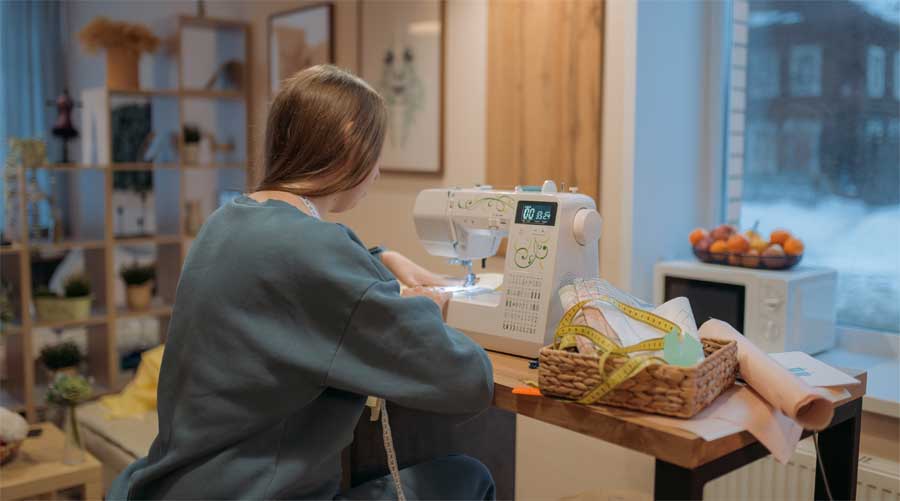
No, what I want to talk to you about is the reason most of us really join ASG and how we can be sure we get what we really want from it. Long before Madonna came on the scene, we sewers knew that “girls just want to have fun!” And sewing girls just want to have fun with sewing friends.
We want sewing friends who can offer suggestions for turning that rotary cutter slip-up into a design element, help us chose a flattering pattern, offer that yard of peach silk we desperately need, and show the appropriate appreciation for our latest creation. We want sewing friends who will love to visit fabric stores with us, drive all night through pouring rain to get to Puyallup by morning, and most especially, fall on their sword before ever telling anyone how big our thighs really are.
Ask a long-time ASG member: “What has your affiliation with ASG meant to you?” Nine times out of ten, the response you’ll hear is “I’ve made life-long friends” or “My sewing friends have become my best friends.”
What really makes me sad is when I hear people say, “I really haven’t made any friends in my group.” My response is always “What are you doing to change that?” Are you attending a neighborhood group or general meetings regularly? If so, do you arrive just after the meeting has started and bolt out the door before anyone’s out of their chair? Do you ask if anyone would like to go out to lunch afterward or grab a bite of dinner before the meetings? Do you invite others to join you for an informal fabric shop hop? Do you let others know you need a buddy to take your measurements for you? Do you offer to do the same for them? Have you tried carpooling to meetings? Your NG leader or chapter membership chair can provide you with the names and numbers of those in your area.
There’s the sure-fire way to make friends fast—have you volunteered to help out in some way?
Many chapter advisory board members are first- or second year members themselves! There are some committee positions that require very little time but offer huge rewards via the opportunity to meet people in your chapter. Volunteering is the fastest route to making friends in ASG.
If you feel your chapter isn’t really making an effort to make new members feel welcome and orient them to chapter opportunities, how about volunteering to host a “New Member Tea” or luncheon or field trip? I guarantee you, in the process of helping others, you’ll also create a wonderful network of sewing friends yourself! In fact, I’m so sure of it, I’d like to invite you to drop me a line and share your experiences in expanding your sewing friends network through ASG.
~Margo Martin, Executive Director, ASG