I’ve heard about using stay tape when sewing on knits, but I don’t really know how. Can you help?
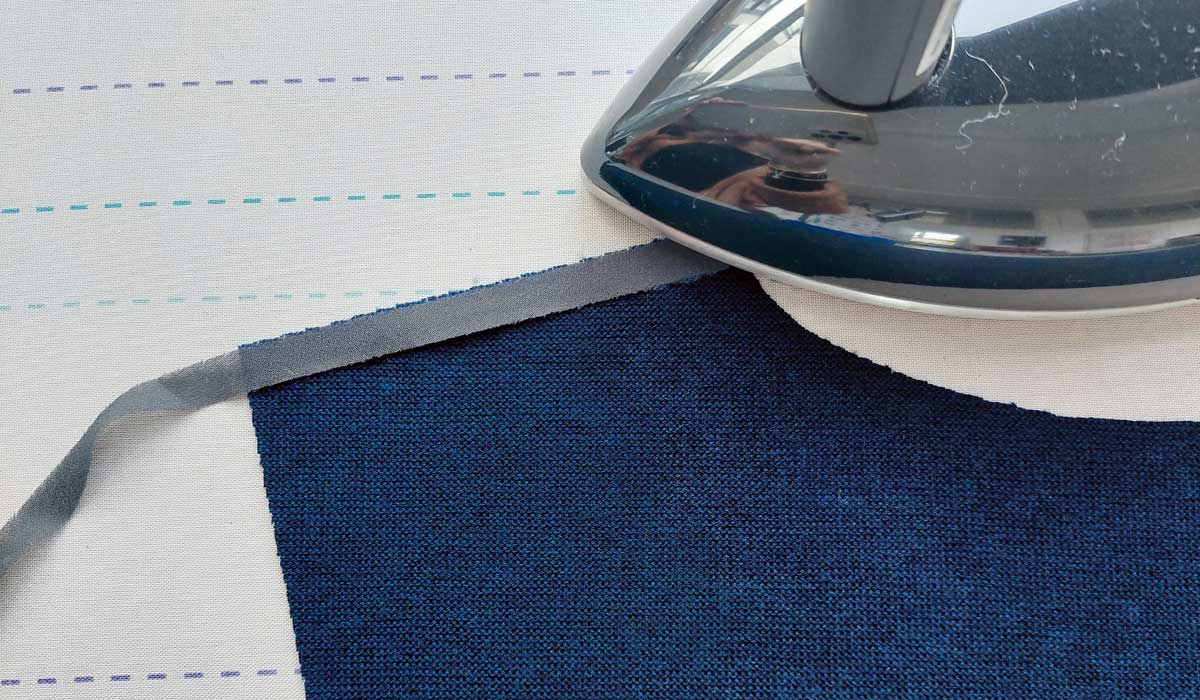
Stay tape is used to keep seamlines from stretching, especially on knit fabrics, but also on loosely woven fabrics. Without stay tape, some seams can ripple and distort during stitching, especially those on the crosswise grain of the fabric.
Stay tapes can be constructed two ways—woven or knit—and most are fusible. Woven tapes are good to use on straight seams, as they do not flex around curves, like armholes, where knit ones are a better choice. In addition to shoulder seams, stay tapes can be used on garment openings and to stabilize a zipper placket. Wrap garment bodices are also an ideal place to use stay tape so they hug the body without gaping.
Stay tapes come up to 1” wide, depending on your pattern’s seam allowance width. The wider tapes are ideal to stabilize a hemline in knit fabrics, preventing rippling when you topstitch.
Follow the manufacturer’s instructions to apply the stay tape, but be sure it is wide enough to span the seamline on the garment wrong side. On very loosely woven fabrics, measure the stay length on the original pattern piece and ease the cut fabric piece to fit that size.
I’m new to machine embroidery and wondering what “freestanding embroidery” means?
Most machine embroidery designs are made to be sewn to a fabric base to help support the stitches and keep the motifs in shape. However, some digitizers create designs that can stand alone, without a fabric base. This is done by adding additional supporting stitches to the embroidery during its creation.
Freestanding designs are sewn on an easily removable stabilizer (water- or heat-soluble), so once that is removed, all you see are threads of the stitches. These types of designs are often used for creating jewelry, mats, 3-D pieces, baskets, etc. where there is no visible background.
While you can stitch a freestanding motif on a fabric base, you cannot stitch a regular motif onto a totally removable stabilizer and expect it to maintain its integrity, so look for specially marked freestanding designs for this technique.
A friend told me that I need to have a pair of pinking shears. Why do I need them and how are they used?
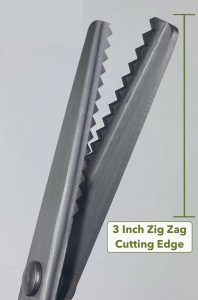
Like many helpful sewing tools, pinking shears aren’t a necessity, but they’re nice to have in your sewing toolbox. Pinking shears have blades that cut in a sawtooth pattern. Depending on the brand, the actual shape and size of the “tooth” can vary.
Pinking shears are great for trimming seam allowance edges in woven fabrics to keep them from raveling. Once the seam is sewn, trim each seam allowance edge evenly. In the same way, they can be used to finish hem edges for a flat finish.
They’re also perfect for making a decorative edge on non-wovens, like fleece, felt and some knits.
One construction use for pinking shears is to use them to reduce bulk in curved area seams, like necklines, armholes, etc. Rather than trimming and clipping the seam allowances, you can make a single pass with pinking shears and do both functions at the same time.
Why do sewing books suggest trimming the selvage off fabric before using it?
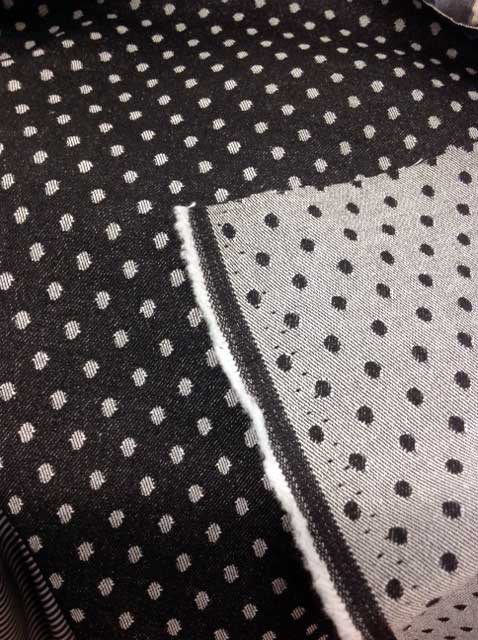
The selvage is the lengthwise edge of a woven fabric and it’s more tightly woven than the main portion of the fabric. Because there are more threads in the selvage, it can shrink differently than the other portions, causing puckering. You may have noticed that if you’ve pre-washed any cotton fabrics. So, rather than distort the fabric, it’s best to trim them off.
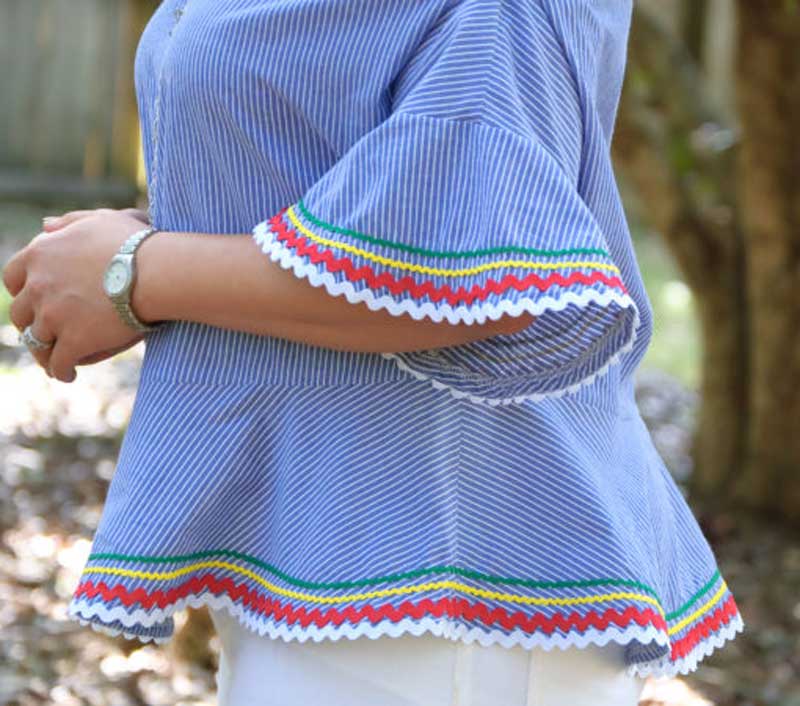
Selvages don’t ravel, so if they’re not puckered after pre-washing, they can be used as an edge finish for straight areas like garment waistbands, bindings and hems. Some quilters like to save the selvages as many have interesting printing and designs on them and can be pieced together for scrappy blocks. Trimmed selvages can also be used like straight-grain stay tape (see above).
On fabrics other than quilting cottons, selvages can be incredibly interesting in both weave and coloration, so the strips can also be used for trim (like on a pocket), a straight seam finish or coordinating binding.
See our article, Selvages: On the Edge
~Linda Griepentrog is the owner of G Wiz Creative Services and she does writing, editing and designing for companies in the sewing, crafting and quilting industries. In addition, she escorts fabric shopping tours to Hong Kong. She lives at the Oregon Coast with her husband Keith, and three dogs, Yohnuh, Abby, and Lizzie. Contact her at gwizdesigns@aol.com.