American Sewing Guild (ASG)

Visit our blog Visit the ASG Facebook page Visit ASG on Pinterest Visit ASG's YouTube channel Visit ASG on Instagram
  • Home
  • Join ASG
    • Join Online
    • Chapter Locations
    • Member Benefits
    • Member Brochure
    • Join by Mail
  • Conference & Education
  • Resources
    • Contests & Awards
    • Giving Back
    • Hall of Fame
    • Links
    • Travel and Tours
    • Measurement Chart
  • Shop
    • ASG Store
    • Chapter Products
    • Video Resources
  • Blog
  • About
    • About Us
    • Donate to ASG
    • ASG Sensitivity Statement
    • FAQ’s
    • Start a Chapter
  • Contact
  • Member Login
    • Login First!
    • Members Only
    • Leadership Only
    • Website FAQ’s
    • Logout
  •  

July 21, 2023

Bottoms Up: Bags and Totes

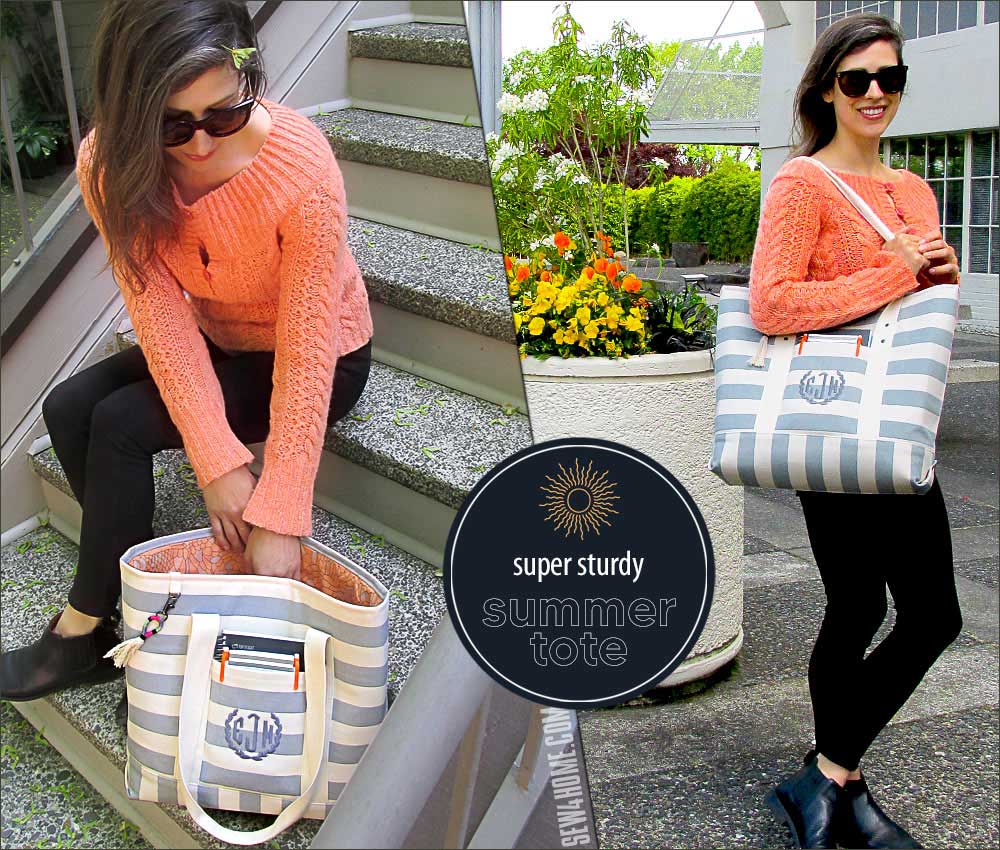
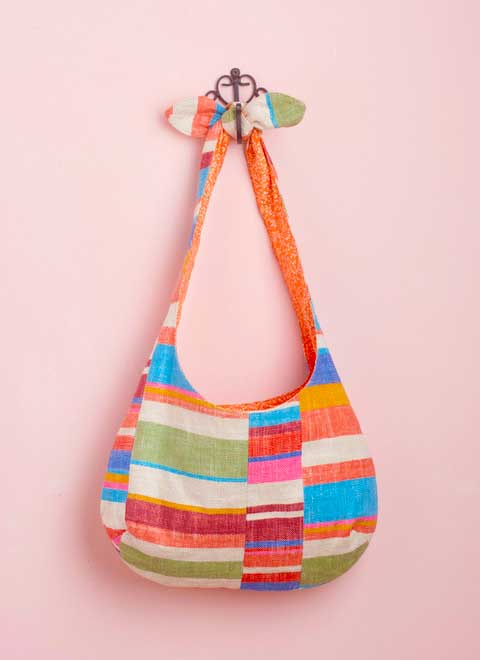
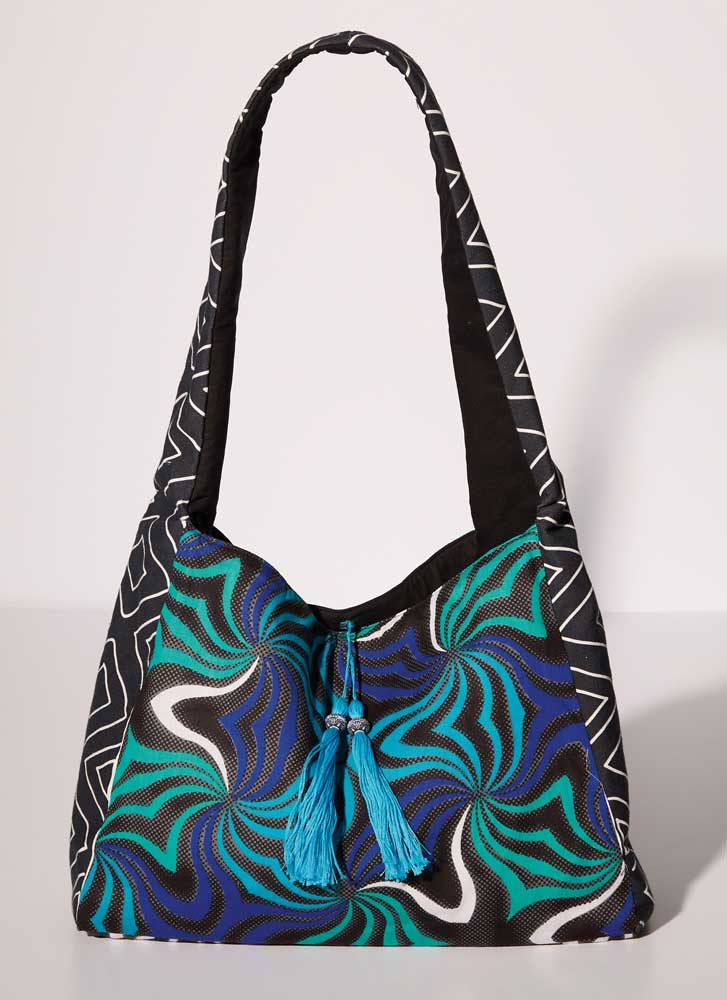
Making bags and totes is a ton of fun and making them look professionally finished is easy as pie. Bags have not only height and width, but many also have depth, giving you room to put things inside. But, to get that depth, you need to create some shaping in the lower portion of the bag.

Photo courtesy of Sew4Home.com | Project Instructions

Some bags have corners, others have separately sewn bottom sections called gussets, while still other bags are shaped with darts. But no matter which you choose, those details are what give your bag some depth. Other bags, like clutches, pouches and fold-over versions may not have any depth, so with a flat construction what you can put inside is limited.

There are several ways to make professional looking corners on bags, so let’s take a look at the process. Remember, the same shaping is done both to the outer bag and to the bag lining.

Boxed Corners

Boxed corners allow a bag to have a flat bottom so it can stand up on its own, and they can be made wide or narrow, depending on the bag shape desired.

Tote with boxed corners

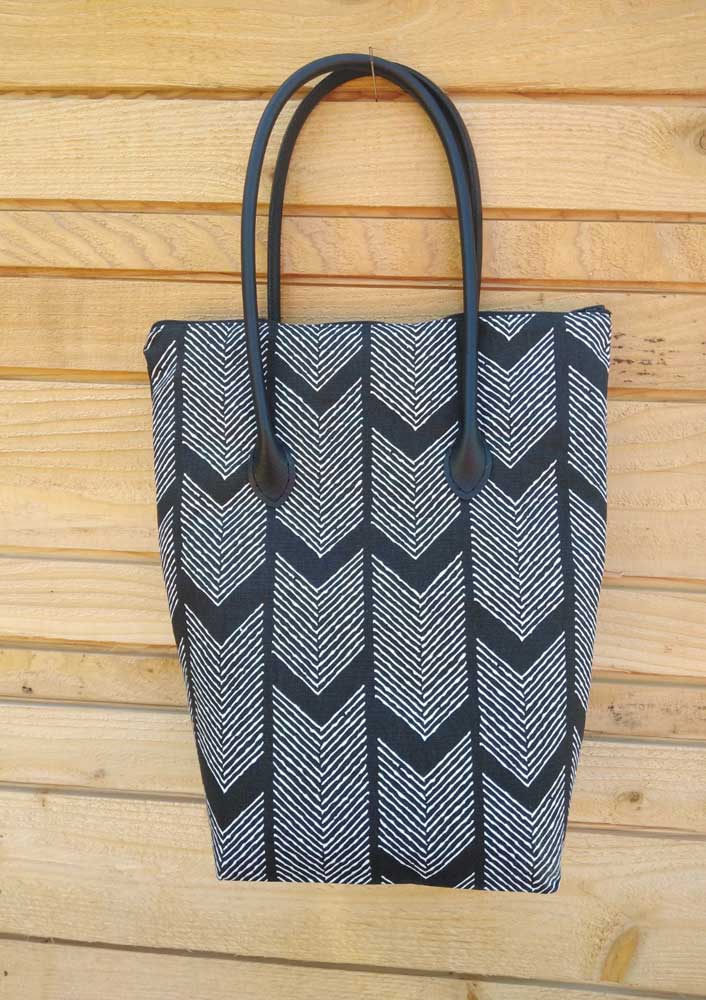
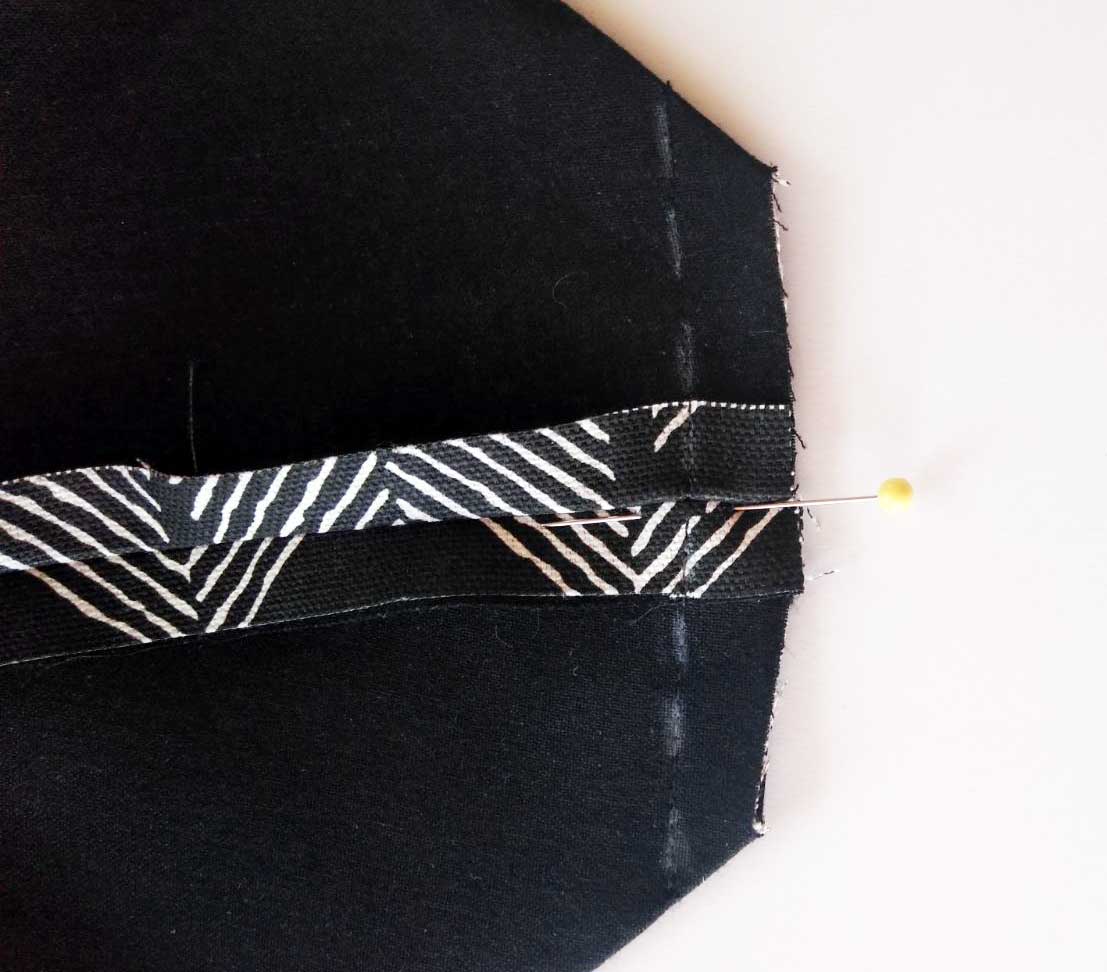
The easiest way to make boxed corners is to stitch the side and bottom seams of the bag together, then fold the side seam directly on top of the bottom seam and pin, matching the seams exactly. If the bag doesn’t have a center bottom seam, mark the center before construction.

Figure 1

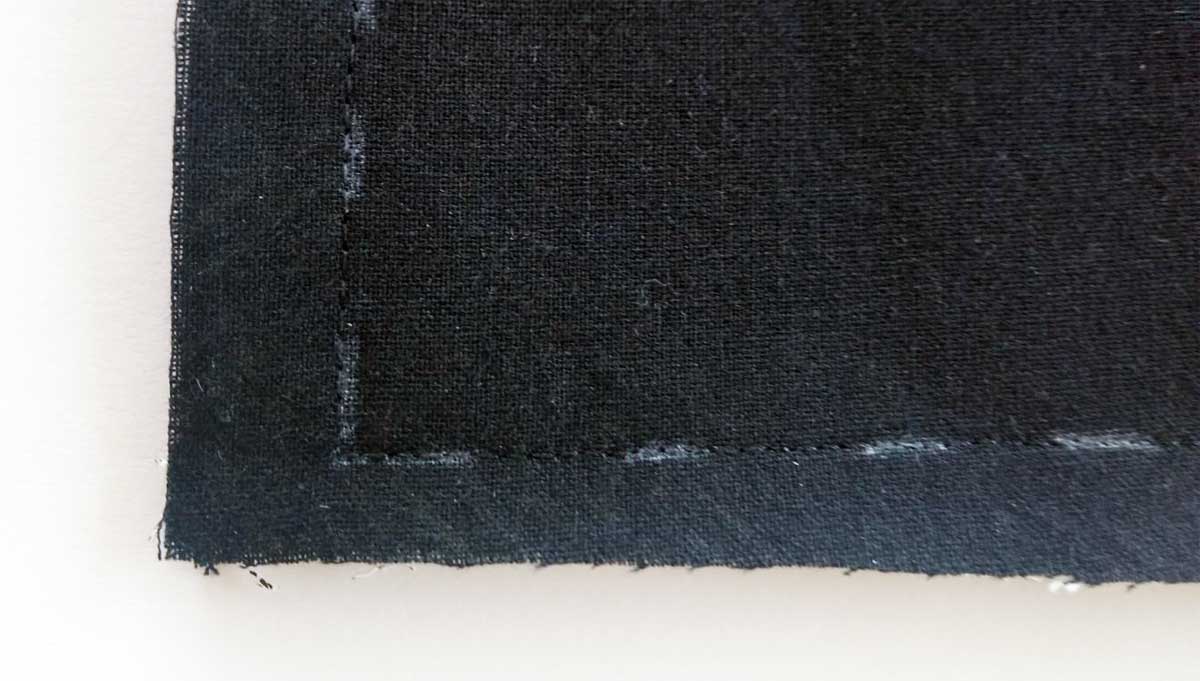
With the seams aligned, measure up the seam allowance half of the desired bag depth and mark a line. Using a right angle, mark a line across the corner exactly perpendicular to the seam and sew across it. Trim the seam allowance to ¼”.

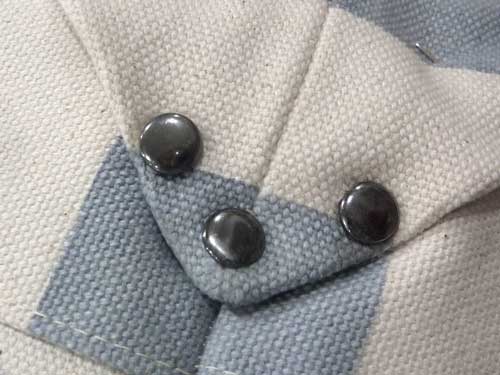
*The boxed corner structure can also be positioned on the outside of the bag and be held in place with buttons or rivets. To do this, simply sew the side and bottom seams of a bag, turn it right side out and gently poke out the corners to get a sharp point. Fold the corner into a triangle and match the point to the outer bag side seam; shape to form the boxed corner. Anchor the triangle fold in place with sewn-on buttons or follow the manufacturer’s instructions to add rivets to hold the point in place.

Riveted corners on a bag
Rivets keep this outside boxed corner in place. Photo courtesy of Sew4Home.com

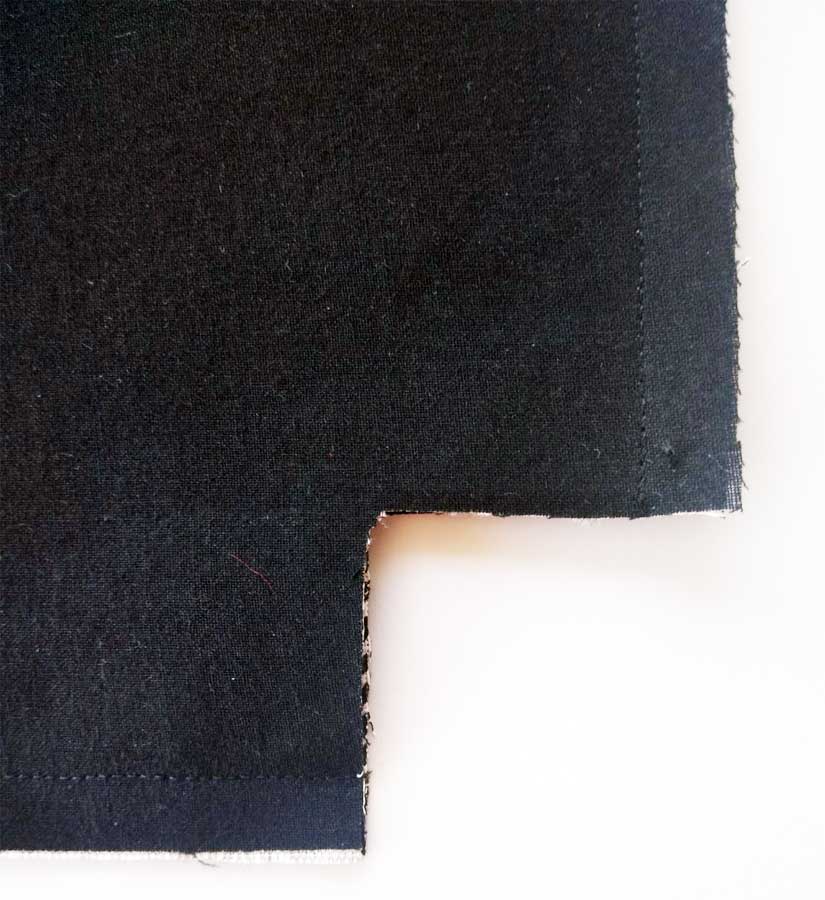
Some bag patterns come with a cut-out corner making boxing corners almost foolproof. The square cut from the bag lower corners is half the depth of the bag. Similar to the first cornering method, sew the side and bag bottom seams, then fold them directly on top of each other and sew across the cut edges.
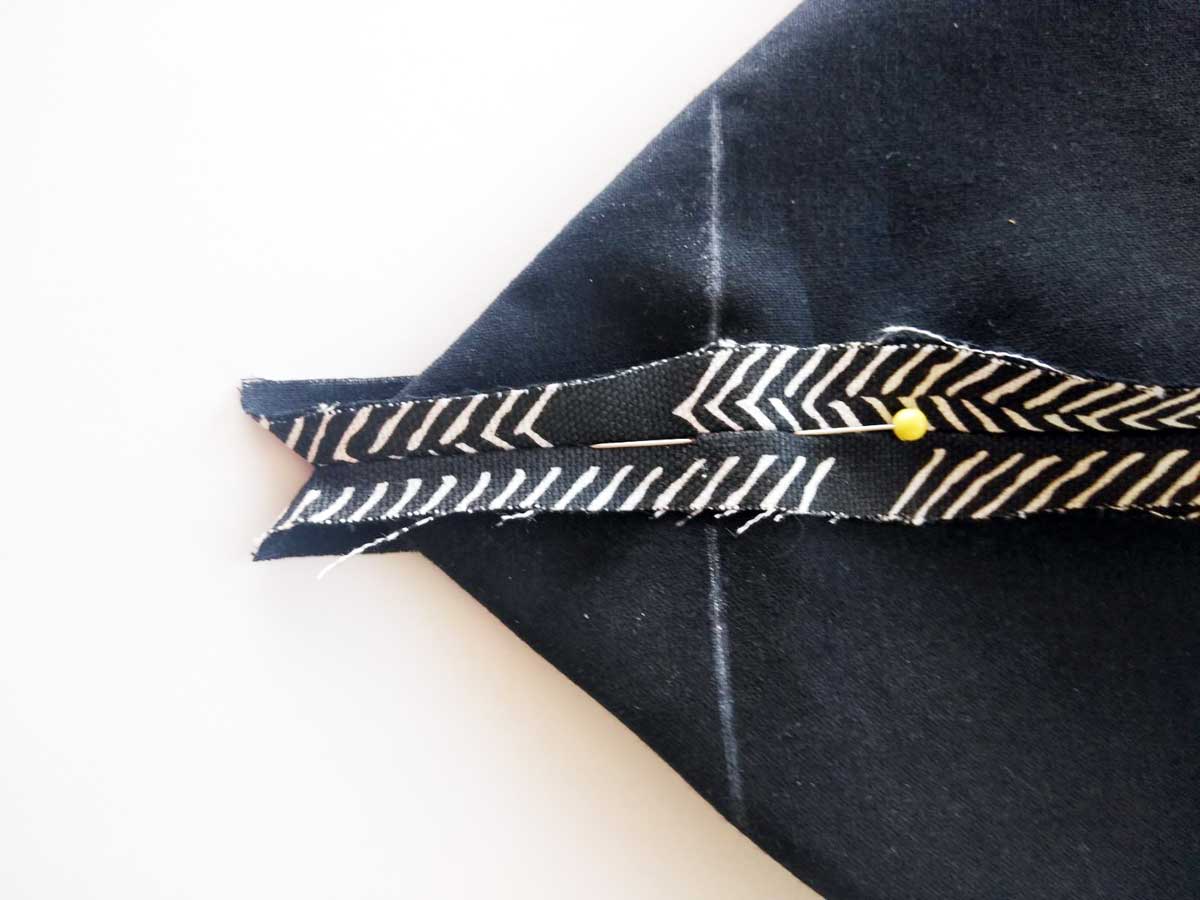
 

Darted Corners

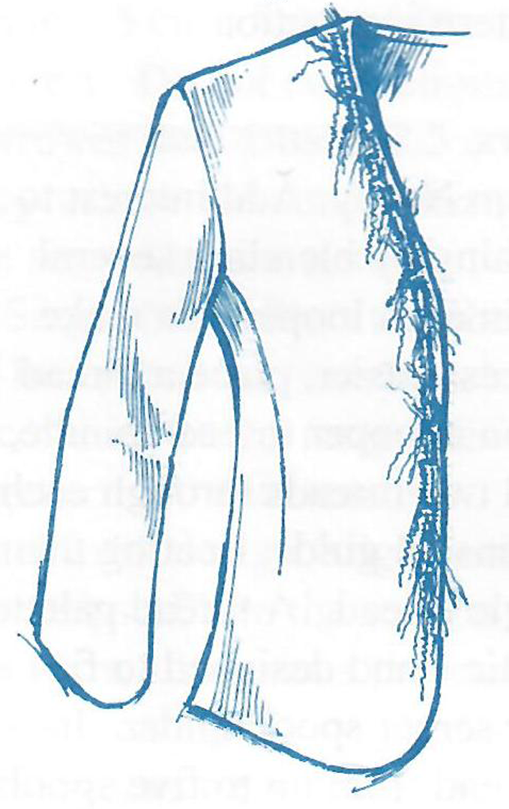
For softer, less structured bags, think about finishing the bottom of the bag with darts, instead of the sharp corners of the previous methods. The bag pattern may come with darts indicated already, or you can add them yourself by drawing a narrow triangle at the center of each bag corner, making the point at a 45° angle to the bag center. Fold the outer bag right sides together and sew the dart along the seamline, tapering to nothing at the inside point. {photo 5} Press the front and back corner darts in opposite directions to reduce the bulk of the fabric fold inside. On very bulky fabrics, trim the dart fold seam allowances to ¼” after sewing the darts and press them open to flatten. Align the dart lines when sewing the bag back to the front.
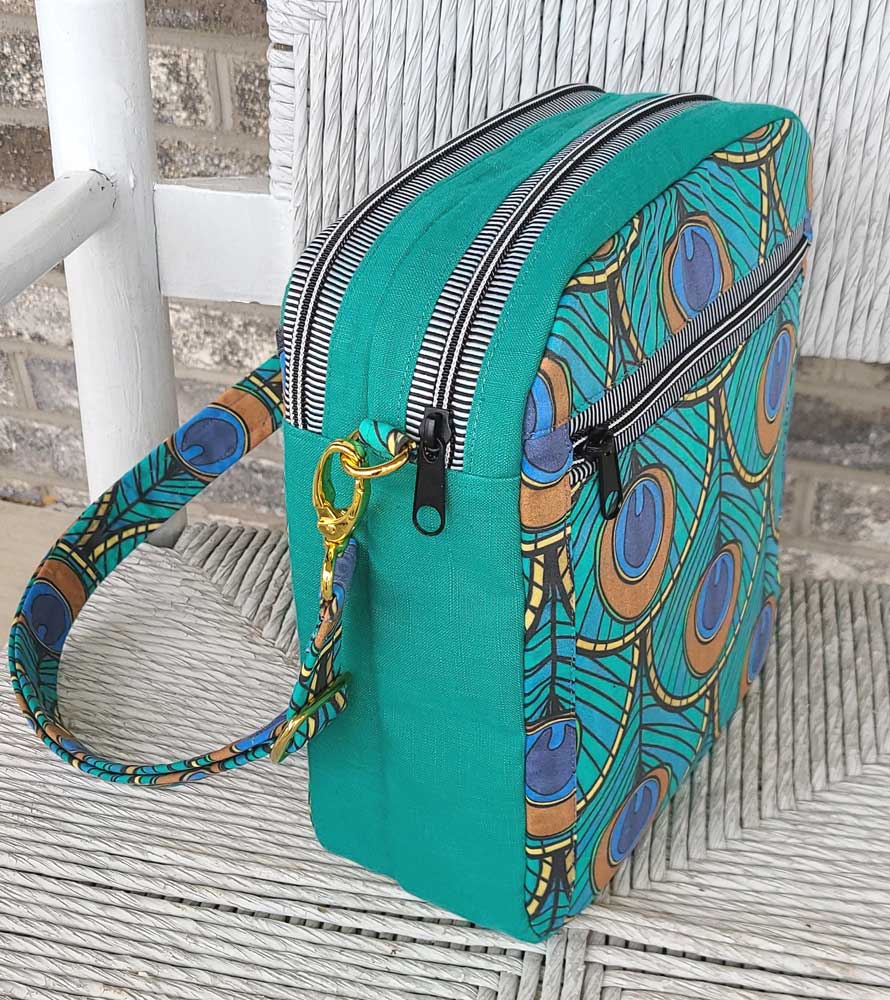
Simplicity 9563
Simplicity 9563

Gussets

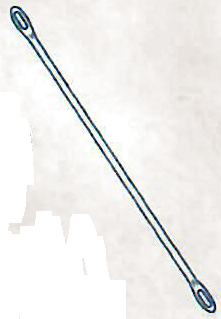
Gussets are pieces added to the bag for shaping. They can be a long strip that goes from the upper edge of the bag around the bottom to the other upper edge, or sometimes gussets extend to create handles.

McCall’s 8307
McCall’s 8307

Some gussets fit only on the bottom of a bag, creating a totally flat base, while others fit up the side of a bag, creating a deeper bag, more like a luggage tote. Still other gussets go around the entire bag, coupled with a zipper closure to create even depth all around. {label: Studio Kat Flight Bag}

Studio Kat Flight Bag

~Linda Griepentrog is the owner of G Wiz Creative Services and she does writing, editing and designing for companies in the sewing, crafting and quilting industries. In addition, she escorts fabric shopping tours to Hong Kong. She lives at the Oregon Coast with her husband Keith, and three dogs, Yohnuh, Abby, and Lizzie. Contact her at .

Did you enjoy this article?
Are you an ASG member?
This field is for validation purposes and should be left unchanged.

July 14, 2023

Stitch ‘N Weave

Stitch ‘n weave embellishment techniques refer to a variety of decorative techniques that involve combining stitching and weaving methods to create unique textures, intricate patterns, or unusual designs on fabric.  Decorative yarns, threads, cords or ribbons are woven through pre-sewn machine stitching, twisting, turning, looping or knotting if desired. 

Figure 1
Figure 1

Stitch ‘n weave could include couching, laid work, raised embroidery, Brazilian embroidery, and lastly, thread weaving, which is the focus of this article. The process typically involves stitching or embroidering onto a base fabric and then weaving additional threads or fibers through the stitches to create added dimension and texture, resulting in visually stunning designs. This combination of stitching and weaving allows for the creation of intricate patterns, raised surfaces, and interesting visual effects and are often used in textile arts, embroidery, and surface embellishment.

The machine’s stitched patterns can be abstract, specific design shapes, or used for borders (Figure 1). It can be done using various weaving techniques, such as over-under weaving or wrapping threads around existing stitches. Unlike couching, the yarns can be exchanged for new colors and textures next season by gently pulling out the original yarns and weaving in new ones. These patterns of multiple-stitched rows can also be a tone-on-tone design element without the weaving. Add the thread weaving at a later time and your friends and colleagues will think you have a new garment!


Use this embellishing technique on both ready-to-wear and made-to-wear garments.

Stitching Choices

Suitable machine stitches for this technique have a wide stitch width (3mm or wider) without an intermediate stitch, as they swing across the stitch width. To showcase the weaving, stitch with machine embroidery thread that matches or blends with the fabric background. To add a bit of sparkle, use metallic thread. Heavy stitches like the rickrack or triple zigzag, blanket, ladder and satin block stitches will be more visible than those with less stitch repetition. Light stitches include the standard zigzag, universal or elastic casing stitch, blind hem, and some overlock or overedge stitches (Figure 2).

Figure 2
Figure 2

Weaving Materials

Use any decorative yarns, threads, cords or ribbons that can be woven under the machine’s crosswise stitches. If they can be threaded through a double-eye needle, they probably can be used to weave. There are several companies that package 5-10 yard assortments of yarns in a particular color grouping — these cards have plenty of yarn for an average project. If the yarns are slim, twist and weave two together. Add ribbon or other cords to the blend for texture or to give a color punch.

Weaving Notions

Double eye needle
Figure 3

Use a double-eye needle for the weaving process (Figure 3). The flat, blunt end makes the needle easy to feed under the stitches, especially those with repeating stitch patterns. Any yarns, ribbons or cords that can be threaded through a double-eye needle can be used for stitch ‘n weave.

Other notions include:

  • Water or air soluble marking pen to mark the basic design stitching lines on the fabric
  • Sealant to keep the cut ends of the thread or yarn from fraying
  • Tear-away stabilizer to place under the design area when stitching

Stitch ‘N Weave Basics

Always check your stitch and yarn combination for compatibility before starting the actual project. And make sure to test drive using your weaving materials with various stitches on your project fabric.

Stitching

Draw the design lines on the fabric right side with the marking pen. Then place tear-away stabilizer underneath the design area.

Stitch with machine embroidery thread in the needle and all-purpose or bobbin thread in the bobbin. If the project’s underside will not be concealed by a facing, use matching thread in the bobbin for a neater look.

After stitching, secure the thread ends. The tear-away stabilizer can be removed before or after the weaving is completed.

Weaving:

Thread one end of the double-eye needle with yarn and weave the unthreaded end over-and-under the long stitches. Use one or more yarns — whatever will feed under the threads.

Work with strands approximately 18″ in length or shorter and keep one end of the single strand close to the threaded needle eye. Or, for a border, stripe, or as a trim on a garment edge, use short pieces of yarn with the same length tails and weave them between two stitched rows, cutting the yarns to remove the needle (Figure 4).

Weaving
Figure 4

To secure the strands when beginning to weave, loop the ends over one or more of the machine stitches, similar to a backstitch (Figure 5). Weave short spans, pulling the strand(s) through looping or knotting as desired.

Figure 5
Figure 5

Backstitch near the end of the weaving to secure the finishing end. The finishing ends of the yarns can be woven into the design and hidden, or they can be left free for a fringe effect.

Use a seam sealant to prevent the ends from fraying or to keep chenille-like yarns from losing their fluff.


~This is an edited and updated article containing some content originally written by Sallie J Russell and inspired by her book, Dynamic Dimensional Designs (printed with permission). 

Did you enjoy this article?
Are you an ASG member?
This field is for validation purposes and should be left unchanged.

July 7, 2023

Sewing Q&A: Cutting Mats, Chain Sewing, & Elastic Thread

Rotary Cutting Mat

Q: What’s the easiest way to clean my rotary cutting mat?

A: Cutting mats harbor lint as you cut various fabrics and some fabrics are worse than others for their shedding capabilities. If you’re cutting something linty, like fleece or fur, be sure to use a soft brush and clean the mat immediately after use. An art eraser, soft dish scrubber or an adhesive lint remover can also be used to get fibers out of the cutting line grooves. But don’t stop there…

Cleaning a cutting mat

To give your mat a thorough “spa” cleaning, fill your bathtub with enough room temperature water to cover the bottom of the tub, and add ¼ cup of white vinegar. Let the mat soak for 15-20 minutes, then add a bit of dish soap to the mix. Use a small, soft brush to scrub the mat and lather it up. Rinse the mat in cool water and dry with a towel or lay it flat to air dry.

Tempting as it might be, don’t use hot water for this cleanse, and don’t let your mat dry in direct sun, as both will cause the mat to warp. Once a cutting mat is warped, it cannot be made flat again.

Taking good care of your cutting mat will prolong its life and that of your rotary cutter blade as well.

Chain Sewing

Q: I’ve heard the term chain sewing a lot from my quilting friends—what does it mean and can I do it with garment sewing too?

A: Chain sewing means that once you’ve sewn a seam, you simply feed in the next thing to be sewn, without clipping the threads between pieces. For example, if you’re sewing together multiple quilt blocks, sew all the like pieces together continuously. Chain stitching is a real timesaver, and it also saves thread, as you’re not stopping after each piece to clip threads and pulling out new thread ends before you start the next piece.

When you’re done sewing together a quantity of pieces, clip them apart.

Chainstitch examples

Chain stitching can absolutely be done with garment sewing or other projects as well. In fact, it’s kind of a game to see how far you can go without stopping to clip threads. When sewing a garment, fuse any interfacings to all pieces prior to sewing, then, depending on the style, you may be able to continuously sew the armhole facing shoulder and/or underarm seams, followed by the garment shoulder seams and side and/or center seams, neckline facing seams and skirt side seams, all before stopping. If your garment has sleeves, feed in the underarm seams as well.

Rule of thumb for chain sewing is never cross another seam without pressing it first.

Chain sewing is really quite satisfying to see a mound of pieces quickly piling up behind your presser foot. If you’re making multiples of the same item (cheerleader outfits, band uniforms, etc.), factory style chain sewing is much quicker than sewing each project from start to finish before starting the next.

Elastic Thread

Q: I used elastic thread in my bobbin to shirr a top, but it didn’t pull up as much as I thought it would and my top is too big. Did I do something wrong, and is there any way to fix it?

Smocked top using eleastic threadA: Elastic thread differs from brand to brand with its elasticity and recovery, so it’s really important to do test stitching on the actual project fabric before beginning your garment. Top tension may need to be adjusted, and/or the stitch length to get the shirring effect you want.

Since your stitching is already done, there are a couple of possible solutions: First, steam the shirred area from the wrong and/or right side. Most elastic threads will shrink a goodly amount from the steam. Don’t actually press on the elastic or the fabric, just hover the iron and steam. If that doesn’t draw it up sufficiently, find the end of each stitching line and pull up the elastic. When it’s the right size, knot the thread end or stitch over it several times within the seamline. Repeat for each row separately. If you didn’t stop stitching at the end of the rows, but instead turned to stitch the next row, use a large pin to pull up the elastic thread as if it were separate rows for the same effect.


~Linda Griepentrog is the owner of G Wiz Creative Services and she does writing, editing and designing for companies in the sewing, crafting and quilting industries. In addition, she escorts fabric shopping tours to Hong Kong. She lives at the Oregon Coast with her husband Keith, and three dogs, Yohnuh, Abby, and Lizzie. Contact her at .

Did you enjoy this article?
Are you an ASG member?
This field is for validation purposes and should be left unchanged.

Tagged With: sewing tips

June 30, 2023

Custom Decorative Pillows (preview)

When it comes to pillows, if you follow the “rules,” bed pillow sizes are as follows:

  • Standard bed pillow: 20″ x 26″
  • Queen bed pillow: 20″ x 30″
  • King bed pillow: 20″ x 36″
  • Euro square: 26″ x 26″

However, rules are made to be broken!

Bed with decorative pillows

Custom Size Pillows

It can sometimes be a challenge when you need to fill the headboard of a king — or even queen — size bed.

    • One solution is to create a “custom king” measuring 26″ high x 36″ wide
    • You can also expand the concept to include “custom queen” that are 26″ high x 30″ wide


The full article is in the Members area of the website. CLICK HERE to read the full article. Not a member? Join online!


June 23, 2023

Sew Unusual: Make Your Own Shoes or DIY an Umbrella

Chances are good that if you’ve sewn for years, there have been a few unconventional projects emerge from your sewing room—things that onlookers (and even fellow sewers) are amazed that you tackled. Maybe it was a behemoth sized project like a tent or sail, or perhaps an uncommon material for the sewing world like metal or plastic. But, as sewing enthusiasts, we always seem up for a challenge and there’s almost nothing we won’t try.

Sole Mates

A Happy Stitch Espadrille Kits

Making your own shoes may seem a bit farfetched, but hey, why not? Perhaps you’d like to make some custom quilted sneakers, leather high-tops, summery espadrilles or sandals. There are kits and components available for all of those. It takes some ingenuity and hand sewing, but you’ve got a one-of-a-kind pair sure to be admired by all your sewing friends. Soles, both rope for espadrilles, and rubberized for sneakers, are available separately, or they can be a kit component depending on how you want to purchase them.

By Fiona Johnstone, Instagram

Perhaps you can try out some new sewing skills that you don’t use regularly, especially on the sneakers. You’ll get to put in metal eyelets using a punch and/or a stiletto, sew with a curved needle, or create shoelace openings with the eyelet function on your sewing machine. You can even make your own shoelaces, complete with readymade aglets for stylin’.

Espadrilles (left) by Duana Chandler @duanastudio, using a pattern from @sewcreatebyjaime Fabriculous (right) quilted sneakers: Fabriculous Quilted Sneaker kit

DIY Shoemaking Resources

  • A Happy Stitch, espadrille kits
  • Chicago School of Shoemaking & Leather Arts, shoemaking kits and classes
  • Fabriculous, sneaker kits
  • Sneaker Kit, leather sneaker kits, soles
  • Tandy Leather, leather sneaker kits

 Under Cover

Making your own umbrella requires some serious dedication, but it’s easier than you might think. First, you need a frame. Then you need fabric. You can use laminated cotton fabrics for an all-in-one shine, a rain repellent outdoor fabric, or even a quilting cotton adding a second step for waterproofing, if needed. Keep in mind that not all brellies are used for rain protection—some are designed to keep you out of the sun, and they’re also a perfect accent to a summer wedding with parasols coordinating with bridesmaid dresses.

Images courtesy of Nancy Zieman Productions

Precision sewing and cutting is a requisite so the sections fit exactly over the umbrella ribs, otherwise things don’t work well for opening and closing. But the real fun may come as you create a cutting strategy—depending on the fabric print, you can create a literal kaleidoscope of color on the top of the parasol.

DIY Umbrella Resources

  • Nancy Zieman Productions, umbrella frames and Judy Gauthier’s book, “Umbrella”.
  • Sailrite, video tutorial for making a patio umbrella.

Specialty Notes

Whether you’re sewing shoes, an umbrella or anything unconventional, there are some basics to consider:

  • Choose a needle and thread compatible with the fabric. There’s nothing like an oversized needle hole in an umbrella seam allowing water to drip onto you to remind you of this premise.
  • Always test-sew on the fabric you’re using before starting the project. This will allow you to adjust tensions, stitch lengths and stitch choices so they all work together on what might be an unusual fabric. Sew seams and some topstitching, as the number of layers you’re sewing through can be different.
  • Test-press the fabric before you begin sewing. Some fabrics simply cannot be pressed with an iron and require finger-pressing instead so they don’t melt or mar. A flat wooden pressing stick is helpful for flattening bulky seams on non-pressable fabrics.

~Linda Griepentrog is the owner of G Wiz Creative Services and she does writing, editing and designing for companies in the sewing, crafting and quilting industries. In addition, she escorts fabric shopping tours to Hong Kong. She lives at the Oregon Coast with her husband Keith, and three dogs, Yohnuh, Abby, and Lizzie. Contact her at .

Did you enjoy this article?
Are you an ASG member?
This field is for validation purposes and should be left unchanged.

Tagged With: sewing, shoes, umbrella

  • « Previous Page
  • 1
  • …
  • 17
  • 18
  • 19
  • 20
  • 21
  • …
  • 82
  • Next Page »

Become a Member

Join the only national organization dedicated to Advancing Sewing as an Art and Life Skill.

Join Now button

Blog Article Categories

  • ASG Conference
  • Chapter Stories
  • Embroidery
  • Fitting
  • Learn to Sew
  • National Sewing Month
  • Products, Books, & Patterns
  • Projects
  • Quilting
  • Sewing
  • Sewing Techniques
  • Sewing Tips
  • Sewing Tours
  • Videos
  • Disclaimer
  • Privacy Policy

American Sewing Guild
National Headquarters
9660 Hillcroft, Suite 230
Houston TX 77096
713-729-3000 | 713-721-9230 Fax
www.ASG.org

ASG wordcloud - education, conference, discounts, videos, special offers, tours and more

Copyright © 1998–2025 · American Sewing Guild · All Rights Reserved