 Selecting the ideal fabric for a garment tailored to your preferences and body type is a frustration that even the most experienced seamstresses encounter at least once, if not multiple times, in their sewing journey. Many of us also inadvertently create additional hurdles for ourselves when aiming for the absolute perfect garment. In our pursuit of ideal pattern-fabric combinations, we often overlook a fundamental aspect — understanding the intricacies of both the pattern and the fabric we have at hand.
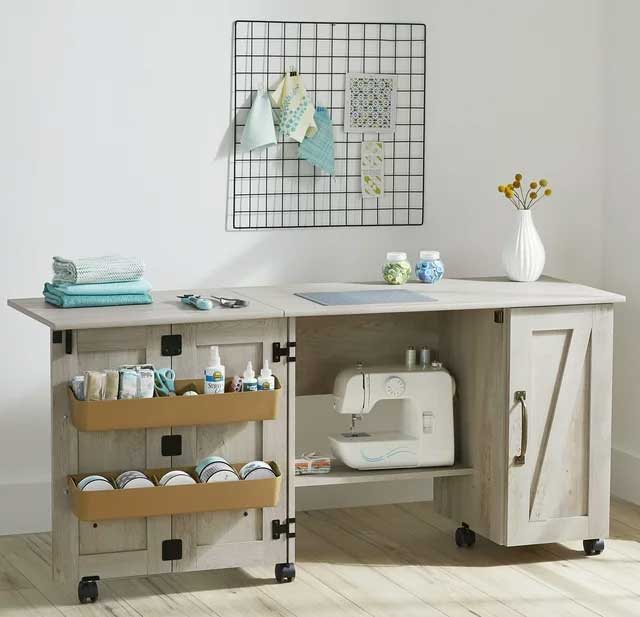
The key lies in learning to see before you sew. This involves a comprehensive examination of the pattern, fabric, and how they align with your own preferences and body type. Developing this visual acuity forms the basis of a deeper understanding. Here’s a step-by-step guide to consider:
See the Pattern
Begin by thoroughly examining the pattern instructions and recommendations, but don’t limit yourself to the suggested fabrics. With all of the different fibers and fabrics available, it is easy to be confused about what each fabric actually is. Instead, focus on the visual cues provided by photographs or illustrations. Consider the garment’s silhouette – whether it hugs the body’s contours or has a more relaxed fit. Observe the lines within the garment, paying attention to how they depict folds in the fabric as it drapes over the body. Are they gently curved, or jagged and broken? Curved lines suggest a soft fabric, like silk, while angular lines generally indicate a crisper material, such as the cotton used in men’s dress shirts.
Consider seamlines as well. The more seams there are to control fabric over the body, the less drape the intended fabric has. Garments with fewer seams or dart shaping often pair well with drapey fabrics, providing movement and flow over the body. The major exceptions to this rule are six- and eight-gore skirts with drape and flare, as well as eveningwear. Examine the overall silhouette of the garment, noting whether it follows the natural curves of the body or stands independently.
Hemlines, too, offer valuable insights. Take cues from ready-to-wear manufacturers who meticulously test fabric and pattern combinations – their choices can provide valuable guidance.
See the Fabric
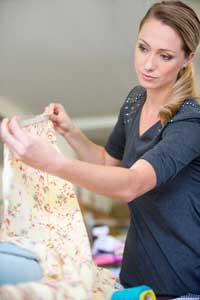
Understanding the characteristics of your chosen fabric is crucial. Choose a variety of fabrics from your stash in different weights, in knits and wovens, then conduct simple tests with them, including the corner test for drape, the fist test for transparency, the stretch test for flexibility, the grab test for weight, and the crumple test for wrinkle resistance. These tests, when applied to different fabrics, help you discern their unique qualities and applications.
Corner Test: The corner test, which tests drape, is the easiest test of all. Pick up the fabric by one corner, and let it drop. Look at the drape of the fabric. Does it fall in a wide triangle or a narrow line? Are the folds soft and rounded or sharp and crisp? Does each side hang differently? Unless your fabric is a perfect square, they probably wilt because one side will have the weight of the yardage pulling it down. Note your observations.

Fist Test: With the fist test, bring your fist up through the center of your fabric and let the fabric hang from it. Can you see the shape of your hand clearly through the fabric? Can you count the valleys between your fingers? Some fabrics will fall into every nook and cranny, while others will skim over the area, merely hinting at what is beneath.
 Stretch Test: Try stretching the fabric on each grain: straight, cross, and bias. This will help you understand how much give is built into the fabric. A fabric with no stretch on straight or cross grain but a great deal on bias will need careful handling during cutting and sewing.
Grab Test: The grab test helps determine the bulk or weight of a fabric, which is essential to fit. Begin with your lightweight fabrics and move to progressively heavier fabrics. Start at a corner. Using your fingers, try to grab as much of the fabric into your fist as possible. With a very lightweight fabric, you may get in a whole yard; with a heavy fabric, perhaps only a small square.
Crumple Test: Hold the bunched fabric in your fist, and squeeze, counting to five. Let go, and notice whether the wrinkles stay in place. This will help you determine how to use a fabric-do you really want “sitting wrinkles” in your new pants?
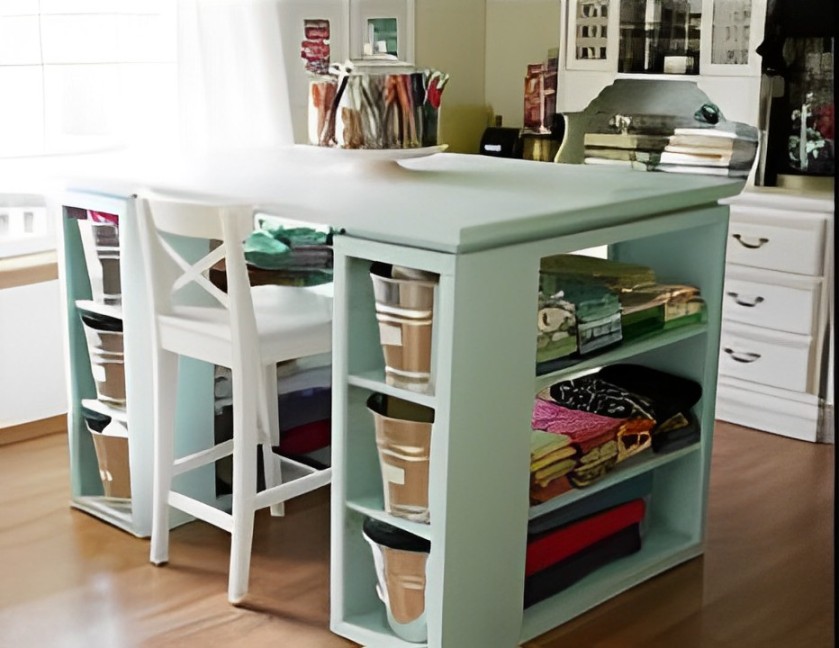
See Your Body
Finally, consider your own body and personal style. A fabric may be well-suited for a pattern but not necessarily for your body type or personal style. Use a full-length mirror and drape the fabric over your body, visualizing how it interacts with your unique features. Use your hands to mold it into a simulation of the style you intend. If it is a jacket, drape the right length over your shoulder from the back, letting the rest fall behind. Skirts can use the length or the width. Fold the fabric to get the right length on you. Play with the fabric. Wrap it around you. Your attitude towards that fabric when you see it on your body will help you determine how to use it in a way that makes you feel great about yourself. This step is more effective than using a dress form, as it enables you to see yourself in the fabric, lumps, bumps, and all. Sewers know, the fabric will sing to you, shout at you, and whisper what it wants to be.
Fabric-Pattern Partnership

Through this holistic approach, you’ll develop a natural eye for fabric-pattern partnerships. Some initially chosen fabrics may not work, but this process often sparks new ideas for their use. As you become more adept at understanding the interplay of fabric and form, experimenting with interfacing, underlining, or embellishment will become second nature. Remember, like any skill, the ability to truly see and understand will improve with practice. Soon enough, you’ll feel more confident and successful in exploring a diverse range of fabric choices for your sewing projects. This hands-on approach ensures that your final garment not only aligns with your stylistic preferences but also enhances your body’s natural silhouette for a personalized and flattering fit.


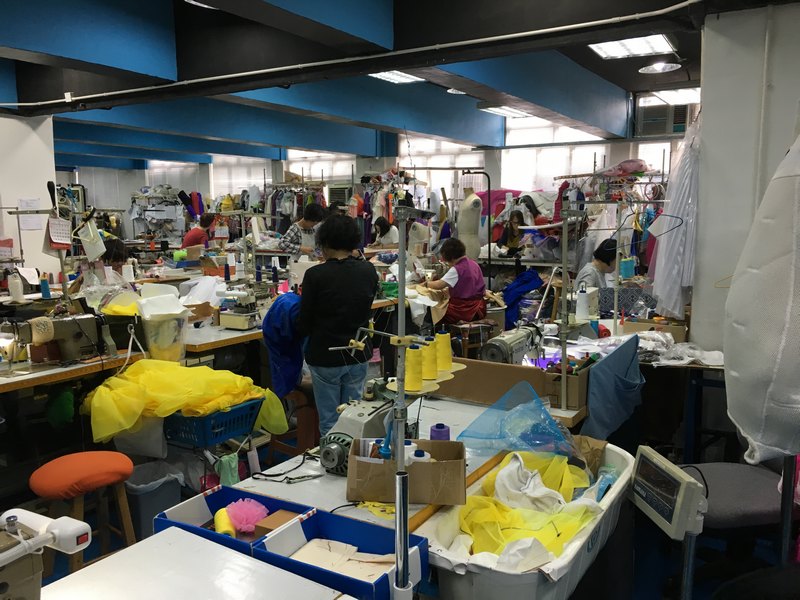

 We all love to sew but sometimes you want to switch up your sewing projects beyond your own clothes, quilts, or placemats. What do you do? Look for opportunities to share you sewing skills with others in need.
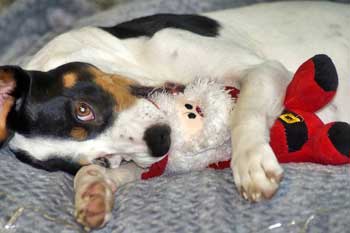 No matter how small your community, it’s very likely that you can put your sewing expertise to use in a charitable way. Call your local animal shelter to see if they can use pet beds, blankets, scarves, or leashes. Contact a local hospital to offer specialty bags for post-surgery patients, blankets or quilts for dialysis and chemo patients, or even drawstring bags for patients to keep their possessions nearby while bedridden.
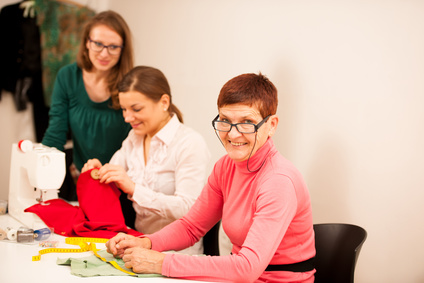 Sewing projects for charity can be something you do alone or with your group of ASG friends so there’s a social aspect to it as well. Of course, more hands make the task not only more fun, but also faster.