Reinforcing and countering are the two most effective ways to control the way your figure appears in clothing and helps you decide if the clothes make visual sense for your figure.
Reinforcing/Repetition
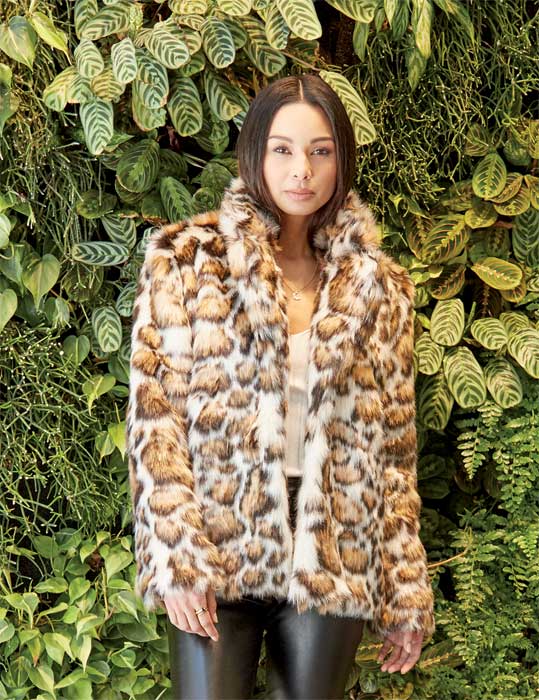
 You can use all the elements of design — line, shape, color, texture, and pattern to repeat and therefore strengthen, emphasize, or neutralize a particular figure trait or area. When shopping for patterns and clothes in styles that make visual sense for your figure or figure type, you want to select garments that reinforce only the areas of your figure you consider most attractive. You don’t want to select a garment that reinforces and therefore exposes or emphasizes a figure variation you don’t want to draw attention to.
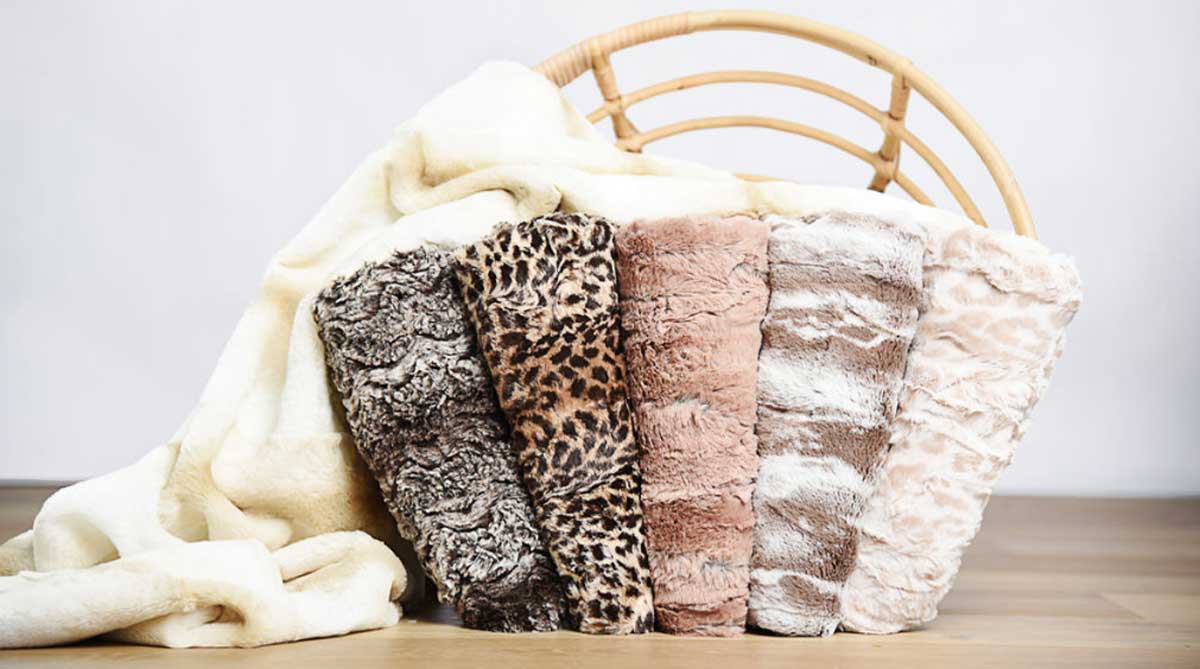
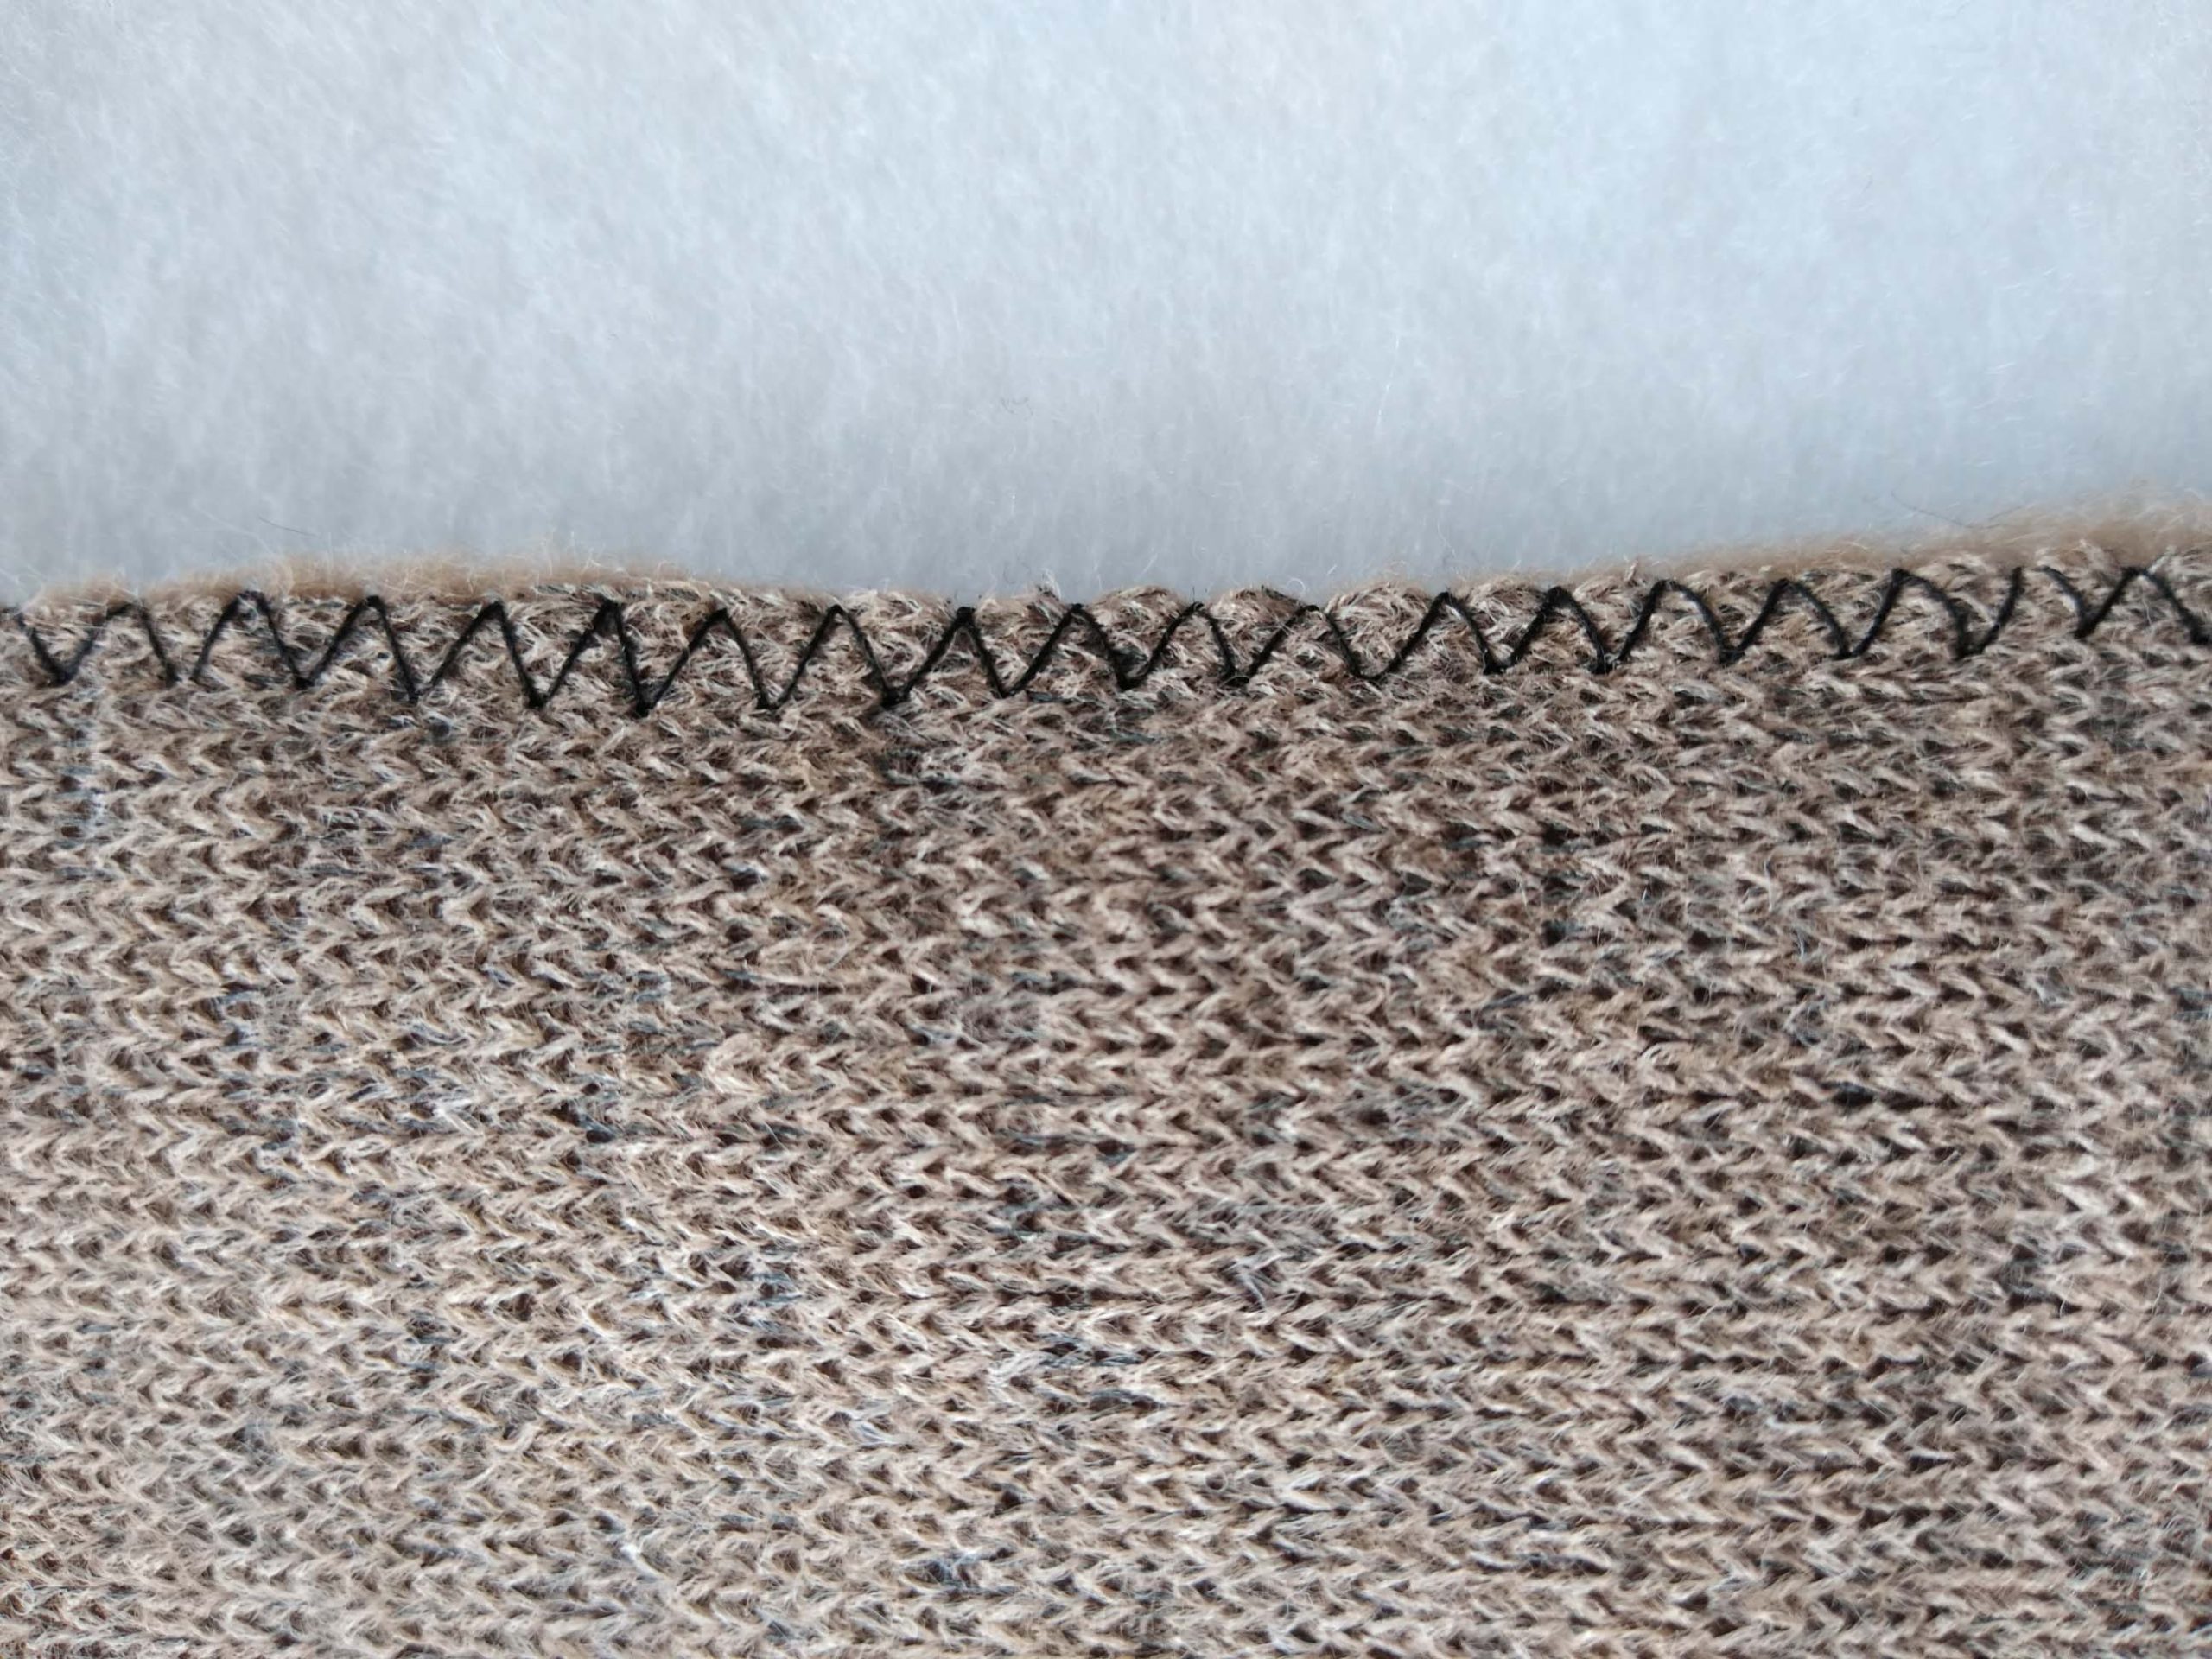
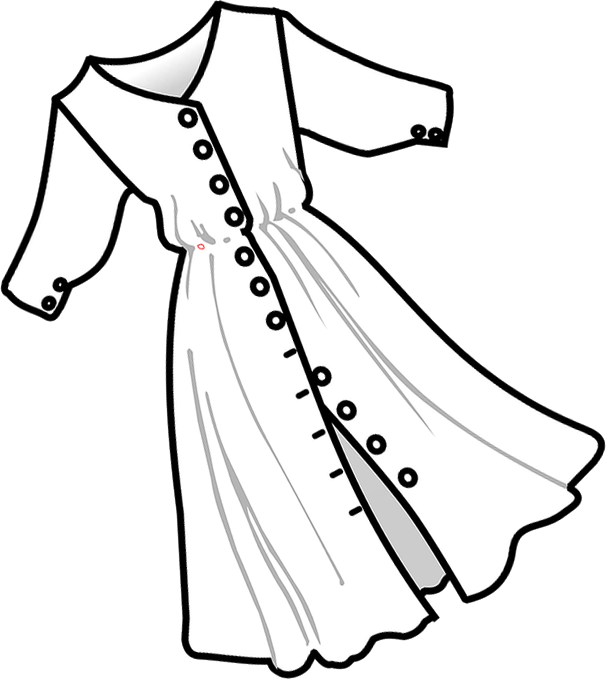
For example, if you have a noticeably large abdomen you do not want to expose or emphasize, it doesn’t make sense to shop for a pattern or an outfit with a close-fitting midriff and skirt. The close fit will repeat the outline of those body areas creating a potentially unflattering look by exposing and emphasizing an area you may wish to underemphasize. Reinforcing goes beyond the elements of line and shape to include fabric and color. Keep in mind that something like a heavy knit fabric could visually add more size to the abdominal area while a bright color or shiny fabric will attract attention and visually enlarge the area. You may want to select a fabric that provides some contrast or countering effect to camouflage and create the illusion of a flatter abdomen.
The complete version of this article is available on the ASG Members Only blog and requires member login.
CLICK HERE to read the full article. Not a member? Join online!
 Everyone knows that a lined skirt will look new longer, wrinkle less, hold its shape better, and be more comfortable to wear. But since it takes quite a bit longer to sew a lined skirt, it’s easy to succumb to temptation and simply make one sans the lining.