 If you are a machine embroiderer, you are probably familiar with embroidering on cottons, knits, quilted fabrics, and even cork and some leathers, but have you ever tried embroidering on wood? Yes, I said WOOD!
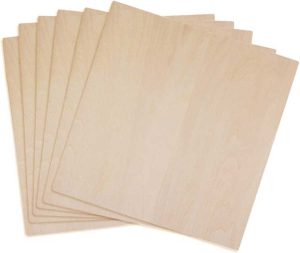
We’re not talking 2 x 4’s here, but a thin, relatively-soft balsa wood makes a great medium for machine embroidery. And, believe it or not, it can be used in a regular sewing machine for free-motion thread painting style embroidery, as well as with electronic embroidery machines. The trick is using the right kind and thickness of wood and setting up the machine properly.
What Kind of Wood?
So what is the best wood for the job? The balsa wood mentioned is a relatively soft wood that allows the needle to penetrate easily, almost like stitching through card stock. It can be found in craft and hobby stores, home improvement centers, and discount department stores, as well as online. Balsa wood comes in different thicknesses and in multiple widths and lengths. Recommendations for the best thickness vary, but three are preferred: 1/32”, 1/16”, and 3/32”.
Your inclination might be to try the thinnest 1/32” first, but this may not be the best choice. While the machine can easily handle this thickness, the wood itself is so thin that it tends to bend with the pressure of the threads and will most likely break along the grain lines. If the wood doesn’t split during the stitching process, even the pressure of tearing away a stabilizer can cause it to split and ruin the embroidery. My preference is the 1/16” thickness. The machine had no trouble going through the wood, the stitches sat on top of the surface and showed up beautifully, and yet the wood was strong enough to allow handling after stitching without any adverse effects.

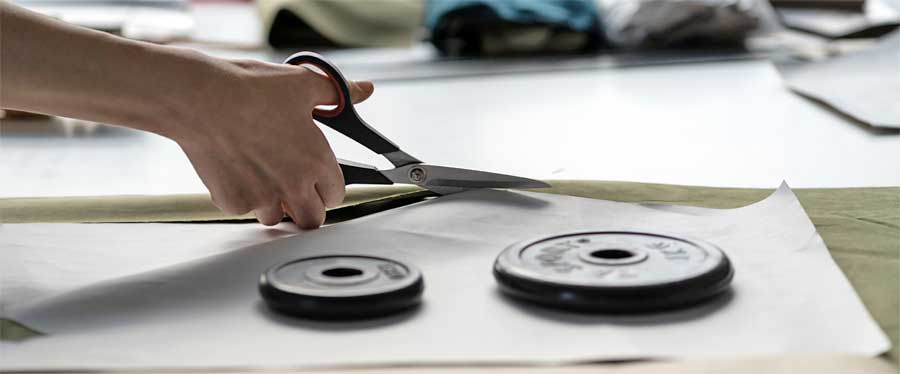
Cutting to Size
If your board of choice is too narrow for your design, two boards can be butted together and taped on the lower side to create a wider surface. Trim it down to the desired size using scissors or a craft knife; however, while scissors easily do the job, the two blades tend to put stress on the wood and can cause the thinner boards to “run” along the grain lines. For this reason, a craft knife is a better choice and can make a more accurate cut. Even a rotary cutter with an old blade will do the trick. The wood does not have to be cut completely through to the other side. It can be deeply scored with several passes of the knife and then snapped at the score line. A light sanding along the edge can smooth out any splintered pieces. If the purchased board is slightly cupped, it is a good idea to flatten the wood before stitching. Simply put it under a heavy book on a flat surface and allow the weight of the book to straighten out the warp for a few hours or overnight. This same technique can be used afterward if the wood cups during stitching.
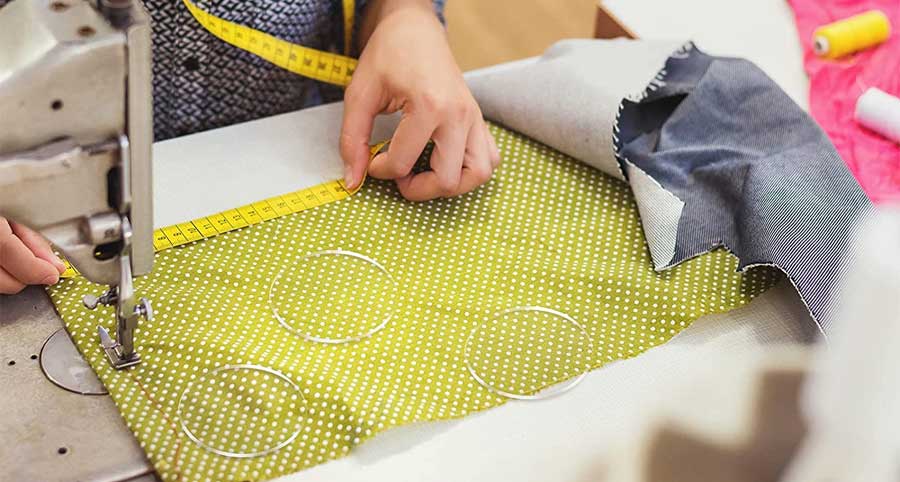
If you are using a designated embroidery machine, a hoop will have to be used. The piece of wood selected should fit within the boundaries of the embroidery hoop so that it remains flat during the stitching process. Since the wood cannot be hooped like fabric, hoop a stabilizer that is appropriate for your project and attach the wood to the stabilizer. A self-adhesive stabilizer is fine if you do not intend to remove the stabilizer outside the design afterward. The process of pulling the stabilizer away from the wood puts additional stress on the wood and could cause it to break. The same holds true with trying to remove a tear-away product. Cutting away the excess stabilizer puts less stress on both the stitches and the wood. To secure the wood to a tear-away or cutaway stabilizer while stitching, either use a spray adhesive, or place a low tack tape along the edges to keep it from moving.
Set up Your Sewing Machine
 Each penetration of the needle creates a hole in the wood that does not heal so it is best to use the smallest needle that can get the job done. The samples shown here were all stitched with a 75/11 universal needle. The needle will dull more quickly than normal stitching through fabric, so be sure to change it frequently and make sure to keep any that you use designated for wood. My needle did over 100,000 stitches and was still going strong! It is also a good idea to stitch at a slower speed — setting the machine at 600 stitches per minute should be fine in most cases. Begin each design by lowering the needle into the wood, then starting the stitch out. This small trick seems to anchor the wood to the stabilizer and helps reduce the impact of that first stitch, thus avoiding broken needles.
Choosing Thread
A 40-weight polyester or rayon thread works well on most designs. Cotton and some novelty threads tend to shred more easily on the wood and produce more lint before shredding. Metallics can be difficult to work with in the best of circumstances, and the abrasive surface of the wood makes them even more temperamental. If you decide you just have to add that touch of bling with a metallic, do so sparingly and with caution. As for the bobbin, either an embroidery bobbin thread or a matching rayon or polyester work well.
Choosing a Design
There any several aspects to consider when selecting designs to embroider, although they may not be what you expect. The density of the design is especially important when dealing with wood. Because the surface is rigid, a particularly dense design will place too much thread into the inflexible wood which could cause the wood to separate. However, this doesn’t mean that you should only use only line drawings. In fact, Redwork and other running stitch designs may be even more difficult to achieve an attractive outcome. The problem with running stitches is that they often run with the grain lines of the wood. When perfectly on grain, the stitches penetrate the surface and are brought down into the slight openings of the grain, effectively losing the stitches within the wood and possibly even causing the wood to split. Small lettering is a good example of these lost stitches and should be avoided.
Although it seems contrary to most advice, a denser, well-digitized fill design that has stitches that run predominantly across the grain lines produces a better effect.
Even a filled design with underlay stitches can be particularly effective if the underlay is an open stitch and if it follows the rule of running across the grain line. The underlay draws in those grain lines and tends to hold the wood together, providing a place for those parallel stitches to anchor. Just as a topper is used when embroidering plush fabrics, it may be used on wood as well. Be sure to carefully remove the excess topper and sparingly use water on a cotton swab to dab away the remaining wash-away topper. Never run the embroidery under running water or submerge in a bowl of water. Too much water could cause the wood to warp.

In the Halloween design pictured, most of the letters were digitized with the stitches at a slight angle. However, the *A* and the *L* fell on the grain line and the orange thread got lost in the wood. Notice the second *L* over the yellow moon. That *L* was stitched in the same direction as the first one, but the moon acted like an underlay and kept the orange threads on top of the surface, preventing them from being drawn down. No topper was used to stitch out this design.
Design Size
Another point to consider is the size of the design on the wood. When a design comes too close to the edge, the wood tends to split, especially the 1/32” thick pieces. A minimum of ¼ to ½” should be left unstitched around all sides. Be careful about simply reducing the size of the design. To decrease the size, most machines keep the same number of stitches and bring them closer together making the design more dense. Depending on the original density of the design and the amount of reduction, this could lead to too many stitches too close together, thus perforating the wood and causing sections to pop out. A design that starts out with pop-outs can be enlarged to spread out the stitches. Coverage will be less, but seeing the wood peeking through often produces a nice effect.
Why Embroider on Wood?
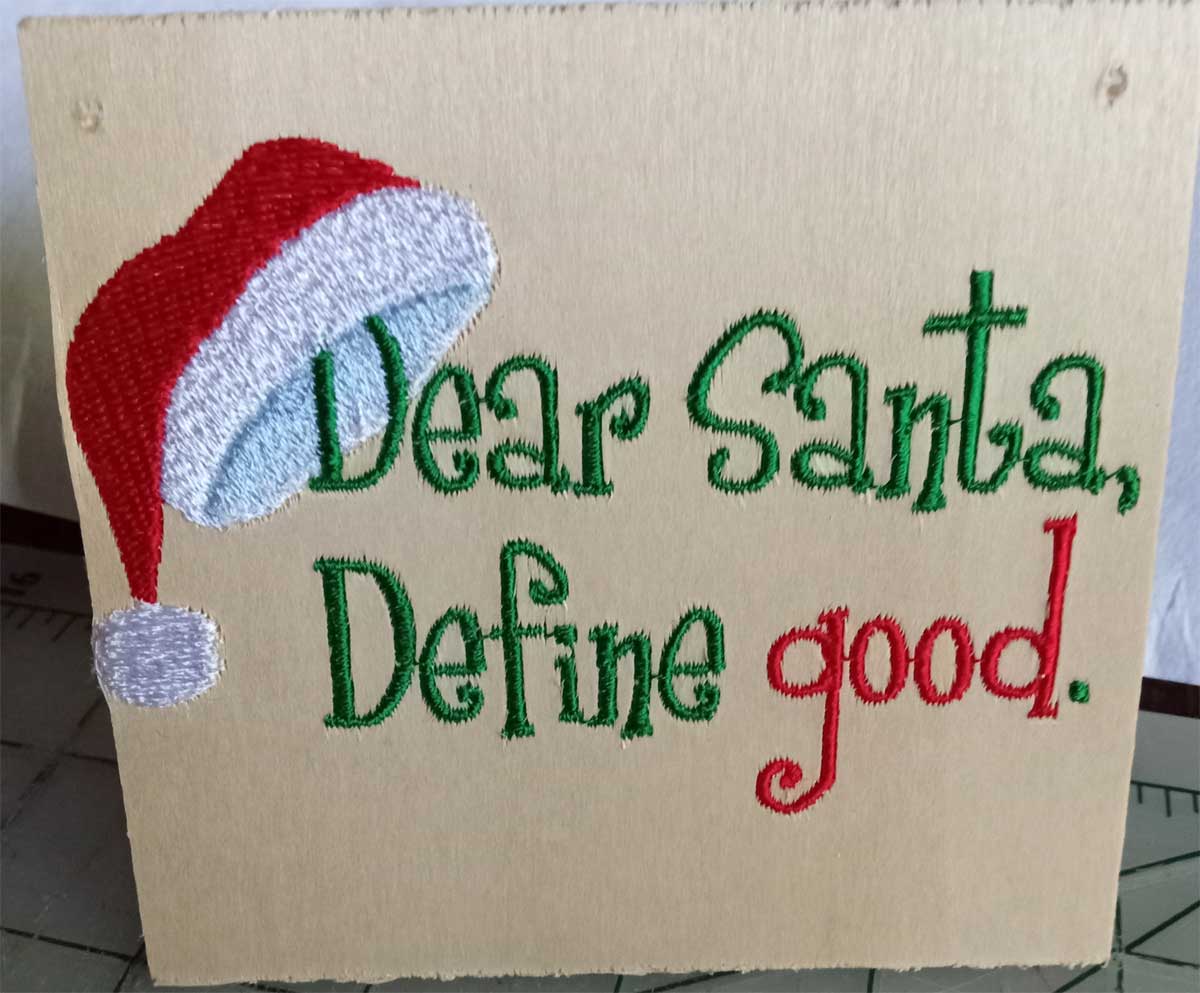
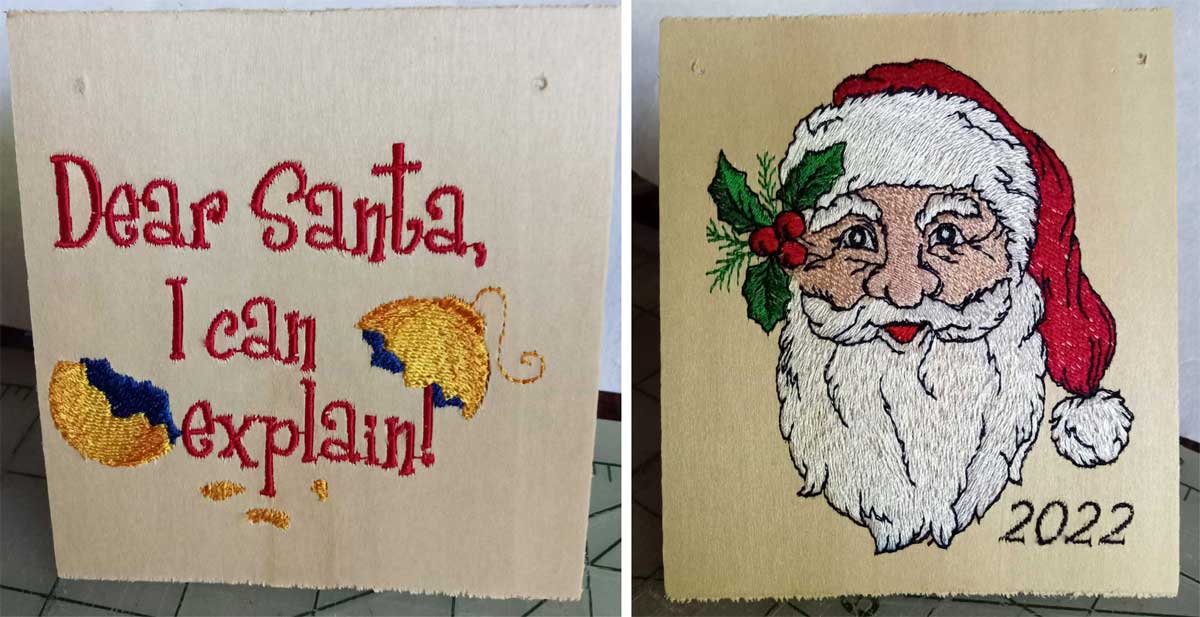
Now that you know it can be done, you may be thinking, but WHY? What could I possibly use it for? The Happy Halloween design was intended to be hung on a door for the holiday. Something of a similar size could also be stitched for inclusion in a wreath. How about a wooden front of a Christmas card? You can also back embroidered designs with felt and add to the holiday tree.
Designs can also be mounted in frames and become wall art. The designs can be coated with a decoupage medium or polyurethane (check colorfastness of thread) to protect the stitching and used to decorate boxes and other wooden craft containers. To dress up a bland serving tray, stitch out a design and place it under glass in the bottom of the tray. Christine Pillarella stitched out these designs on wood blanks, trimmed them to size, then adhered them to the sides of a cigar box for a stunning effect.

 The chipmunk crossing design was placed on the top of a box to create a shadow box. Or how about creating place cards for your holiday table? The uses are only limited by your imagination. Go ahead, give it a try, and let us know how you used your embroidery on wood.
ASG members can view a video on embroidering on wood in the Members Only area. Not a member? Join today!
~ Rosemary Fajgier and Christine Pillarella, Princeton Chapter of ASG
 A. A shop hop is an event organized by many fabric store owners in a region who cooperate together for one cause—enticing consumers to visit. Shop hops are usually sponsored by quilt store owners, but sometimes other fabric stores join in the fun.