Hemming knit garments can sometimes be a challenge, especially on lightweight fabrics that tend to ripple or stretch out, and who needs ripples around a hipline?
Twin Power
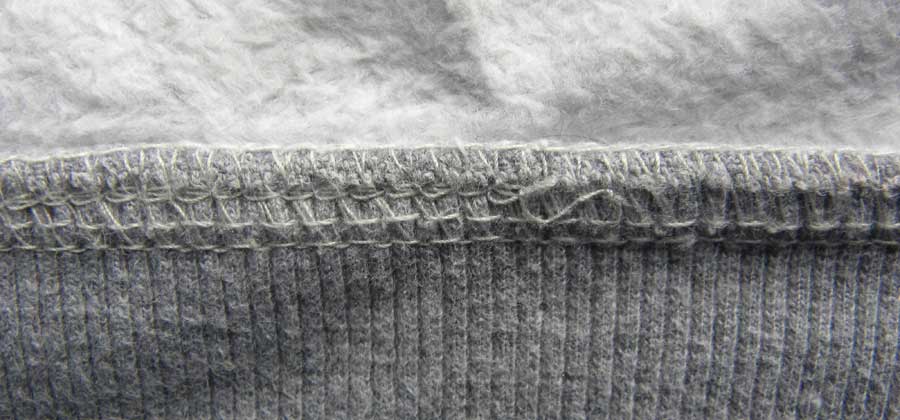
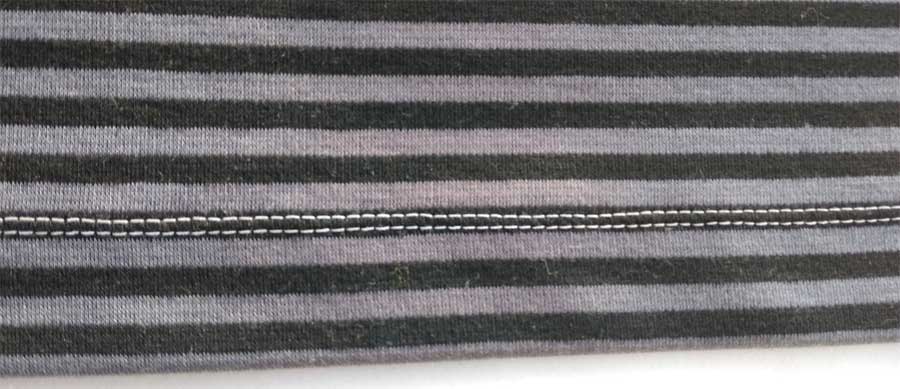
One of the best ways to create a professional looking hem in a knit garment is to use twin needles on a conventional machine. Available in differing needle spacings, the double needle creates two rows of perfectly parallel stitching to hold your hem in place. And, the best part—with a single bobbin spanning the needles, the zigzag on the underside gives your knit some flexibility.
Look for twin needles in spacing from 1.6mm to 8mm, and in various needle sizes and types, depending on the weight of your knit. So, choose a needle set compatible with your fabric. Check your machine owner’s manual for instructions for using a twin needle, as some are limited to less than the maximum needle spacing available. You can stitch a great hem with a 2.5mm-3mm width on most fabrics.
Step by Step
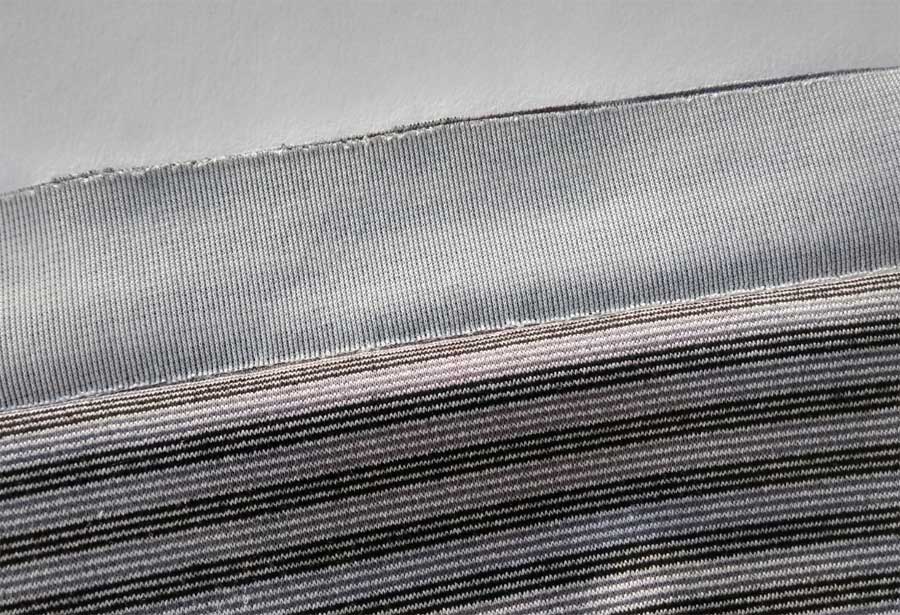
Begin by gently pressing the hem to the wrong side of the garment, being careful not to stretch either the outer portion of the garment or the hem allowance. On most knits, there’s no need to finish the hem edge unless you want to, as the fabric doesn’t ravel. If you do want to finish it, a serger stitch is ideal.
Once you’ve got that hemline fold, there are two options to consider:
- The first option is to fuse the hem in place with a lightweight fusible web before stitching. This adds body to a lightweight or particularly stretchy knit to help it hold its shape. If you choose this option, cut the web the entire width of the hem to avoid a fused line narrower than the hem. This method helps keep the double-needle stitching from doing what’s called “tunneling”—making that raised area between the needles and creating a little ridge. It’s fine to have that ridge if that’s the look you want as it mimics a pintuck, but if a flat hem is your goal, the raised ridge can be somewhat discouraging.
- The second option is to fuse lightweight knit interfacing to the hem area you’ve pressed up. This also adds body and helps prevent the tunneling. If you choose this option, interface the entire hem depth. Adding interfacing also helps keep the hem from rolling out during wear.
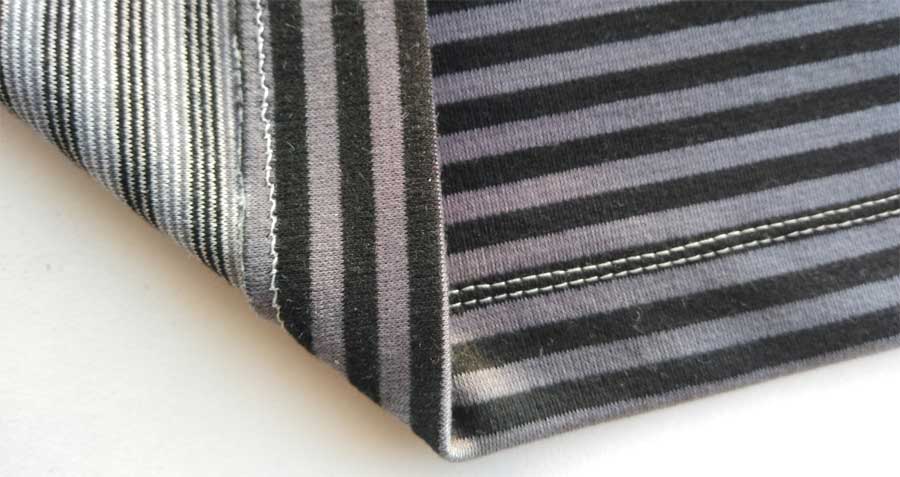
Pin the stabilized hem allowance in place around the lower edge of your garment, then thread the twin needles with matching or contrasting thread—for a sportier look, you can even use two colors of thread.
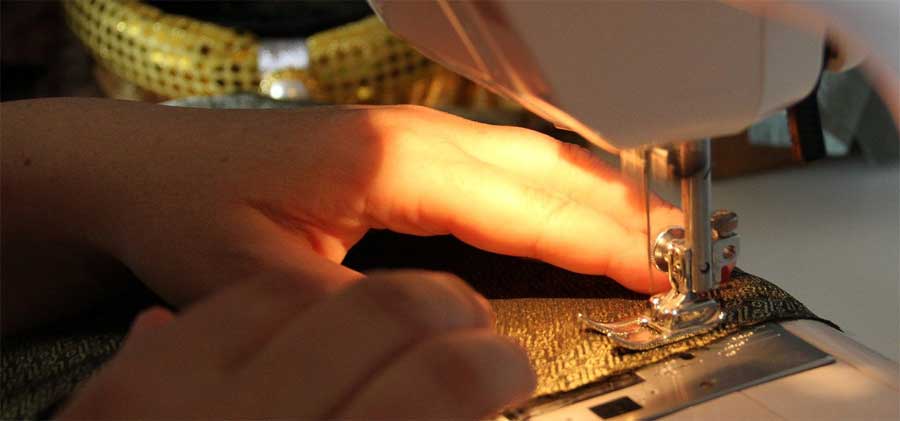
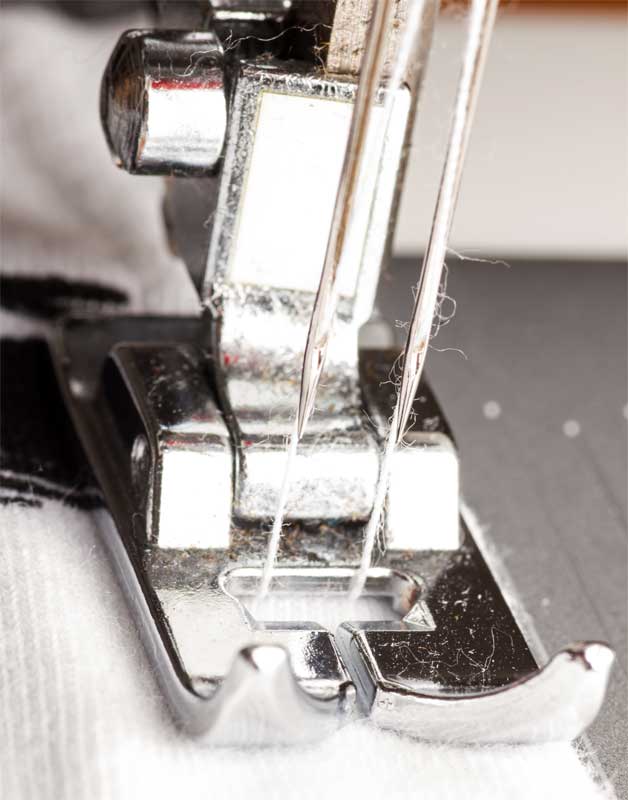
Beginning at one side seam, straight stitch around the garment lower edge leaving at least ¼” of hem above the stitching line {photo}. Remember, you need to stitch with the garment right side up, as a zigzag stitch is formed on the underside of the double-needle stitching. At the beginning and end of the stitching line, leave thread ends long enough to pull them to the underside and tie off.
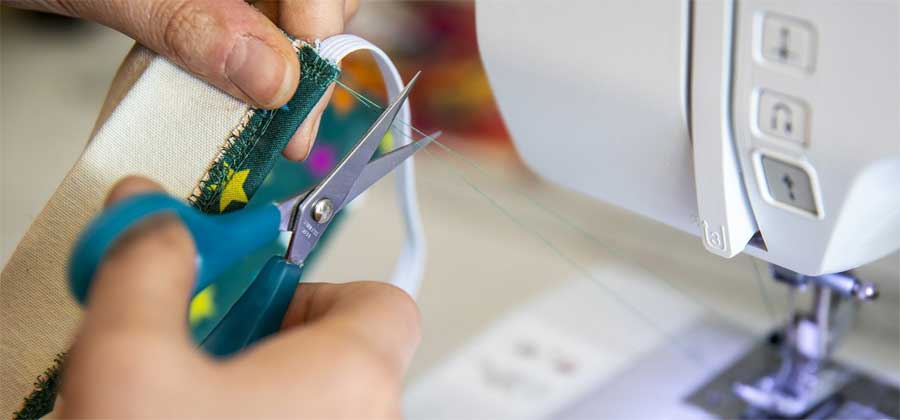
If you have extra hem depth beyond your stitching line, carefully trim it close to the stitching to neaten.
~Linda Griepentrog
Linda is the owner of G Wiz Creative Services and she does writing, editing and designing for companies in the sewing, crafting and quilting industries. In addition, she escorts fabric shopping tours to Hong Kong. She lives at the Oregon Coast with her husband Keith, and two dogs, Yohnuh and Abby. Contact her at gwizdesigns@aol.com.